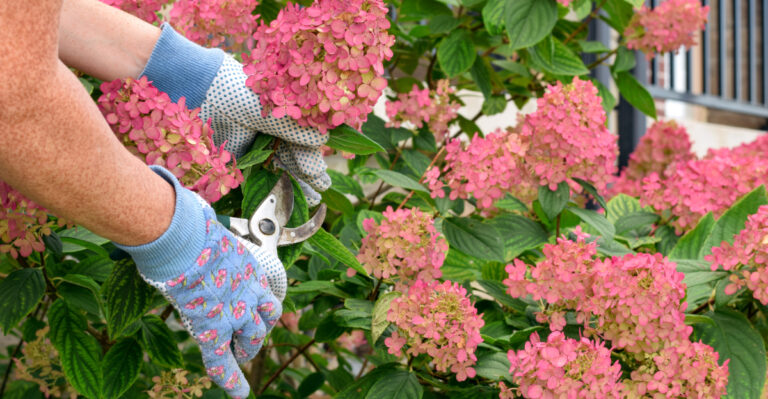
The Underrated North Carolina Herb You Should Dry Before August Ends
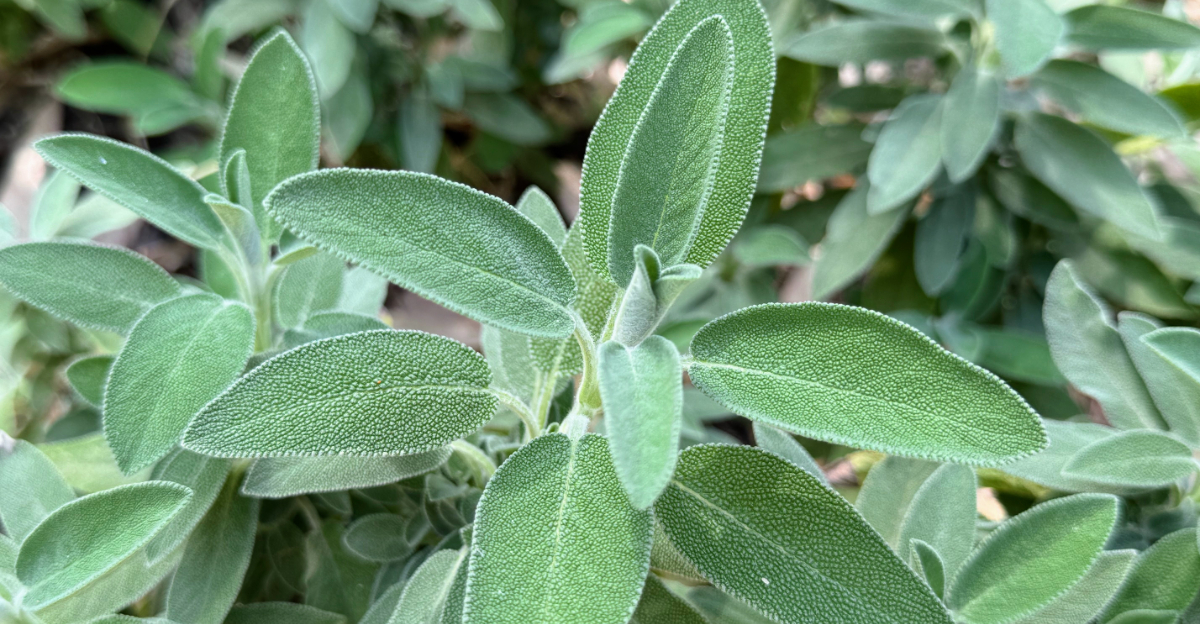
Sage often gets planted and then largely ignored, quietly growing in the background while gardeners focus on flashier herbs nearby. But there’s a specific window closing soon where this herb is at its absolute best for drying and storing long term.
Miss it, and you lose the chance to capture sage at its most flavorful until next year’s growing season rolls around again. Most gardeners have no idea this timing even matters, assuming any point in the season works just as well as another.
Understanding why late August specifically matters could change how you plan the rest of your herb harvesting this year.
Once dried properly, this often overlooked herb becomes something you will reach for constantly through fall and winter cooking. A few minutes of attention now pays off for months afterward.
1. Sage Is The Herb To Save
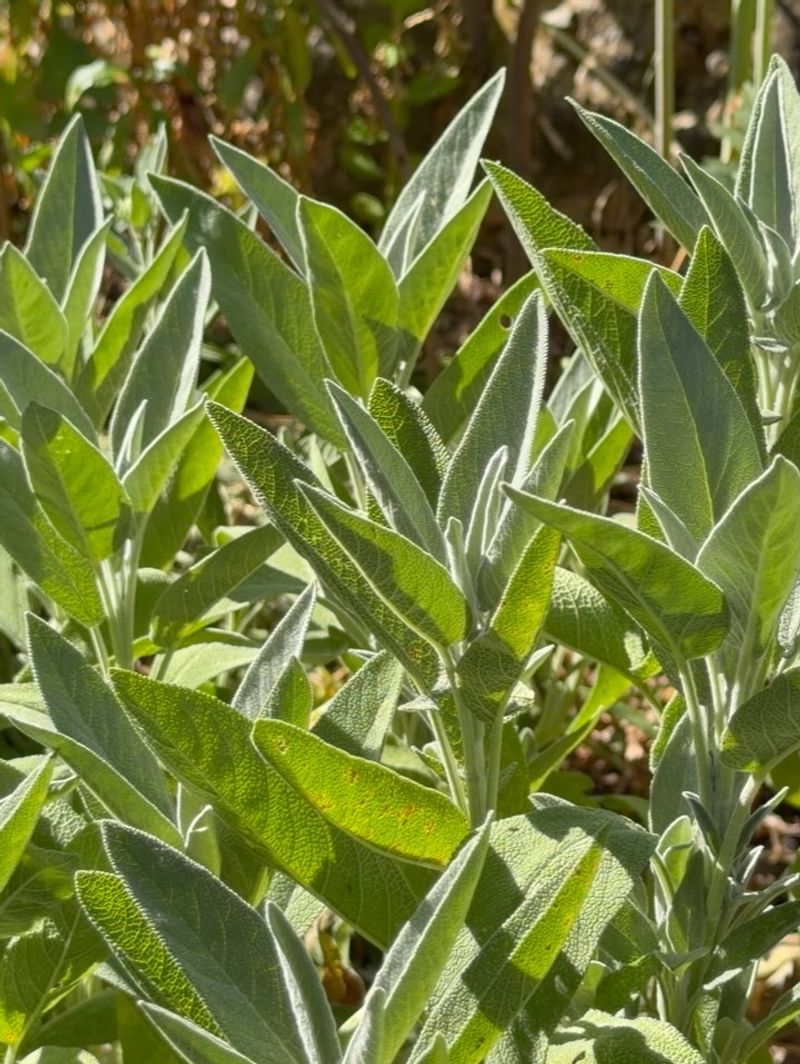
Sage often gets overlooked while basil and mint grab all the attention. That is a shame, because this hardy perennial keeps coming back year after year with very little fuss.
Common sage, known by the name Salvia officinalis, has soft, silvery green leaves that carry a warm, earthy scent. Rub a leaf between your fingers and you get that cozy aroma many people connect with holiday stuffing and roasted vegetables.
It thrives in North Carolina yards because it loves sunshine and does not mind dry spells once its roots settle in.
What makes sage such a star for drying is its sturdy leaf. Thick and slightly fuzzy, the leaves hold their oils well, so the flavor stays strong long after the moisture leaves them. Thinner herbs like cilantro fade fast, but sage rewards patience.
Gardeners love that one healthy plant can supply a whole kitchen. A single bush growing near your porch can fill several jars, and you will still have plenty left on the stem.
Because it is a perennial, sage settles in for the long haul. Plant it once and give it decent drainage, and it becomes a reliable friend in your herb patch.
Late summer is when the leaves reach their fullest flavor, which makes this the ideal moment to gather some for drying. Save a batch now, and future meals will thank you with taste that store-bought jars simply cannot match.
2. Late August Is A Good Cutoff
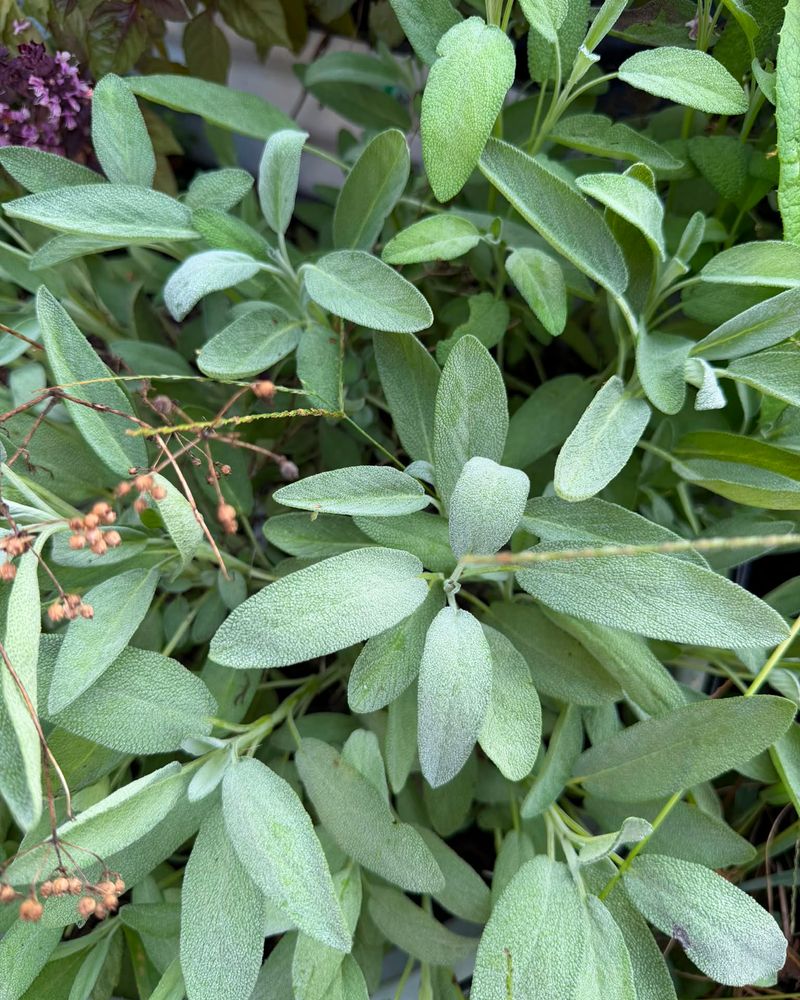
Timing matters more than most people realize when it comes to trimming perennial herbs. NC State Extension suggests wrapping up your heavy harvesting of plants like sage around the end of August, and there is smart reasoning behind that advice.
As summer winds down, your sage plant starts shifting its energy toward getting ready for cooler months. If you keep cutting it hard into September, you push the plant to grow fresh, tender shoots at the wrong time.
Those new shoots are soft and delicate, and they may not toughen up before the first chill arrives.
Stopping big harvests in late August lets the plant slow down naturally. It can store energy in its roots and stems instead of racing to replace leaves you keep snipping away.
Your North Carolina Garden Changes Every Week. Your Plan Should Too.
Gardening in North Carolina changes quickly throughout the season. Every Friday you’ll receive a simple weekly plan showing exactly what to plant, prune, fertilize, harvest, and protect so you never miss the right timing.
A well-rested plant bounces back stronger next spring. This does not mean you cannot pinch a leaf or two later for dinner. Light picking is fine. The concern is the large, repeated cutting that strips a plant and forces it to work overtime.
Think of late August as the moment to gather your main stash for drying. Fill your jars now, while the leaves are packed with flavor and the plant still has time to settle before winter.
Following this simple calendar habit protects your investment. You get a generous harvest today and a healthy, happy plant waiting for you when the growing season returns.
That balance is exactly what keeps a sage bush productive for many years to come.
3. Pick The Best Leaves
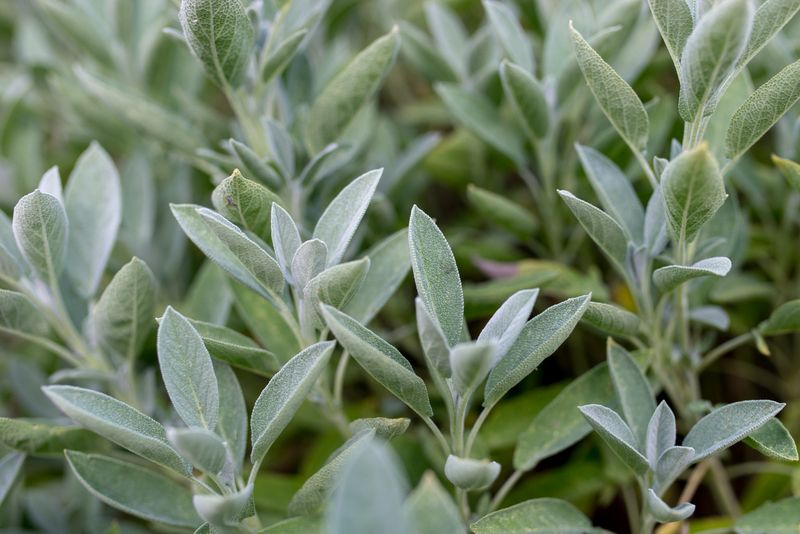
Not every leaf on your sage plant deserves a spot in the drying bundle. Choosing wisely makes a huge difference in the flavor you end up with later.
Look for leaves that are firm, evenly colored, and free of spots or holes. Healthy sage carries the most oils, and those oils are what give the herb its wonderful smell and taste.
A leaf that looks tired, yellowed, or chewed by bugs will not offer much once it dries. Give the plant a quick sniff test too. Fresh, aromatic leaves release a strong scent when you gently brush them.
That fragrance is your clue that the leaf is loaded with the good stuff you want to preserve. Skip any leaves that show fuzzy mold or dark, mushy spots. These problems only get worse during drying and can ruin a whole batch.
It is always better to leave a questionable leaf on the plant than to risk your jar. Try to gather from different parts of the bush rather than stripping one branch bare. Spreading out your picks keeps the plant balanced and helps it recover faster.
Aim for leaves that are fully grown but not old and leathery. The middle stage, where a leaf is mature yet still tender, hits the perfect flavor mark. Those are the ones worth saving.
Taking a few extra minutes to sort your harvest pays off big. Quality leaves in equals quality seasoning out, and your winter meals will taste all the better for the care you put in now.
4. Harvest In The Morning
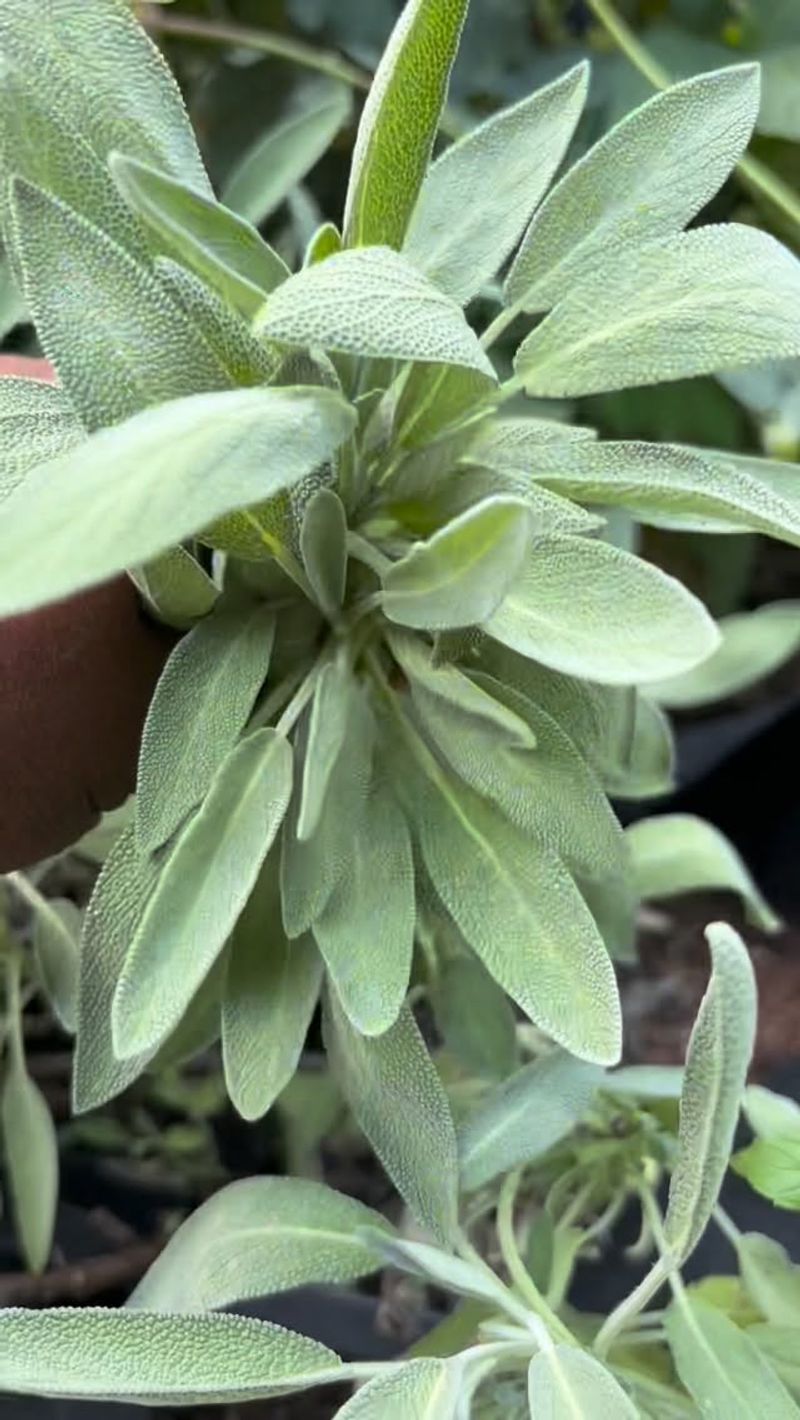
The clock on your kitchen wall can help you grow tastier dried herbs. Morning turns out to be the golden window for gathering sage, and the trick is all about timing your visit to the garden.
Wait until the morning dew has dried off the leaves. Damp leaves trap water, and extra moisture slows down drying while inviting mold to sneak in.
Once the sun has burned off that dew, usually mid-morning, the leaves are dry to the touch and ready to cut.
You also want to beat the hottest part of the day. When the sun blazes at noon and beyond, the plant’s aromatic oils start to fade under the heat.
Those oils are exactly what you are trying to save, so picking before the afternoon peak keeps the flavor locked in.
Early hours give you the best of both worlds. The leaves are fresh, plump, and full of scent, having rested overnight and soaked up the morning cool.
Bring clean scissors or garden snips and a basket. Cut gently and avoid crushing the leaves, since bruised spots can turn dark as they dry.
A quiet morning in the garden is a lovely way to start your day anyway. The air feels crisp, the bees are just waking up, and your sage is at its peak.
By making this small habit part of your routine, you set your harvest up to shine. Better timing means stronger flavor, and stronger flavor means dried sage worth showing off in every dish.
5. Dry Small Bundles Indoors
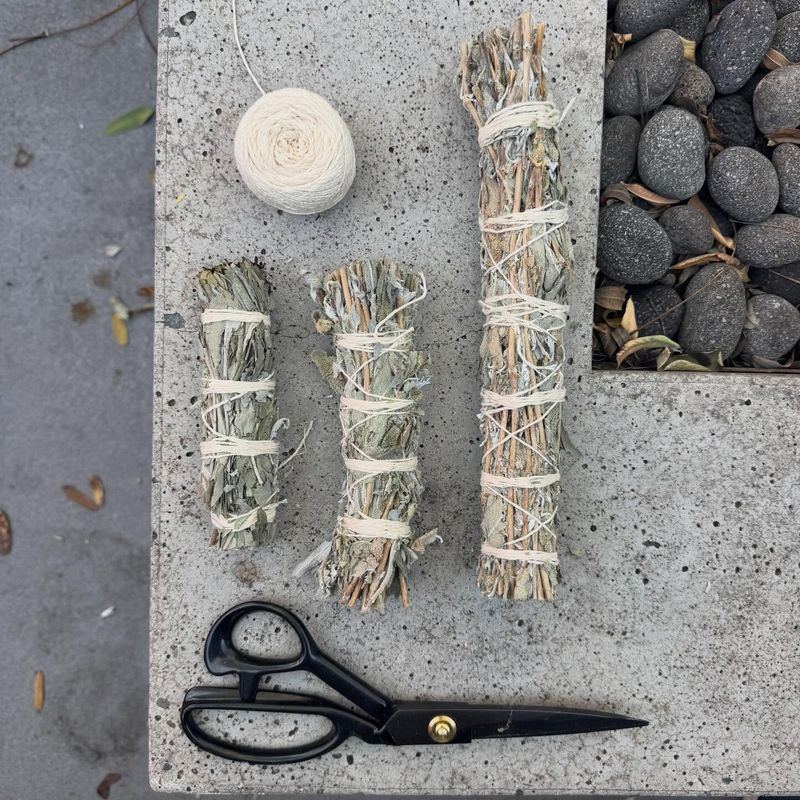
Once your leaves are picked, the real magic begins. Drying sage indoors is easy, and the secret is keeping your bundles small and airy.
Gather a handful of stems and tie them together at the base with string or a rubber band. Keep each bunch loose and thin, no thicker than a couple of fingers.
Small bundles let air flow around every leaf, which speeds up drying and stops moisture from getting trapped in the middle.
Hang the bundles upside down in a spot that is warm, dry, and breezy. A pantry, a kitchen corner, or a spare closet with good airflow all work well. Fresh air moving through the room is your best friend during this stage.
Keep the bundles out of direct sunlight. Bright sun might seem helpful, but it actually bleaches the leaves and drains away their flavor and color. A shaded, well-ventilated space keeps the sage looking green and tasting strong.
If your home tends to be humid, aim a small fan nearby or use a room with a dehumidifier. Extra moisture in the air can stretch out drying time and raise the chance of mold.
Give the bundles space so they are not crowded together. Crowding blocks airflow and slows everything down.
Depending on your conditions, the leaves usually take one to two weeks to finish. Check on them every few days and enjoy the wonderful smell filling your home.
This simple hanging method has worked for generations, and it still delivers beautiful results today.
6. Wait Until The Leaves Crumble
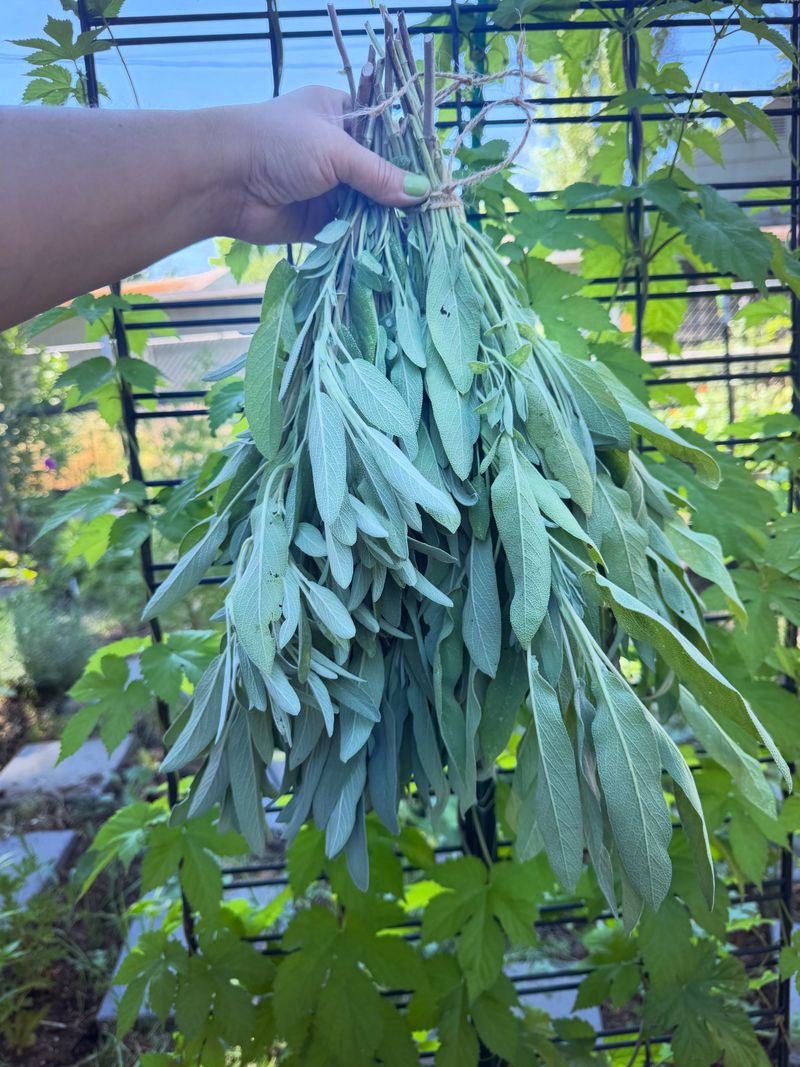
Patience pays off big at this stage. Rushing to store your sage before it is fully dry is one of the most common mistakes, and it is easy to avoid once you know what to feel for.
Properly dried sage should feel brittle and crisp. When you touch a leaf, it should crackle and snap rather than bend.
If a leaf still feels soft, bendy, or leathery, it needs more time hanging up. A quick test works wonders. Pick one leaf and try to crumble it between your fingers.
If it breaks apart into little pieces with almost no effort, your batch is ready. If it folds instead of cracking, give it a few more days.
Why does this matter so much? Any leftover moisture tucked inside a leaf can lead to mold once the sage sits in a sealed jar.
Even a tiny bit of dampness can spoil the whole container over time. The stems can fool you too. Sometimes the leaves feel crisp while the stems stay slightly moist.
Focus on the leaves, since those are what you will use, but a fully dry stem is a good sign the bundle is finished.
Take your time and check every few days. Drying is not a race, and the reward for waiting is seasoning that keeps for many months without trouble.
Once your leaves crumble with a satisfying crackle, you have hit the finish line. That crisp, papery texture means your sage is ready to be tucked away and enjoyed all season long.
7. Store The Leaves Whole
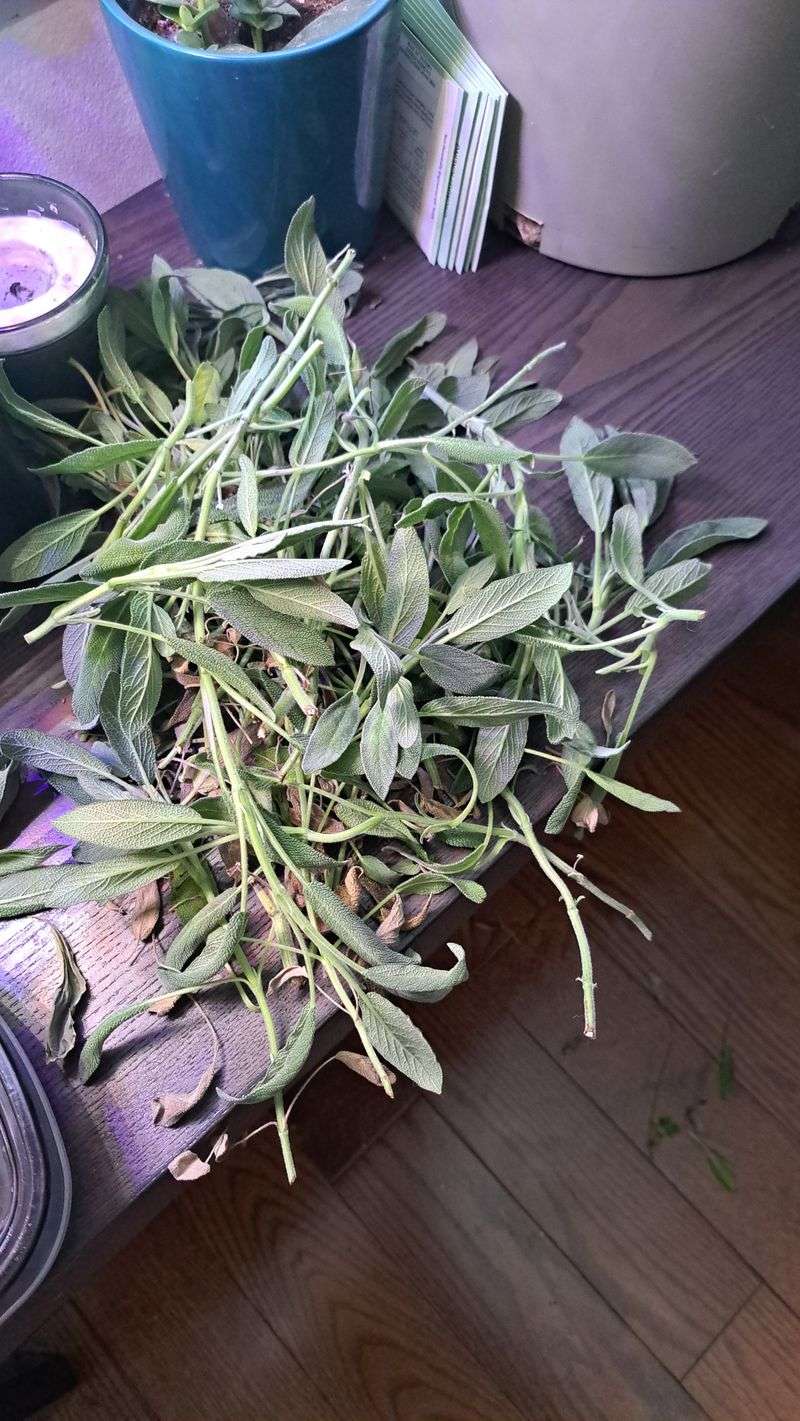
Here is a tip that surprises a lot of home cooks. Keeping your dried sage leaves whole, rather than crushing them right away, actually locks in more of that wonderful flavor.
The oils that give sage its taste live inside the leaf. When you crush or grind the leaves too early, those oils get exposed to air and slowly fade away.
Whole leaves act like little sealed packages, holding onto their scent and strength much longer.
Store your dried leaves in a clean, airtight jar. Glass jars with tight lids work beautifully, and they let you see your lovely green harvest too. Keep the jar in a cool, dark cabinet away from heat and sunlight.
Heat and light are the enemies of dried herbs. A spot above the stove might seem handy, but the warmth there speeds up flavor loss. A shaded pantry shelf is a much better home.
When you are ready to cook, simply crush or crumble the leaves right before adding them to your dish. That fresh crush releases a burst of aroma that reminds you exactly why you saved them.
Label your jar with the date so you can keep track. Stored well, whole dried sage holds good flavor for about a year, sometimes longer.
This little habit makes a real difference at dinnertime. Instead of dull, faded seasoning, you get bright, punchy flavor every single time.
A few whole leaves crumbled into soup or roasted potatoes can carry the taste of your summer garden straight into winter.
8. Leave The Plant Alone Afterward
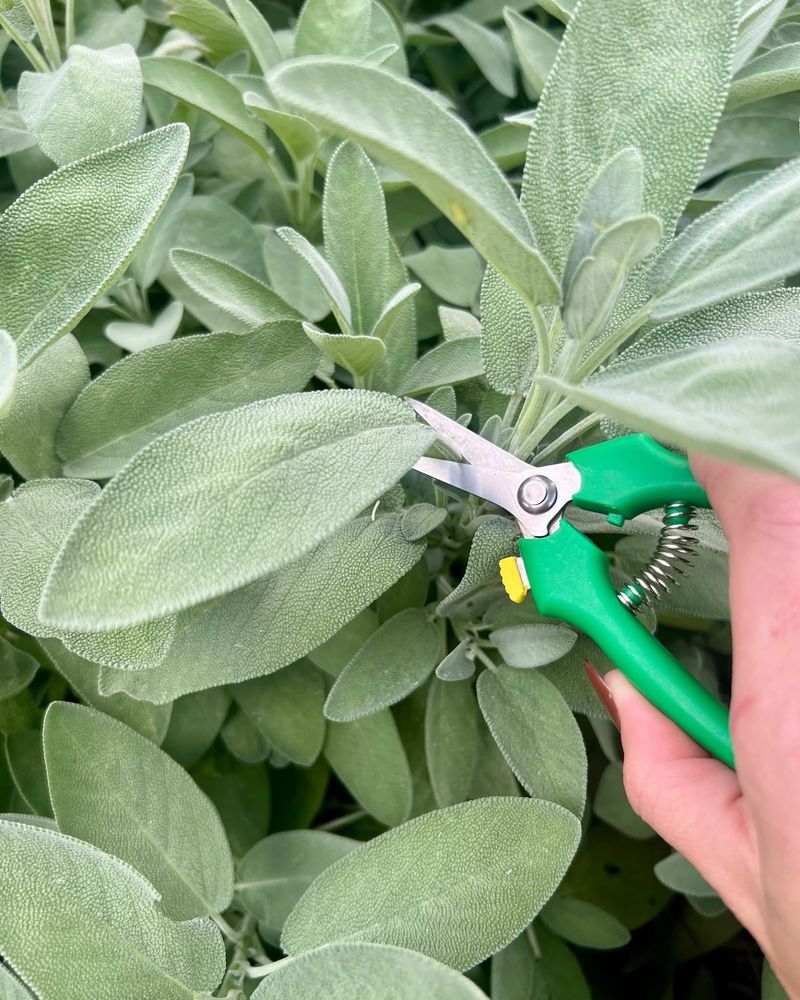
After you have gathered your harvest, the kindest thing you can do is step back. Giving your sage a rest in early fall sets it up for a strong return next year.
Heavy cutting late in the season tricks the plant into growing fresh, tender shoots. Those young sprouts are soft and fragile, and they need warm weather to toughen up.
When cold arrives before they are ready, that new growth can be damaged.
This matters even more in western North Carolina, where the mountains bring cooler temperatures and earlier frosts. Gardens in the higher elevations feel the chill sooner than those closer to the coast, so tender growth there faces extra risk.
By leaving the plant alone after your late August harvest, you let it focus on getting ready for winter. It sends energy down into the roots and lets the existing stems firm up, which helps the whole plant stay sturdy through the cold months.
Resist the urge to tidy or trim heavily in fall. A little dry growth on top actually shields the plant during cold snaps, acting almost like a blanket.
Save your real pruning for spring, once the danger of frost has passed and fresh green shoots appear. That is the safe time to shape the plant and clear out old stems.
Treating your sage gently now means a fuller, healthier bush waiting for you when warm days return. A little patience in fall rewards you with years of fragrant harvests, proving that sometimes the best gardening move is simply doing nothing at all.