When To Take Prickly Pear Cuttings In Arizona And How To Root Them Easily
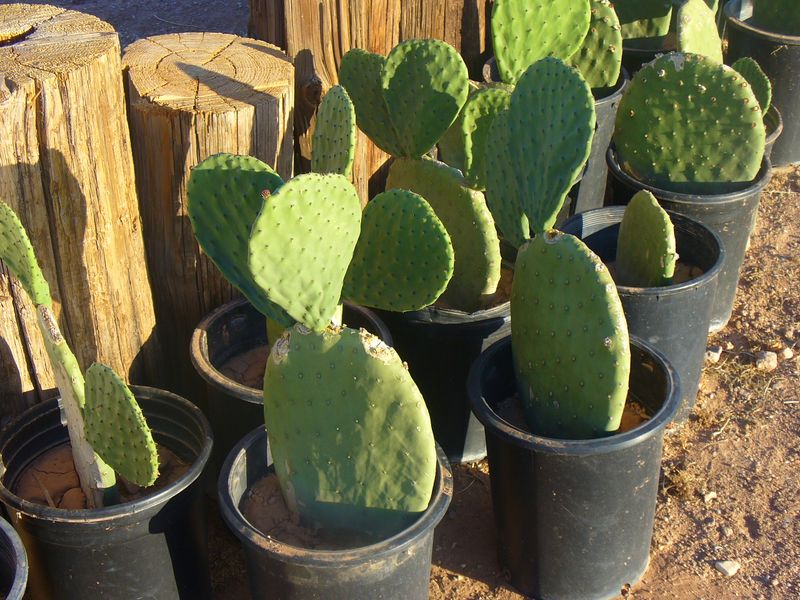
Prickly pear is one of Arizona’s most recognizable native cacti, and it turns out that a single healthy pad from your own yard can grow into a whole new plant. Getting that to happen takes the right desert timing, a little patience, and a few straightforward steps.
Miss the window or skip a key detail, and the pad is more likely to rot than root. This guide walks Arizona homeowners through when to take cuttings and how to give each pad a solid chance to establish.
Use Arizona Nighttime Temperatures to Choose the Window
Nighttime temperature is the single most reliable guide for timing prickly pear propagation in Arizona. The practical threshold to aim for in Arizona is nighttime lows that remain reliably at or above 60 degrees Fahrenheit, paired with warm soil and no immediate risk of prolonged cold.
In Phoenix and Tucson, that window often lines up well with late summer through early fall. Warm nights encourage the cut tissue to form roots rather than sit dormant or deteriorate, and the soil stays warm enough to support that early root activity.
Waiting until temperatures have settled above 60 degrees at night gives a pad a better chance than planting it during a stretch of cool weather.
Arizona is not one uniform climate, and that matters for timing. Tucson sits higher than Phoenix, and higher-elevation Arizona communities can see nights drop below 60 degrees well before Phoenix does.
Winter slows root development across the state, and the most intense midsummer heat in the low desert adds sunburn and heat-stress risk for newly planted pads. A reader in Flagstaff or the White Mountains should treat the August-to-October window as a starting point and verify actual nighttime temperatures before cutting.
Select a Healthy Pad and Source It Legally
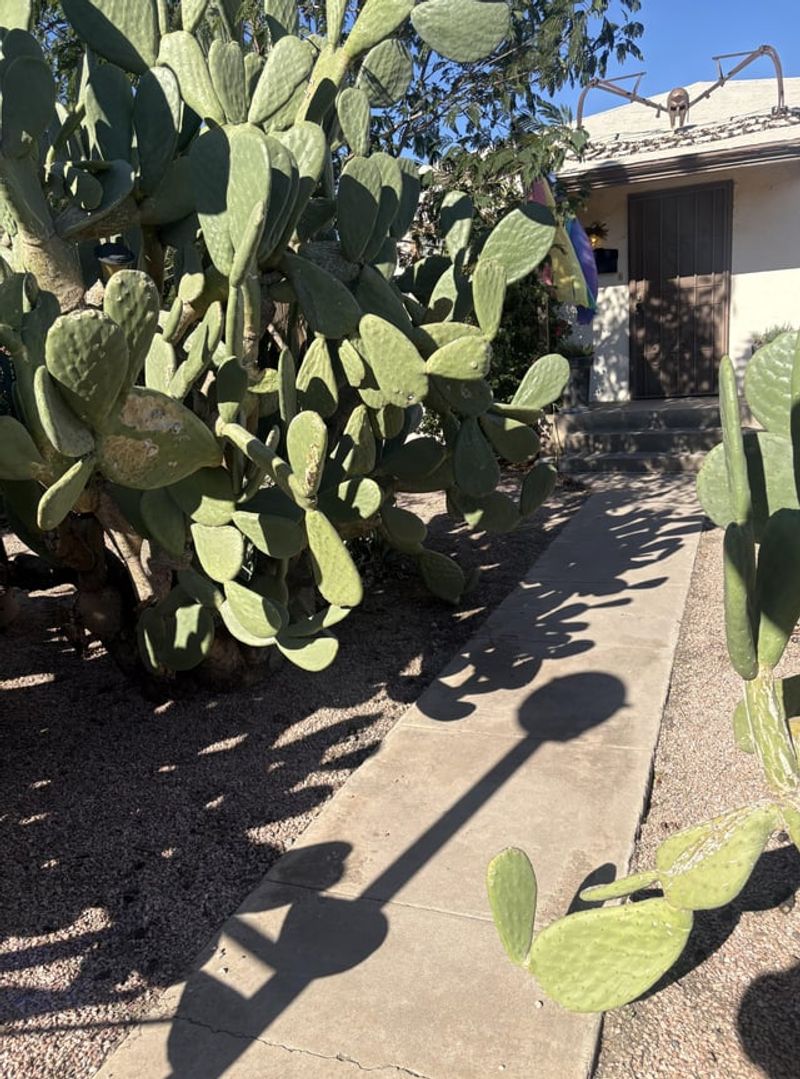
Use material from a plant you own or from one where you have explicit permission to take a cutting. Do not assume Arizona prickly pear pads can be freely collected from public land, state trust land, or a neighbor’s yard.
Once you have a legal source, look for a pad that is firm, plump, and free of blemishes. Shriveled tissue signals dehydration or stress.
Soft spots, discoloration, or signs of rot on the surface mean the pad is already compromised and unlikely to root well. A healthy parent plant gives the cutting the best starting reserves.
Handling Arizona prickly pear requires more than a standard pair of garden gloves. Pads can detach from the parent plant unexpectedly, and both the larger spines and the tiny hair-like glochids are barbed and difficult to remove from skin.
Arizona Cooperative Extension recommends using strong metal tongs or a section of old hose to grip pads safely rather than relying on gloves alone. Having your tongs in hand before you approach the plant is a habit worth building from the start.
Cut the Arizona Pad Cleanly at the Joint
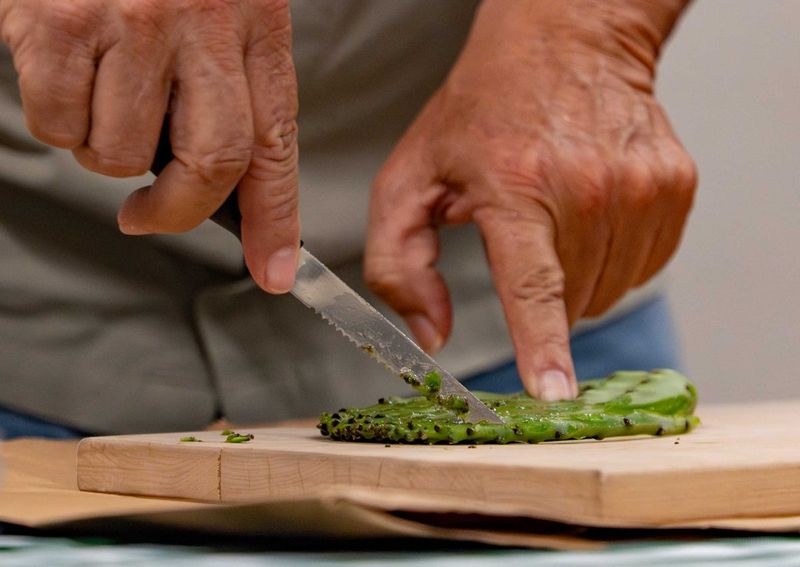
Removing the pad at the joint, where it connects to the pad below it, gives the cutting the cleanest possible starting point. Pulling or twisting the pad risks tearing tissue on both the cutting and the parent plant, leaving ragged edges that take longer to heal and are more vulnerable to bacterial infection.
Your Arizona Garden Changes Every Week. Your Plan Should Too.
Gardening in Arizona changes quickly throughout the season. Every Friday you’ll receive a simple weekly plan showing exactly what to plant, prune, fertilize, harvest, and protect so you never miss the right timing.
A sharp knife drawn cleanly through the joint produces a smooth wound that calluses more predictably.
Knife hygiene matters here more than many people expect. University of Arizona Cooperative Extension recommends cleaning the blade with a 10 percent bleach solution after every few cuts to reduce the risk of spreading bacterial disease from one plant to another.
A quick wipe between cuts takes only a moment and protects both the parent plant and the new cutting.
Keep the same Arizona prickly pear handling precautions in place during the cutting step. The pad may shift or partially detach on its own as you work, and the spines and glochids are just as hazardous during cutting as they are during selection.
Keep strong metal tongs or a hose fragment within reach so you can reposition the pad without pressing it against your skin. Work deliberately and avoid rushing, since a controlled cut at the right spot is more useful than a fast cut at the wrong one.
Let the Cut Surface Callus Before Planting
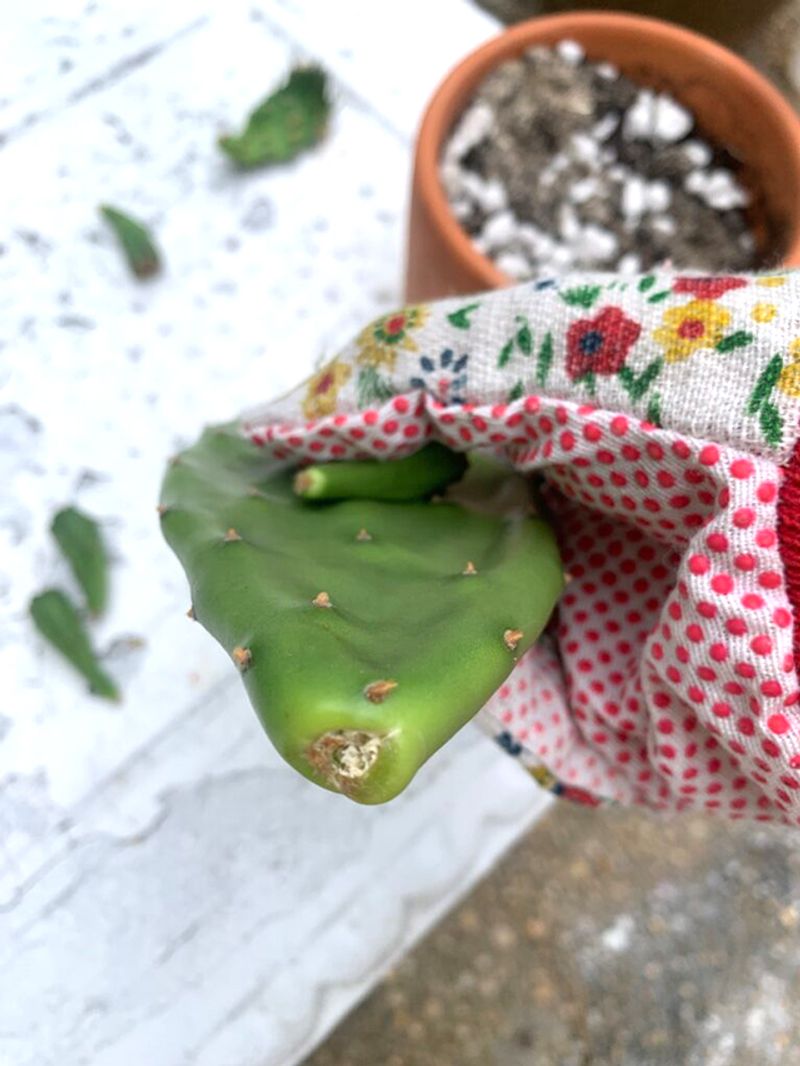
Planting a freshly cut pad directly into soil skips one of the most important steps in the Arizona propagation process. The soft, moist tissue at the cut end needs time to dry and harden into a callus before it goes into any growing medium.
University of Arizona Cooperative Extension guidance is direct on this point: failure to allow callusing can lead to rot, and a rotted base has little chance of producing roots.
USDA Natural Resources Conservation Service guidance for plains pricklypear describes drying the joint for roughly two to three days before planting. That figure is a useful starting point for Arizona conditions, but it is not a deadline that applies equally to every pad.
A larger, thicker pad holds more moisture and may need additional time. High humidity during Arizona’s monsoon season can slow surface drying compared to the dry months of spring.
The actual test is whether the cut surface looks and feels dry and firm rather than soft and moist.
During callusing, set the pad in a dry, shaded, and well-ventilated spot with the cut end facing up or propped so air can reach the wound. Avoid leaving it in direct Arizona afternoon sun, which can stress the pad before it ever goes into the ground.
Once the cut tissue has visibly hardened and closed over, the pad is ready for the next step.
Prepare Fast-Draining Arizona Rooting Conditions
Water that sits against the base of a newly planted pad in Arizona is one of the fastest ways to lose the cutting before it ever roots. The container or planting site needs to drain freely, meaning water moves through and out rather than pooling at the bottom or around the base.
A pot without drainage holes is not a workable option for this step.
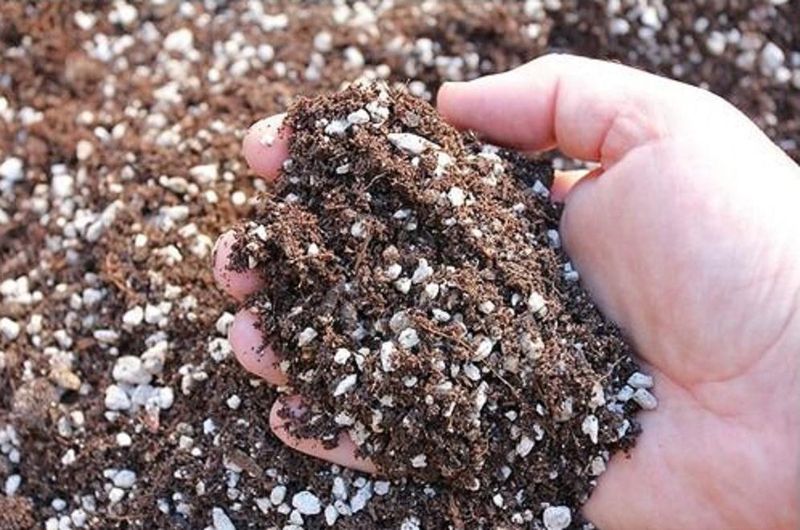
University of Arizona Cooperative Extension describes a rooting medium that is roughly half inorganic material and half organic material. Pumice or perlite works well for the inorganic portion because both are porous and resist compaction.
Peat or compost fills the organic half. Animal manure should be left out of the mix entirely, since it can carry salts or compounds that interfere with rooting rather than support it.
For Arizona readers planting directly in the ground rather than in a container, soil type and site drainage deserve attention before the pad goes in. Most cacti perform best in sandy, gravelly, or otherwise porous soil.
Heavy clay soil and low spots that stay wet after monsoon rains create conditions that work against rooting and long-term survival. Arizona Cooperative Extension guidance on transplanting cactus notes that a raised mound or an improved site design can help in areas where drainage is limited.
Choosing the right spot upfront is simpler than trying to fix drainage problems after the cutting is already in the ground.
Plant the Callused Pad and Moderate Light and Water
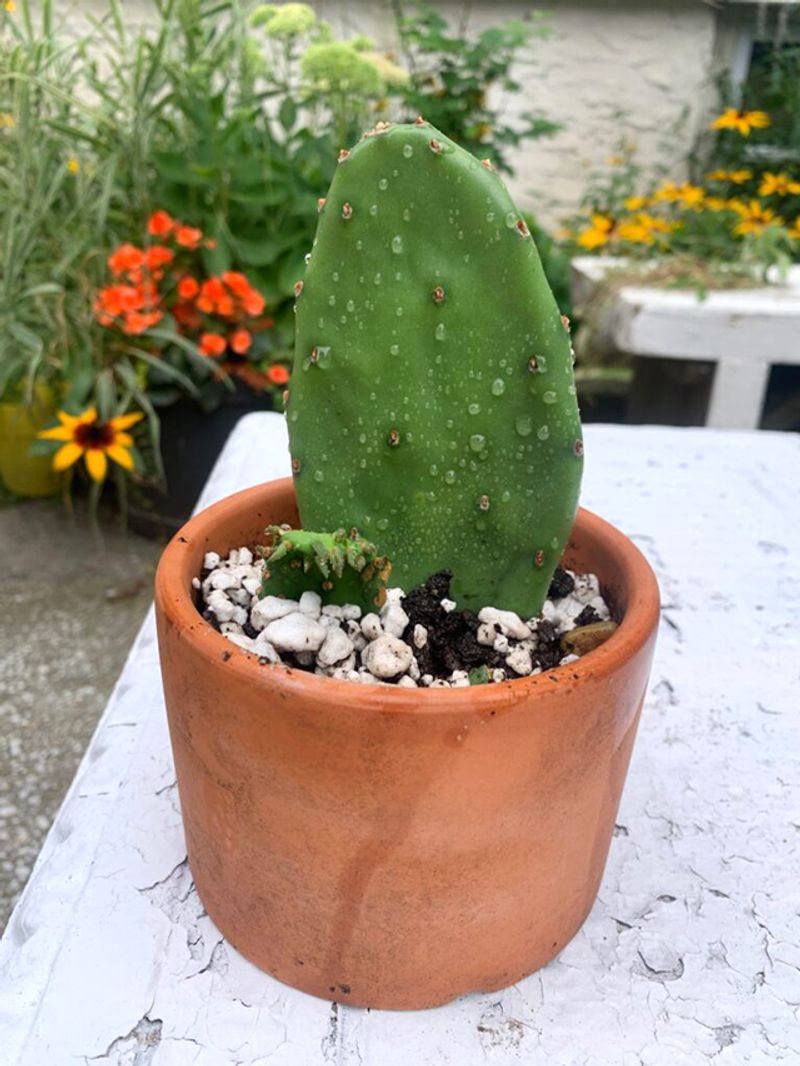
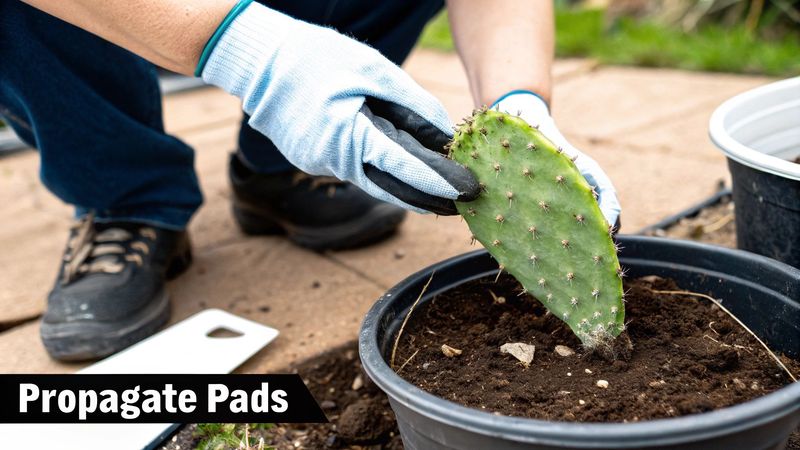
Once the cut surface has fully callused, the pad is ready to go into the prepared Arizona medium. Set the base into the mix and bury roughly one-third to one-half of the pad’s length, which is deep enough to hold the cutting upright without burying so much tissue that moisture accumulates around it.
Firm the medium gently around the base so the pad stays stable, but avoid packing it so tightly that drainage is restricted.
Light matters during this early rooting period, and the Arizona sun requires some thought. University of Arizona Cooperative Extension identifies dappled shade as a good environment for rooting cactus cuttings, and warns that insufficient light can cause weak, stretched growth.
The goal is bright, filtered, or indirect light rather than immediate placement in full afternoon sun. A spot under a palo verde or a north-facing patio wall that still receives morning light is a reasonable choice in the Phoenix or Tucson area.
Watering during the rooting phase should be conservative. The medium should not stay constantly wet, and standing water at the base of the pot or in the surrounding soil is a warning sign.
Water when the medium has had a chance to dry appropriately, and confirm that excess moisture drains freely after each watering. The right frequency depends on the container size, the medium, the weather, and the specific Arizona microclimate, so there is no single schedule that fits every situation.
Adjust based on how quickly the medium dries rather than following a fixed calendar.
Judge Rooting by Growth Without Disturbing the Pad
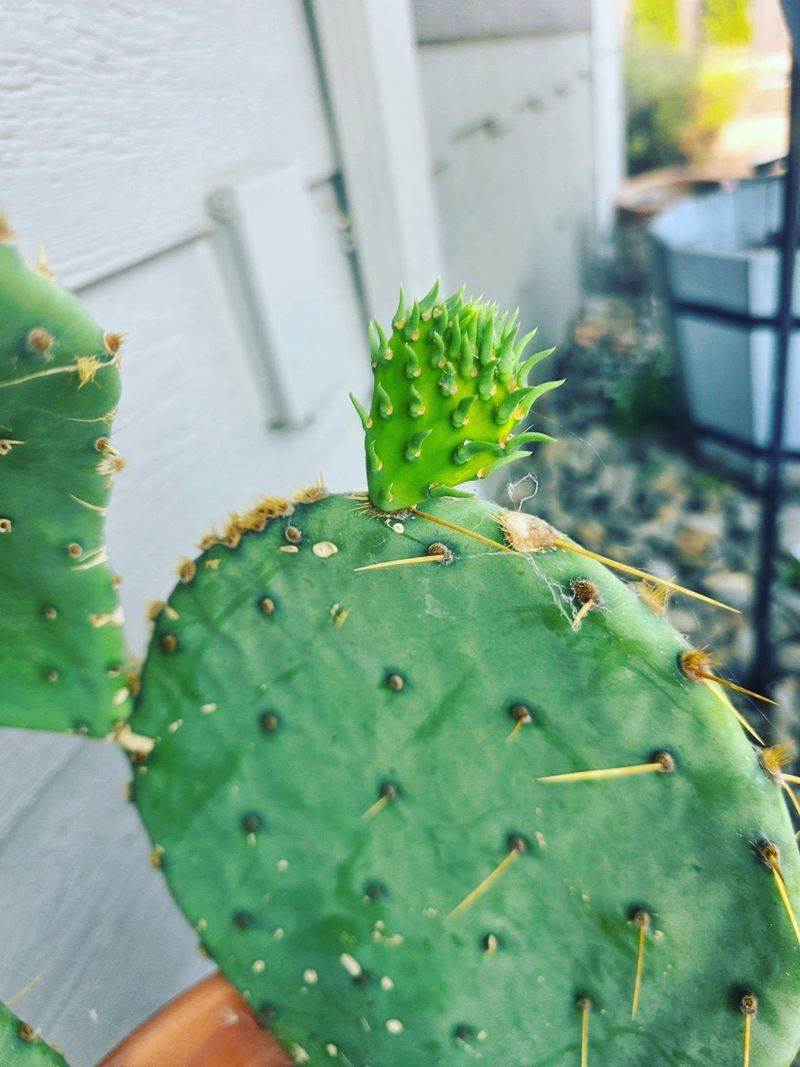
Repeatedly pulling the cutting out of the medium to check for roots damages any fragile new growth that has started and often sets the process back further than waiting would have. A more reliable approach is to watch the pad itself for the signs that University of Arizona Cooperative Extension identifies as indicators of successful rooting: increased firmness or plumpness and the appearance of new growth.
When a pad that was slightly soft after cutting becomes firmer and starts producing a new bud or small pad at the top, roots have most likely formed and water uptake has begun.
Rooting time in Arizona varies depending on temperature, the condition of the pad, the season, the elevation, and how well light and moisture are managed. USDA guidance for plains pricklypear describes a range of roughly two to six weeks, while University of Arizona guidance gives approximately four to six weeks for many cactus cuttings.
Those ranges are context for setting expectations, not a deadline by which the cutting should be considered a failure.
Visible rot at the base of the pad or a medium that stays persistently wet despite appropriate watering are legitimate concerns worth addressing. Softness alone, without other symptoms, is not a confirmed sign that the cutting has failed, particularly in the early weeks.
If rot appears, removing the affected tissue and allowing the wound to re-callus before replanting is worth attempting. Patience and steady conditions, rather than frequent intervention, give the cutting the best environment to work in.
Expect One New Plant Before More Pads
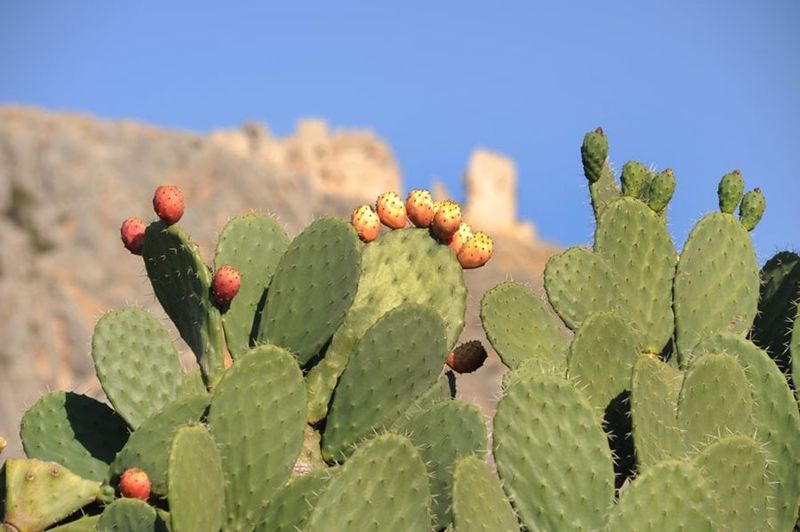
Prickly pear propagation in Arizona works best when the process is treated as a series of deliberate steps rather than a shortcut to a full plant. Start with a legally obtained, healthy pad from your own property or with permission.
Wait until Arizona nighttime temperatures are reliably at or above 60 degrees, cut cleanly at the joint, and let the wound callus fully before it touches any growing medium. Place it in fast-draining material with filtered light, and water conservatively while keeping the medium free of standing moisture.
One pad establishes one new plant. Additional pads may develop later as that plant grows and branches, but that secondary growth comes after the cutting has rooted and matured, not immediately after planting.
Expecting a single pad to multiply right away leads to disappointment and sometimes to overwatering or over-handling while waiting for results that are still weeks away.
Arizona temperature and drainage are the two factors that matter most throughout this process, and no fixed calendar date overrides what the thermometer and the soil are actually doing. Rooting is variable rather than guaranteed, and the outcome depends on the specific pad, the site, and the conditions you create.
A cutting that gets the timing right and the drainage right has a sound chance to become a permanent part of your Arizona landscape.