Virginia Lilacs Need This Fall Care For Better Blooms Next Spring
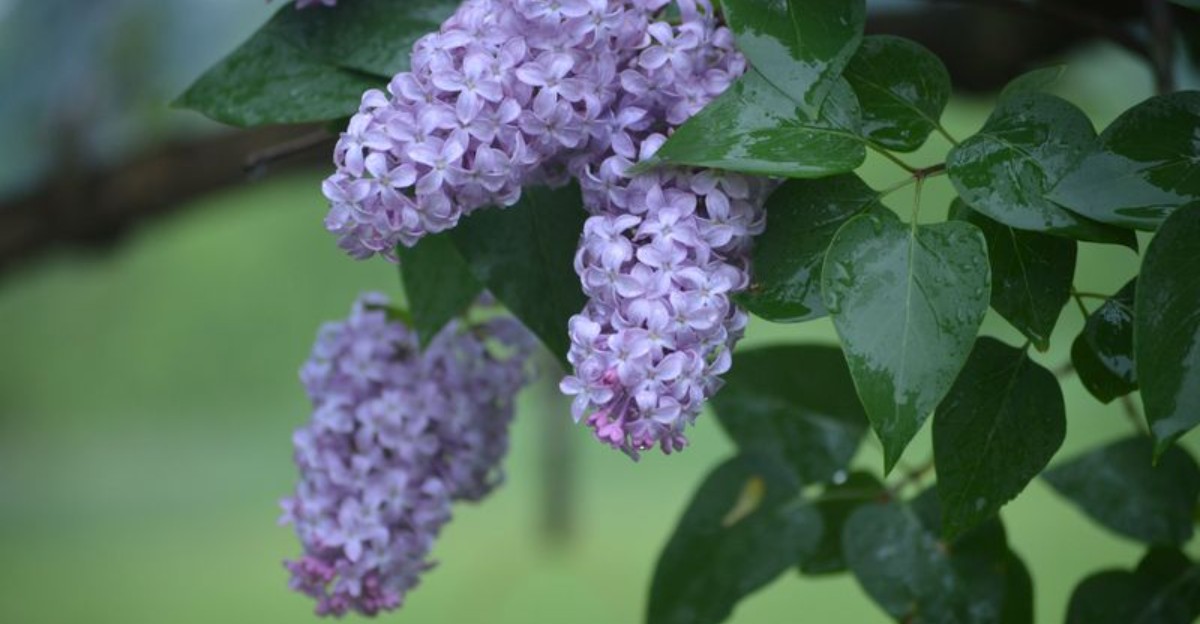
That sweet purple scent drifting through your yard in May starts with what you do in fall. Lilacs set next spring’s flower buds soon after flowering, so what you do now can affect the display waiting for you next May.
Across Virginia, gardeners sometimes end up with just a few blooms instead of those big, fragrant clusters. The problem can be as simple as fallen leaves left around the shrub, dry roots, or pruning at the wrong time.
Luckily, fall lilac care doesn’t take much time. A rake, some mulch, and an afternoon are usually enough to give your shrub a better start for next spring.
Clear Away Spent Foliage Around Your Lilac Before Winter
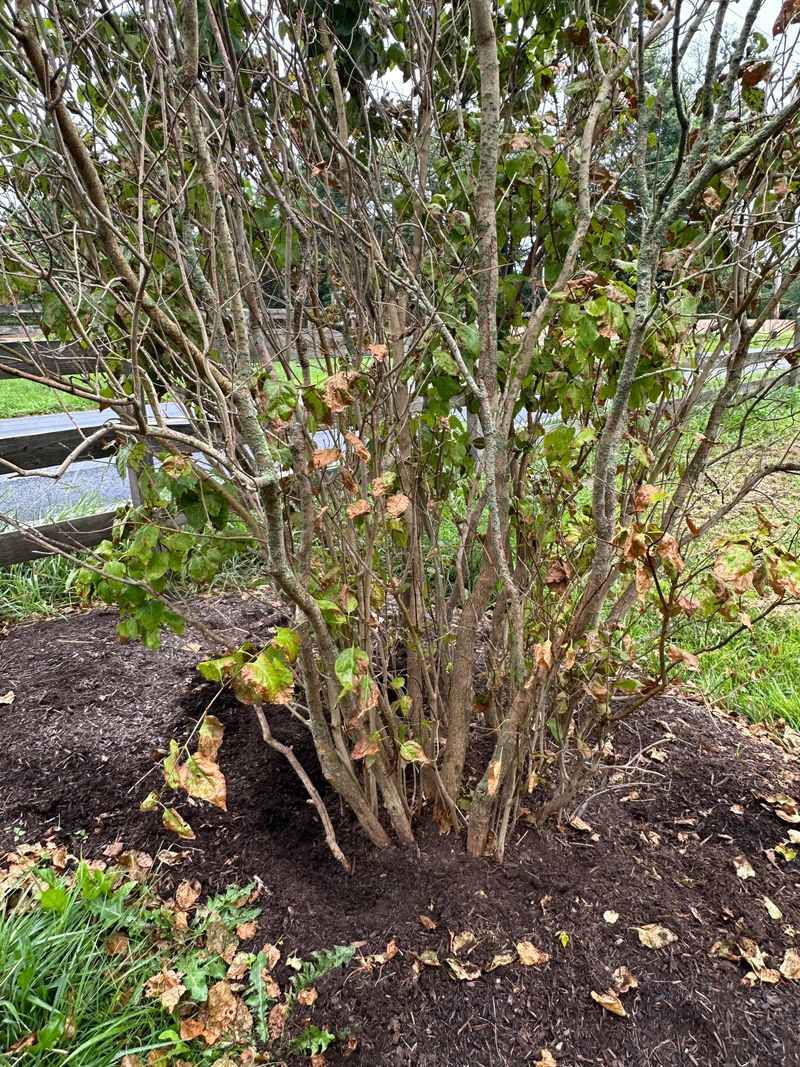
Those tired yellow leaves piling up under your shrub look harmless. In reality, they can be a storage locker for fungal spores waiting out the winter.
Leaf spot diseases such as Septoria and Pseudocercospora can persist in infected plant debris. Raking up fallen leaves and removing diseased material reduces the amount of fungal inoculum available for new infections in spring.
Raking and removing every leaf from beneath the plant cuts down the chance of reinfection when spring rains start splashing spores back onto fresh growth. Get right up against the trunk, where wet leaves like to mat down and stay damp.
Don’t toss that material into your compost pile if it looked diseased this year. Bag it or burn it where local rules allow, since backyard compost rarely heats enough to handle stubborn fungal spores.
Humid summers make leaf spot a regular guest, especially in the coastal plain around Norfolk and Virginia Beach. Gardeners there often see leaves yellow, brown, and drop early, which is a signal to be extra thorough with cleanup.
While you rake, pick up any faded flower heads that fell during summer. While you rake, remove any obviously diseased plant material and fallen debris that could harbor fungal pathogens.
Finish by giving the whole area a quick once-over with a leaf blower or stiff broom. A clean, tidy root zone heading into December sets the stage for healthier leaves and fuller flower trusses when May rolls around.
Check Leaves For Powdery Mildew And Other Signs Of Stress
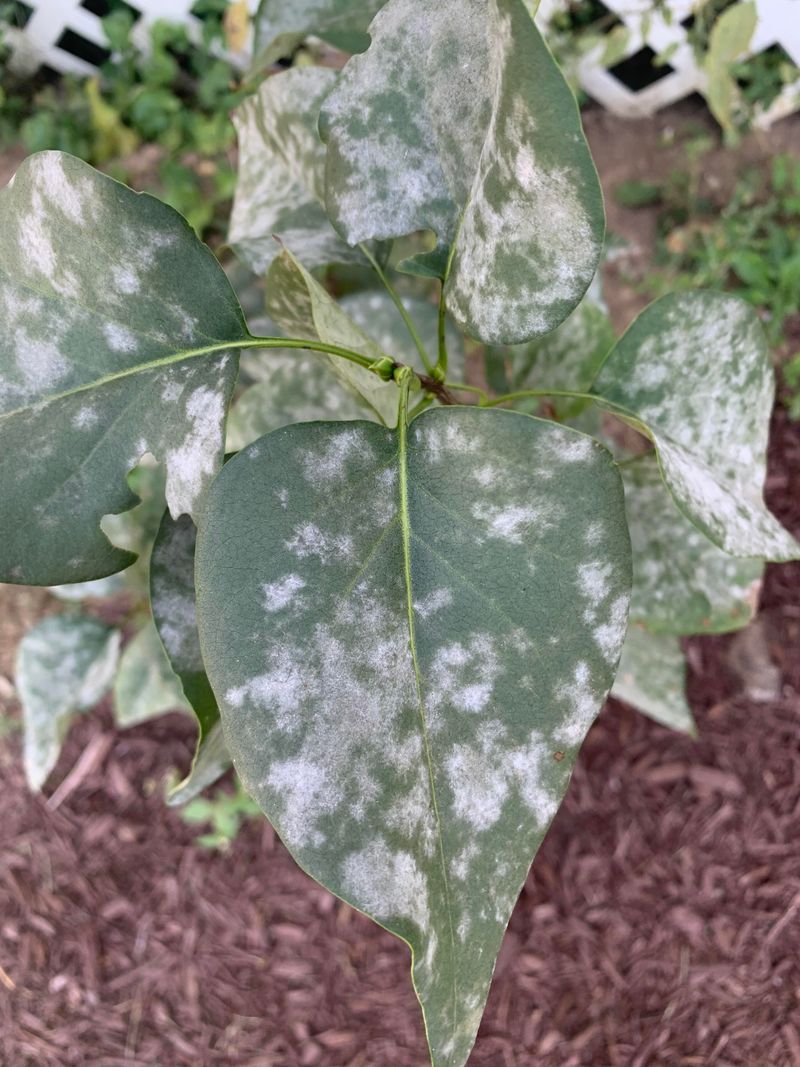
Ever notice your lilac looking like someone dusted it with powdered sugar in late summer? That white coating is powdery mildew, and common lilacs (Syringa vulgaris) catch it constantly.
Cool nights paired with warm days create the perfect setup, and shrubs sitting in dense shade get hit hardest. The good news is that powdery mildew rarely causes serious harm, so don’t panic when you spot it.
Keeping your plant in at least six hours of direct sun each day is the simplest prevention trick there is. If powdery mildew returns next season and treatment is warranted, fungicides work best when applied preventively or at the earliest signs of infection, following the product label.
While your eyes are on the foliage, look for small dark brown or black spots ringed with a yellow halo. Those point to bacterial leaf spot or bacterial leaf blight, which can spread and blacken whole leaves along with shoots, buds, and flowers.
Your Virginia Garden Changes Every Week. Your Plan Should Too.
Gardening in Virginia changes quickly throughout the season. Every Friday you’ll receive a simple weekly plan showing exactly what to plant, prune, fertilize, harvest, and protect so you never miss the right timing.
Verticillium wilt deserves your attention too. Branches turn brown and decline suddenly because the fungus blocks the plant’s plumbing, stopping water and nutrients from moving upward.
Verticillium wilt has no practical cure once a shrub is systemically infected. Because several problems can cause similar symptoms, confirm the diagnosis before deciding whether removal is necessary.
Sanitation, meaning that leaf cleanup you just did, helps keep other diseases milder.
Humidity across central Virginia, especially around Charlottesville and the Piedmont, keeps these issues on the radar most years. A five-minute inspection each fall gives you a head start on whatever needs fixing before bud season arrives.
Inspect Older Branches For Weak Or Damaged Growth
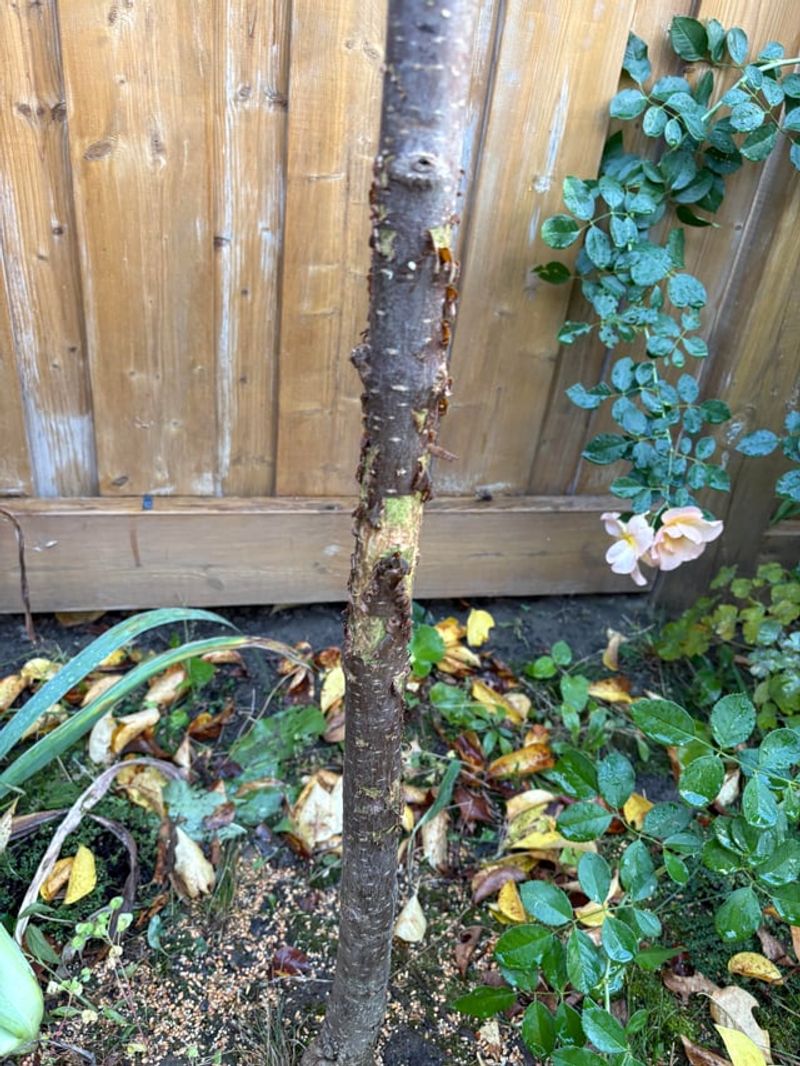
Old lilac wood tells stories. Run your hand along the thicker gray stems and you’ll feel cracks, loose bark, and the occasional hollow spot where trouble started.
Fall is a fine moment to take out branches that are broken, damaged, or clearly diseased. Major shaping should wait, but safety cuts and health cuts are fair game right now.
Lilac borers are worth hunting for specifically. These pests tunnel into stems, leaving small round holes, sawdust-like frass, and branches that weaken or decline for no obvious reason.
Cut infested wood back to healthy tissue and get it out of the garden. Leaving it leaning against the fence just invites next year’s generation to move back in.
Branches that cross and rub each other also deserve attention. Removing them opens up the interior so breezes can move through, and better airflow means fungal spores have a harder time settling in.
Clean your pruners with rubbing alcohol between cuts, particularly if you suspect disease. It takes seconds and prevents spreading problems from one stem to the next.
Older shrubs in places like Roanoke and the Blue Ridge foothills often carry decades of accumulated damage from ice storms and heavy snow. A yearly once-over keeps those veterans productive instead of letting them slowly thin out.
Keep the cuts limited and purposeful. Your goal is removing problems, not reshaping the whole plant, since that job belongs to early summer right after flowering wraps up.
Give Your Lilac Enough Sunlight For Better Flower Production
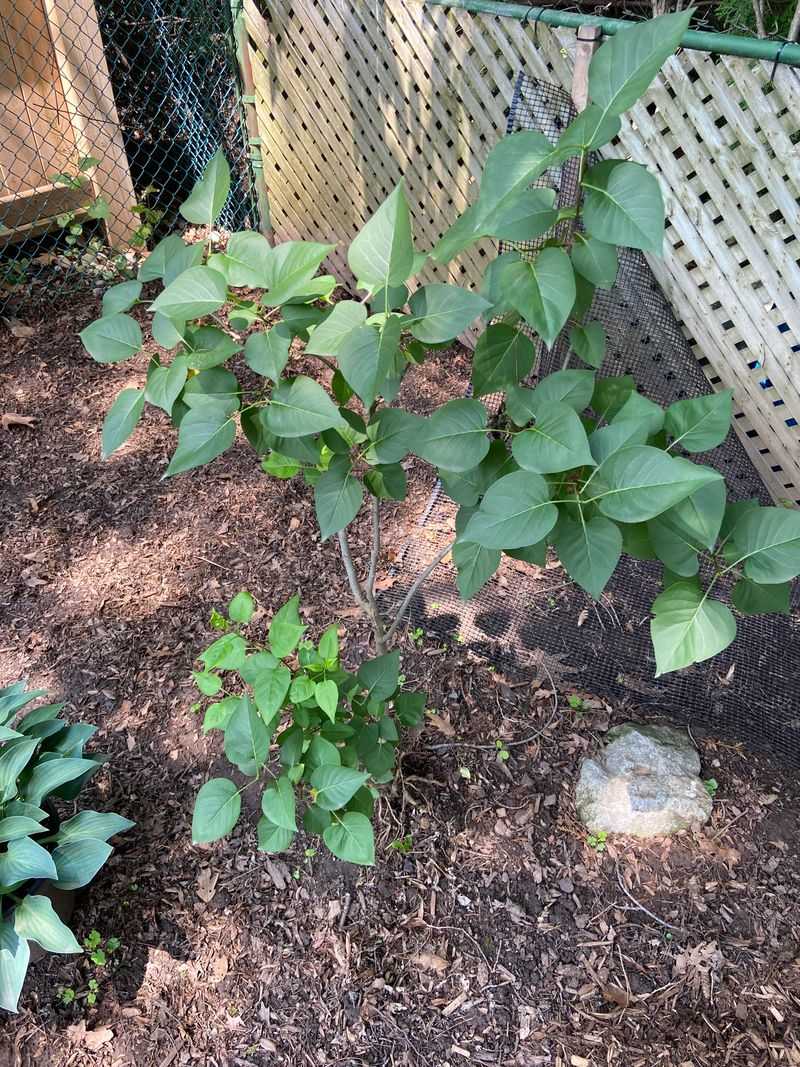
Sunlight is the currency lilacs spend on flowers. Skimp on it and you get a leafy green shrub with almost nothing to sniff in spring.
Six hours of direct sun per day is the baseline most experts point to for strong flowering. Eight is even better if your yard allows it.
Plants tucked into partial sun or shade tend to bloom poorly or skip the show entirely. Homeowners often blame soil or fertilizer when the real culprit is a maple that grew twenty feet since the lilac went in.
Autumn is the smartest time to measure light because you can see exactly which trees are casting shade. Walk out at nine in the morning, again at noon, and once more at three, then note where shadows fall.
If a neighboring limb is stealing the show, fall and winter are good windows for thinning that tree. Removing a few branches can rescue a lilac that has sulked for years.
Sunnier spots also stay drier, and that reduces powdery mildew significantly. Dense shade holds humidity against the leaves, which fungus loves.
Should your shrub be hopelessly shaded, consider transplanting it while it’s dormant. If a young lilac needs to be moved, transplanting during dormancy can work, but choose a cool, well-drained site with plenty of sun.
Airflow matters alongside light. An open, sunny location gets breezes that dry foliage quickly, giving you healthier leaves and noticeably heavier bloom clusters come next May.
Check Soil Moisture Before The Ground Starts Cooling
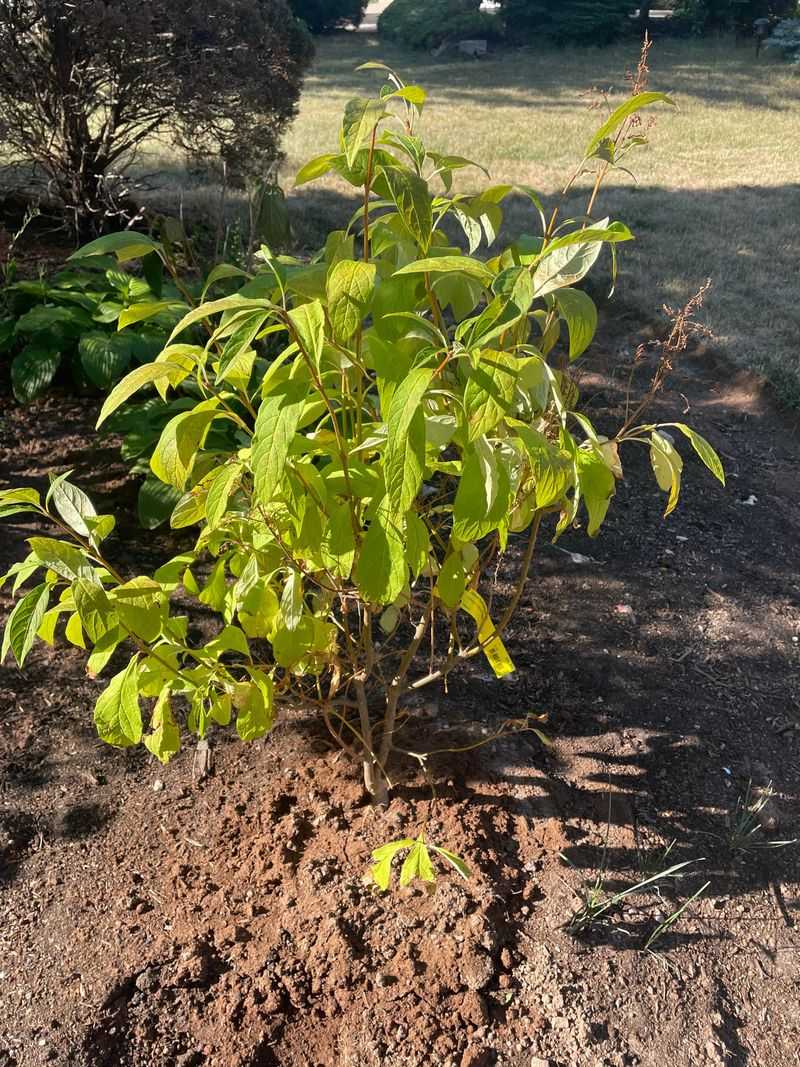
Roots keep working long after the leaves drop. Water they soak up this fall becomes the energy behind next spring’s fragrance.
Established lilacs tolerate some drought, but check the soil during dry autumn stretches and water deeply when the root zone becomes noticeably dry. Autumns swing wildly, so some Octobers hand you plenty while others go bone dry for weeks.
Check by pushing your finger two inches into the soil near the drip line. Damp and cool is what you want, not muddy and not dusty.
Soggy ground is actually the bigger danger. Lilacs strongly dislike wet feet, and waterlogged soil pushes out oxygen, which suffocates roots and leads to wilting or pale, yellowing leaves.
Underwatering shows up differently, with limp leaves and drooping stems that perk up after a good soak. Learning the difference saves a lot of guesswork.
Newly planted shrubs need closer attention. Water them whenever the top inch of soil feels dry, which usually means once or twice weekly through fall.
Give a deep, slow soak rather than a quick sprinkle. Let the hose trickle at the base for fifteen or twenty minutes so moisture reaches down where the real roots live.
Keep watering until the ground starts to freeze, usually late November or December depending on where you are in Virginia. Gardeners in the mountains near Harrisonburg wrap up earlier than folks in Hampton Roads.
One final soak before hard frost arrives is the kindest send-off you can give a lilac heading into winter.
Skip Late Fall Fertilizer That Can Trigger Tender New Growth
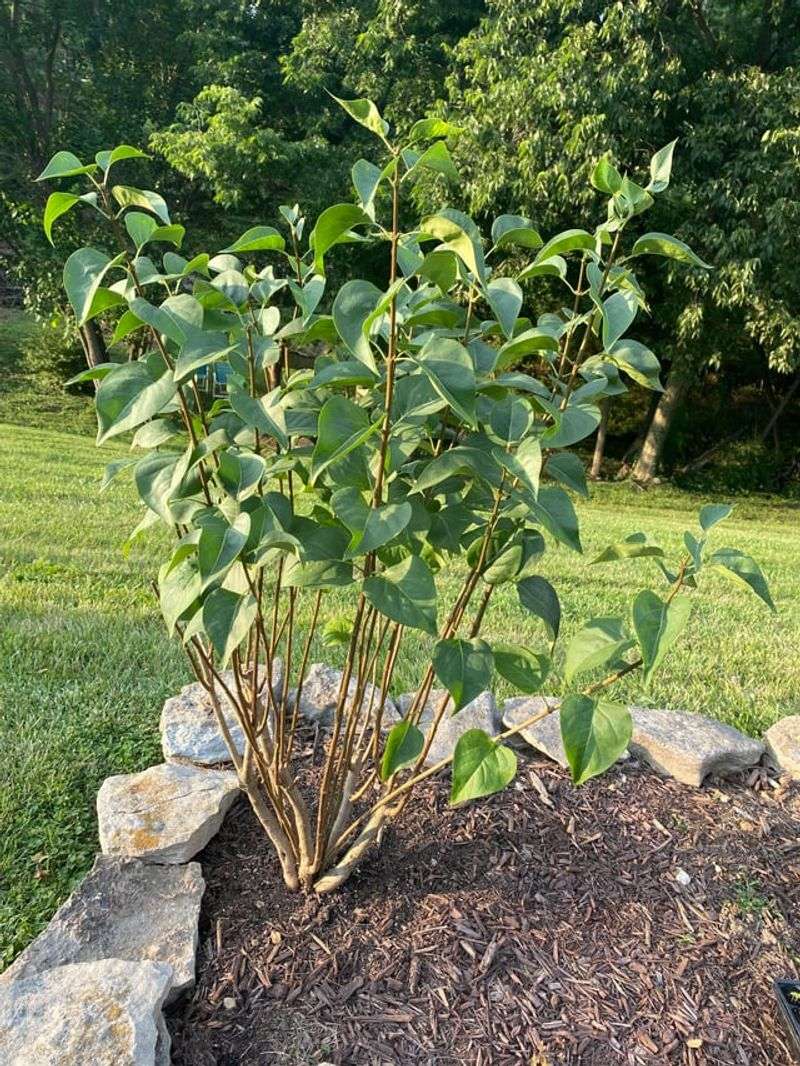
Here’s a tip that saves money: put the fertilizer bag back on the shelf. Lilacs are famously undemanding feeders, and late fall is the worst time to hand them a snack.
Feeding now can wake the plant up and push out soft, tender shoots. Those shoots have no time to toughen before cold weather arrives, and winter damage follows.
High-nitrogen products cause a second problem. They encourage lush leaf growth at the direct expense of flower buds, which is the opposite of what you’re after.
Early spring, right before new growth breaks, is the sweet spot for feeding. If a soil test shows that fertilizer is needed, apply an appropriate balanced fertilizer in early spring according to the soil-test recommendations and product label.
Some sources allow granular or stake fertilizers after full leaf drop, but the safer bet leans toward waiting. Spring feeding carries far less risk of triggering growth at the wrong moment.
Compost is a different story and always welcome. A thin layer spread over the root zone in fall breaks down slowly and improves soil without shocking the plant into action.
Soil pH deserves a mention here. Lilacs prefer slightly alkaline conditions, and much of the state’s clay soil runs acidic, so a simple soil test through your local extension office can be eye-opening.
Lime, applied based on those test results, often does more for bloom quality than any bag of plant food ever will.
Remove Suckers That Compete With The Main Lilac Plant
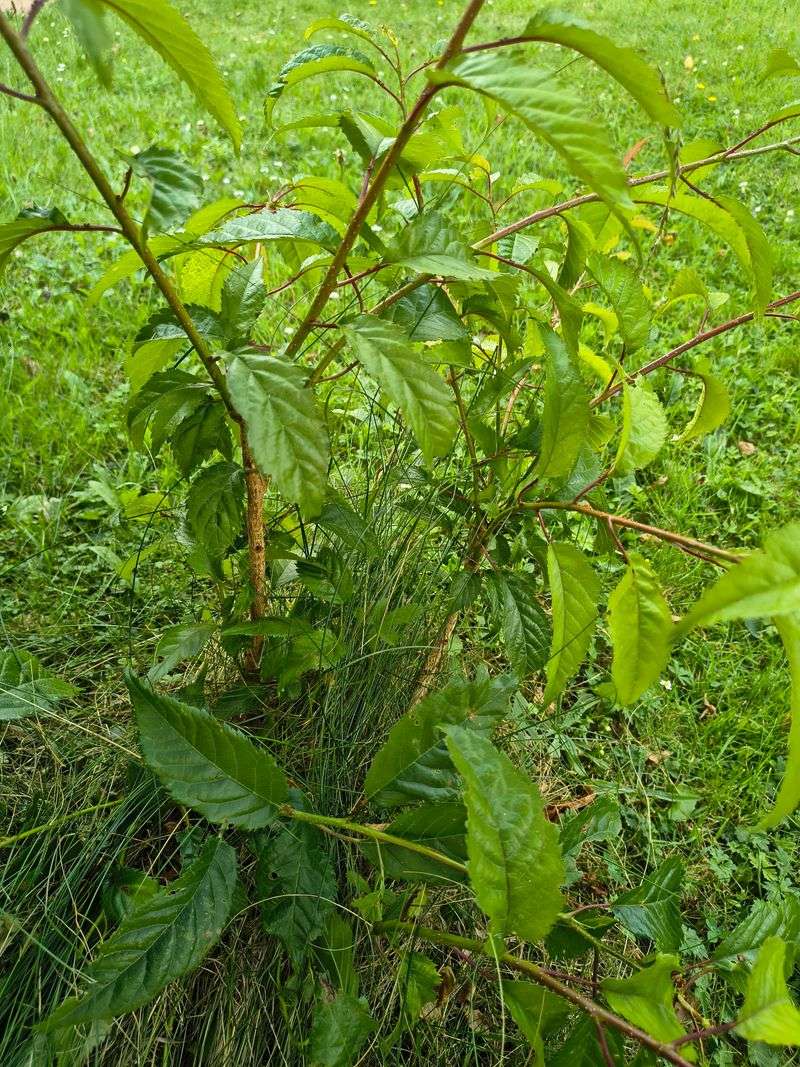
Common lilacs have a habit that drives tidy gardeners a little crazy. They send up skinny shoots from the roots, sometimes a foot or two from the main stems.
Those shoots are called suckers, and they siphon energy the shrub could be spending on flowers. Left alone, they turn one graceful plant into a crowded thicket.
Pulling beats cutting every time. Tearing a sucker off as close to its root origin as possible takes the dormant buds at the base with it, which slows regrowth considerably.
Digging down to expose where the sucker joins the root makes the job cleaner. Scrape away an inch or two of soil, grip low, and give a firm sideways tug.
Snipping at ground level feels easier but usually backfires. Those hidden buds respond by sending up two or three replacements within weeks.
During the growing season, plan on checking every two to four weeks. Fall and early spring are ideal for digging suckers up with roots attached if you want to replant them.
That last point is worth savoring. Many heirloom lilacs across Virginia, including ones growing at historic homesteads, were shared from generation to generation as dug suckers rather than bought plants.
Pot one up for a neighbor or start a hedge along the property line. You get a tidier parent shrub, better blooms, and a free plant with a story attached.
Add A Protective Mulch Layer Around The Root Zone
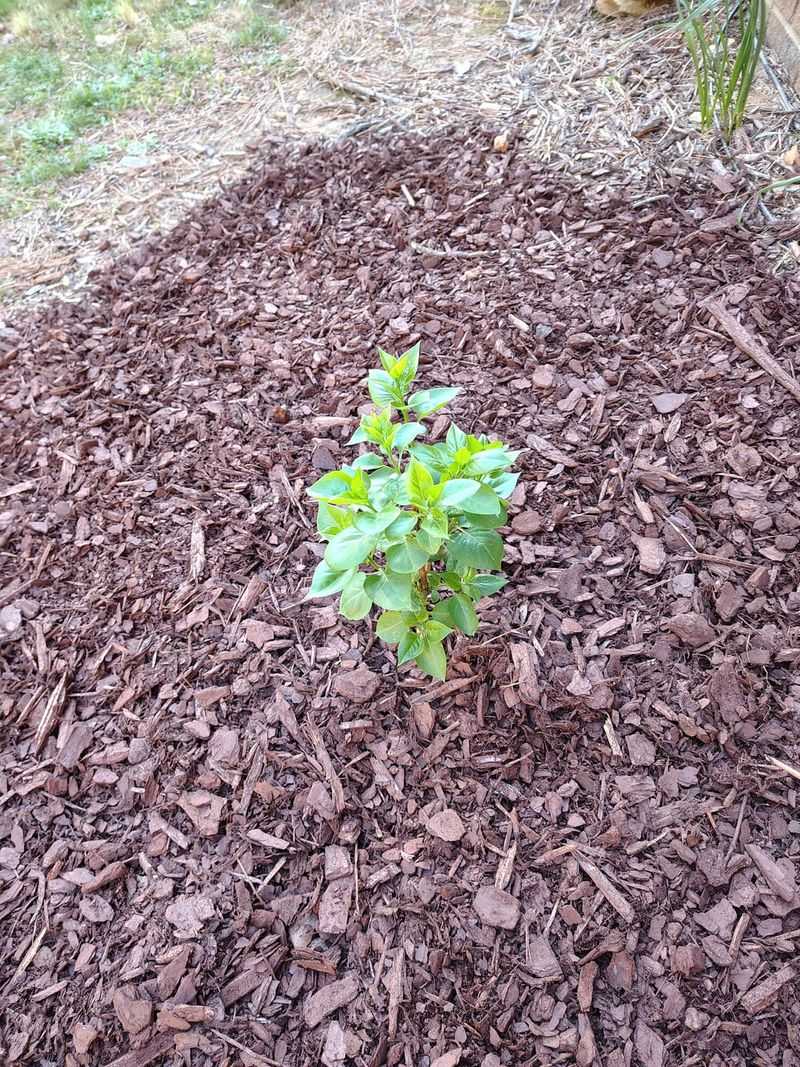
Mulch is the closest thing a lilac gets to a winter blanket. Spread it in fall and the roots underneath ride out January in far better shape.
Insulation is the main benefit. Mulch buffers those wild temperature swings Virginia winters love, where a 65-degree Tuesday flips to 20 degrees by Thursday.
Frost heave is the specific problem you’re preventing. Repeated freezing and thawing can push soil upward and leave roots exposed to biting cold.
Moisture retention comes next. Winter can be surprisingly dry, and a good mulch layer keeps roots from drying out during those long stretches without rain or snow.
Weeds get discouraged too, which means less competition for water and nutrients come spring. Fewer weeds also means less hand-pulling for you in April.
Organic materials work best: hardwood bark, wood chips, shredded leaves, or finished compost. They break down gradually, improving soil structure and adding nutrients as they go.
Apply a few inches of organic mulch over the root zone, keeping it several inches away from the main stems. Clear away grass and weeds first so you’re not mulching over problems.
Keep the material pulled back a few inches from the main stems. Piling mulch against bark traps moisture and invites rot along with rodents looking for a cozy tunnel.
Shredded leaves from your own yard are free and effective, assuming they came from healthy trees. Skip anything raked from under a diseased lilac, for obvious reasons.
Avoid Fall Pruning That Can Remove Next Spring’s Flower Buds
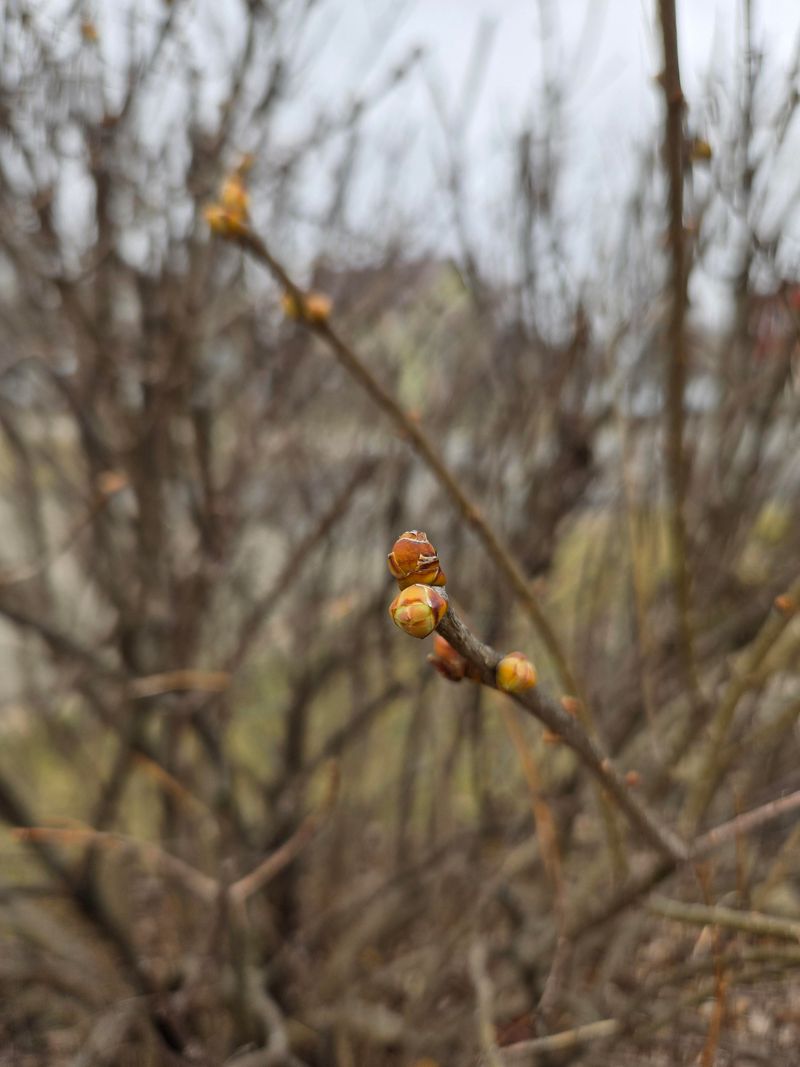
If there’s one mistake that costs gardeners their spring bloom, it’s autumn pruning. Those shears feel productive, but they can undo a whole year of the plant’s work.
Lilacs flower on old wood, meaning the buds for next spring’s flowers form after the current season’s bloom and remain on the branches through winter. Look closely at your branch tips, and you’ll see them sitting there, plump and ready.
Cutting now removes those buds outright. Trim a lot and you might get no flowers at all next season, no matter how well you handled everything else.
The right window opens immediately after blooming finishes in spring or early summer. Prune then and the shrub has all summer to build fresh buds for the following year.
Removing spent blossoms right after they fade is another spring job worth doing. It redirects energy from seed production into bud formation.
Health-related cuts remain acceptable in fall, as mentioned earlier. Broken, damaged, or diseased wood should come out whenever you find it, regardless of the calendar.
The difference is intent. You’re solving problems, not shaping the silhouette or shortening branches you think look too tall.
Rejuvenation pruning on overgrown old lilacs, the kind that takes out a third of the oldest stems, belongs to late winter or right after flowering depending on your approach. Fall is simply the wrong season for it.
Tuck the loppers away until June and let those buds do their thing.