The Garlic Planting Tips Virginia Gardeners Should Get Right Now
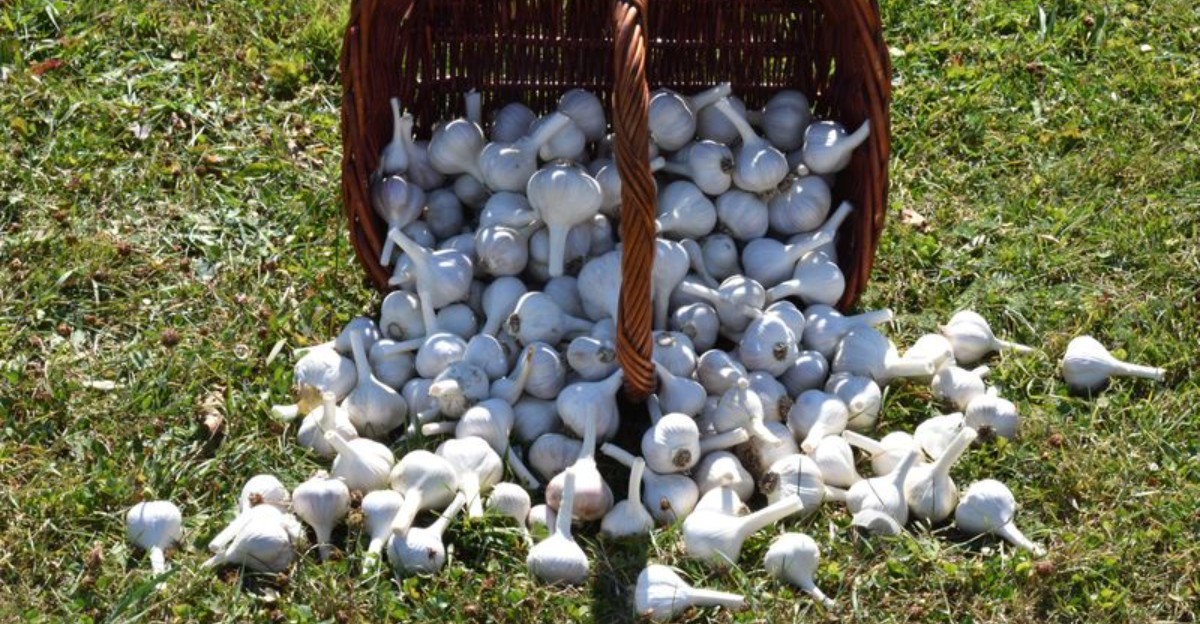
Fall is one of the busiest times of year for garlic growers. While tomato vines fade and leaves pile up, the soil stays warm enough for cloves to settle in and grow roots.
Virginia gardeners have a useful planting window in fall, with timing depending on location. Garlic planted at the right time can establish roots before winter, then resume growth in spring and form full bulbs by early summer.
Getting the details right matters. Garlic needs good soil, plenty of sun, enough space, and protection from harsh winter swings.
Give the cloves a strong start now, and next summer’s harvest can be well worth the effort. The key is getting them into the ground before cold weather makes planting difficult.
1. Choose Large Healthy Garlic Bulbs For Planting
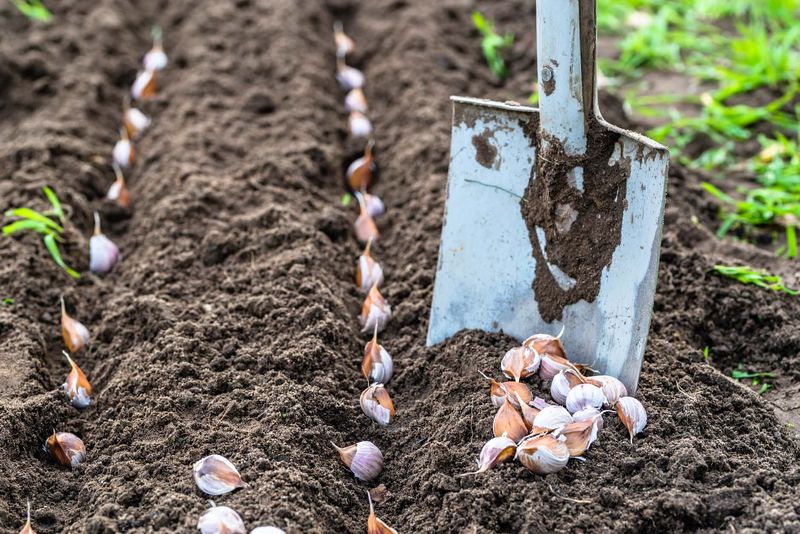
Big cloves lead to big bulbs, and that one rule shapes your entire garlic harvest. Start by picking seed bulbs that feel firm, smooth, and heavy in your hand.
Skip anything soft, moldy, or shriveled, since weak cloves rarely bounce back once planted. Healthy seed garlic looks fresh, with papery wrappers still wrapped snugly around each clove.
Grocery store garlic can be treated to slow sprouting, which makes it a gamble. Buying from a local garden center or a trusted online grower gives far better results.
Hardneck types handle cold well, so they can be a good choice for colder parts of Virginia. Music and Chesnok Red are two popular hardneck varieties with bold flavor.
Softneck garlic can also grow well in milder areas. Inchelium Red and Messidor braid nicely and store for many months in a cool pantry.
Fun fact: hardneck garlic sends up a curly scape in late spring. Those scapes taste wonderful in pesto, so you get a bonus crop before harvest.
Buy a little extra seed garlic, because a few cloves usually turn out too small. Cook those instead of planting them, and save your best cloves for the bed.
Keep purchased bulbs in a cool, dry spot until planting day arrives in fall. Good storage keeps them plump, and plump cloves push roots quickly once tucked into soil.
Label each variety as you buy it, since cloves look similar once separated. Notes now save confusion next July when you compare sizes and flavors.
2. Prepare A Sunny Bed With Well Drained Soil
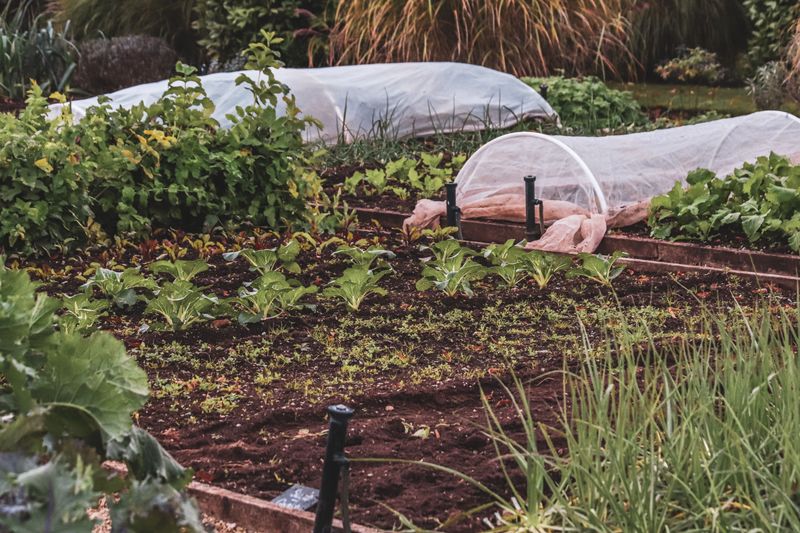
Sunlight does the heavy lifting here, turning green leaves into fat underground bulbs. Pick a bed that soaks up six to eight hours of direct sun daily.
Shady corners can still grow garlic, though bulbs usually end up smaller and milder. If your yard has one bright strip, that strip belongs to your garlic.
Drainage matters just as much as light, because soggy ground invites bulb rot. Garlic prefers deep, loose loam where air and water move freely around the roots.
Soils across Virginia swing from sticky red clay to fast draining sand near the coast. Both types can work once you loosen them and fix how water behaves.
Your Virginia Garden Changes Every Week. Your Plan Should Too.
Gardening in Virginia changes quickly throughout the season. Every Friday you’ll receive a simple weekly plan showing exactly what to plant, prune, fertilize, harvest, and protect so you never miss the right timing.
Clay-heavy gardeners can get better results from raised beds when drainage is poor. Raised beds warm sooner, drain faster, and keep cloves above winter puddles.
A quick test helps: fill a hole with water and watch how fast it empties. Water sitting for hours signals trouble, so plan on raising the bed instead.
Aim for a soil pH between 6.2 and 6.5 for good garlic growth. A cheap test kit from any garden shop answers that question in minutes.
Loosen the top eight inches with a fork, breaking clods as you go. Crumbly soil lets young roots spread wide rather than fighting through hard lumps.
Clear old roots, rocks, and stubborn weeds before you plant a single clove. Ten minutes of cleanup now saves hours of pulling later in spring.
Mark the bed edges with stakes so you remember where garlic sleeps. Winter beds look bare, and stray digging disturbs resting cloves.
3. Add Organic Matter Before Planting
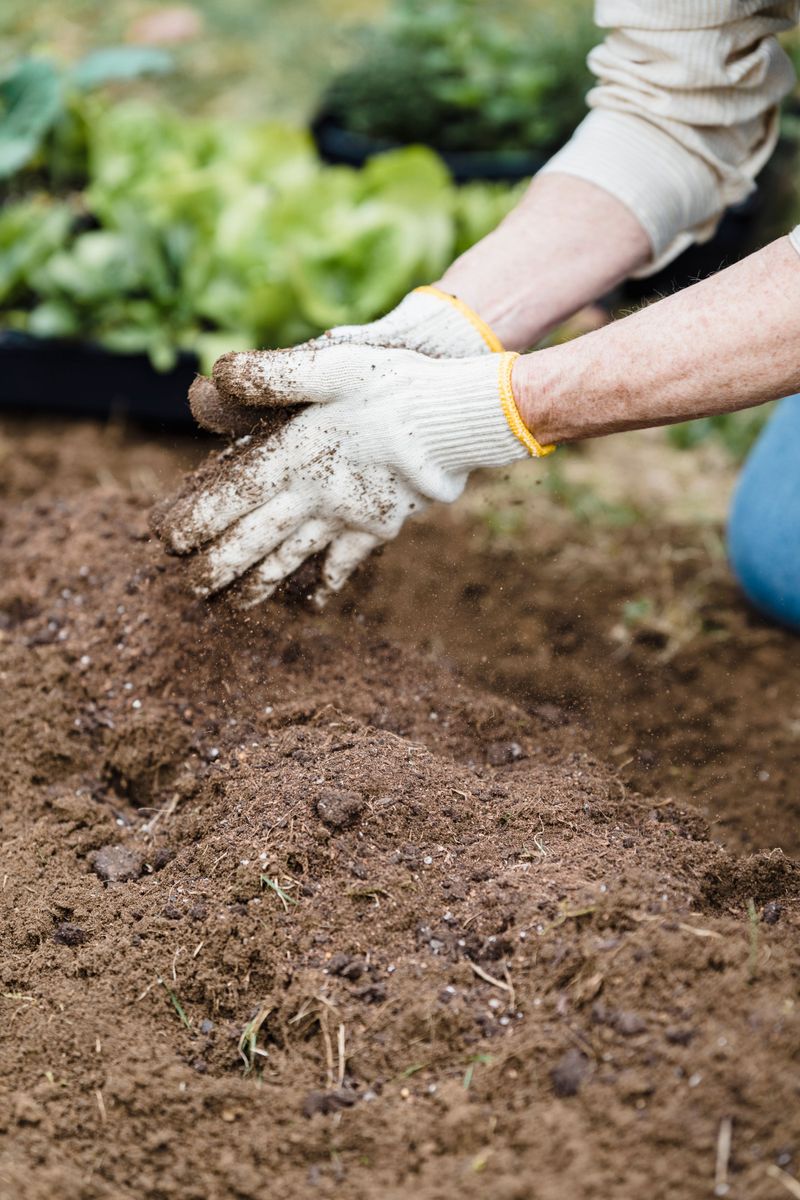
Garlic eats a lot for such a small plant, staying in the ground nine months. Feeding the soil first beats scrambling with fertilizer later.
Compost is the easiest place to start, adding nutrients and improving how soil holds water. Spread two or three inches over the bed before you turn it under.
Well rotted manure works nicely too, though fresh manure can burn tender roots. Let manure compost thoroughly before it goes into your planting bed.
Worm castings, leaf mold, and dairy compost each bring different helpful microbes along. Mixing two sources usually beats relying on a single ingredient year after year.
Work everything into the top six to eight inches using a fork or tiller. Blended soil feeds evenly instead of leaving rich pockets and hungry gaps.
Clay heavy garden beds respond especially well to a yearly dose of organic matter. Over time, sticky ground loosens and starts crumbling like chocolate cake.
A balanced fertilizer can give cloves a boost at planting. Use a soil test to guide fertilizer needs, then provide additional fertilizer when bulb enlargement begins.
Autumn leaves shredded with a mower make free organic matter most yards already produce. Pile them on, let them break down, and your wallet stays happy.
Go easy with heavy nitrogen very late in the season, which pushes soft growth. Balance beats excess, and garlic rewards steady feeding with plump, layered bulbs.
Water the amended bed lightly and let it settle for a day. Settled soil makes planting depth easier to judge clove by clove.
4. Separate Cloves Right Before They Go In
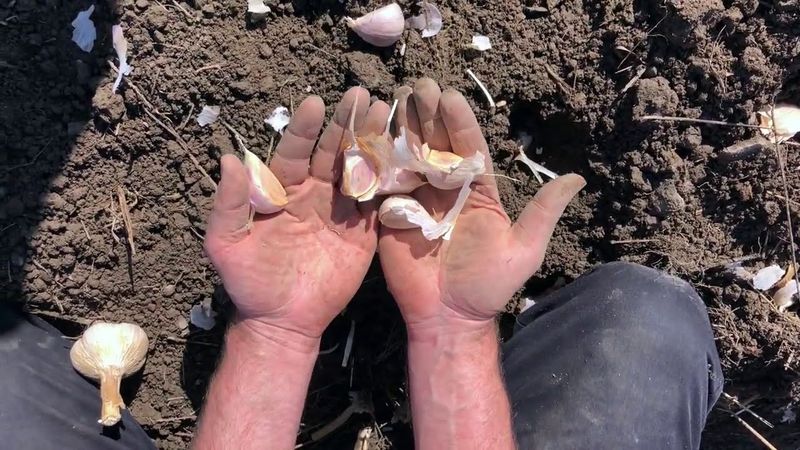
Patience pays off with a funny twist here: waiting to crack bulbs helps yields. Break bulbs apart on planting day, not a week earlier.
Each clove wears a papery jacket that guards against drying and disease. Popping bulbs too soon strips that protection and invites problems.
Press your thumbs gently against the base and let the cloves fall loose. Rough handling can bruise the flat root plate, slowing root growth.
Sort as you separate, keeping the biggest and firmest cloves for the garden. Big cloves carry more stored energy, which usually means wider bulbs at harvest.
Tiny inner cloves still taste great, so send them straight to the kitchen. Roasting a pan of them while you plant feels like a fair trade.
Leave the skins on every clove you plan to tuck into soil. Peeling exposes soft tissue and raises the chance of rot underground.
Toss anything with bruises, soft spots, or blue green mold into the compost. One questionable clove is not worth risking a whole row.
Keep separated cloves in a shallow bowl and plant within a few hours. Sitting overnight dries the root plate and slows the start you want.
A typical bulb yields four to eight plantable cloves depending on the variety. Count before you dig, so your spacing plan matches what you actually have.
Hardneck bulbs give fewer but chunkier cloves, while softnecks offer many smaller ones. Knowing that difference helps you guess how many rows you can fill.
Work in shade on planting day, since sun dries exposed cloves quickly. A cool porch step makes a fine sorting station.
5. Plant Each Clove Pointy Side Up
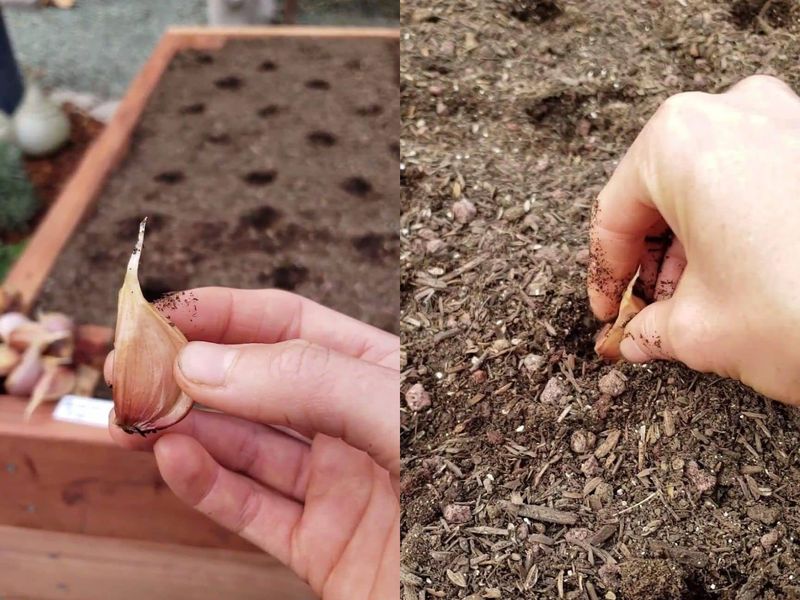
Direction matters more than most beginners expect when cloves go into the ground. Point the tip skyward and set the flat root end down.
The flat base holds the root plate, the spot where white roots emerge. Roots head down, shoots head up, and correct placement saves the plant effort.
A sideways clove often still sprouts, though the neck may curve oddly. Bent necks can produce lopsided bulbs that are harder to clean and braid.
Check each clove in your palm before setting it into its hole. The pointed end feels narrow, while the base feels flat and slightly rough.
Use a dibber, a stick, or your finger to make each planting hole. Consistent holes keep the whole row growing at a similar pace.
Firm the soil gently around each clove so no air pockets remain. Good contact between soil and root plate speeds up rooting before winter.
Planting in straight rows helps you spot which side is up as you work. Rhythm builds fast, and a small bed goes in within half an hour.
If a clove loses its skin during handling, plant it anyway but expect less. Naked cloves sprout, though they face more trouble in wet soil.
Kids love this job because the rule is so easy to follow. Hand them a bowl of cloves and let them practice pointing tips upward.
Fall planting suits most Virginia gardens, but the best window depends on your location. In warmer areas, planting can extend into November.
6. Give Garlic Enough Room To Form Bulbs
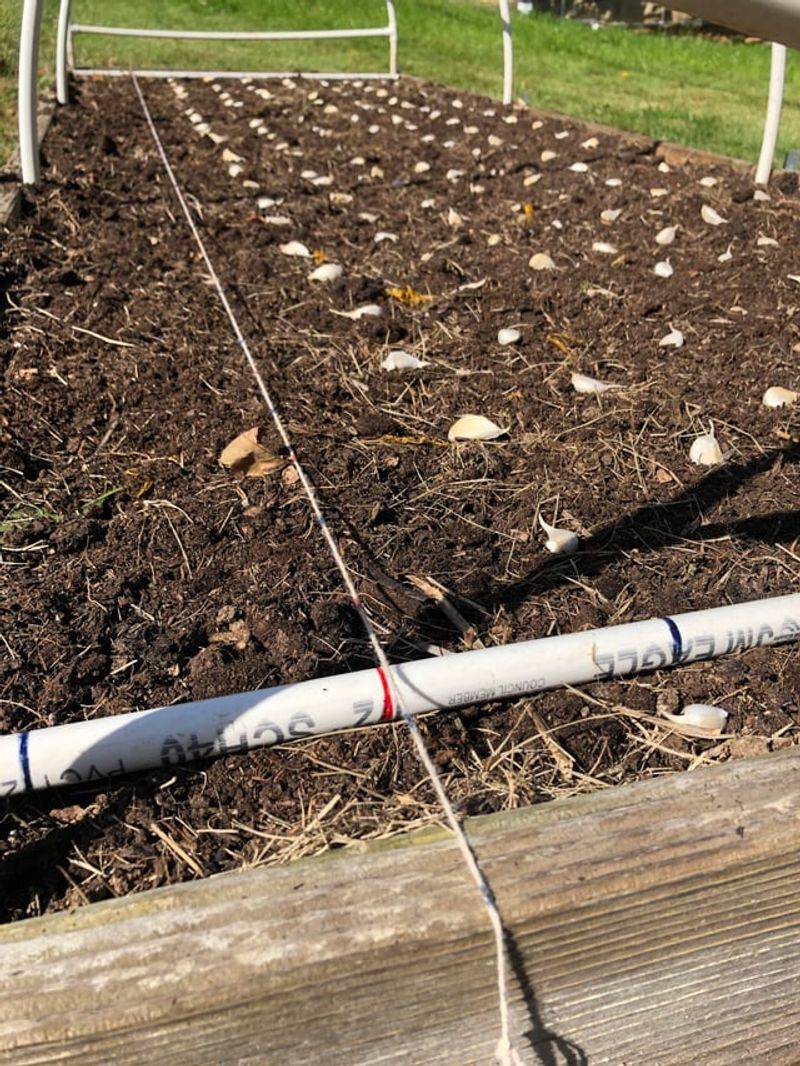
Crowded garlic behaves like crowded seating: everyone shrinks to fit. Space cloves four to six inches apart so each one can swell freely.
Rows work best at twelve inches apart, and wider rows make weeding easier. Some gardeners stretch rows to two feet for comfortable hoeing room.
Wide row planting offers another option for smaller yards and raised beds. Set cloves three to four inches apart across a band one foot wide.
That method packs a surprising harvest into limited ground without starving the plants. Many community garden plots use it to stretch every square foot.
Tight spacing usually shows up at harvest as disappointing marble sized bulbs. Extra inches cost nothing now and pay you back in pounds later.
Leave a walking path every few rows so you never step on the bed. Compacted soil squeezes roots and makes bulbs work harder to expand.
Sketch your layout on paper before planting, especially with several varieties involved. A simple map keeps names straight when you dig everything next summer.
Garlic pairs well beside spinach or lettuce planted in nearby beds come spring. Just keep those neighbors from shading your garlic leaves during long days.
Count your cloves and measure the bed before the first hole gets dug. Running out of space halfway through planting is a frustrating surprise.
Mark rows with string for tidy lines that simplify mulching and watering. Neat rows also help you notice gaps where a clove did not sprout.
7. Cover Cloves About One Inch Deep
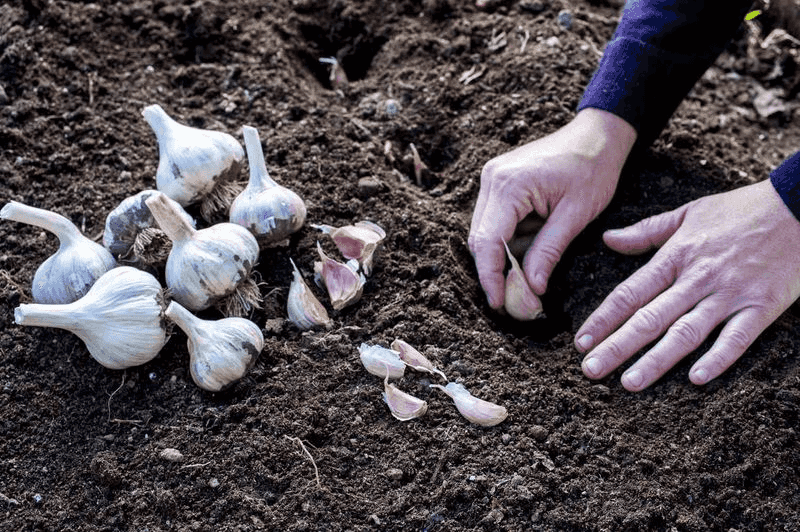
Depth sounds fussy, yet it decides whether cloves stay put through winter. Cover each clove with roughly one inch of soil after planting.
Many growers set cloves below the soil surface. Aim for about one to one and a half inches of soil over each clove.
Shallow cloves can heave upward when soil freezes and thaws repeatedly. Freeze and thaw swings visit the region often, so depth really helps.
Too deep brings its own trouble, since shoots must fight through cold soil. Slow emergence in spring can shrink final bulb size noticeably.
Rake soil over the row gently, then pat the surface with your palm. Smooth soil sheds heavy rain instead of letting water pool over cloves.
Sandy beds near the coast benefit from planting on the deeper end. Loose sand shifts easily, and extra cover keeps cloves anchored.
Clay beds do better slightly shallower, because dense soil holds more moisture. Balance depth against how quickly your ground drains after a storm.
Keep depth uniform across the bed for even sprouting next spring. Mixed depths give patchy rows that mature at different times.
A ruler or a notched stick makes depth checks quick and accurate. Guessing works, though measuring the first few holes builds a reliable habit.
Label the row with a tag showing variety and planting date. Records help you compare depths and choose what worked best next fall.
Water lightly after covering to settle soil around each clove. Settled soil hugs the root plate, encouraging roots before cold weather.
8. Water The Bed If Fall Soil Is Dry
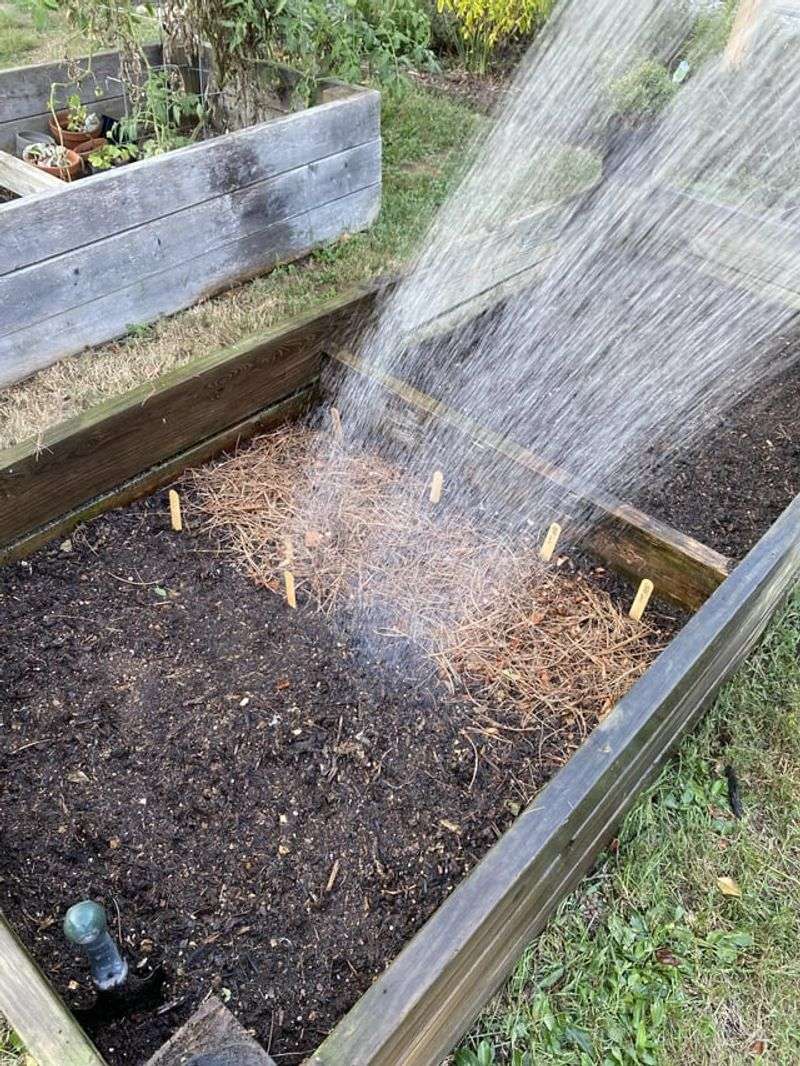
A drink right after planting does more than you might guess. Water settles soil around the cloves and wakes up the root plate.
Autumn in Virginia can turn dry, with weeks between meaningful rain showers. When that happens, water the bed about once each week.
Garlic needs consistent moisture while actively growing, but the amount of water depends on rainfall and soil conditions. A rain gauge takes the guesswork out of that measurement.
Poke a finger two inches into the soil to check moisture levels. Dry and crumbly means water, while cool and damp means wait.
Overwatering causes more trouble than slight dryness for garlic roots. Constantly soaked soil leads to rot and mushy basal plates.
Once cold weather settles in, natural rain and snow may provide enough moisture. Check the soil and avoid watering when the ground is frozen.
Sandy soil dries faster and needs shorter, more frequent watering sessions. Loam and clay hold moisture longer, so stretch the interval out.
Soaker hoses or drip lines deliver water without splashing the leaves. Dry foliage lowers the chance of fungal spots during humid spring weeks.
Growth restarts in spring, and that is when steady moisture matters most. Bulbs size up from April through June with consistent water and sun.
Ease off watering as harvest approaches so the soil is not overly wet when you lift the bulbs. Drier soil firms the wrappers and helps bulbs store for months.
Morning watering gives leaves time to dry before evening arrives. Simple timing habits protect plants without extra cost or effort.
9. Mulch Garlic Before Winter Weather Arrives
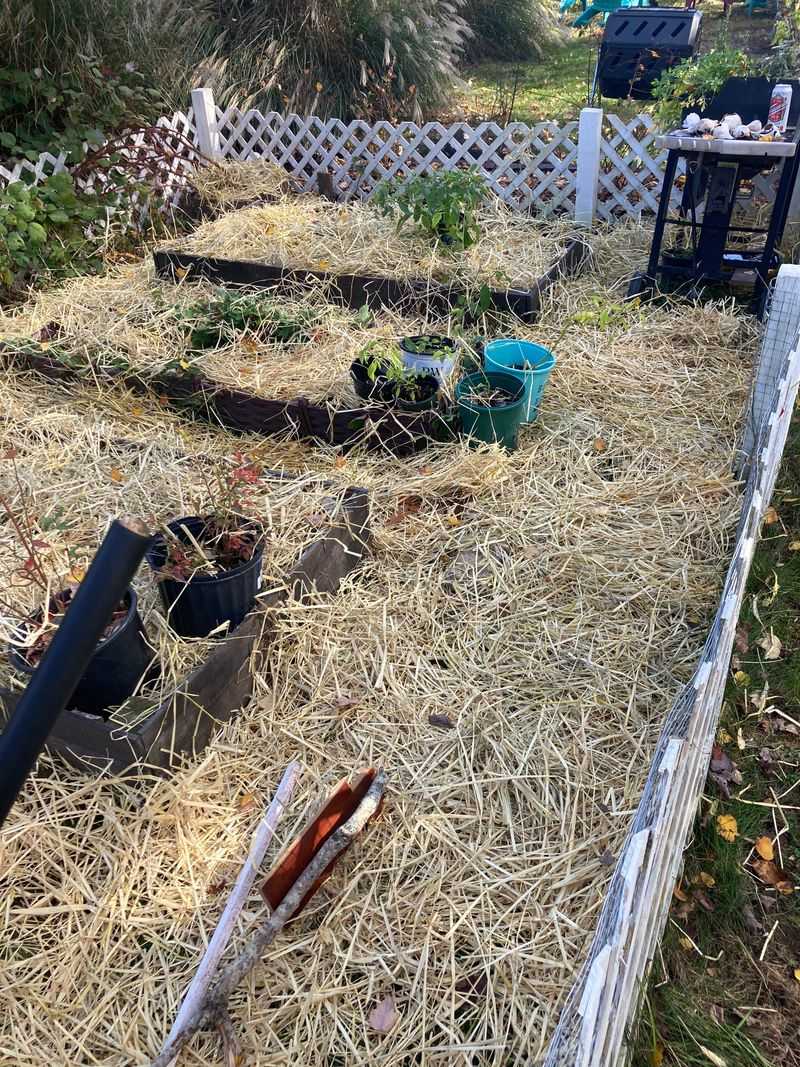
Think of mulch as a cozy blanket tucked over sleeping cloves. Spread it right after planting, well before the first hard freeze.
Straw is the classic choice at three to four inches deep. Make sure the bale carries no weed seeds before you spread it.
Shredded leaves work beautifully at two to four inches and cost nothing. Grass clippings do the job too, applied in thin, dry layers.
Mulch guards against frost heave, which pushes shallow cloves toward the surface. Roots stay anchored, and temperature swings stay gentler underground.
Moisture also lasts longer under mulch during dry winter stretches. Fewer fall weeds sprout, which saves your knees next March.
Piedmont gardens see repeated freeze and thaw cycles each winter. Mulch there is less of an option and more of a necessity.
Green shoots will push through straw on their own without help. If shoots struggle, loosen the layer a bit rather than pulling it all off.
Come spring, heavier soils can hold too much moisture beneath thick mulch. Rake some back so the ground warms and air reaches the crowns.
Leave a thinner layer in place to block weeds through harvest season. Balance keeps roots cool while letting bulbs breathe as they expand.
Avoid piling mulch against tender stems once growth takes off. A small breathing space around each shoot lowers the risk of rot.
Store extra straw under cover for topping off bare spots later. Wind moves mulch around, and a quick refill keeps coverage even.