9 Soil Tests You Should Run In Your New York Yard Before Fall Ends
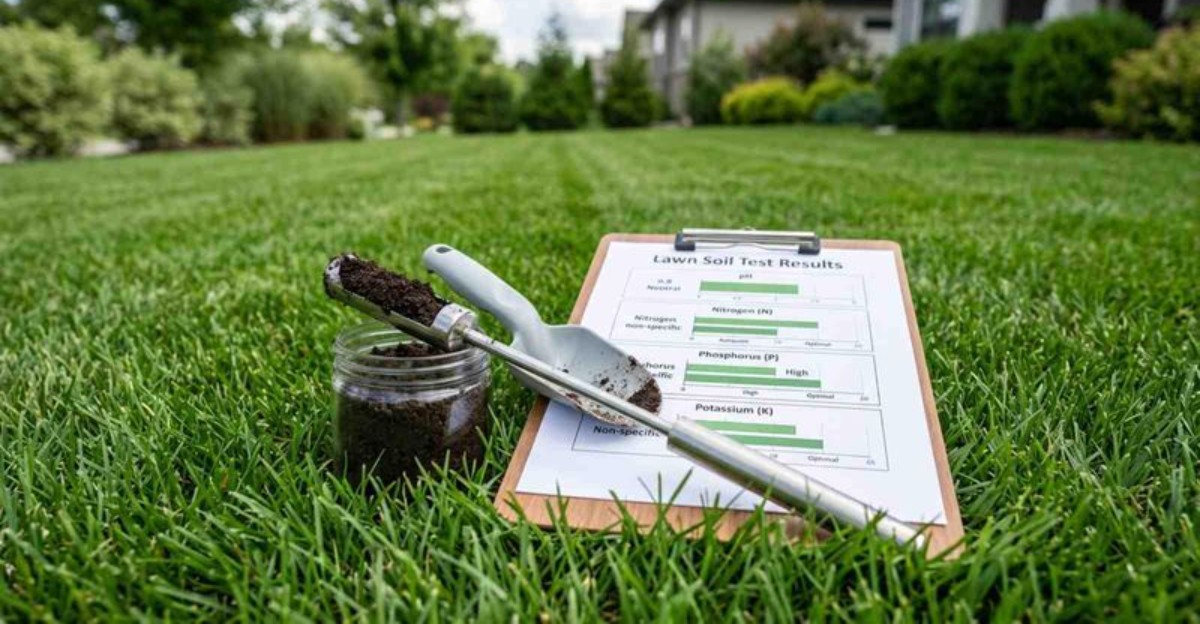
The best gardening clues in New York may be hiding under your boots. Maybe your tomatoes struggled all summer, or your hydrangeas never looked quite right.
Fall gives you a short window to find out why. A few simple tests can reveal problems with soil pH, nutrients, drainage, or compaction.
Some take minutes and basic tools. Others need a small sample sent to a lab. The answers can guide your winter soil work.
So, grab a trowel, a clean bucket, and some curiosity, because next spring’s garden starts with what’s underfoot now.
1. Start With Soil pH To See What Your Plants Can Use
Think of pH as the doorman for your soil’s pantry. If the number is off, nutrients sit there untouched while your plants go hungry.
The scale runs from 0 to 14, with 7 sitting right in the middle as neutral. Anything lower counts as acidic, and anything higher leans alkaline.
Most vegetables, lawns, and perennials are happiest somewhere between 6.0 and 7.0. In that window, phosphorus, nitrogen, and potassium stay available to hungry roots.
Push the number too low and those big three lock up. Swing too high and iron plus manganese become nearly impossible for roots to grab.
Rainfall across Upstate New York gradually pulls calcium and magnesium out of the ground. Lawns and beds slowly drift acidic year after year without anyone noticing.
That slow drift explains a lot of tired hydrangeas and patchy turf. It also explains why bagged fertilizer sometimes seems to do absolutely nothing.
all timing matters here more than people expect. Lime works slowly, so applying it in fall gives it time to begin changing the soil before spring planting.
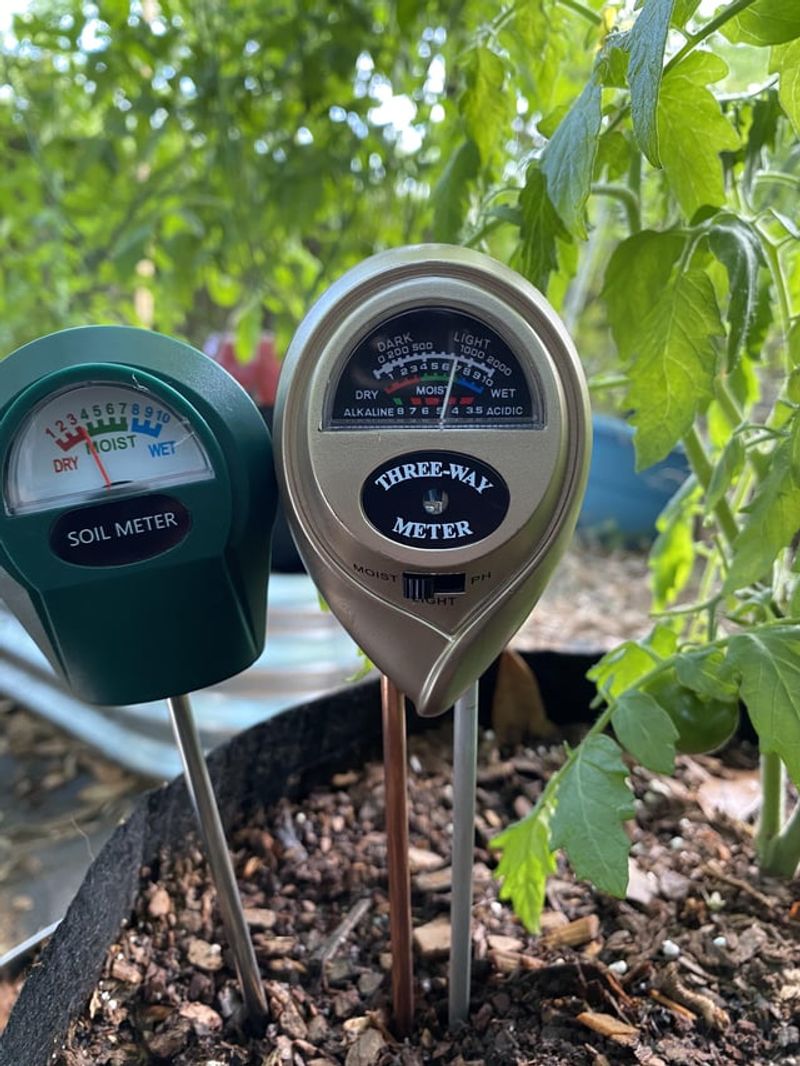
Cornell Cooperative Extension offices handle pH testing for homeowners at a friendly price. Home meters work too, though lab results carry more precision.
Pull samples from several spots at the depth recommended for your test, then mix them in a clean bucket. Follow the lab’s instructions for sampling and handling.
One quick tip: test lawn areas separately from vegetable beds. Their ideal ranges differ enough to matter.
2. Check Nutrient Levels Before Adding More Fertilizer
Dumping fertilizer on an unknown problem is like taking medicine without a diagnosis. Sometimes it helps, and sometimes it makes the situation messier.
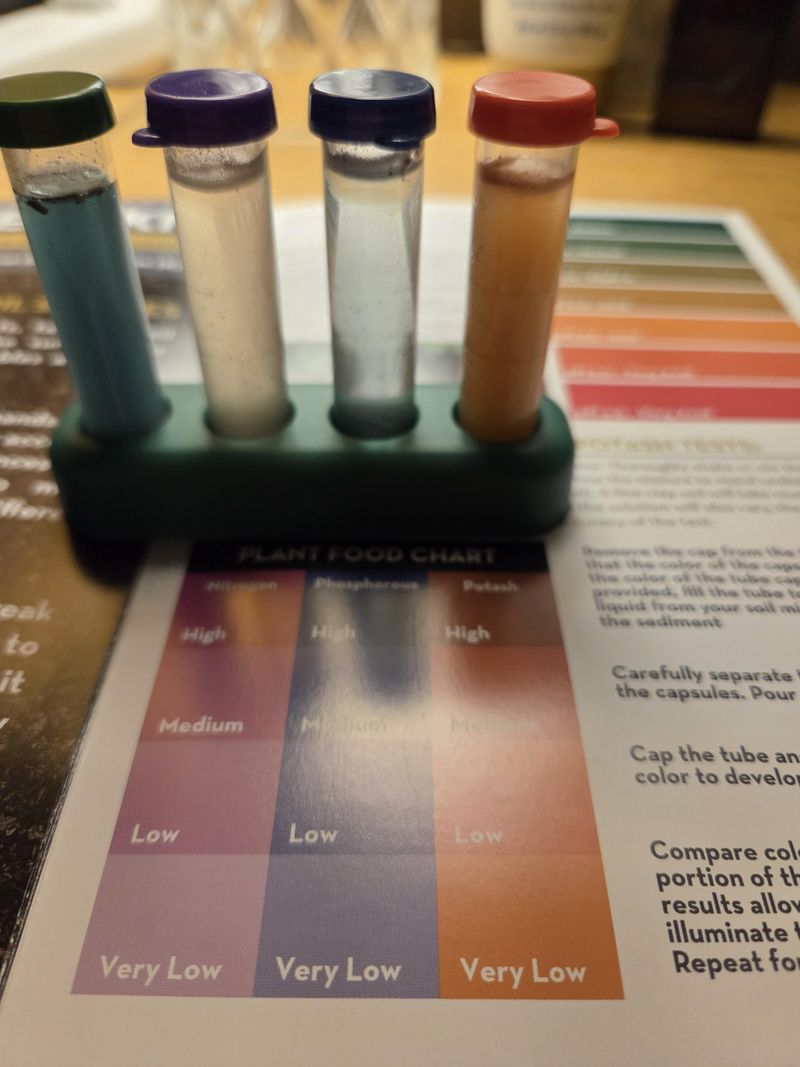
A standard lab test reports organic matter, pH, phosphorus, and potassium. Many panels add calcium, magnesium, and a handful of micronutrients too.
Nitrogen usually gets left off the list, and there is a good reason. Levels shift week to week as microbes work and rain moves through.
Phosphorus builds strong root systems and encourages flowers and fruit. Potassium handles plant vigor, water regulation, and resistance to disease pressure.
Excess phosphorus is a genuine problem in older gardens. Decades of manure and all-purpose fertilizer leave behind more than plants can ever use.
Extra phosphorus washes toward streams and feeds algae blooms. Skipping it saves money and spares your local watershed some stress.
Autumn is the smartest moment to sample because the season’s growth has already pulled what it needed. Results show you exactly what the garden spent.
Your New York Garden Changes Every Week. Your Plan Should Too.
Gardening in New York changes quickly throughout the season. Every Friday you’ll receive a simple weekly plan showing exactly what to plant, prune, fertilize, harvest, and protect so you never miss the right timing.
Phosphorus and potassium move slowly through soil, so fall applications settle in nicely. Nitrogen, on the other hand, belongs in spring when plants can grab it.
Expect to pay somewhere between fifteen and thirty dollars for a basic panel. Compare that with the price of three bags of guesswork.
Label each sample by area, since the front lawn and the tomato bed tell different stories. Keep the paperwork, because trends over several years reveal more than any single report.
Retest every three years unless something looks dramatically wrong sooner.
3. Measure Organic Matter To See What Your Soil Is Missing
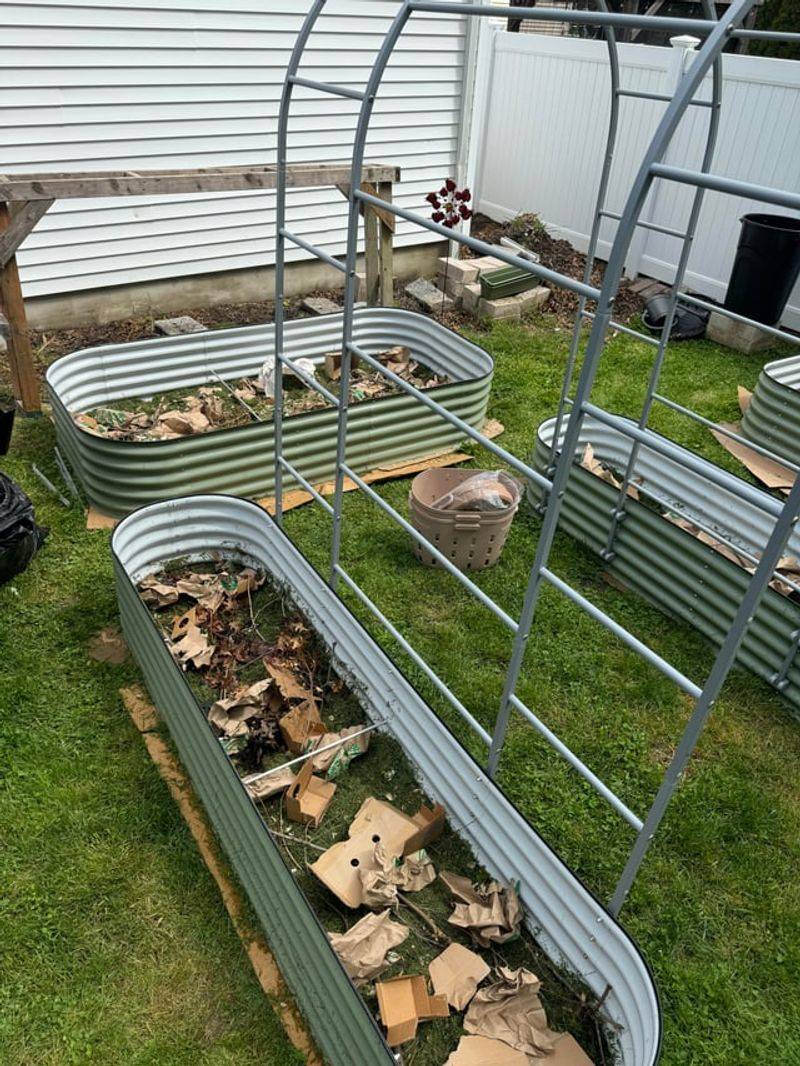
Organic matter is the quiet workhorse of every good garden. Break it down and you are looking at old leaves, roots, and creatures returning to the earth.
Labs report it as a percentage, and that number carries enormous weight. Healthy garden soil can contain substantial organic matter, but the useful level varies with soil type and how the bed is managed.
Here is a statistic worth remembering. A one-percentage-point increase in soil organic matter can add roughly 20,000 gallons of plant-available water per acre.
Beyond water, decomposing material slowly releases nitrogen, phosphorus, and sulfur. It behaves like a savings account your plants withdraw from all season.
Structure improves too, because organic matter glues tiny particles into crumbly aggregates. Those crumbs create air pockets that roots and earthworms genuinely appreciate.
Low readings show up in familiar ways. Soil bakes hard in July, puddles in October, and cracks open like a dry riverbed.
Fall gives you the longest possible runway for improvement. Spread compost in fall and let winter weather and soil organisms begin working it into the bed.
Cover crops are another autumn trick that pays off quietly. Winter rye or oats sown in September add roots and biomass by April.
Shredded leaves are practically free every October. Run the mower over them, then pile them onto beds as mulch.
Do not expect overnight change, because organic matter climbs slowly. A half percentage point over two or three years counts as real progress.
Track the number on every test and watch it inch upward.
4. Test Soil Texture When Drainage Keeps Causing Trouble
Ever notice how one corner of the yard stays swampy for days? Texture is usually the culprit, and it explains more than most gardeners realize.
Texture simply describes the mix of sand, silt, and clay particles. Those proportions control drainage, moisture storage, and how easily roots travel.
Sandy ground drains fast because the particles are large and loosely packed. Water races through, taking dissolved nutrients along for the ride.
Clay sits at the opposite extreme with microscopic, tightly stacked particles. Drainage crawls, and saturated roots run short on oxygen.
Silt splits the difference, holding moisture better than sand while still letting water pass. Loam blends all three and behaves beautifully for almost everything.
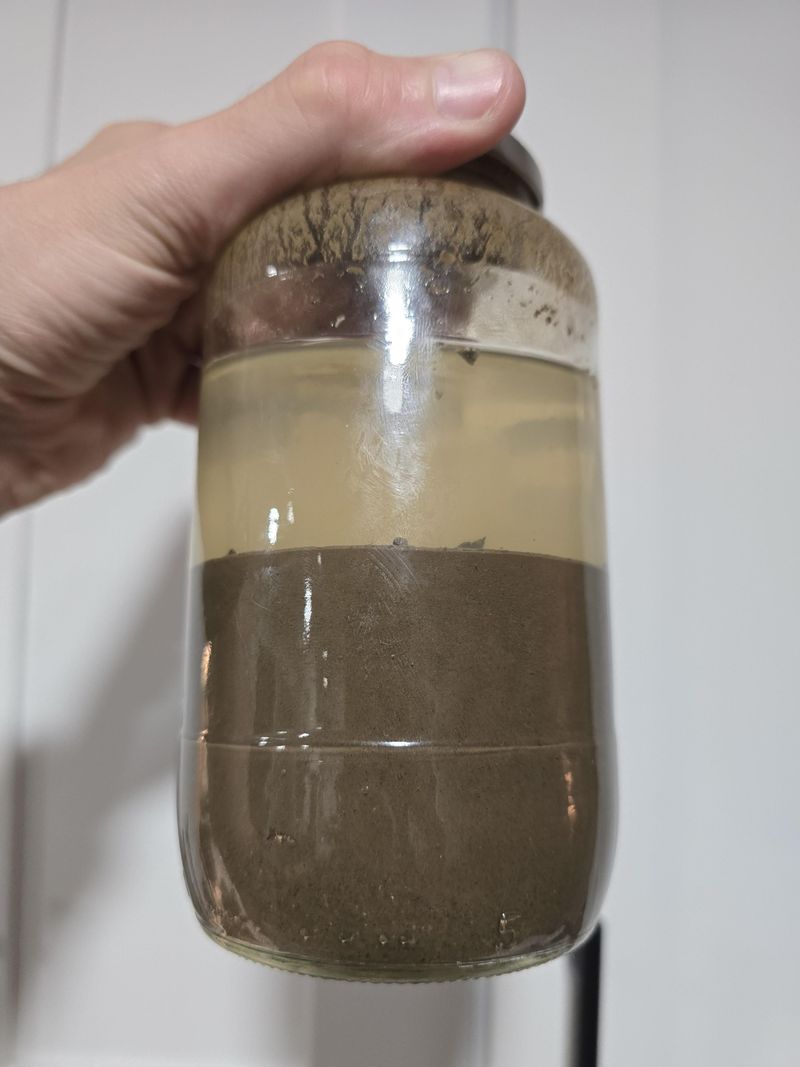
You can check this at home with a mason jar. Fill it one third with soil, add water, shake hard, then let it rest overnight.
Sand settles first, silt follows, and clay forms the cloudy top layer. Measure each band and you have a rough recipe for your yard.
Much of the Hudson Valley and Long Island runs sandy, while parts of Western New York lean heavily clay. Knowing which camp you are in changes everything.
Resist the urge to fix clay by adding sand. The combination behaves unpleasantly like concrete once it dries.
Compost is the better answer for both extremes. It loosens clay and helps sand hold onto water and nutrients.
The basic mineral texture changes very slowly. What you can change is how the soil behaves through organic matter, structure, and management.
5. Check Compaction If Roots Struggle To Push Through
Squeezed soil is a silent troublemaker. Particles press together, pore space disappears, and roots hit a wall they cannot negotiate.
Foot traffic causes plenty of it, especially along paths people cut across the lawn. Wheelbarrows, mowers, and heavy rain finish the job.
Construction leaves behind the worst cases. Plenty of newer homes sit on ground that heavy equipment flattened years ago.
Roots respond by spreading sideways near the surface instead of reaching down. Shallow roots stress quickly during a dry August stretch.
Water struggles to soak in, so it pools or runs off entirely. Gases cannot exchange either, which leaves roots short of oxygen.
Watch for the telltale signs. Crusty surfaces, standing puddles hours after rain, stunted plants, and moss creeping into thin turf.
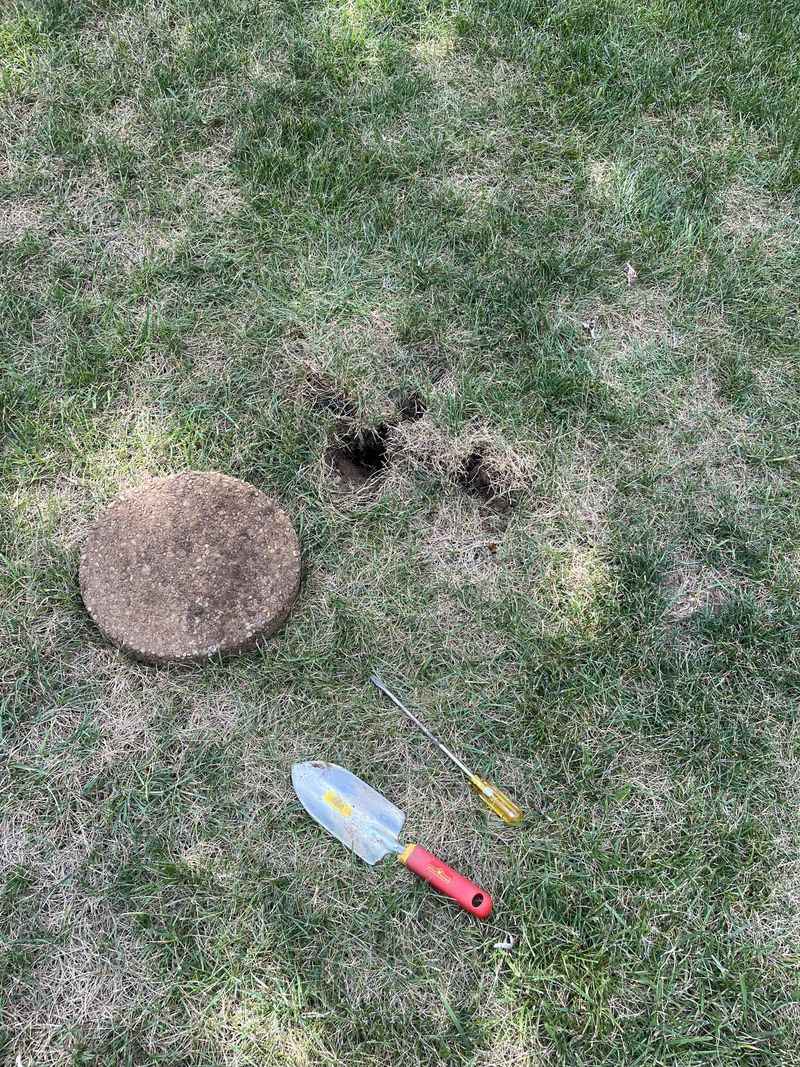
The screwdriver test takes about ninety seconds. Water the area, wait a day, then push a long screwdriver straight down.
Easy travel deep into the soil suggests less resistance. A sharp increase in resistance can point to a compacted layer that deserves a closer look.
Core aeration works wonders on compacted lawns, and fall is prime season for it across New York. Pulled plugs let air and water reach deeper.
Garden beds respond well to broadforking rather than rototilling. Rototillers often create a slick, compacted layer just below the blades.
Once loosened, protect the progress. Stepping stones, mulched paths, and a simple habit of staying off wet soil prevent repeat trouble.
6. Measure Soil Hardness Where Beds Feel Packed Down
Some beds feel like you are digging into a sidewalk. Hardness is the measurable side of compaction, and it tells you how much resistance roots face.
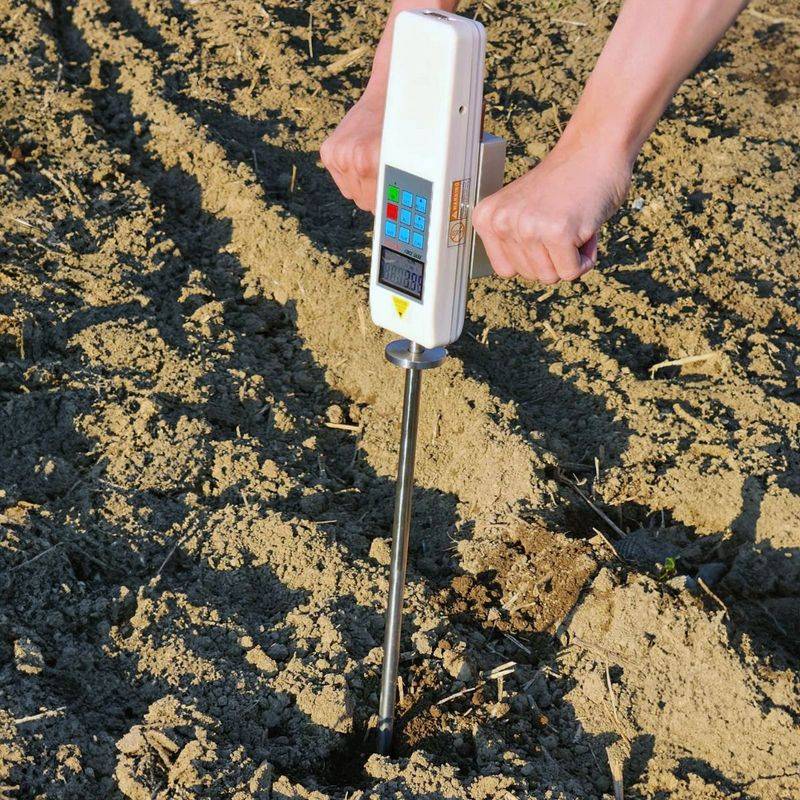
A penetrometer handles the job properly. The tool reads pressure in pounds per square inch as you push it downward.
Readings above roughly 300 psi can restrict root growth. Higher resistance can make root penetration even more difficult.
The real value comes from testing at several depths. A soft top layer can hide a rock-hard pan sitting eight inches down.
Hardpans often form from repeated tilling at the same depth. Blades smear and press the layer just beneath where they stop.
Plants above a hardpan show confusing symptoms. Yellowing leaves, wilting despite watering, and growth that stalls halfway through summer.
No penetrometer on hand? A wire flag or long screwdriver gives a decent feel for where resistance begins.
Moisture matters enormously for accuracy. Test a day or two after rain, when soil is damp rather than soaked or bone dry.
Dry ground reads hard even when structure is fine, which leads to false alarms. Soggy ground reads soft and hides real issues.
Fall can offer good conditions for this check when the soil is moist but not saturated. Test when the soil is near field capacity for a more useful reading.
Fix what you find with deep-rooted cover crops like tillage radish. Those roots drill through packed layers and leave channels behind after they break down.
7. Check Water-Holding Capacity Before Changing Irrigation
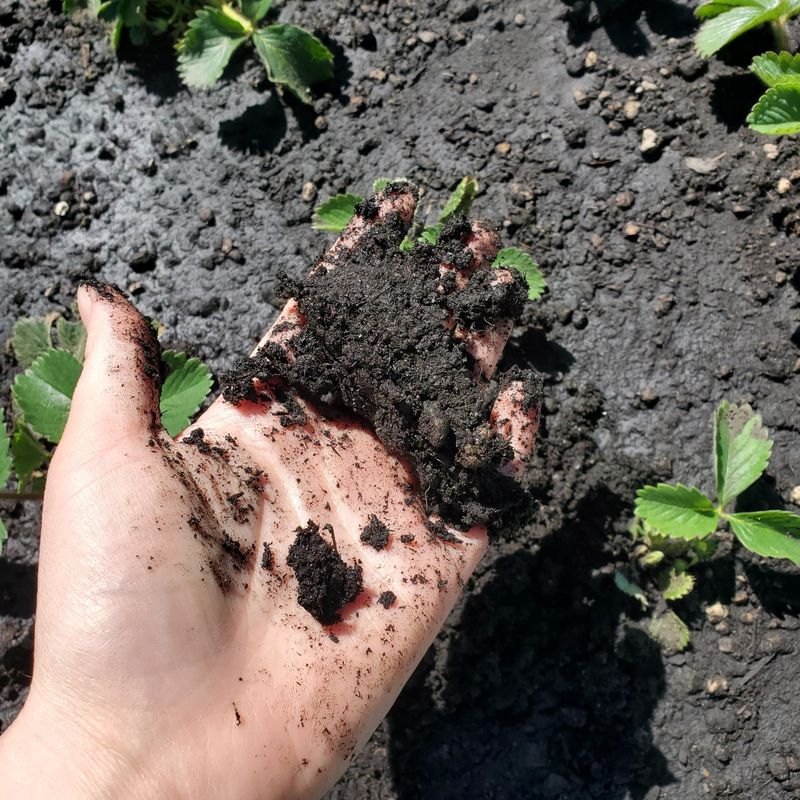
Before you buy a new sprinkler system, find out how much water your ground can actually store. The answer may save you serious money.
Water-holding capacity describes how much moisture soil keeps available between waterings. Texture and organic matter drive the number more than anything else.
Clay and silt hold generous amounts thanks to tiny particles and enormous surface area. Sand lets water slip past within hours.
Organic matter is the lever you can actually pull. That same one percent increase stores about 20,000 extra gallons per acre.
Compaction works against you here in a sneaky way. Squeezed pores cannot absorb water quickly or hold it once it arrives.
Run a simple infiltration check at home. Sink an open coffee can a few inches into the ground and pour in water.
Time how long an inch takes to disappear. Under ten minutes suggests sandy soil, while over an hour points toward clay or compaction.
Pair that with a moisture probe reading two days after rain. You will learn how long your soil actually stays usefully damp.
Sandy yards on Long Island benefit hugely from compost and mulch. Both stretch the time between waterings during a dry July.
Heavy clay areas need the opposite approach, favoring longer gaps and slower application. Flooding clay just creates runoff and unhappy roots.
Adjust your irrigation schedule based on what you measured, not habit. Most homeowners water too often and too briefly.
8. Look At Soil Health When Growth Seems Consistently Weak
When every plant underperforms year after year, the problem is rarely the plants. Something structural is happening below the surface.
Soil health covers the whole living system at once. Physical structure, chemical balance, and biological activity all get evaluated together.
A basic nutrient test cannot capture that full picture. It reports numbers without explaining why roots refuse to cooperate.
Warning signs pile up gradually. Stunted growth, pale foliage, midday wilting, and seedlings that never quite take off.
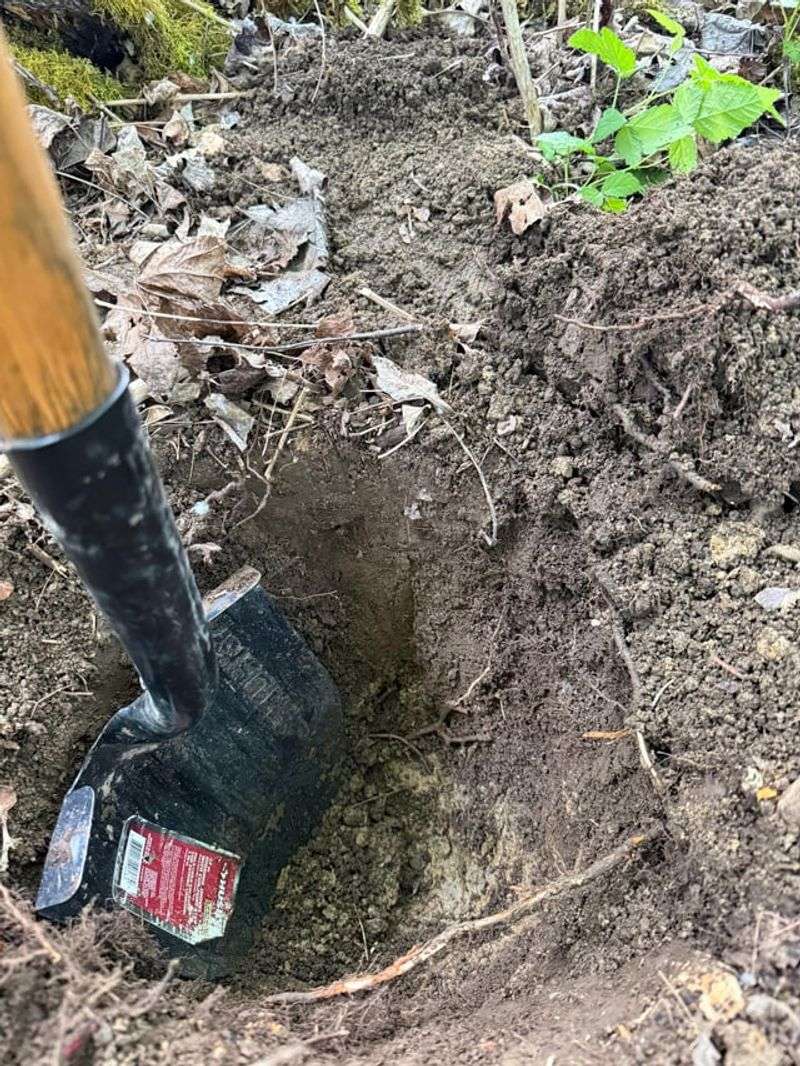
One of the easiest checks costs nothing. Dig a shovelful in spring or fall and count the earthworms you find.
Earthworms can be a useful sign of biological activity. Finding very few may be a reason to look more closely at your soil’s overall condition.
Cornell’s Soil Health Laboratory runs a Comprehensive Assessment of Soil Health, often shortened to CASH. Homeowners can submit samples for it.
The report scores biological indicators like active carbon and respiration. It also grades aggregate stability and available water capacity.
Best of all, results arrive with plain-language suggestions. You learn which constraint limits your garden most and what to do first.
Fall submission means recommendations land while you still have time to act. Compost, cover crops, and mulch can all go down before the ground freezes.
Another free indicator involves smell. Rich soil has a sweet earthy scent, while sour or metallic odors suggest poor drainage and low oxygen.
9. Test For Lead When Your Garden Has Urban Exposure
City soil carries history, and not all of it is welcome. Lead lingers for generations once it enters the ground.
Older homes across Brooklyn, Queens, and the Bronx sit near decades of flaking exterior paint. Leaded gasoline exhaust settled along busy roads for years as well.
Concentrations run highest right beside foundations and within a few feet of heavy traffic. Those are often the exact spots people choose for planting.
Exposure happens more through soil dust than through vegetables. Children playing outside and gardeners handling dirt face the biggest risk.
The EPA screening level for residential soil sits at 200 parts per million. Higher-risk situations drop that guideline to 100 ppm.
Testing in New York City has turned up yard readings far above those figures. Some samples reached several thousand parts per million.
Cornell Cooperative Extension handles lead testing for homeowners, and Brooklyn College runs a program for community gardens. Fees are modest, and turnaround is reasonable.
Collect samples from multiple areas separately. Near the house, near the street, and out in the open yard can differ dramatically.
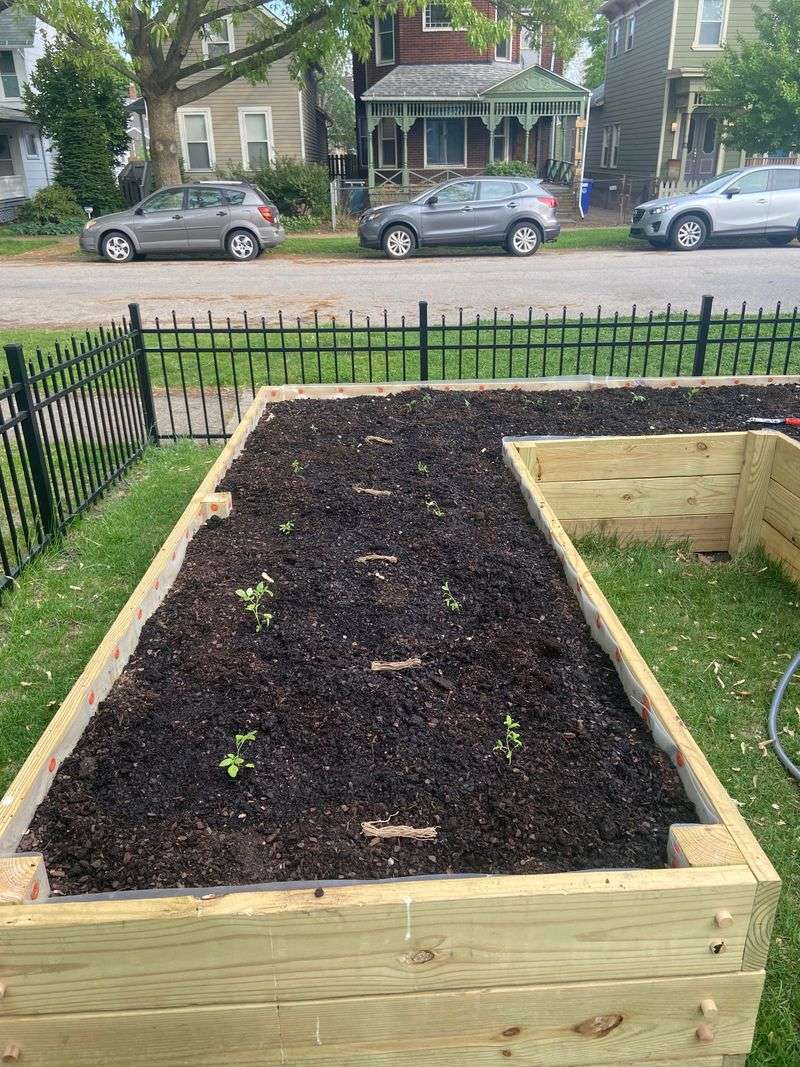
Elevated results do not end your gardening plans. Raised beds or containers filled with clean soil can reduce exposure when contamination is a concern.
Cover bare ground with mulch, grass, or groundcover to keep dust down. Wash produce thoroughly and peel root crops before cooking.
Fruiting crops like tomatoes and peppers generally take up less lead than leafy greens and root vegetables. Leafy greens and root vegetables deserve extra caution when soil contamination is a concern.