7 Things You Should Never Do To Your Hostas
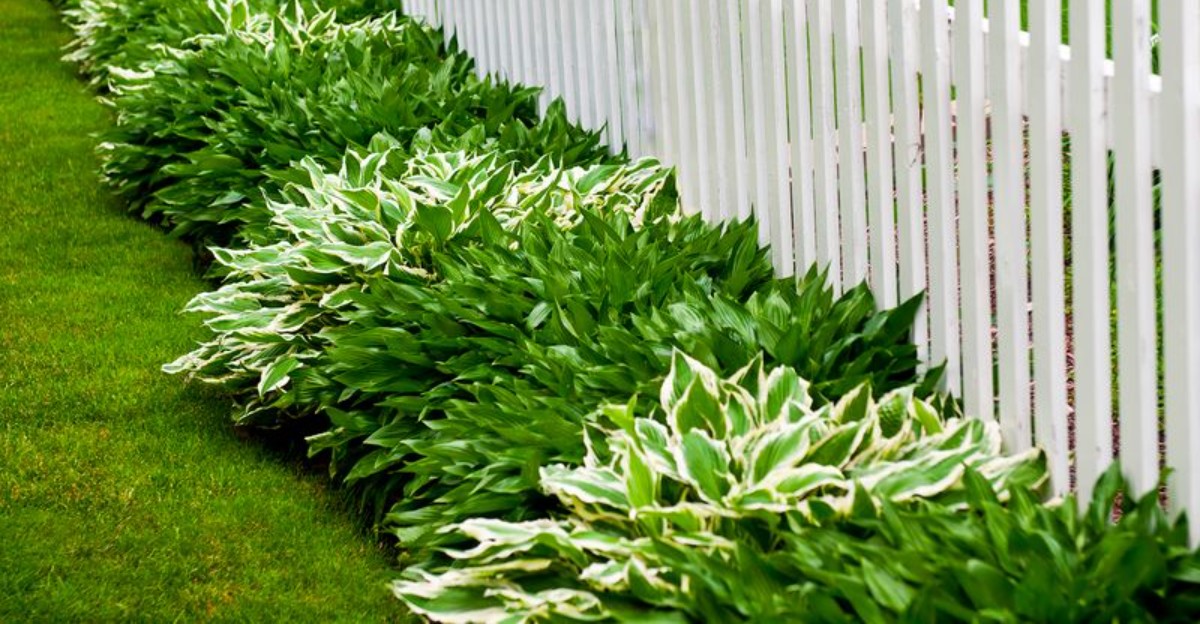
Your favorite shade bed hides a slow unraveling that started long before you ever noticed it. Leaves that looked flawless in your garden just last week now carry tiny cracks running along their edges.
Nothing about your daily routine outside has changed, yet something quietly shifted beneath the soil this season. Small decisions you made months ago in that same bed are finally catching up with every plant there.
Every season spent outside has taught you to trust your instincts without a second thought. Confidence built from years of dirt under your fingernails can still blind you to exactly what is unfolding right in front of you.
Patterns repeat in your yard no matter how busy you have been, and yours is no exception. You deserve to know exactly where this quiet damage first began before it spreads through the rest of your garden.
1. Exposing Them To Direct Sun
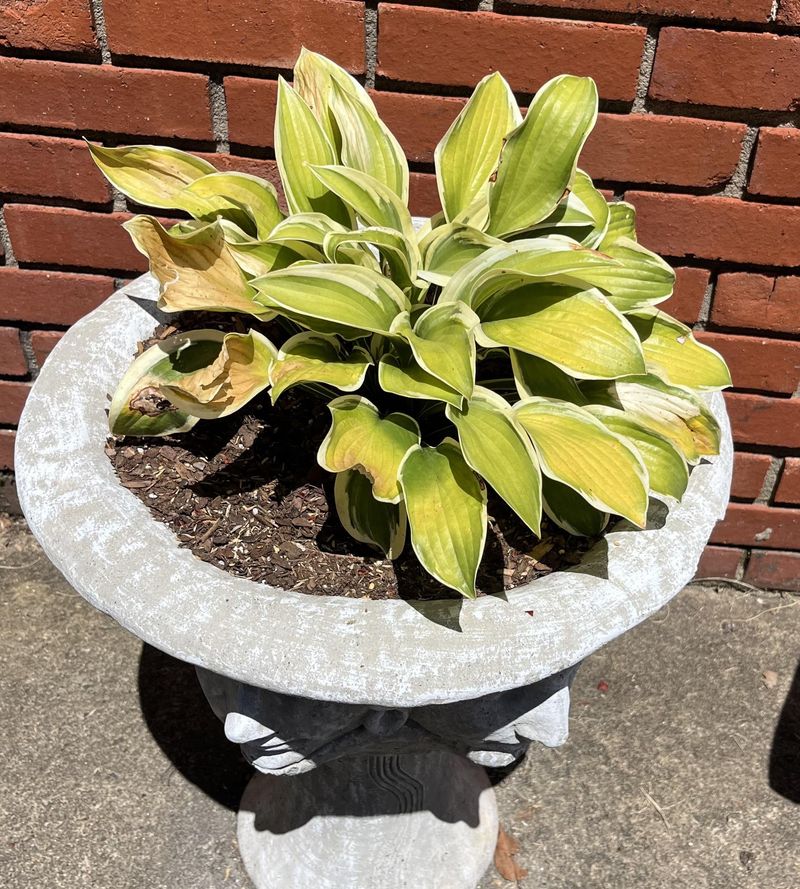
Strong afternoon sun scorches hosta leaves the same way it would sunburn skin left uncovered too long. Those wide, soft leaves evolved on shady forest floors in East Asia, not on sunny beaches.
When strong afternoon rays hit them, the leaf edges turn brown and crispy, almost like burnt toast at breakfast. Blue and dark green types often suffer the most, since heat wears away their powdery waxy coating.
Morning sun is a different story, because it is softer and much cooler than the afternoon blast. Most varieties can handle two or three hours of early light, and some even grow thicker, richer leaves from it.
Got a brighter spot in your yard that still needs some leafy charm? Pick yellow or gold types like ‘Sum and Substance’ or ‘Guacamole,’ since they handle extra brightness much better.
Maybe you already planted one in a sunny spot before reading this article. Watch it closely through the hottest stretch of summer, and plan to move it in early fall if the leaves start looking scorched.
Moving a hosta is easier than you might think, since these tough plants bounce back quickly. Dig a wide circle around the clump, lift it gently, and replant it at the same depth in cool shade.
Can’t move it this year? A tall shrub, a trellis covered in climbing vines, or even a patio umbrella can create welcome afternoon shade.
Think of it as handing your plant a wide straw hat for the hottest months. Your hosta will thank you with fresh, unburned leaves that stay handsome until the first frost.
2. Letting Slugs Feast At Night
Here’s a fun fact: a single garden slug can lay around 300 eggs in one year. That’s a whole lot of tiny, slimy mouths heading straight for your favorite shade plant after dark.
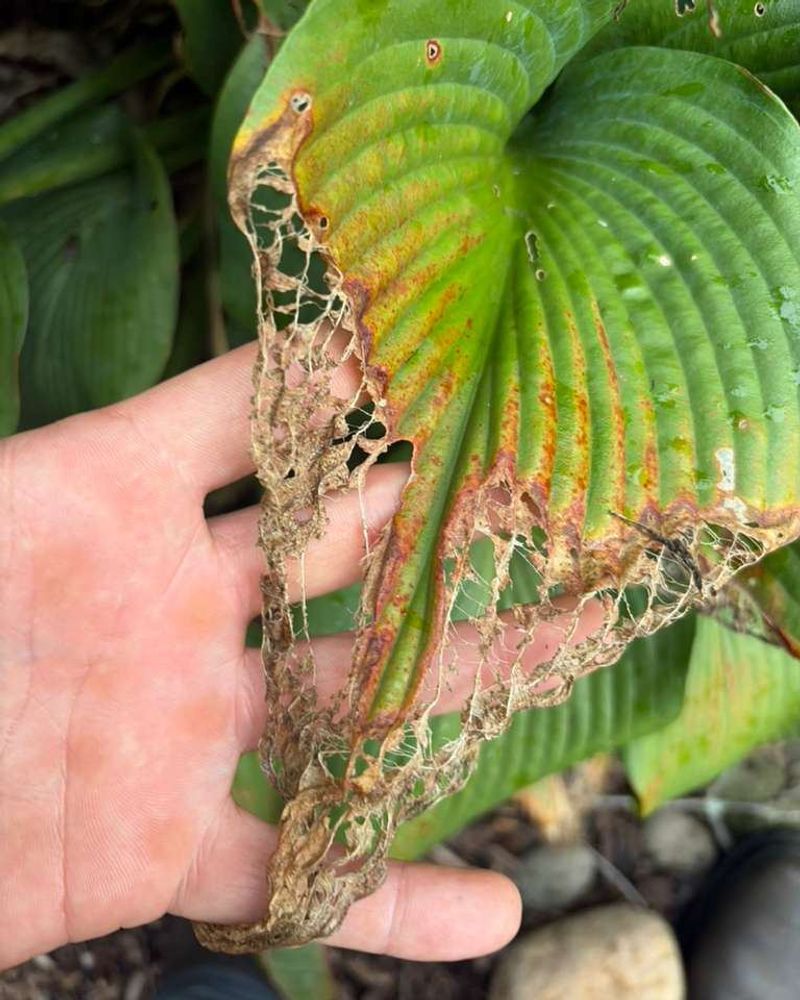
Slugs and snails adore hostas because the leaves are soft, juicy, and close to the damp ground. They feed at night, so you might wake up to Swiss cheese leaves and wonder what happened.
The clues are easy to spot once you know them. Look for ragged holes in the middle of leaves and shiny silver trails glittering on the soil in the morning.
Ignoring them is a big mistake, because damage adds up fast during rainy springs. A plant that loses most of its leaves has less energy to grow strong roots for next year.
Luckily, you have plenty of clever ways to fight back without harsh chemicals. A shallow dish of sugary liquid sunk into the soil lures slugs in, and they tumble right into it.
Copper tape wrapped around pots gives slugs a tiny, harmless zap that sends them crawling away. Crushed eggshells or rough grit around the plant can also make their slimy journey uncomfortable.
Iron phosphate pellets are another smart choice, since they are safer around pets and wildlife than older baits. Sprinkle them lightly in early spring, right when the first shoots poke up.
Want a sneaky trick? Grow thick-leaved types like ‘Empress Wu’ or ‘Sagae,’ because slugs struggle to chew through their tough leaves.
You can also go on a flashlight hunt after sunset and pick them off by hand. Kids usually love this job, and it turns pest control into a spooky backyard adventure.
3. Neglecting Their Water Needs
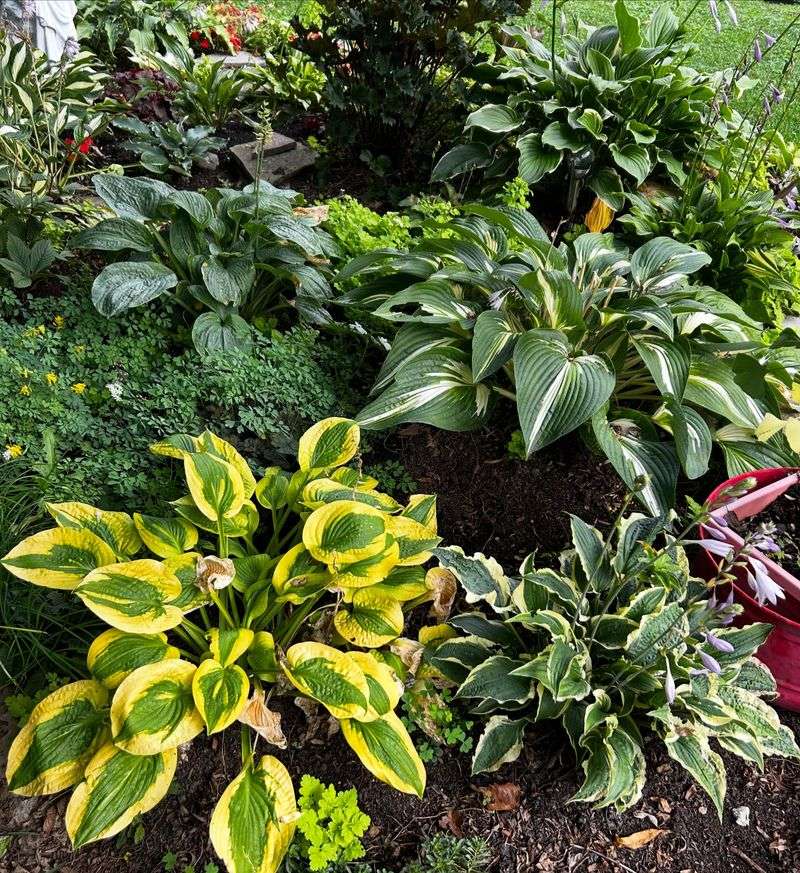
A thirsty hosta shows stress quickly through drooping and curling leaves. The leaves droop, curl, and sometimes turn pale, like a kid slumping at the dinner table.
Those huge leaves lose a lot of water through tiny pores, especially on hot, windy days. Their fairly shallow roots simply can’t pull enough moisture from dry soil to keep up without help.
Most hostas are happiest with about one inch of water each week, from rain or a hose. During a heat wave, they may need a bit more to stay plump and perky.
Deep watering beats a quick splash from the hose every single time. A long, slow soak encourages roots to grow downward, where the soil stays cooler and moister for days.
Timing matters too, so try to water early in the morning before the day heats up. Leaves dry off quickly in the sunshine, which helps prevent fungus and leaf spots from moving in.
A soaker hose tucked under the leaves is a gardener’s best friend here. It delivers water straight to the roots while keeping the pretty foliage clean, dry, and spotless.
Mulch is the secret weapon for holding moisture in the ground. Spread two or three inches of shredded bark or leaves around the plant, but keep it off the crown.
Not sure if it’s time to water? Push a finger two inches into the soil, and if it feels dry, grab the hose.
Watch out for soggy soil as well, since roots can rot in constant puddles. Your goal is soil that feels like a wrung-out sponge, damp but not dripping.
4. Burying The Crown Too Deep
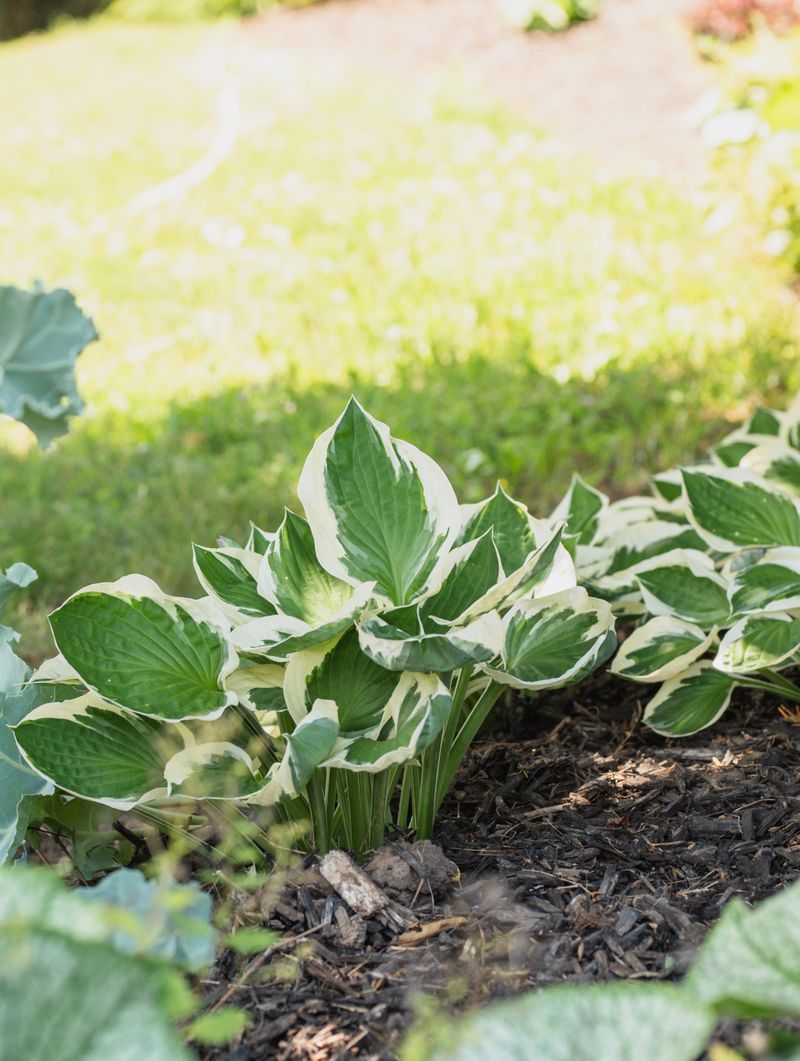
My neighbor once planted a row of hostas like she was hiding treasure, burying each one six inches too deep. By midsummer, half of them had rotted into mushy brown stumps.
The crown is the spot where the stems meet the roots, right at soil level. It acts like the heart of the plant, sending up fresh shoots every spring like clockwork.
Bury it too deep, and water collects around it with nowhere to go. That soggy, airless pocket invites crown rot, a nasty fungus that turns stems soft, slimy, and smelly.
Luckily, the fix is simple and costs you nothing but a little attention. Set the crown level with the surrounding soil, or even a tiny bit higher in heavy clay.
Dig a hole about twice as wide as the root ball but no deeper. Spread the roots out gently, fill in with loose soil, and press it down lightly with your hands.
Mulch can cause the same trouble if you pile it up like a volcano. Keep a small ring of bare soil, about two inches wide, around the base of each plant.
Heavy clay soil makes this problem even worse, since it holds water like a bathtub. Mixing in compost before planting loosens things up and helps extra moisture drain away.
Spot yellow, mushy stems at the base? Dig the plant up, trim away the soft parts with clean shears, and replant it higher in fresh soil.
My neighbor tried again the next year, planting at the right depth. Now her shady path looks like a lush green hallway every summer, and she brags about it constantly.
5. Overloading Them With Fertilizer
More plant food should mean bigger, greener leaves, right? Not quite, and plenty of well-meaning gardeners learn this lesson the hard way every single summer.
Hostas are light eaters by nature, since they grew up in forests with rich, leafy soil. Too much fertilizer overwhelms hostas rather than helping them, since they’re naturally light feeders.
Extra nitrogen pushes out soft, floppy leaves that slugs and snails find especially tasty. Salt from chemical fertilizers can also build up in the soil over time and burn tender roots.
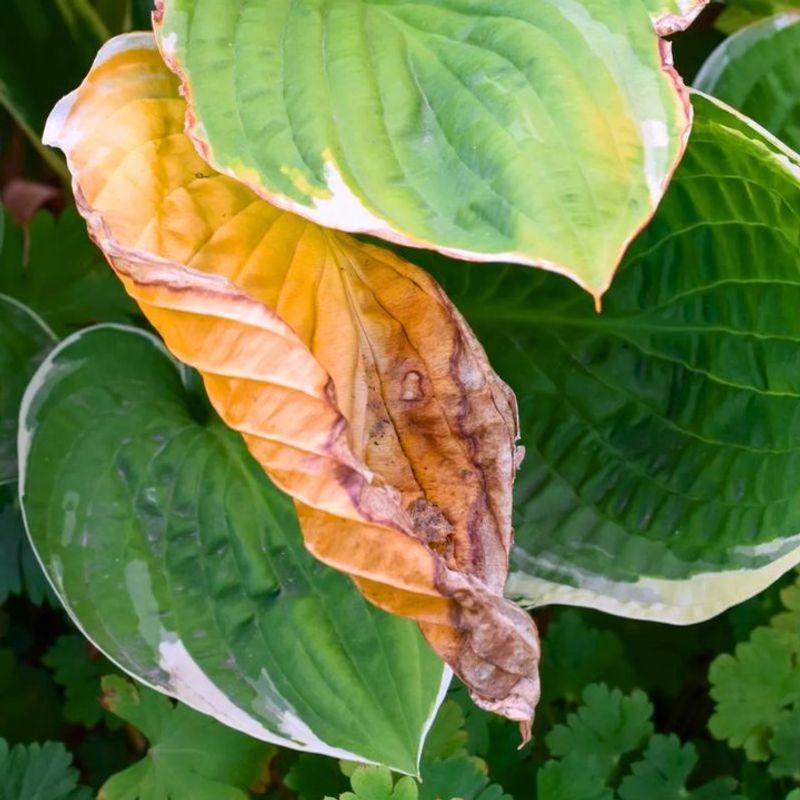
Signs of overfeeding include brown leaf tips, yellowing edges, and a white crust on the soil surface. Some plants even wilt when the soil is wet, which confuses many gardeners.
So what’s the right amount for a happy, healthy plant? One light feeding of balanced, slow-release fertilizer in early spring is usually plenty for the whole year.
Look for a label with even numbers, like 10-10-10, and follow the directions on the bag. When in doubt, use half the suggested amount, because a little goes a long way here.
Compost is an even gentler option that hostas love. A shovelful spread around each plant in spring feeds the soil slowly, just like fallen leaves do in a forest.
Skip feeding after midsummer, since late growth won’t have time to toughen up before frost. Your plants need to slow down, store energy in their roots, and rest as fall approaches.
Think of fertilizer like dessert, a nice treat in small amounts. Your hostas will grow sturdy, bold, and beautiful on a simple, light diet with a sprinkle of compost.
6. Trimming Green Leaves Too Early
Cooler weather has a way of making gardeners itch to tidy up every flower bed in sight. Before you grab the pruners, though, take a closer look at those big leaves.
As long as the leaves are still green, they’re working hard like tiny solar panels. They soak up sunlight and turn it into food that gets stored in the roots for winter.
Cutting them early stops the plant from finishing its energy transfer to the roots before winter. Your plant heads into the cold season with less stored energy, and spring growth may look smaller or weaker.
Patience pays off here, and nature gives you a clear signal. Wait until the leaves turn yellow or brown and flop over after the first hard frost.
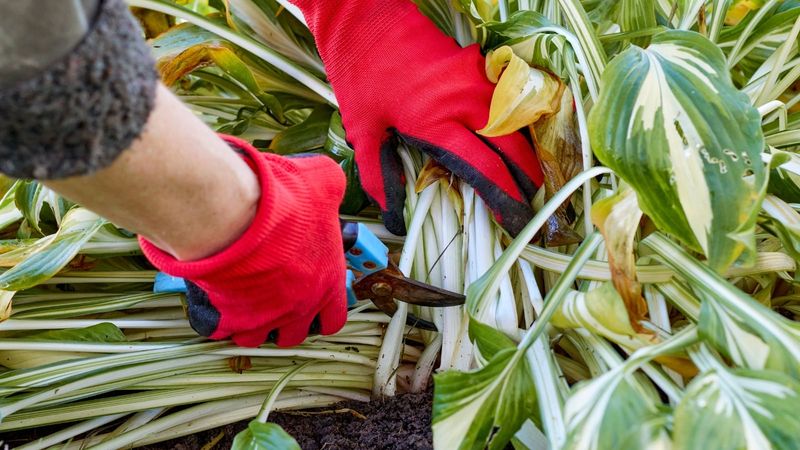
At that point, the plant has pulled every bit of goodness back underground. Now you can snip the mushy leaves off near the soil line without harming anything.
Cleaning up those soggy leaves in late fall is a smart move. Old foliage makes a cozy winter hotel for slug eggs and fungus spores you don’t want next year.
Flower stalks are a different matter, and you can trim them anytime after blooming ends. Removing them keeps the plant looking neat and stops it from wasting energy on seeds.
Summer damage works the same way, so feel free to remove a few torn or scorched leaves. Just leave most of the healthy foliage in place so the plant keeps feeding itself.
There’s something peaceful about letting a garden fade slowly and gracefully with the changing season. Your hostas will return next spring with fat, eager shoots as a thank-you.
7. Leaving Them Exposed To Deer
Gardeners have a sweet nickname for hostas that isn’t sweet at all: ‘deer candy.’ One hungry doe can mow down an entire bed overnight, leaving nothing but sad, chewed stubs.
Deer damage looks different from slug damage, so it helps to know the signs. Instead of neat holes, you’ll find leaves ripped away and ragged stems standing like bare flagpoles.
Hoofprints pressed into soft soil and small piles of droppings nearby are other clear giveaways. Most munching happens at dawn and dusk, when deer feel safest wandering into yards.
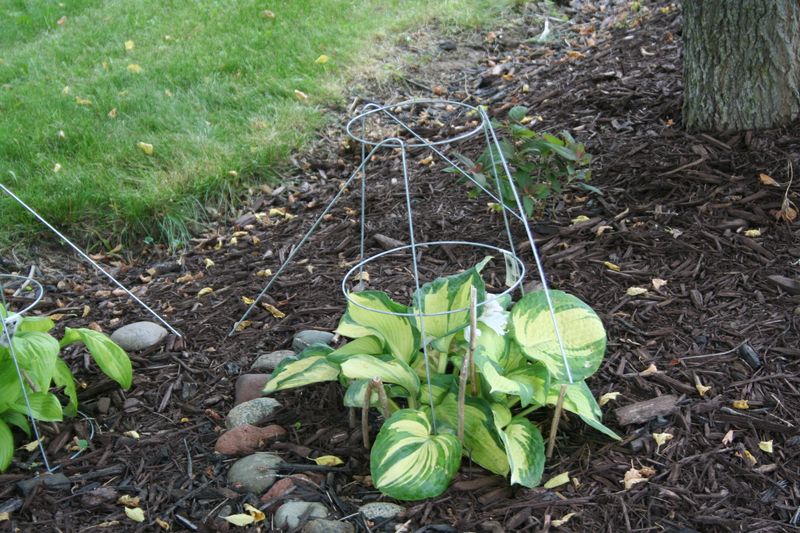
A tall fence is the most reliable fix, but it needs to be about eight feet high. Deer are amazing jumpers and can clear a short garden fence without breaking a sweat.
Not ready to build a giant fence around your yard? Repellent sprays that smell like rotten eggs or garlic work well, though you’ll need to reapply after rain.
Switching between two or three different sprays every few weeks keeps deer guessing. Clever deer get used to one smell quickly and start ignoring it within weeks.
Smart planting helps too, so try tucking hostas close to your house or behind plants deer dislike. Strong-smelling neighbors like lavender, catmint, and ornamental onions can confuse a curious nose.
Motion-activated sprinklers are another fun option that startles deer with a sudden blast of water. Watching a surprised deer bolt across the lawn at dawn is oddly satisfying, and nobody gets hurt.
Protecting your plants takes a little effort each season, but the payoff is huge. Nothing beats strolling past a full, leafy bed instead of a row of nibbled stumps.