9 Garlic Planting Moves To Make In New York This Week
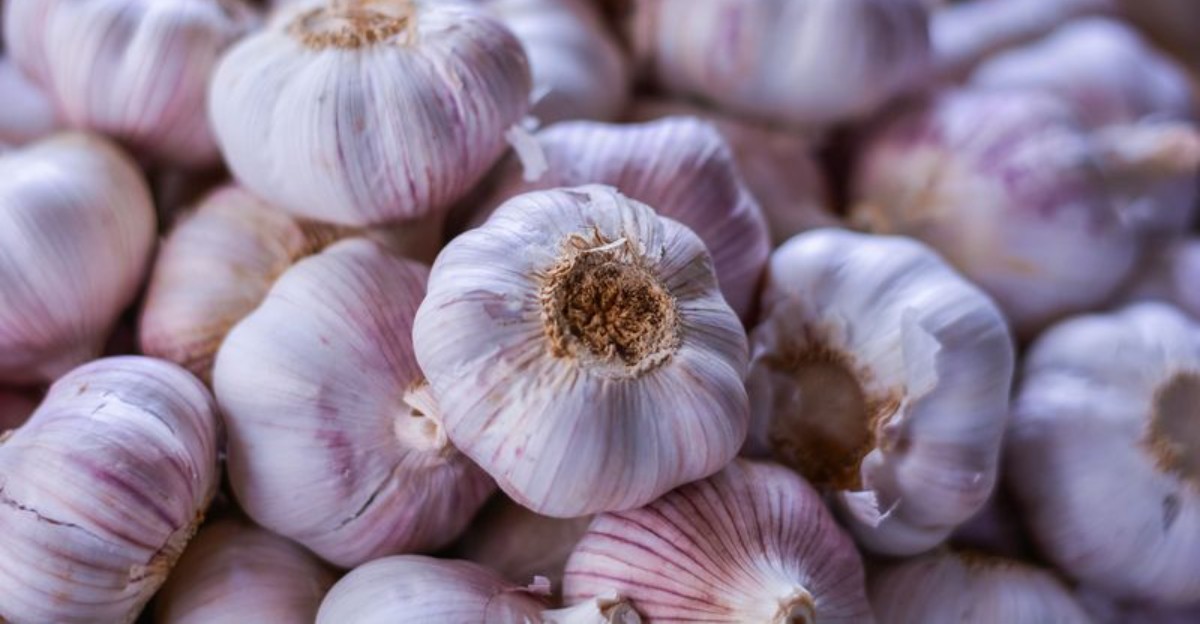
The smell of cold rain on garden soil means garlic season is here. Across New York, fall is the time to tuck cloves into the ground, where they can build roots before winter arrives.
Planting something you will not harvest until next summer takes a little patience. But that long stretch underground is part of what helps garlic develop into full, flavorful bulbs.
The good news is that garlic does not need much once it is planted well. Give it sun, loose soil, enough space, and a layer of mulch, and it can settle in for winter.
A few simple moves now can set you up for a strong harvest next summer. Get the cloves in the ground while conditions are still workable, and let winter do its part.
1. Choose Large Healthy Cloves For Planting
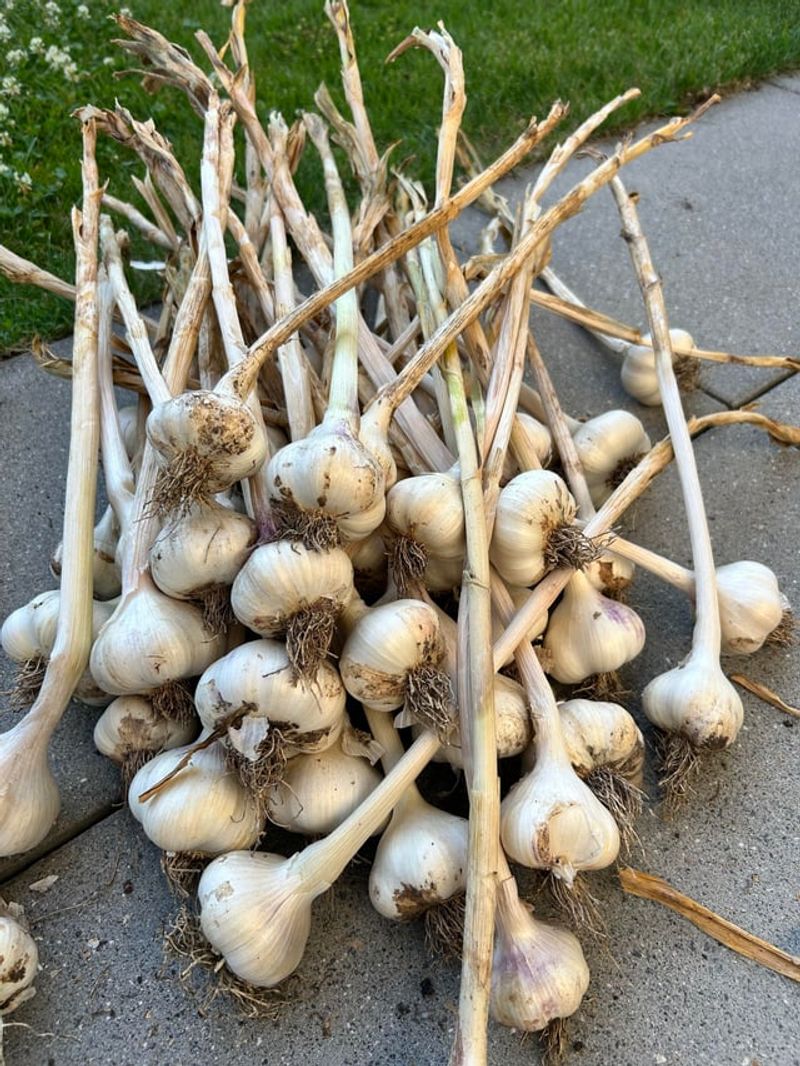
Big cloves tend to make bigger bulbs, and that holds true across much of New York. Each clove carries stored food that fuels those first important roots.
Pick the plumpest, firmest cloves from the outside of each bulb. Save the tiny inner ones for the kitchen, since they rarely produce a harvest worth bragging about.
Skip anything soft, shriveled, or spotted with mold. Cloves with torn papery wrappers let moisture and disease sneak in during a long winter underground.
Watch out for doubles, which are two cloves sharing one wrapper. Planted together, they crowd each other and give you lumpy, misshapen bulbs next summer.
Seed garlic from a local nursery or a farm is your smartest bet. Those growers sell varieties already proven to handle our cold snaps and damp springs.
Supermarket garlic can be a gamble. Some bulbs may be treated to inhibit sprouting, and seed garlic from a reliable nursery or grower is a safer choice.
Hardneck types like Music, German Extra Hardy, and Chesnok Red are longtime favorites here. They handle the cold well and give you tasty scapes in June as a bonus.
Fun bit of history: garlic has been grown in the Hudson Valley for generations, and some family strains have been passed down since the early 1900s. Buying local seed keeps those stories alive.
Inspect every clove before it goes in the ground. Five extra minutes of sorting now saves you from a disappointing harvest later.
2. Prepare A Sunny Bed With Rich Soil
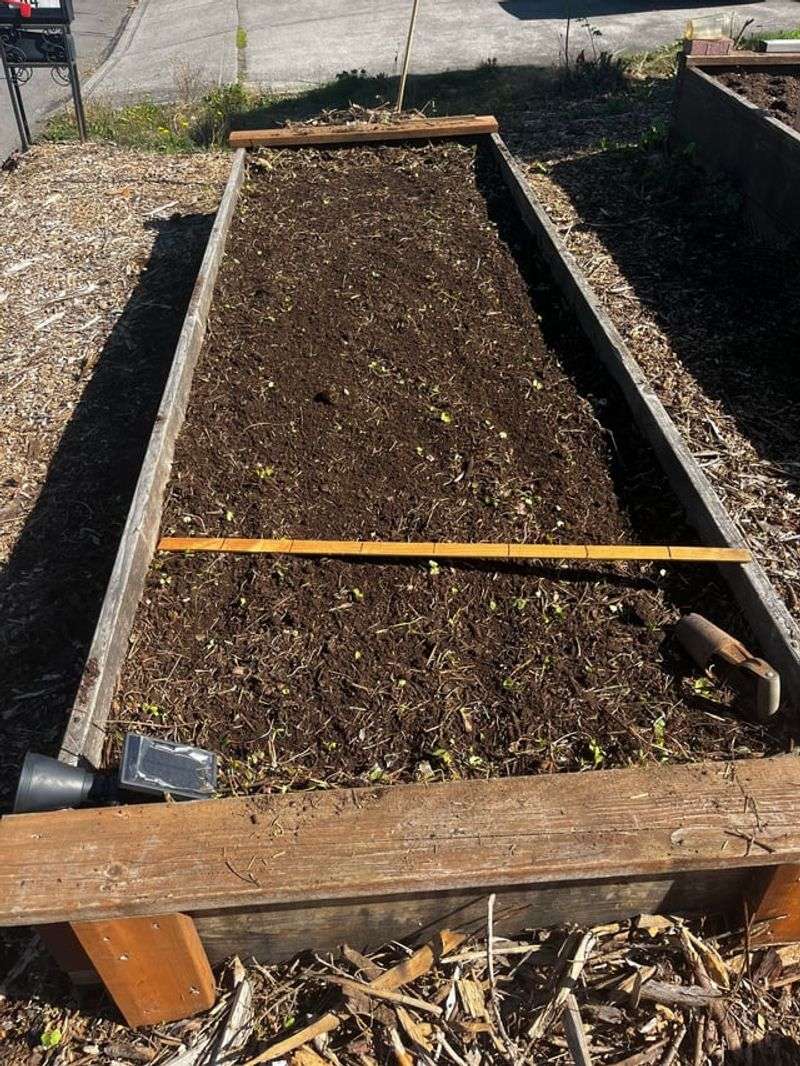
Garlic is a sun lover through and through. Aim for a spot that soaks up six to eight hours of direct light each day.
Shady corners lead to skinny plants and marble-sized bulbs. Walk your yard in the afternoon and note where the light lingers longest.
Drainage matters just as much as sunshine. Cloves sitting in soggy ground through winter tend to rot instead of root.
Some gardens have heavy clay. Work in several inches of compost or well-rotted manure to improve the soil.
Raised beds solve drainage headaches fast. Even a six-inch frame lifts your cloves above puddles and helps the soil warm faster in spring.
Test your pH if you can. Garlic does best between 6.0 and 7.0, and many gardens run a bit acidic without a little lime.
Your New York Garden Changes Every Week. Your Plan Should Too.
Gardening in New York changes quickly throughout the season. Every Friday you’ll receive a simple weekly plan showing exactly what to plant, prune, fertilize, harvest, and protect so you never miss the right timing.
Loosen the bed about ten inches deep with a fork. Roots push down all winter, and soft soil lets them travel without fighting compacted layers.
Mix in a balanced organic fertilizer or plenty of finished compost before planting. Garlic benefits from good fertility, especially nitrogen, during spring growth.
Rake the surface smooth and level. A tidy bed makes spacing easier and keeps water from pooling in low spots after heavy autumn rain.
Take an hour on prep day. That work pays you back with fat bulbs next July.
3. Break Apart Bulbs Right Before Planting
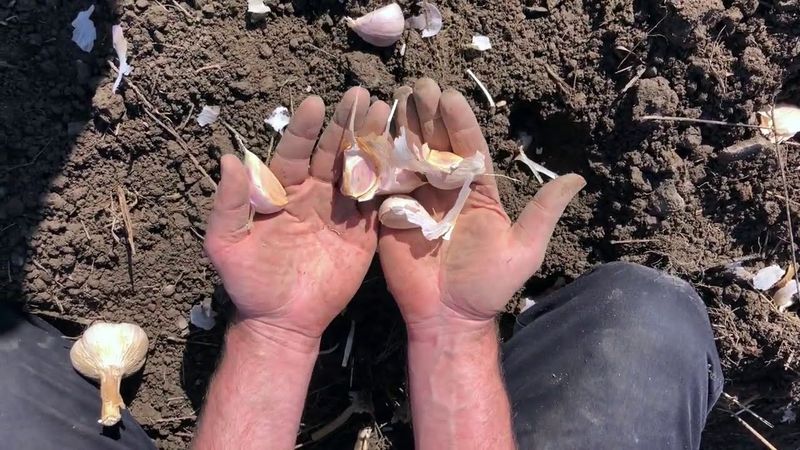
Timing is everything when you crack open a bulb. Separate cloves on planting day, or one to two days before at the most.
Once a bulb is broken apart, the individual cloves begin losing moisture over time. For best results, separate them shortly before planting.
Use your thumbs and gentle pressure to pop the bulb apart. Hammering or twisting hard can bruise the cloves and invite rot underground.
Guard the flat bottom of each clove carefully. That little circle, called the basal plate, is where every single root emerges.
Leave the papery skin on each clove. It acts like a raincoat, shielding the clove from soil moisture and fungal trouble during the long wait.
Sort as you go. Toss anything mushy, hollow, or discolored into the compost instead of your planting basket.
Count out your cloves before heading outside. One pound of seed garlic usually gives you around fifty cloves, enough for roughly twenty-five feet of row.
Many growers turn this into a kitchen table ritual with coffee and music. Kids love the popping sound and can help sort by size.
Keep the separated cloves in a shallow bowl out of direct sun. A cool garage or mudroom works fine for a short overnight hold.
Plant them the same afternoon if weather cooperates. Fresh cloves settle in fast and start rooting within a couple of weeks.
4. Plant Each Clove Pointy Side Up
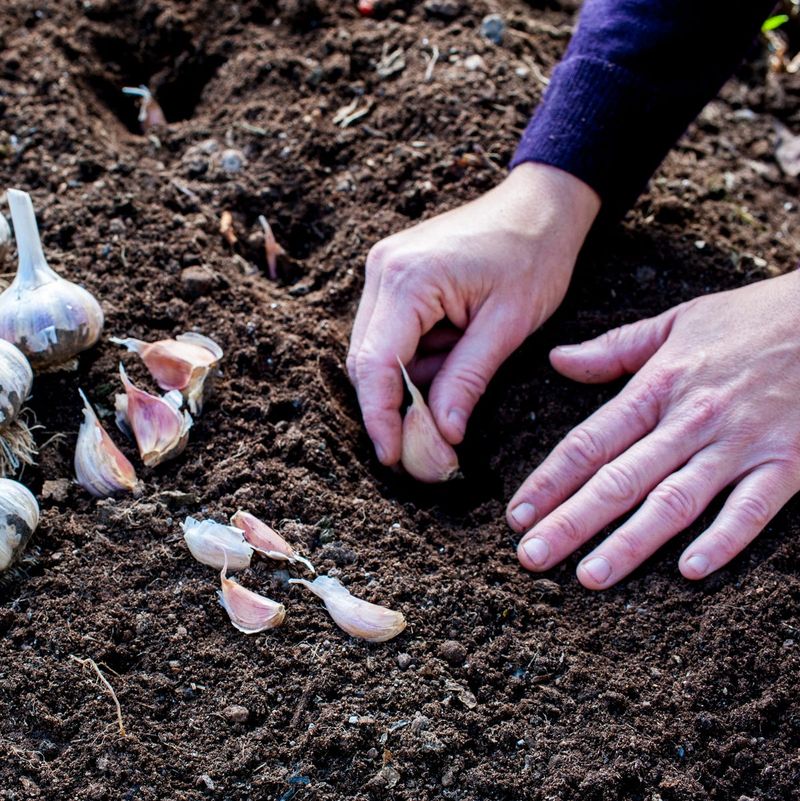
Orientation seems like a tiny detail, yet it shapes your whole harvest. The pointed tip goes up, and the flat end goes down.
That flat base is the root factory. Shoots push up from the tip, so getting the direction right saves the plant wasted energy.
A clove planted upside down can still grow, but planting pointy side up helps the shoot emerge normally.
Sideways cloves cause similar trouble. They may sprout, but the bulb tends to form crooked and harder to peel next summer.
Press each clove into a shallow hole rather than shoving it through hard soil. Forcing can crack the base and stall root growth.
Make a shallow furrow with a hoe if you are planting a long row. Drop cloves in one by one, then backfill gently with loose soil.
Firm the soil lightly over each clove with your palm. Good contact between clove and soil speeds up rooting before the ground stiffens.
Mark your rows with stakes or labels. Come March in New York, you will want to know which variety is which when green shoots appear.
Work in small sections so cloves are not sitting exposed to wind. Dry air pulls moisture from them faster than you might expect.
Take a slow walk down the row when you finish. Fixing one flipped clove now beats digging up a lumpy bulb in July.
5. Give Garlic Enough Room To Form Big Bulbs
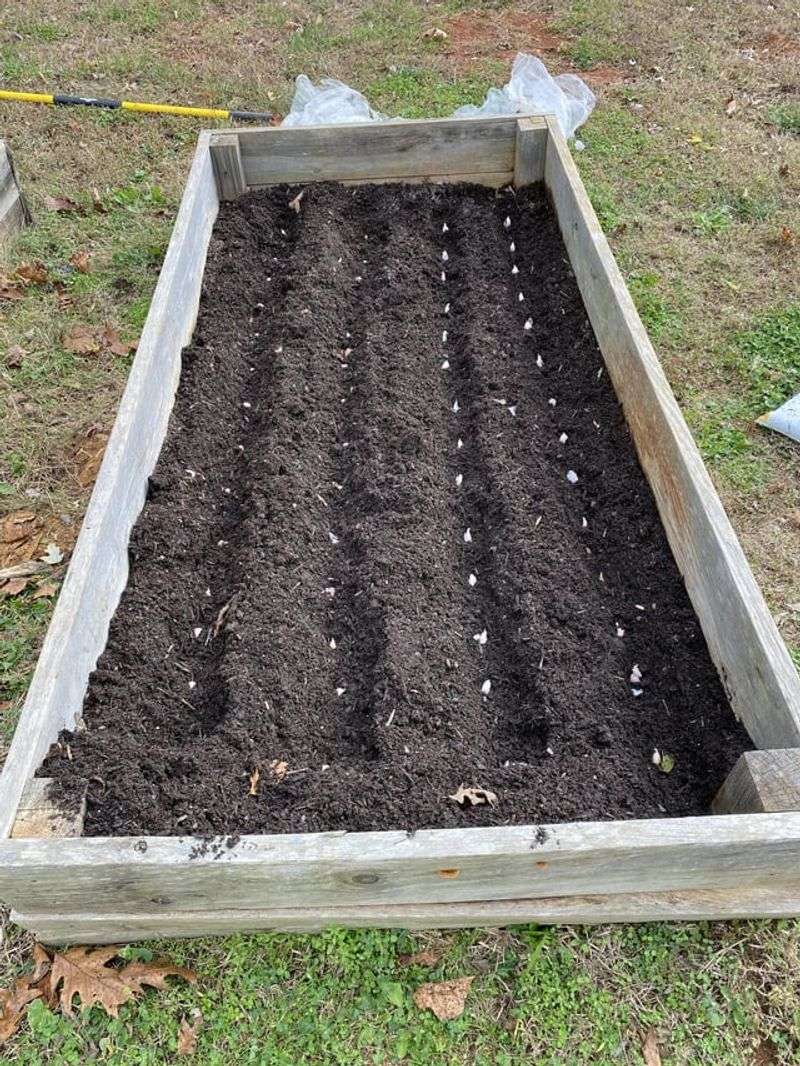
Crowding is the fastest way to shrink your harvest. Cloves planted elbow to elbow fight over water, food, and light all season long.
Six inches between cloves is the sweet spot for most growers. That gap gives each bulb room to swell without bumping neighbors.
Four inches works if space is tight, though bulbs usually come out a size smaller. Eight inches suits large hardneck varieties beautifully.
Rows need breathing room too. Set them twelve to eighteen inches apart so you can weed, water, and harvest without stepping on plants.
Wider rows also improve airflow. Moving air dries leaves after spring rain and cuts down on fungal problems that plague damp seasons.
A grid pattern squeezes more plants into raised beds. Space cloves six inches apart in every direction and skip long rows entirely.
Use a simple spacing tool to speed things up. A board with marks or a knotted string keeps your rows honest without constant measuring.
Think about mature size, not clove size. A large planting clove can develop into a much larger bulb by midsummer when growing conditions are good.
Plan your total planting before you start. Around fifty plants can provide a useful supply for a household, with some bulbs saved for next season.
Resist the urge to squeeze in extras. Fewer well-spaced plants beat a crowded bed of tiny bulbs every single time.
6. Plant Cloves Deep Enough For Winter Protection
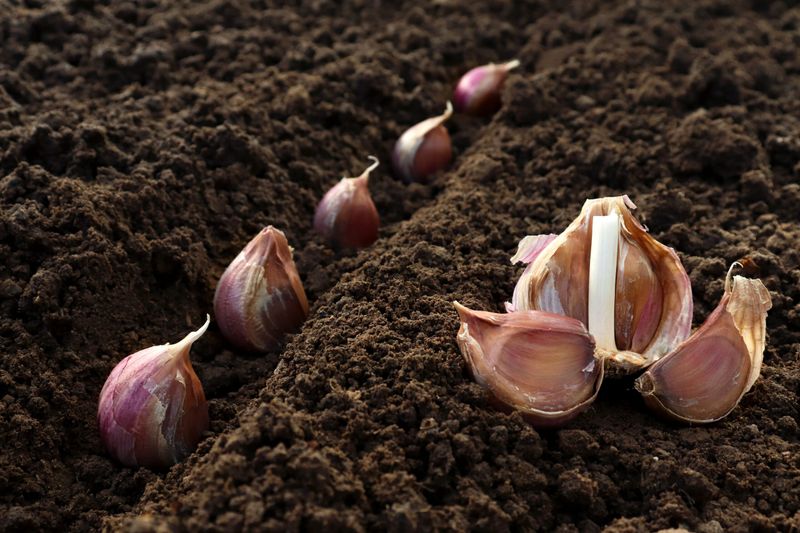
Depth acts like insulation against a rough winter. Two to three inches from the soil surface to the clove works well for many New York gardens.
Upstate gardeners can use the recommended planting depth and rely on a thick mulch layer for added winter protection.
Frost heaving is the real danger. Repeated freezing and thawing can shove shallow cloves right out of the ground by March.
Heavy clay changes the math. In dense or poorly draining ground, stay on the shallow side so cloves are not sitting in cold water.
Sandy soil may dry out more quickly, so monitor moisture and water when the bed becomes dry.
Plan around your mulch too. A thick straw blanket adds warmth, so you can plant slightly shallower and let the mulch do extra work.
A dibber or a piece of broom handle marked with tape makes consistent holes fast. Even depth means even sprouting next spring.
Backfill loosely rather than packing soil down hard. Compacted soil makes it tough for tender shoots to punch through in early spring.
Downstate growers in the Hudson Valley and on Long Island can lean toward the shallower end. Winters there are milder and soil freezes less deeply.
Check a few cloves with a trowel after planting a row. Confirming depth once saves guessing for the rest of the bed.
7. Water The Bed If Fall Soil Is Dry
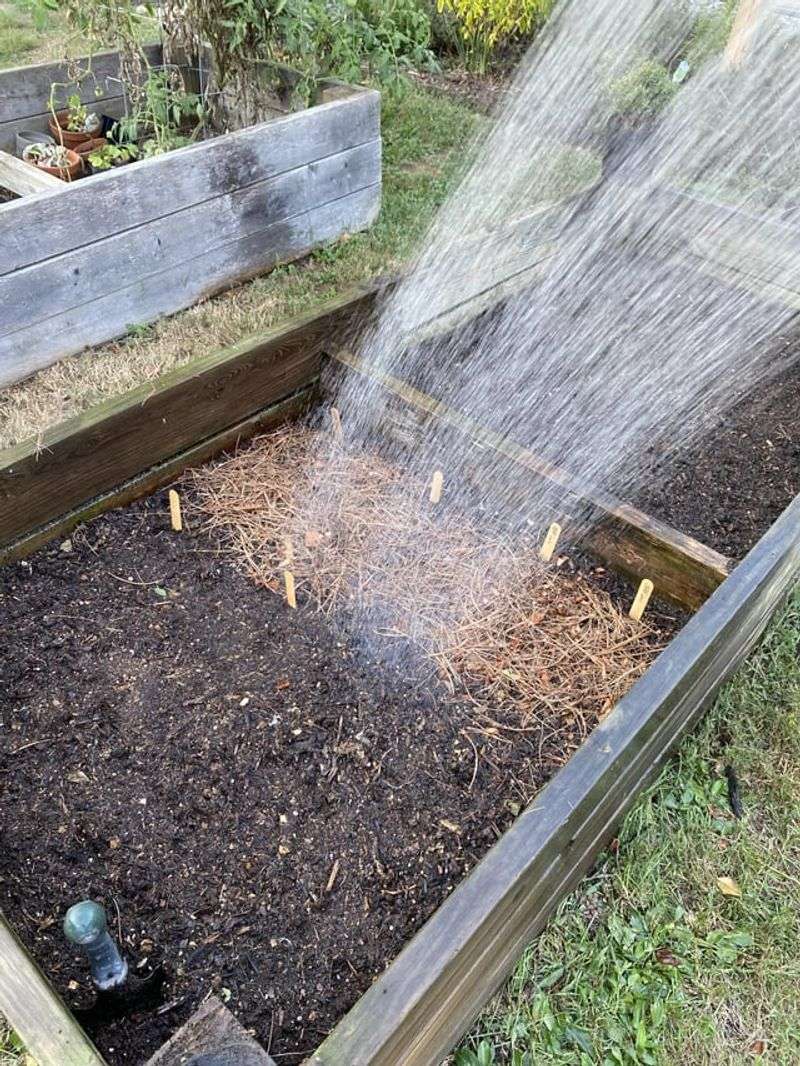
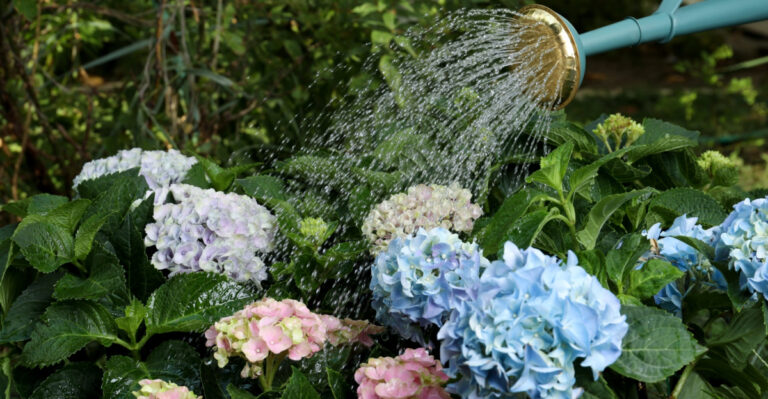
A good soak right after planting settles soil around every clove. That snug contact helps roots find moisture quickly.
Air pockets are the enemy. Water collapses them and keeps cloves from drying out during a warm, breezy October stretch.
Check the soil with your finger before reaching for the hose. If the top three inches feel damp, autumn rain has already done the job.
New York falls usually bring steady rainfall. In many seasons, rainfall may provide enough moisture after planting, but check the bed and water if the soil becomes dry.
Dry spells do happen though. A rainless two weeks after planting is worth a deep drink to keep root growth moving along.
Aim for slow, gentle watering rather than a blasting spray. Strong water pressure washes soil away and can expose cloves near the surface.
Overwatering causes far more trouble than underwatering here. Garlic sitting in saturated ground can rot before winter even arrives.
Skip watering once the ground begins freezing regularly. Frozen soil cannot absorb it, and the extra ice does your cloves no favors.
Roots can continue growing while soil temperatures remain favorable. Those weeks of quiet underground work set up strong spring growth.
Morning watering is the friendliest choice. Surfaces dry before evening chill sets in, which keeps fungal problems from getting a foothold.
One thoughtful soak is usually all your bed needs before mulching.
8. Cover Garlic With A Thick Mulch Layer
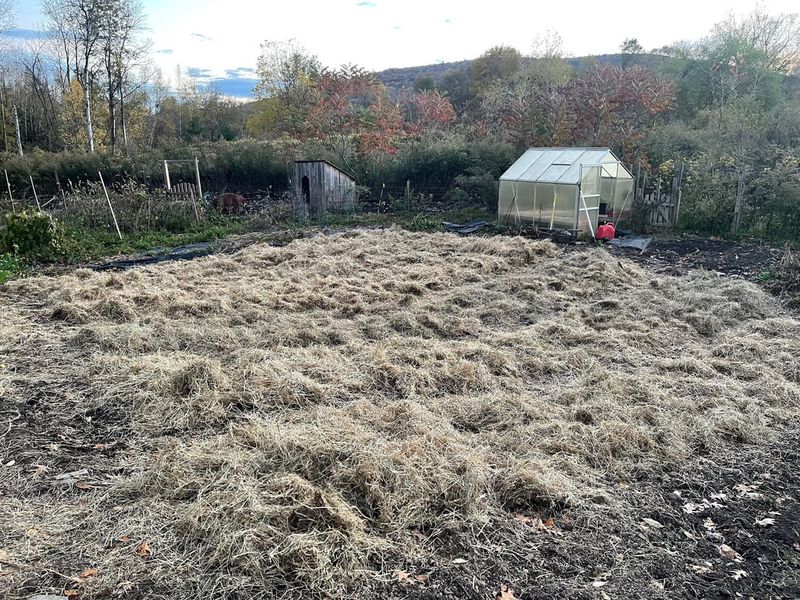
Think of mulch as a winter quilt for your cloves. Four to six inches of loose material keeps soil temperatures steady through freeze and thaw cycles.
Wheat straw is the classic pick among New York growers. It stays fluffy, breaks down slowly, and lifts off easily in spring.
Shredded leaves are free and work wonderfully. Run the mower over a leaf pile first so they do not mat into a soggy layer.
Chopped cornstalks and dried grass clippings both do the job. Just avoid clippings from lawns treated with weed-control products.
Apply mulch within about five weeks of planting. Waiting too long leaves cloves exposed during the first hard freeze.
Frost heaving becomes much less likely under a deep layer. Cloves stay put instead of getting pushed upward by shifting soil.
Moisture retention is another quiet benefit. Mulched beds hold water longer during dry stretches in April and May.
Weeds struggle to get started under six inches of straw. Fewer weeds in spring means fewer hours spent hunched over the bed.
Green shoots often push right through straw on their own. Hardneck varieties are especially good at finding their way to light.
Thin the mulch once hard frosts pass if shoots look stuck. Pull it back to an inch or two and leave the rest as weed cover.
Mulched beds give garlic important winter protection and can help support a strong harvest.
9. Keep The Bed Weed Free Through Winter
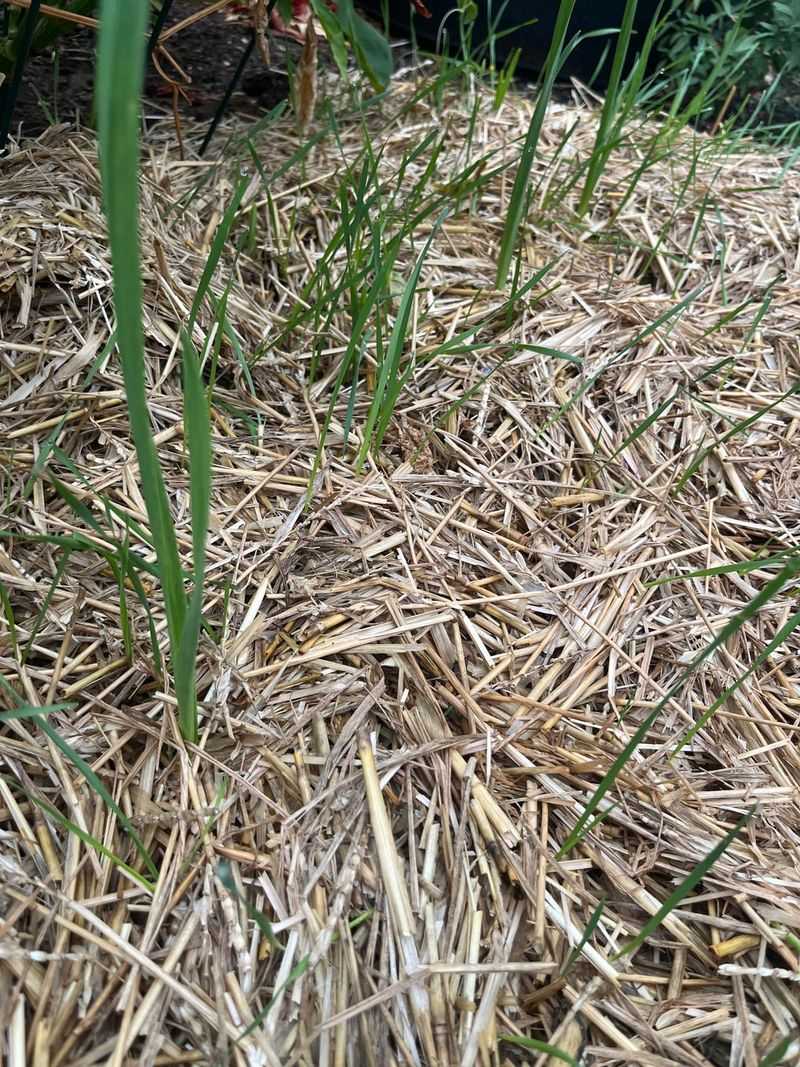
Garlic is a poor fighter in a crowded bed. Narrow leaves cast almost no shade, so weeds grab sunlight easily.
Every weed stealing nitrogen is a smaller bulb on your plate. Studies show weedy beds can cut garlic yields dramatically.
Start clean before you plant. Pull perennial troublemakers like quackgrass and bindweed roots and all, since they return with a vengeance.
Winter annuals such as chickweed and henbit sprout during mild spells. They stay green under snow and take off the moment things warm.
Mulch remains your best defense. A thick straw layer blocks light from reaching weed seeds all winter long.
Walk the bed on warm winter days. Pulling a handful of seedlings in January beats battling a jungle in April.
Hand weeding is safest around garlic. Hoes and cultivators can nick shallow roots and slice into developing bulbs without you noticing.
Spring weeding matters most between April and June. That stretch is when bulbs size up and competition hurts the harvest hardest.
Get weeds out before they set seed. One chickweed plant can drop thousands of seeds that haunt your bed for seasons.
Add fresh mulch in spring if the layer has thinned. Topping up keeps late weeds from filling in bare patches.
Come July, you will pull bulbs the size of your fist and feel every winter check was worth the trouble.