What To Do With Canna Lilies Before The First Frost In Ohio
All summer, your canna lilies put on a show. Tall stalks shot up past the fence. Broad leaves in green, bronze, and burgundy caught the sun.
Bold blooms in red, orange, and yellow turned heads up and down the street.
Now the cold is on its way.
Canna lilies love heat, and they have zero tolerance for a hard Ohio freeze. One frigid night can turn those lush plants into a slimy, blackened mess.
Worse, the damage does not stop at the leaves. It can reach deep below the soil and wipe out next year’s display before it ever begins.
Many gardeners learn this lesson the hard way. They wait too long, or make one small mistake that costs them the whole plant.
Yet a little effort this fall can save your cannas for many more summers to come. The key is to act fast, before the first frost arrives.
1. Let Frost Timing Guide Your Canna Cleanup
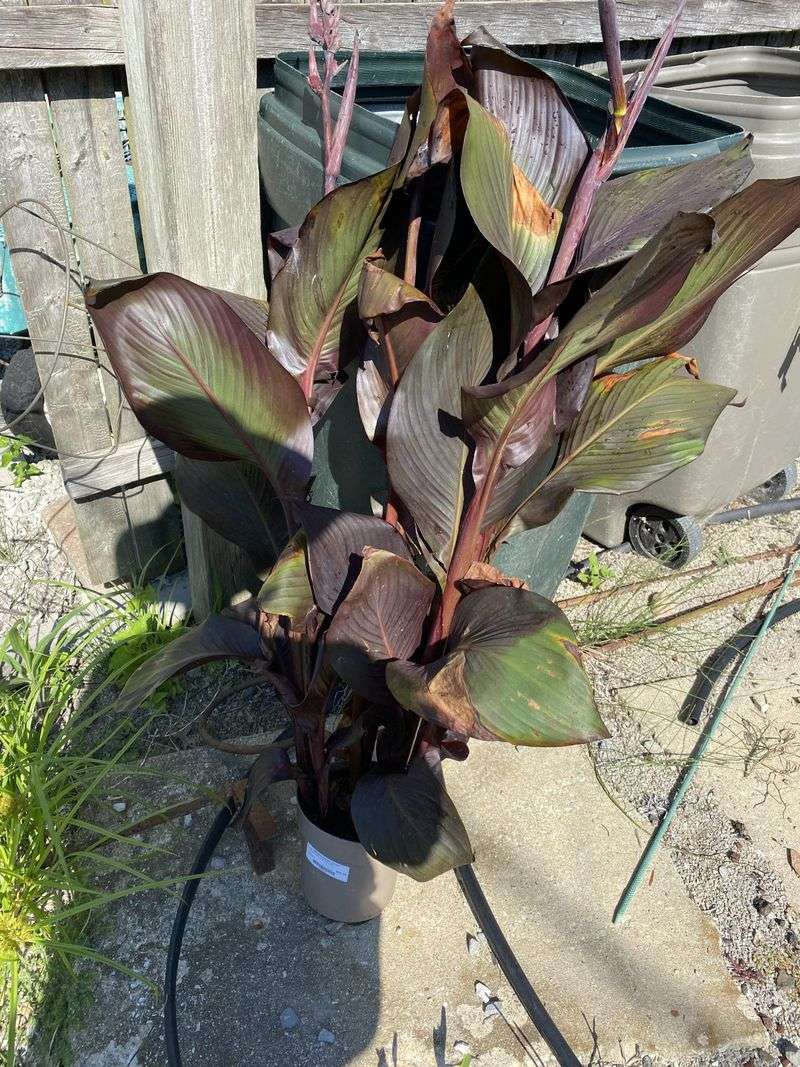
Mother Nature hands you a free calendar every fall, and it arrives as a thin layer of silver on the lawn. That first light frost is your signal to start thinking about your cannas.
Ohio sits mostly in USDA Hardiness Zones 5 and 6, which means winters get far too cold for these tropical plants. Left in the ground, the rhizomes would freeze solid by January.
Across the state, first-frost timing varies considerably by location and year, so use your local forecast rather than relying on a fixed calendar date. Northwest Ohio often sees it around October 6, while parts of Central Ohio may wait until late October.
A light frost happens when nighttime temperatures slip just below 32 degrees Fahrenheit for a few hours. The canna leaves react quickly, turning dark, limp, and droopy by the next morning.
Keep an eye on your local weather app starting in late September. Many apps send frost alerts, which makes planning your weekend garden chores much easier.
Your goal is simple: act after that first light frost but before the soil freezes hard. That window usually gives you a week or two of comfortable working time.
Jot the frost date on a calendar each year, too. After a few seasons, you will have your own handy record of when fall really arrives in your backyard.
2. Wait For Foliage To Fade Before Digging
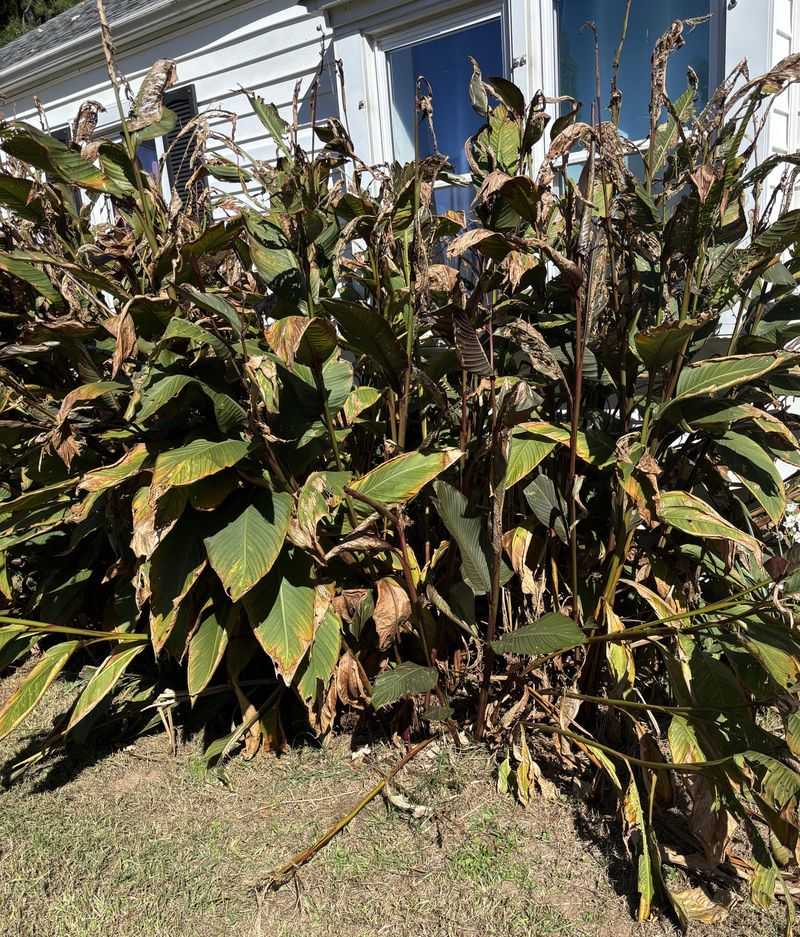
Patience might be the hardest garden tool to use in October. When the beds start looking messy, your hands itch to grab a shovel and tidy everything up.
Hold off for now, because those big green leaves are still hard at work. Late summer into early fall is when cannas pack food into their underground rhizomes for next year.
Picture the leaves as tiny solar panels charging a battery below the soil. Every sunny day adds a little more power to that stored energy supply.
A light frost tells the plant that the season is over. It stops growing, slips into rest mode, and sends its remaining energy down into the rhizomes.
Digging too early interrupts that final energy transfer. You might end up with smaller, weaker rhizomes that sprout slowly or poorly when spring comes around.
Your Ohio Garden Changes Every Week. Your Plan Should Too.
Gardening in Ohio changes quickly throughout the season. Every Friday you’ll receive a simple weekly plan showing exactly what to plant, prune, fertilize, harvest, and protect so you never miss the right timing.
Leaving green plants in place for a few extra weeks costs you nothing. Meanwhile, the flowers may keep blooming and give pollinators one last snack before winter.
If the garden looks too scruffy for your taste, pull nearby spent annuals or rake leaves instead. Staying busy with other chores makes waiting much easier.
Once frost darkens the foliage, you have the green light to move forward. Your reward will be plump, healthy rhizomes ready for a strong start next season.
3. Cut Back Stems After Frost Blackens Them
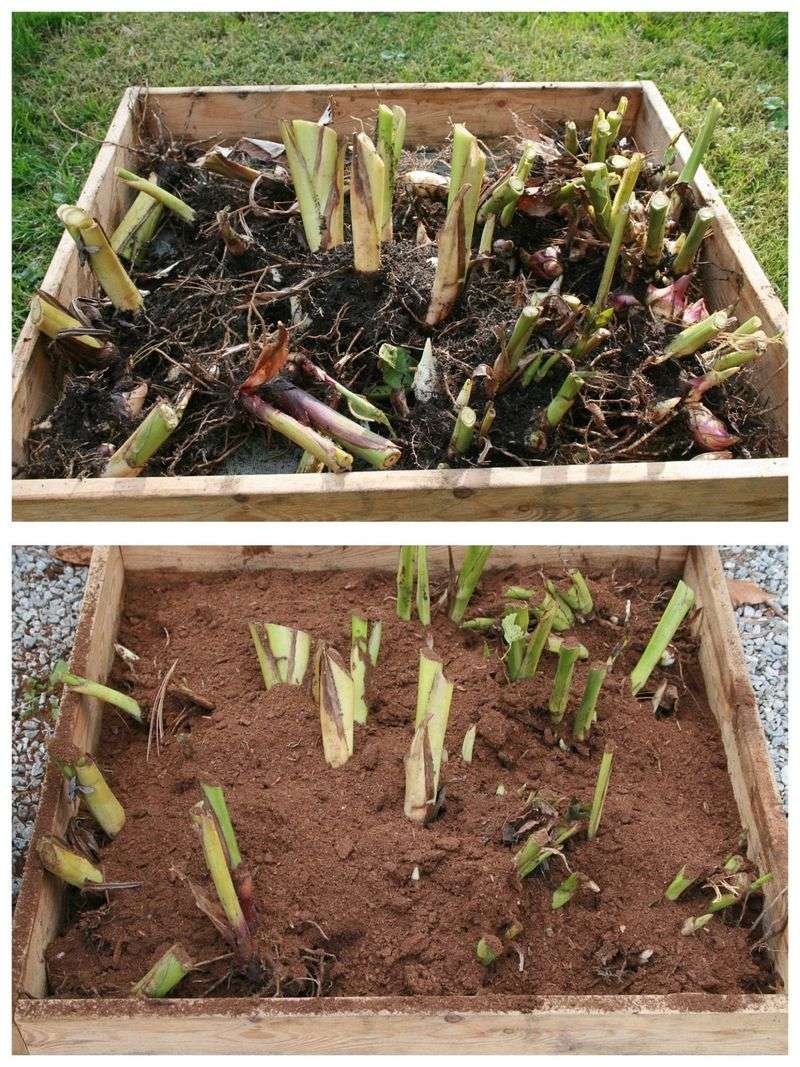
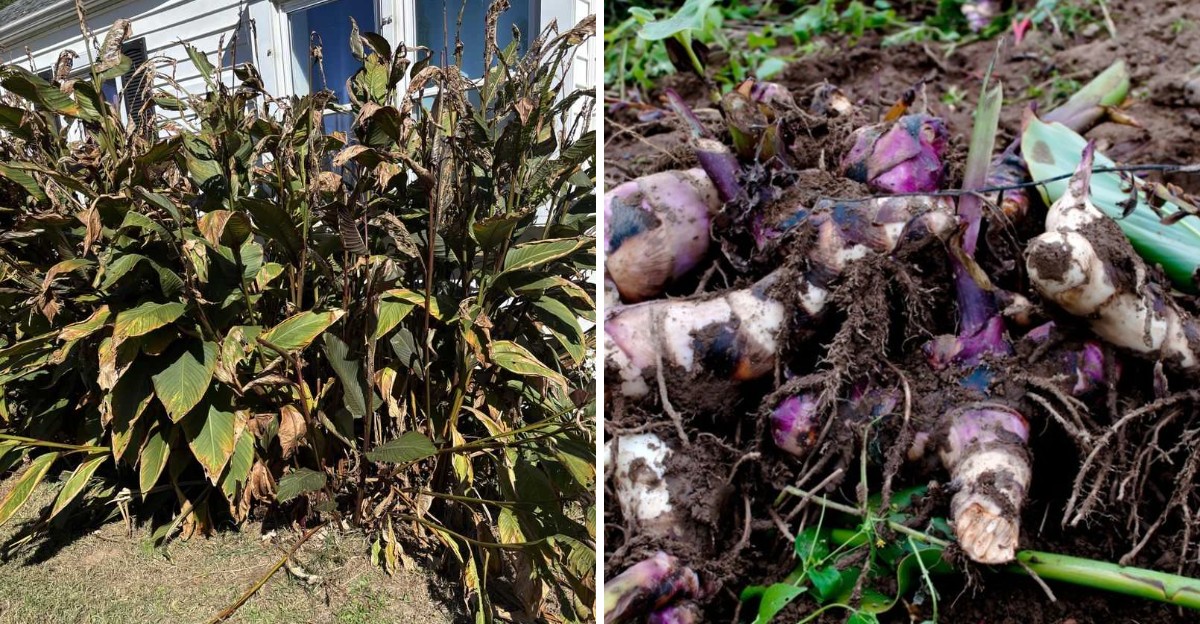
The morning after a frost, your once-glorious cannas may look like they lost a fight with a toaster. Brown and black leaves hang down like soggy laundry on a clothesline.
Don’t panic, because that sad look is exactly what you were waiting for. The frost has signaled the plant to rest, and the energy is now tucked safely underground.
Grab a clean pair of pruners or loppers and get ready to trim. Once the foliage has been blackened by frost, cut the stems back close to the rhizomes, leaving a short stub that makes the clump easy to handle.
Leaving a short stub is helpful in several ways. It shows you exactly where each plant sits, and it gives you a handy grip when lifting clumps later.
Wipe your blades with rubbing alcohol before you start and between plants. Clean tools help stop plant diseases from traveling from one clump to the next.
The chopped leaves and stalks can go into your compost pile if they look healthy. Toss anything with spots, mold, or signs of pests into the trash instead.
Fun fact: canna leaves have been used in some cultures to wrap food for cooking, a bit like tamale husks. Those giant paddles really are useful beyond looking pretty.
Once the stems are trimmed, the garden looks tidier right away. You are also one step closer to lifting those rhizomes before winter settles in.
4. Lift Rhizomes Before The Ground Freezes
Frozen Ohio soil can feel as hard as a parking lot by December. Trying to dig rhizomes out of that would be a sore-back mission nobody wants.
Plan to lift your cannas within a week or two after frost darkens the leaves. Pick a dry day if you can, since muddy soil is heavy and sticky.
Start digging about 6 to 12 inches away from the base of each plant. That wide circle protects the fleshy rhizomes from accidental slices and stabs.
A garden fork works wonderfully because it loosens soil without cutting much. A shovel is fine too, as long as you push it in slowly and carefully.
Work your way around the whole clump, gently rocking the tool back and forth. Once the soil feels loose, slide the fork underneath and lift the clump upward.
Try not to yank the plant up by its stems. The stubs can snap off, and the rhizomes may tear or bruise in the process.
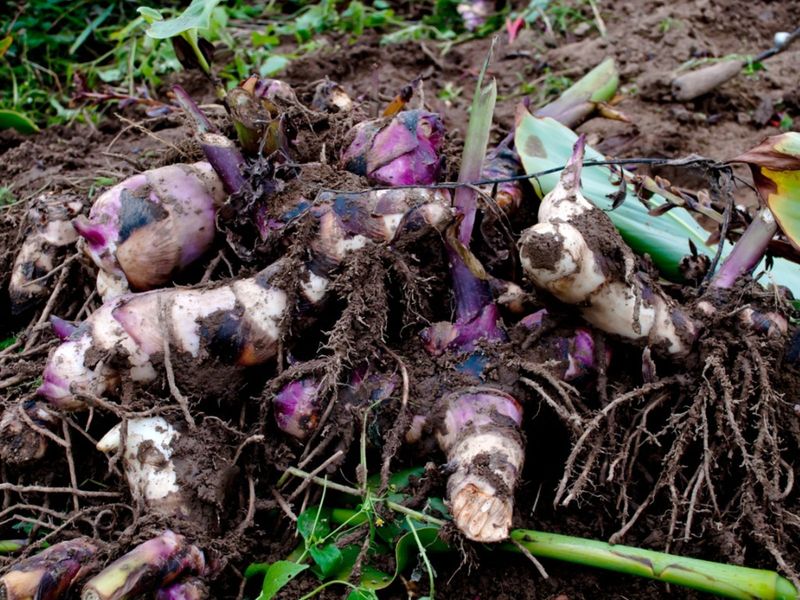
Cannas multiply quickly, so one small rhizome in spring can become a big cluster by fall. Don’t be surprised if you pull up far more than you planted!
Label each clump with its color or variety as you go. A strip of masking tape and a marker will save plenty of guessing next spring.
5. Brush Away Excess Soil Without Washing Them
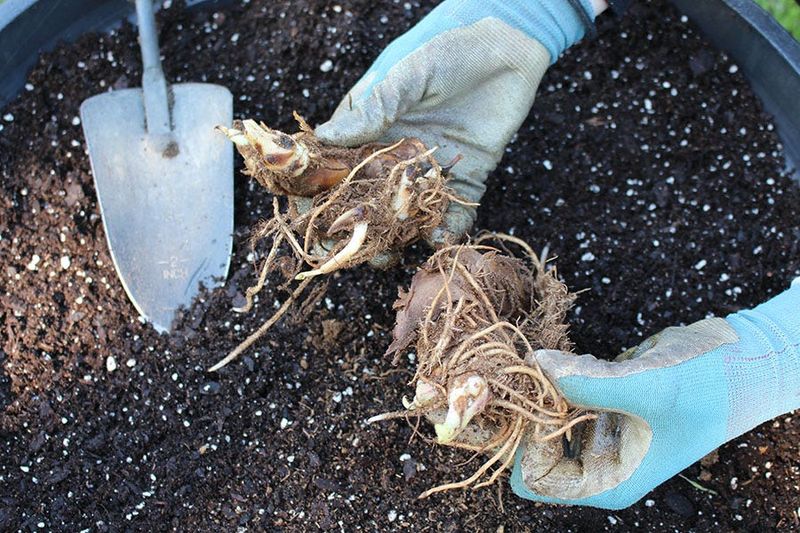
Your first instinct might be to hose those muddy rhizomes clean until they sparkle. Resist that urge, because water can cause more trouble than it solves.
Wet rhizomes stored for months can invite mold, rot, and fungal diseases. Extra moisture trapped in cracks gives those problems a cozy place to grow.
Instead, give each clump a gentle shake to knock off the big chunks of soil. You can tap it lightly against your boot or a bucket rim, too.
Next, use your gloved hands or a soft brush to sweep away more dirt. A dry paintbrush or an old vegetable brush works surprisingly well for this job.
You don’t need to remove every last speck of soil. A thin layer of dry dirt clinging to the skin is perfectly fine and will flake off during curing.
Some gardeners do rinse their rhizomes, and you may read that advice online. If you choose that route, dry them thoroughly before moving on to storage.
For most Ohio growers, though, the no-wash method is simpler and safer. It saves time, keeps the mess outdoors, and lowers the risk of winter rot.
While brushing, take a quick peek at each rhizome’s surface. Spotting nicks or soft patches now helps you decide which pieces deserve a spot in storage.
6. Let Rhizomes Dry Before Winter Storage
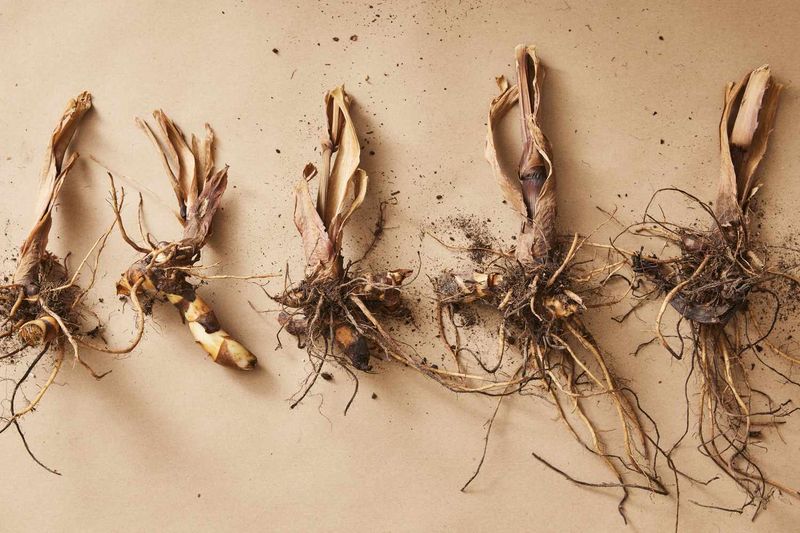
Think of curing as a little spa break for your rhizomes before their long winter nap. A few days of rest in the right spot helps them toughen up for the months ahead.
Spread the clumps out in a single layer on newspaper, cardboard, or a wire rack. Give them room so air can move around each piece.
Choose a dry, well-ventilated space that stays frost-free and out of direct sunlight. A mudroom, a spare bedroom, or a covered porch on mild days can work nicely.
Cure the rhizomes in a dry, well-ventilated, frost-free spot for about a week, or until the outer surfaces and cut stems are dry and firm.
During this time, the outer skin firms up and small cuts form a protective callus. That tough layer acts like a bandage that blocks mold and fungus.
You will know curing is done when leftover soil feels dry and brushes off easily. The cut stems should also look shriveled and papery.
Skipping this step is a common beginner mistake. Fresh, moist rhizomes packed away too soon can turn mushy long before spring arrives.
Turn the clumps once or twice during the week to help them dry evenly. It takes only a minute, and your future flower beds will thank you.
7. Keep Stored Cannas Cool And Frost-Free
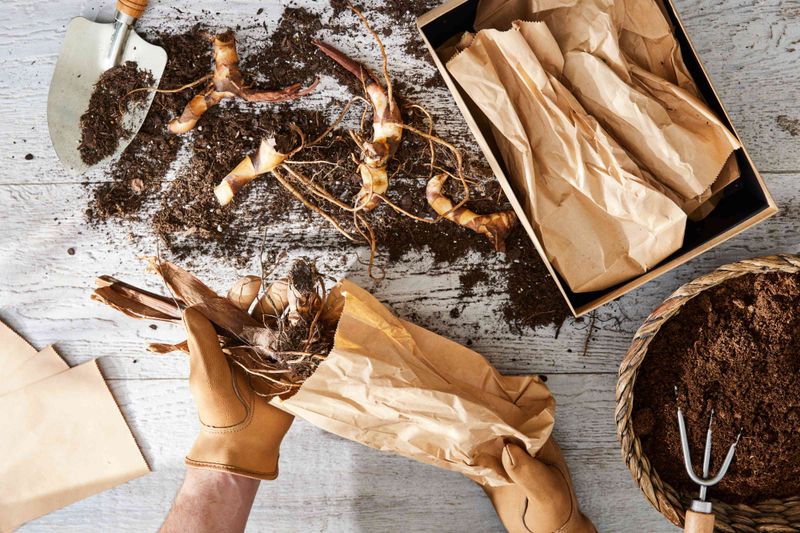
Canna rhizomes are a bit like Goldilocks when it comes to winter lodging. They want a room that is not too hot, not too cold, but just right.
Aim for a steady temperature between 40 and 50 degrees Fahrenheit. Some growers stretch that range to 45 to 55 degrees and still get great results.
Unheated basements, crawl spaces, and cool interior closets often make great winter hideouts. Darkness helps too, since light can wake the rhizomes up too early.
Skip attics and unheated garages, where Ohio cold snaps can freeze your stash overnight. Also avoid spots near a furnace or water heater, which can dry them out or trigger early sprouting.
Pack the rhizomes loosely in cardboard boxes, paper bags, or plastic crates. Tucking them into dry peat moss, vermiculite, or wood shavings helps hold steady moisture.
Plastic bags without holes are a poor choice because they trap humidity. Good airflow keeps mold from creeping in during those long winter months.
A cheap thermometer placed near your storage box takes the guesswork out of the job. Check it now and then, especially during bitter January cold spells.
Label each container with the variety and the date you stored it. Come spring, you will know exactly what treasures are waiting inside.
8. Discard Any Rhizomes With Soft Spots
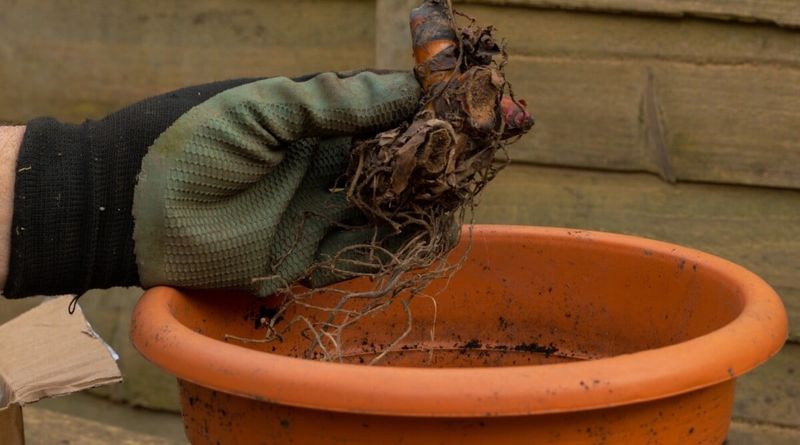
One mushy rhizome can spoil the whole box, much like a single bad apple in a barrel. That is why a quick monthly checkup matters so much.
Set a reminder on your phone to peek at your stored cannas every few weeks. Gently squeeze each piece, and look closely at the skin.
Healthy rhizomes feel firm, a lot like a raw potato. Trouble shows up as soft, squishy, dark, or foul-smelling spots.
Remove any badly damaged pieces right away and toss them in the trash, not the compost. Quick action keeps mold or rot from spreading to the healthy neighbors.
Small problem areas on large rhizomes can often be saved. Use a clean knife to trim away the soft section until you reach clean, white flesh.
Let the cut surface dry for a day before returning it to storage. This helps a fresh callus form over the wound.
Also watch for shriveling, which means the rhizomes are drying out too much. If stored rhizomes are becoming noticeably shriveled, check the storage conditions and packing material first rather than adding water directly.
Excess moisture can encourage rot.
Tiny holes or crawling bugs may signal insect trouble. Separate those pieces and inspect them carefully before deciding what stays.
Being a little picky now pays off later. Every firm, healthy rhizome you keep is a promise of bold leaves and bright blooms next summer.
9. Replant After Ohio’s Spring Soil Warms
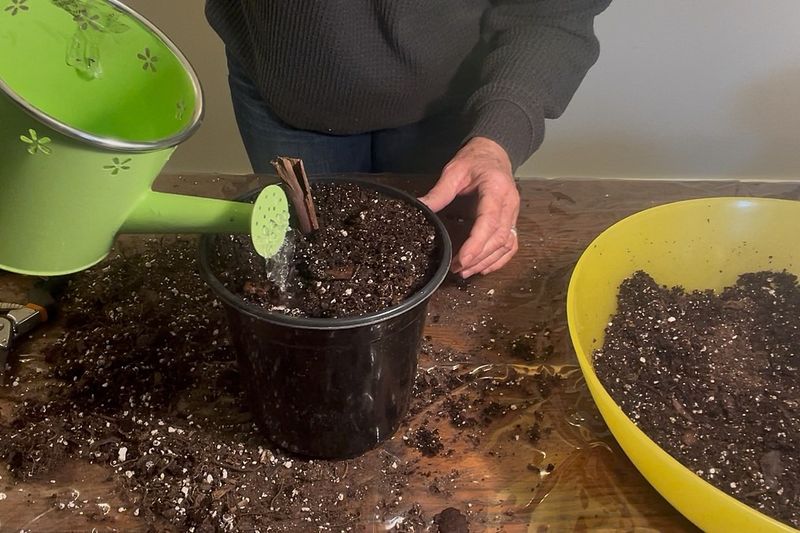
Spring fever hits Ohio gardeners hard, especially after a long, gray winter. Still, cannas prefer a slow start, so resist planting them on the first warm April afternoon.
Wait until all danger of frost has passed and the soil reaches at least 60 degrees Fahrenheit. In most of the state, that happens around late May or early June.
A simple trick is to plant cannas when you set out tomatoes and peppers. Those warm-season crops share nearly the same temperature needs.
A soil thermometer costs only a few dollars and removes the guessing. Push it about 4 inches deep in the morning for the most accurate reading.
Want a head start on blooms? Pot up your rhizomes indoors about four to six weeks before your last expected frost date.
Place the pots in a warm, sunny window and water sparingly until sprouts appear. Once outdoor conditions are right, move them outside gradually over a week.
When planting in the garden, set rhizomes about 4 to 6 inches deep with the growing eyes facing up. Pick a sunny spot with rich, well-drained soil.
Cannas have been grown for centuries, and some ancient peoples in South America ate the starchy rhizomes. Your plants carry a long, colorful history into your yard.