What To Do With Potted Ferns Before Ohio Nights Drop Into The 40s
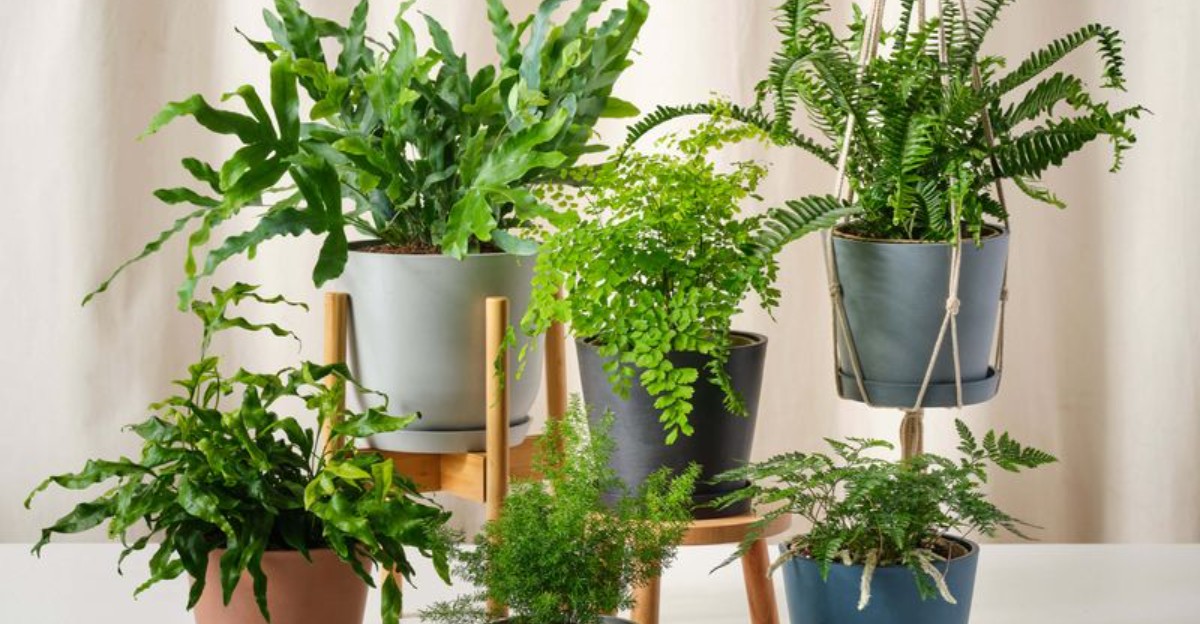
Potted ferns don’t send a warning text before they crash. One cold night is usually all it takes.
Ohio’s overnight temperatures sliding into the 40s puts these plants on a tighter clock than most people realize, especially compared to hardier potted plants that can shrug off a chilly night without issue. Ferns don’t get that luxury.
Damage shows up fast, and by the time fronds start browning, the setback’s already locked in.
Moving them inside isn’t as simple as finding a sunny spot either. Light, humidity, and even which room you pick all affect whether a fern holds onto its look or spends the next month struggling to adjust.
Watch your nighttime forecast closer than you have been. A single rough night could cost you a fern that took all summer to fill out.
1. Bring Ferns In When Nights Hit The 50s
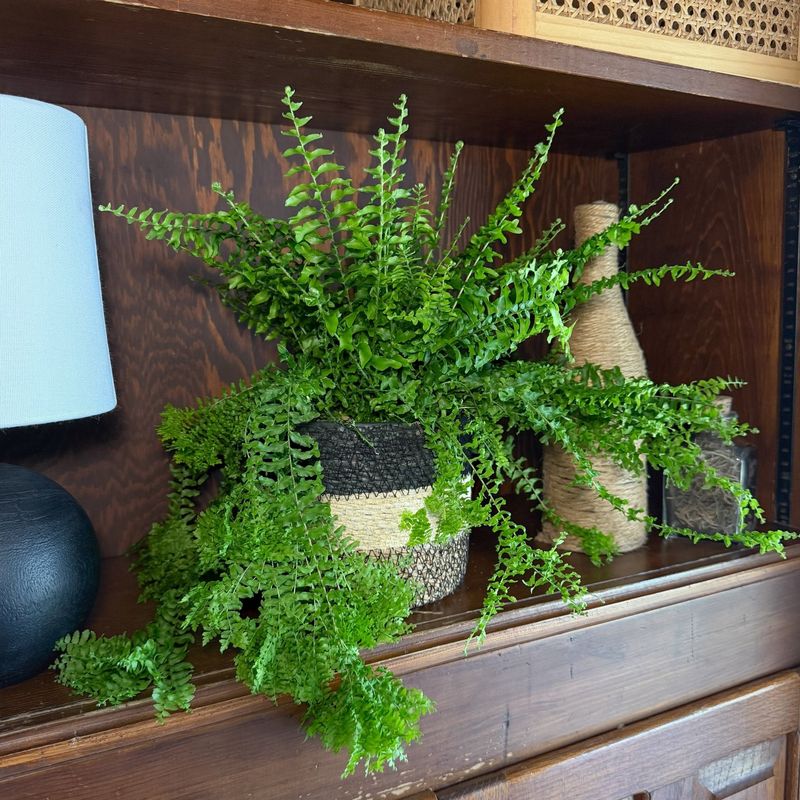
Picture a cozy October evening in Columbus. The sky turns pink, the thermometer slides to 52, and your fern quietly shivers.
Most gardeners wait for frost before they act, but ferns prefer an earlier move. Boston ferns start to struggle once nights reach the low 40s.
Some plants even show stress in the high 40s, with fronds that look dull or droopy.
A handy rule is to start the move when nighttime lows near 50 degrees Fahrenheit. In southwest Ohio, that usually lands around early October.
Northern Ohio may cool off a week or two sooner, so keep an eye on your local forecast.
Why not wait until the last minute? Cold damage can sneak up on a fern before you notice it.
Frost can scorch the delicate fronds and leave brown, crispy patches that take months to grow out.
Here is a simple habit that helps. Check the ten-day forecast every Sunday starting in late September.
Once you see a string of nights in the low 50s, it is time to plan.
Starting early also gives you time for the other prep steps in this list. Cleaning, trimming, and slowly adjusting your fern all take a few days.
A little planning now saves you from a frantic dash outside on a chilly night with a flashlight.
2. Flush The Pot To Evict Hidden Hitchhikers

Ants, pill bugs, and tiny slugs think your fern pot is a free apartment. All summer long, they have been moving in without paying rent.
Bringing those guests into your living room is not a fun surprise. Before the move, take a close look at the root ball.
Gently tip the pot and peek at the drainage holes for any wiggly residents.
For a deeper clean, try the soak method. Fill a big tub or bucket with water and set the whole pot inside for several hours.
The water pushes air out of the soil, so bugs float up or scramble to the surface.
Once the soak is done, lift the pot out and let it drain well. Soggy soil indoors can lead to root trouble, so give it plenty of time to drip.
Your Ohio Garden Changes Every Week. Your Plan Should Too.
Gardening in Ohio changes quickly throughout the season. Every Friday you’ll receive a simple weekly plan showing exactly what to plant, prune, fertilize, harvest, and protect so you never miss the right timing.
A spot in the shade on the patio works nicely.
There is another type of flush that helps too. Water slowly and evenly until it runs out the bottom, then repeat a few times.
This washes away built-up salts and minerals from summer feeding.
After flushing, let the soil settle for two or three days before getting back to your normal care routine. Your fern will head inside clean, fresh, and free of freeloaders hiding in the dirt.
3. Give The Fronds A Mild Soapy Bath
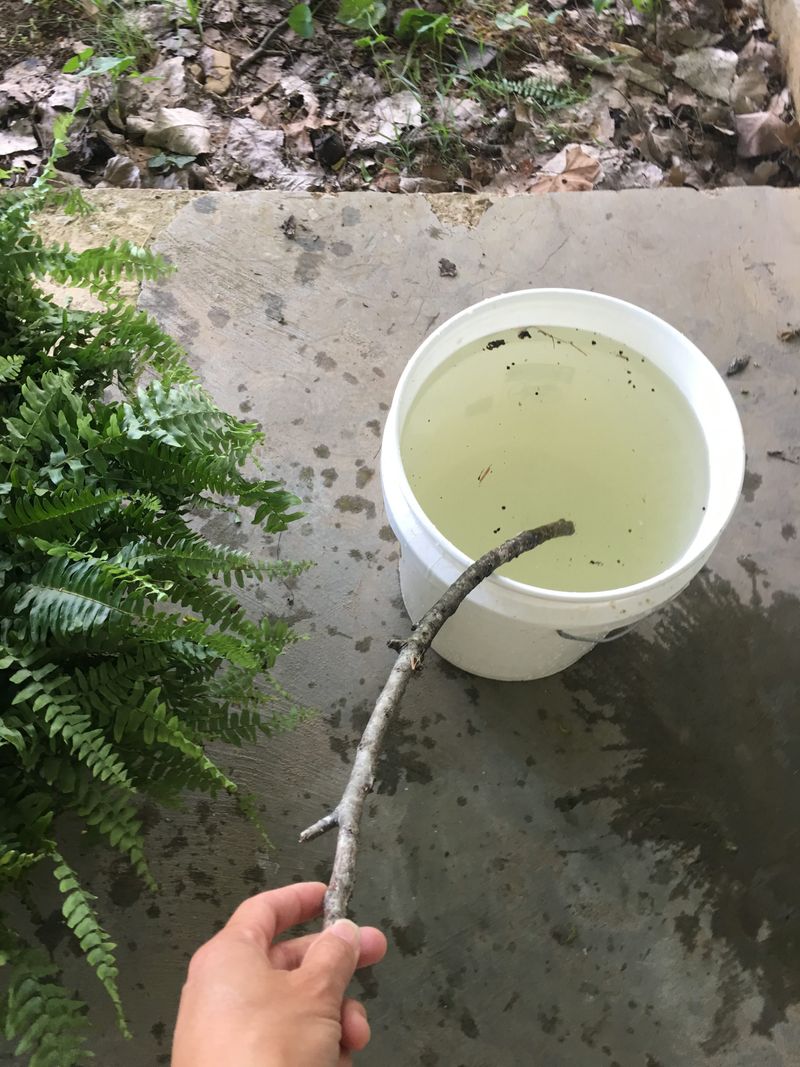
Spa day, anyone? Your fern has earned a good scrub after months of dust, pollen, and passing bugs.
Insecticidal soap is the star of this step. Spray the fronds and stems well, paying extra attention to the undersides where pests love to hide.
Let the spray dry fully before the plant goes anywhere near your door.
Want to make your own? Mix 3 tablespoons of vegetable oil and 3 tablespoons of pure liquid soap into about 3 liters of water.
Shake it up and soak the plant thoroughly. Skip harsh dish detergents with degreasers, since they can be rough on tender leaves.
After spraying, many gardeners leave the fern outside for two or three more days. Then they check it again for any bugs that held on.
A second round is fine if you spot stragglers.
Not a fan of sprays? A gentle shower from the garden hose works too.
Aim at the undersides of the fronds and repeat a couple of times. Wiping sturdy fronds with a damp cloth also clears dust and sneaky critters.
Some people finish with a light neem oil spray as extra protection. Think of it as a raincoat against future pests.
Your fern will come inside looking shiny and feeling refreshed.
4. Ease Ferns Indoors Over One To Two Weeks
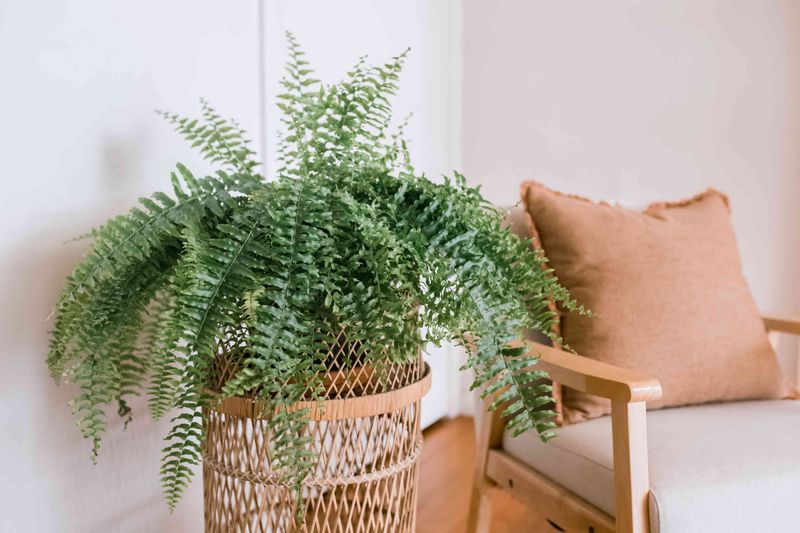
Imagine walking out of a sunny beach straight into a dim movie theater. Your eyes need a minute, right?
Ferns feel the same way about the jump from outdoors to inside.
Indoor light is much softer than summer sun, even in a bright room. A sudden switch can cause leaf drop and stress.
A slow transition helps your plant adjust without throwing a fit.
Start by moving your fern to a shady outdoor spot for about 10 days to two weeks. A covered porch, patio, or bright garage works great.
Cooler nights in the 50s in these places help the plant get ready for change.
Next, bring the fern inside for a few hours each day. Each day, leave it in a little longer.
By the end of the week or so, it can stay inside full time.
Do not panic if some fronds turn yellow or fall off during this process. Shedding a bit of foliage is normal as ferns react to new light, temperature, and humidity.
Just sweep up the fallen bits and keep going.
Patience is the secret ingredient here. A careful seven to fourteen day move means fewer pest problems, less leaf drop, and a happier plant through the long Ohio winter.
5. Prune Your Fern Before It Comes Inside
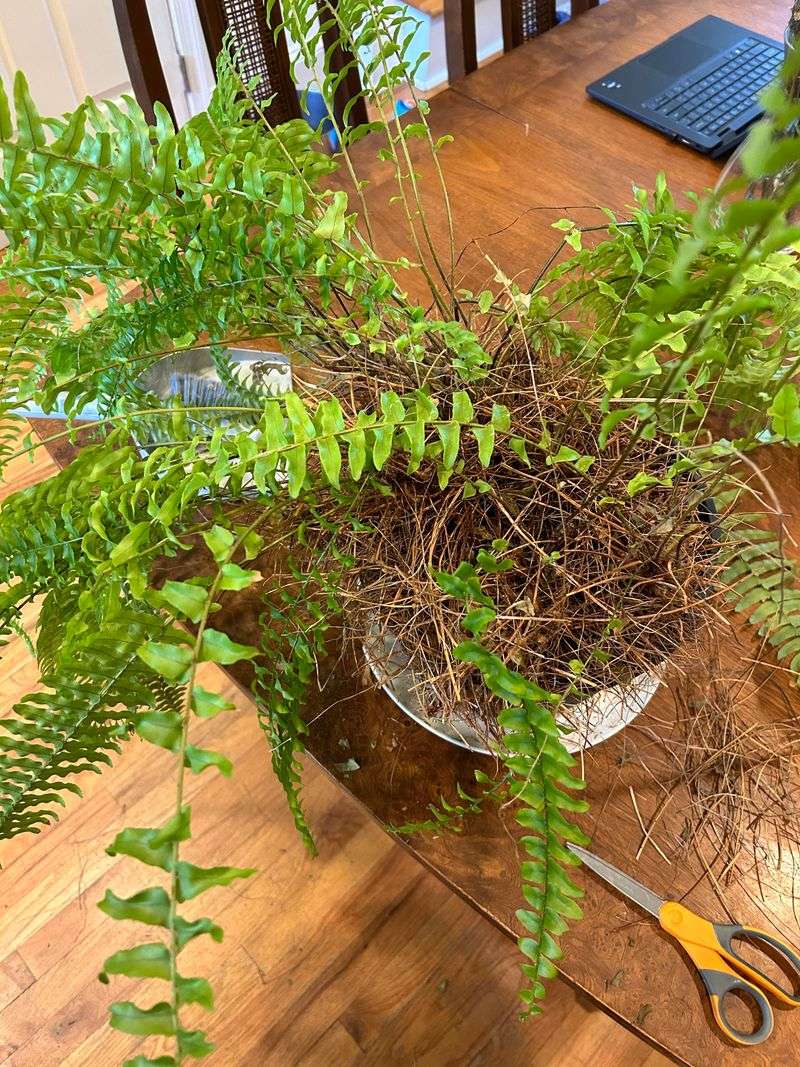
Haircut time! Summer ferns can grow wild and floppy, like a shaggy dog after a long vacation.
Trimming before the move makes your fern easier to handle and fit indoors. Snip off long, straggly fronds to control the size.
Cutting several inches is fine, since the plant will push out fresh growth later.
Different ferns like different amounts of trimming. Boston ferns can be cut back by about half.
Kimberly Queen ferns do well with about one-third removed, and Macho ferns can lose around two-thirds.
Do your trimming right before the indoor move. A smaller plant helps the roots save energy during cool months.
It also keeps your living room from looking like a jungle.
While you are at it, pull off any yellow or dried-out fronds. These do not bounce back, and removing them helps lower the chance of fungus problems indoors.
Clean, sharp shears make neater cuts that heal faster.
Here is a fun fact for outdoor ferns planted in the ground. Many gardeners leave old fronds on hardy types to shield the crown through winter.
Evergreen ferns barely need pruning at all, just a quick spring tidy when new fiddleheads pop up. For potted ferns heading inside, though, a good trim is a smart start.
6. Park Dormant Ferns In A Cool Basement Or Garage

Not every fern needs a sunny window all winter. Some are happy to take a long nap, much like a bear in a cave.
Letting a fern go dormant is a great choice if you lack space or bright light. A cool basement or attached garage can work well.
Dormant ferns do not need light, so a dark corner is just fine.
Temperature matters most here. For dormant Boston ferns, try to keep the space at about 55 degrees Fahrenheit or a bit warmer.
Many Ohio basements stay right around that range, which makes them handy winter hideouts.
Garages can be trickier. Some attached garages stay above freezing, while detached ones may drop too low on January nights.
A cheap thermometer helps you check before you commit.
Steer clear of hot, dry spots. Furnace rooms and areas near heating vents can dry out a resting fern fast.
A cool, dark, steady place lets the plant settle into full dormancy.
Do not expect a beauty contest winner while your fern sleeps. It may look a bit tired and thin by late winter.
Once spring arrives and the plant heads back outside, fresh green fronds usually return with surprising energy.
7. Water A Dormant Fern Just Once A Month
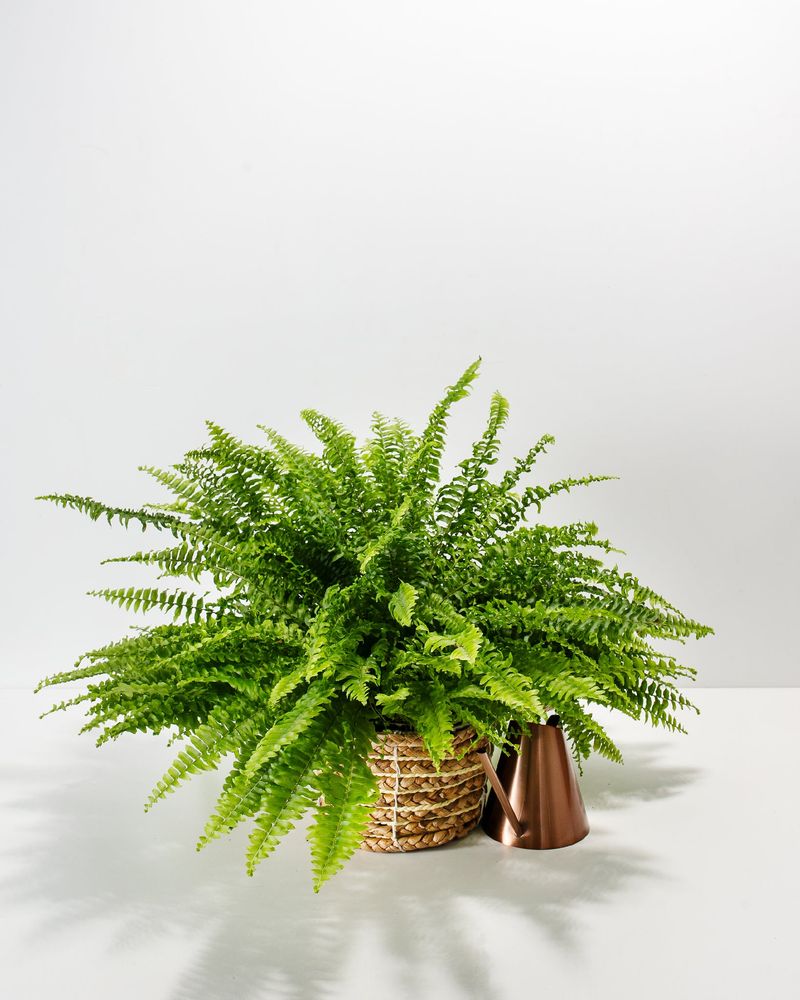
Good news for busy folks. A sleeping fern asks for very little, and watering becomes a monthly chore instead of a daily one.
During dormancy, the plant is barely growing. That means it drinks far less than it did in July.
About once a month is usually plenty for a fern resting in a cool basement or garage.
Let the soil dry out a bit between waterings. Ferns can get root rot if their soil stays wet for too long, and cold soil dries slowly.
Too much love from the watering can is a common winter mistake.
Aim for soil that feels lightly moist, not soggy. When you water, give a modest drink and let any extra drain away.
A saucer full of standing water is an invitation for trouble.
Still, do not forget about your fern for months on end. Poke a finger into the soil now and then to make sure the roots have not turned bone dry.
A shriveled root ball has a harder time waking up in spring.
Need a memory trick? Set a phone reminder for the first day of each month.
You could also water on the same day you pay a regular bill. Simple habits like these keep your resting fern on track until warmer days.
8. Move Ferns Into The Bathroom For Extra Humidity
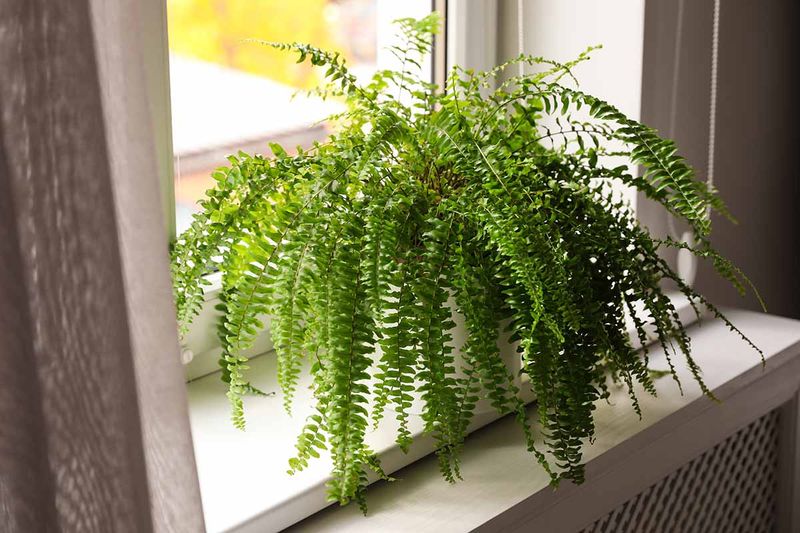
Ferns are basically tiny rainforest fans. They crave moist air, and a heated Ohio home in January can feel as dry as a cracker.
Your bathroom might be the best room in the house for them. Showers and baths add steam that ferns soak up happily.
If the room has a window with soft light, even better.
Try this little trick. Run a hot shower, then let your fern sit in the steamy room for about an hour.
It is like a mini vacation to the tropics without the plane ticket.
Other rooms can get a humidity boost too. Set the pot on a tray of pebbles with a bit of water, keeping the pot itself above the waterline.
Grouping several houseplants together also creates a moist little pocket of air.
Misting is popular, though it has mixed reviews. Some gardeners mist daily with room-temperature water.
Others say the effect fades quickly and may even encourage mold, so use it with care.
For the most steady results, a small plug-in humidifier is hard to beat. Place it near your fern and run it during the driest months.
Crispy brown frond tips usually mean the air is too dry, so watch for that clue.
9. Double Pot Ferns To Hold In Moisture
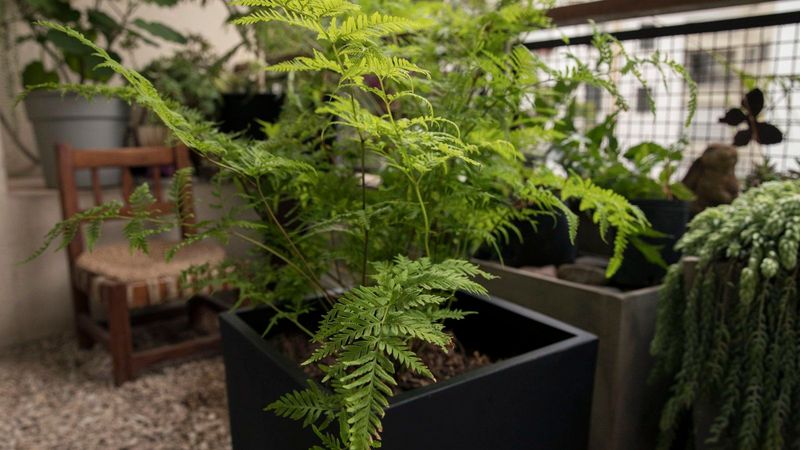
Think of double potting as putting a cozy sweater on your plant. It is a simple setup with some sneaky benefits.
Here is how it works. Keep the fern in its original pot with drainage holes.
Then slip that pot inside a larger decorative pot that has no holes at all.
The outer pot acts like a shield. It helps hold in moisture and keeps root temperatures more steady when the furnace kicks on and off.
Ferns appreciate that calm, even environment.
Want to take it up a notch? Fill the gap between the two pots with dried moss or coarse mulch.
This filler adds insulation and keeps moisture around the roots a little longer.
When watering, pour into the inner pot until water trickles into the outer one. Then comes the important part.
Check the outer pot regularly and dump out any extra water, since sitting water can cause root trouble.
Double potting also makes life easier. You can lift out the inner pot to rotate the plant, check roots, or carry it to the sink.
Come spring, moving your fern back outside takes just a few seconds. It is a stylish and practical way to keep your fern comfortable all winter long.