8 Easy Steps To Collect Coneflower Seeds In New York Before Season’s End
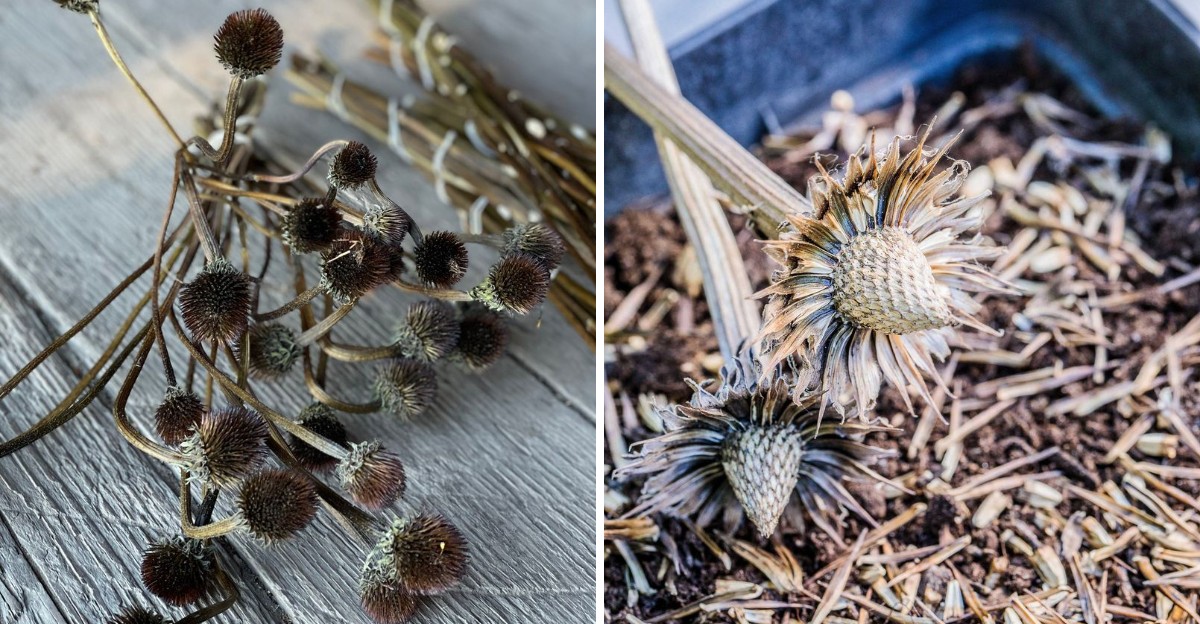
Stop clipping those brown, spiky seed heads before you see what they hold. Goldfinches feed on coneflowers across New York, and you can collect your share first.
Grab a paper bag and cup each ripe head in your palm. Tilt it gently, and you will hear some plump seeds rattle loose.
Pale, flat husks hold no promise, so leave them for the birds. Rudbeckia, zinnias, and marigolds reward your patience too.
Test ripeness by pinching a head; you want it crisp, brittle, and dry. Choose a dry afternoon, because damp seeds will spoil in your storage jar.
Label envelopes with the flower name and the date you collected. Stash them in a cool, dark drawer until you sow in spring.
In New York, you can fill entire beds with seed, and blooms arrive later. Birds protest loudly, share a few.
1. Watch For Cones That Turn Dark And Dry
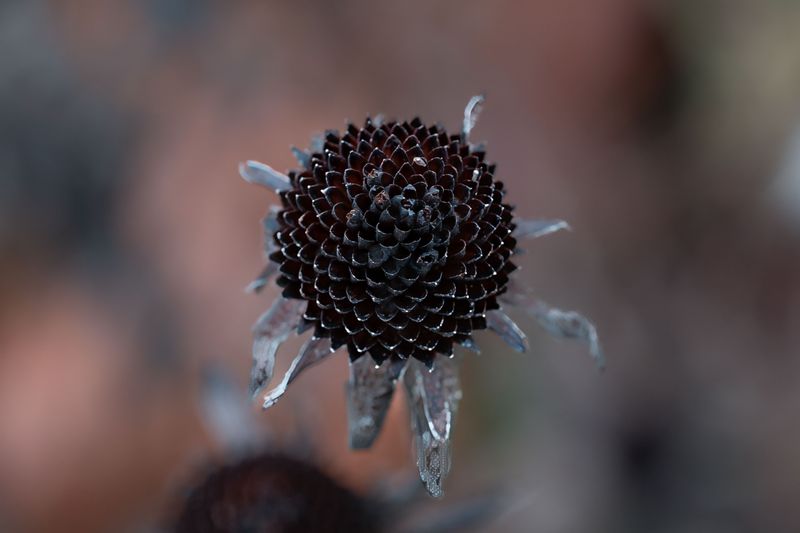
Back in July, those petals glowed like sunshine, but October tells a different story. The flower heads you see now should look brown, crispy, and a little bit shaggy.
That faded look is the sign you want to spot before collecting your first seeds. Seeds inside a green or soft cone are not ripe yet and will not sprout next spring.
Give each cone a gentle squeeze between your thumb and finger to test it out. A ready head feels firm and dry, almost like a tiny scrub brush.
Many of the petals will have dropped off or turned papery and curled downward. Some plants hold onto a few faded petals, and that is perfectly fine too.
Check the center for small, dark seeds tucked between the spiky bits. If you tap the cone over your palm, a few may tumble right out.
In New York, cones are usually ready from late September through October, depending on variety. Cold snaps can arrive quickly, so walk through your garden every few days this month.
Keep an eye on hungry goldfinches, since they love picking these heads clean. When you see them perching on stems, take that as your sign to get moving.
Not every cone ripens at the same time, even on the same plant. Mark the ready ones with a twist tie so you remember which to pick first.
Patience at this stage pays off with seeds that are plump, healthy, and eager to grow. Rushing the job usually means a jar full of duds come planting time.
2. Pick A Dry Midday Window For Harvesting
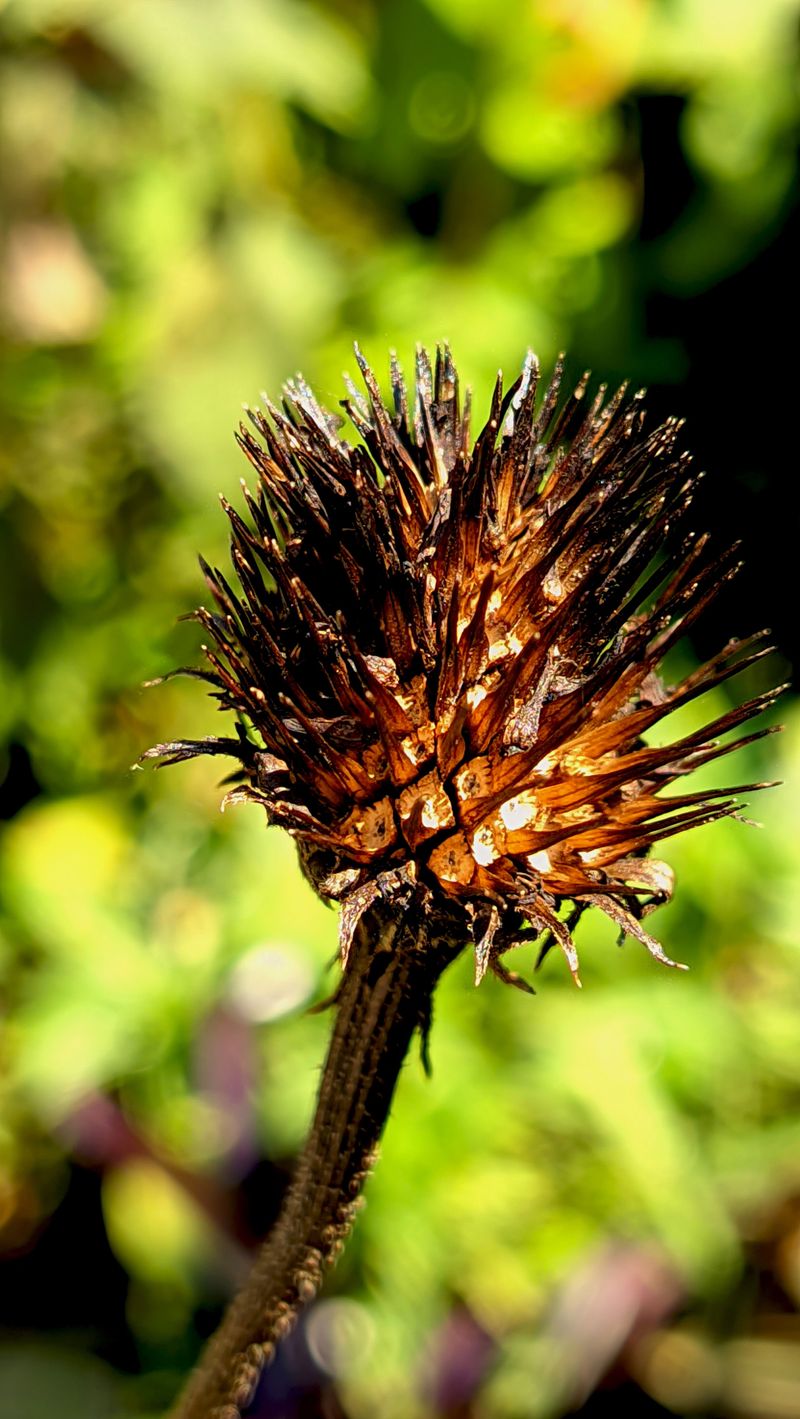
Damp seed heads hold moisture and can spoil quickly once they sit sealed in storage. Gathering them on a wet autumn morning invites that same problem.
Moisture is a leading cause of spoiled seed because it invites mold and rot. A dry day keeps the cones crisp and makes the whole job easier.
Late morning or early afternoon works best, after the sun burns off the dew. By then, the heads have had a few hours to shake off overnight dampness.
Your New York Garden Changes Every Week. Your Plan Should Too.
Gardening in New York changes quickly throughout the season. Every Friday you’ll receive a simple weekly plan showing exactly what to plant, prune, fertilize, harvest, and protect so you never miss the right timing.
Check the weather app before heading outside with your scissors. Aim for a stretch of two or three dry days in a row if possible.
Rain soaks into the spiky centers and takes a long time to leave. If a storm just passed, wait at least a full day before harvesting.
October in New York can swing from warm sunshine to chilly drizzle overnight. Grab the good days when they show up, because they may not last long.
Wind is another thing to think about while you plan. A breezy afternoon can blow loose seeds away before they ever reach your bag.
Calm, bright, and dry is the dream combination for this task. Bring a sweater, though, since autumn shade can feel surprisingly cold.
Treat it like a mini garden picnic with a snack and a warm drink. Harvesting feels far more relaxing when you are comfortable and in no hurry.
Kids love helping on sunny days, so invite a younger sibling or neighbor along. Extra hands make the work quick and turn it into a happy memory.
3. Gather The Right Tools Before You Start
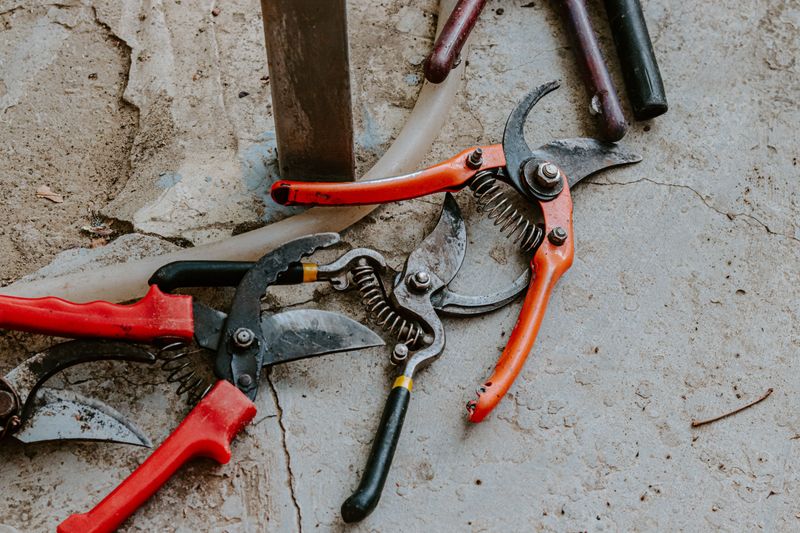
A few simple tools make seed collecting much easier for any gardener. Luckily, you probably own everything you need already.
Start with a sharp pair of garden snips or sturdy kitchen scissors. Clean blades make neat cuts and help keep the plant healthy.
Next, grab a few brown paper bags from the kitchen drawer. Paper lets air move through, while plastic traps moisture and can spoil your harvest.
A pair of light gloves will protect your fingers from the prickly cones. Those spiky centers feel a lot like tiny pins when you squeeze them hard.
Bring a marker so you can label each bag with the plant name and date. Labeled bags are much easier to tell apart by December.
A shallow tray or old baking sheet comes in handy for drying later. Paper plates also work well if you only have a handful of cones.
Some gardeners like a small fine mesh strainer for cleaning seeds. It sifts out dust and fluff faster than picking by hand.
Toss everything into a basket or bucket so it stays together. Few things slow harvests like running back inside for forgotten scissors.
Finally, pack a few small envelopes or glass jars for storage. Recycled spice jars are perfect, and they make your collection look tidy and official.
Having your tools ready before you head out keeps the job smooth and stress-free. Think of it as packing a lunch box, just for your garden.
4. Snip The Seed Heads With Care
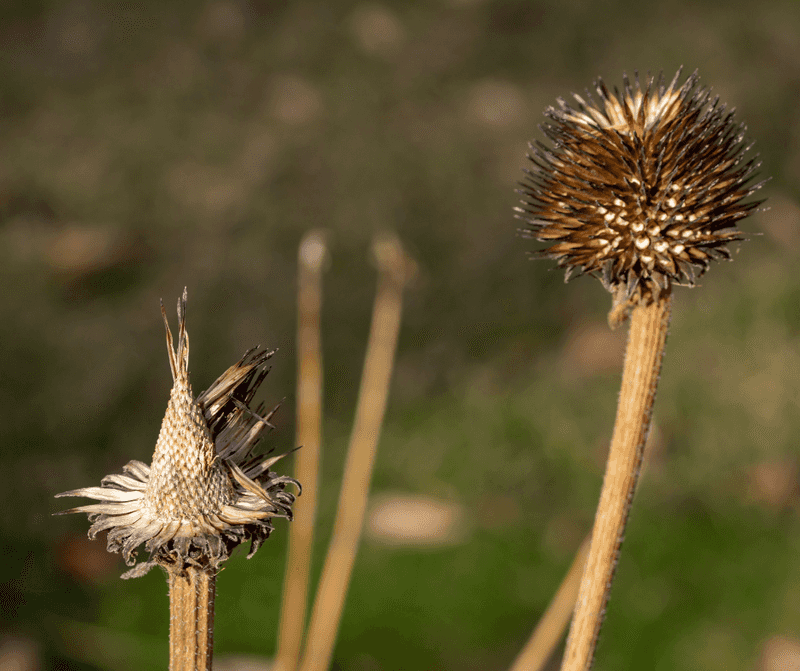
Snip, snip, drop is the easy rhythm you will soon fall into. Still, a little care goes a long way during this part of the harvest.
Hold the stem just below the cone with one hand to keep it steady. Then cut about four to six inches down the stalk with your other hand.
That extra stem length makes the heads easier to handle and hang later. It also gives you a handy little grip while you work.
Lower each cone gently into your paper bag, head first. Quick, jerky moves can shake loose ripe seeds and scatter them on the ground.
Pick only the brown, dry cones you checked earlier. Leave any green heads on the plant so they can keep ripening for a while.
Try not to collect every single cone in your garden. Leaving a few behind feeds hungry winter birds and may sprout new plants on their own.
Goldfinches, chickadees, and juncos will thank you with cheerful visits all winter long. Watching them snack outside your window is a pretty sweet reward.
If you grow more than one type, use a separate bag for each. Mixing them up makes it hard to know what you planted next year.
Work slowly and enjoy the crisp autumn air while you go. Gardening in October feels calm compared to the busy, buzzing days of summer.
Once your bag is about half full, fold the top loosely closed. Stuffing it too tightly can crush the cones and trap unwanted moisture inside.
5. Dry The Heads Indoors One To Two Weeks
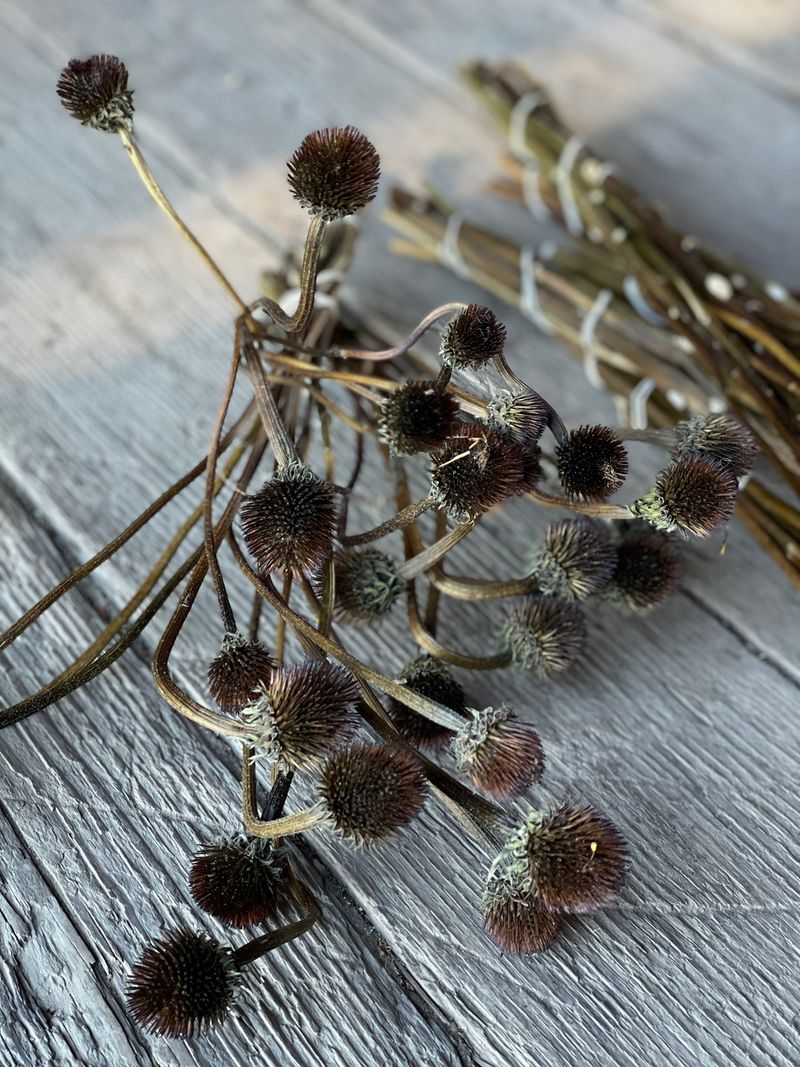
Patience is the secret ingredient nobody talks about in seed saving. Even dry looking cones still hold a little hidden moisture deep inside.
Spread the heads out in a single layer on a tray or newspaper. Crowding them together blocks airflow and can lead to fuzzy mold.
Another option is hanging small bundles upside down inside a paper bag. Poke a few holes in the bag so air can move around freely.
Choose a spot that stays dry, warm, and out of direct sunlight. A spare room shelf or dry closet works well; skip damp garages.
Avoid damp basements, since they tend to hold extra humidity in the fall. Kitchens near steamy pots are also a poor choice for drying.
Leave the cones alone for about one to two weeks. Give them a gentle shake every few days to check their progress.
You will know they are ready when the centers feel brittle and crumbly. Seeds should rattle a bit or drop out when you tap the head.
Keep curious pets away from your drying station during this time. Cats especially love batting at crunchy things that roll across a table.
Back in the day, farm families dried seeds in attics and on porch rafters. You are carrying on a habit that goes back thousands of years.
A fully dried cone makes the next steps quick and simple. Skipping this wait can leave saved seeds moldy and useless by spring.
6. Shake And Pull The Seeds From The Cones
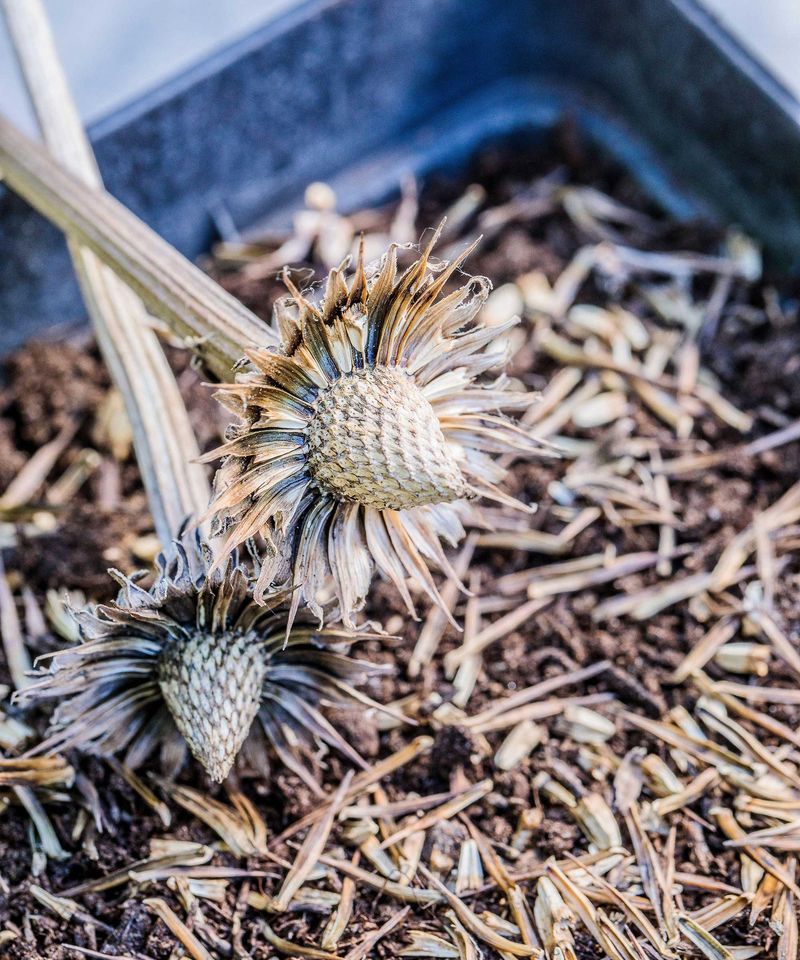
Here comes the messy, satisfying part that feels a bit like opening a tiny present. Lay a large sheet of paper or a clean towel on a table first.
Hold a dried cone over the paper and tap it firmly a few times. Some loose seeds fall out, while stubborn ones need a bit more rubbing.
For stubborn heads, gently rub the cone between your gloved fingers. The spiky center will crumble apart and release the seeds hiding inside.
Another trick is rolling the cone back and forth inside a paper bag. Close the top, shake it like a maraca, and listen to the rattle.
Coneflower seeds are small, dark, and shaped a bit like tiny wedges. They often look similar to the bits of chaff, so take your time.
Wear gloves for this step because the prickly bracts can poke your skin. A dust mask also helps if you sneeze around dry plant bits.
Work over a tray with raised edges so nothing bounces onto the floor. Seeds can scatter into couch cushions and carpet corners when given the chance.
Each cone can hold dozens or even hundreds of seeds. Just a handful of heads can give you more than enough for a whole garden bed.
Kids and grandparents both enjoy this step, so make it a family table project. Chatting while you crumble cones makes the time fly by fast.
Once the cones are bare, toss the leftover husks into your compost pile. Those spent husks will enrich the pile by spring.
7. Separate The Seeds From The Chaff
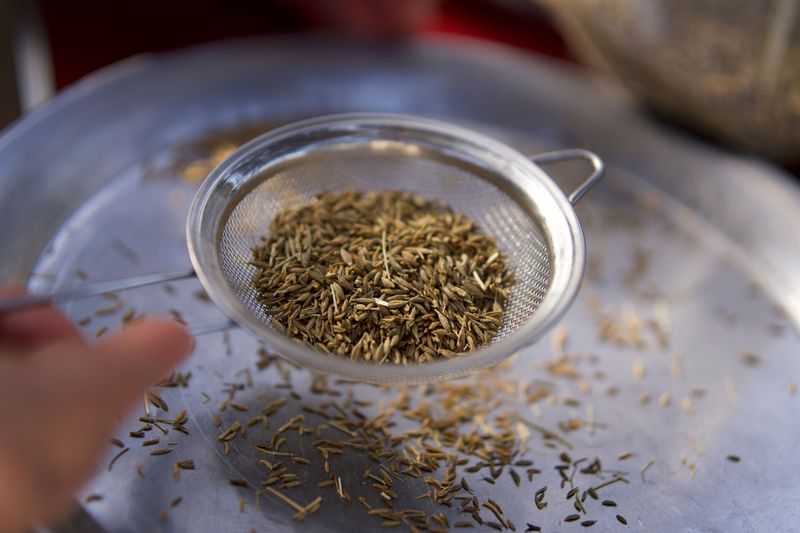
Chaff is the old farm word for the fluffy plant debris mixed in with your seeds. Bits of petals, spiky scales, and dust will all be sitting in your pile.
Cleaning the seeds is not required, but it helps them store longer. Loose chaff can hold moisture and give mold a cozy place to grow.
Try pouring the mix through a kitchen strainer over a bowl. Small debris falls through, while bigger seeds and scales stay on top.
Next, try the old-fashioned winnowing trick that farmers used for thousands of years. Pour the mix slowly from one bowl to another in front of a gentle breeze.
Light chaff floats away, and the heavier seeds drop straight into the lower bowl. A small fan on its lowest setting works if the weather will not cooperate.
Test the setting carefully, because too much air sends good seeds flying. Start slow and move closer to the fan only if needed.
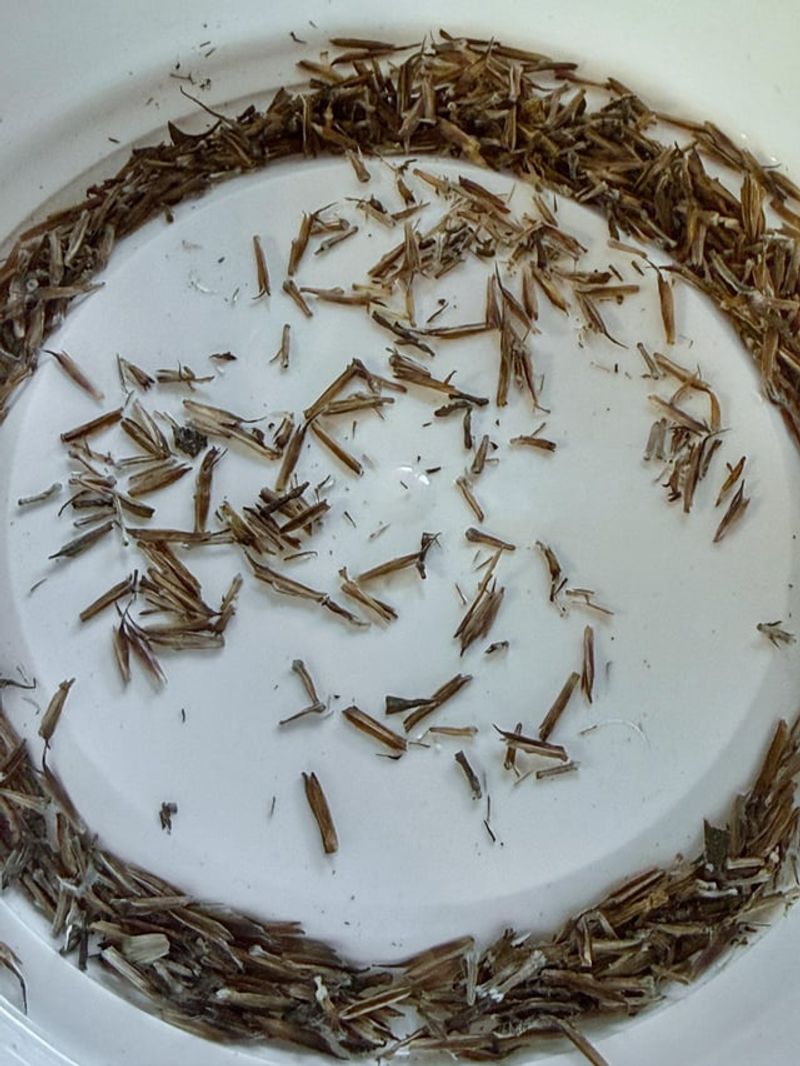
For a final pass, spread the seeds on a white plate. Pick out any leftover scraps with tweezers or the tip of a butter knife.
Toss any seeds that look flat, hollow, or paper thin. Healthy ones feel firm and have a dark gray or tan color.
Perfection is not the goal here, so do not stress over every speck. A few stray bits mixed in will not hurt your planting next spring.
Clean seeds look neat and make sharing with friends much easier. A tidy little pile feels like a small victory after all that work.
8. Store The Seeds In A Cool Dark Spot
Think of your seeds as sleepy little bears getting ready to hibernate. They need a cool, dark, and dry den to rest until spring arrives.
Paper envelopes are a great first choice because they breathe a little. Glass jars with tight lids also work, but only for fully dry seeds.
Label every container with the plant name, color, and harvest date. Six months from now, your memory may not be as sharp as you hope.
A closet shelf, a desk drawer, or a cool basement cabinet makes a fine home. Keep them away from heaters, stoves, and sunny windowsills.
Many gardeners tuck their seed jars in the refrigerator for extra freshness. Add a small silica packet from a shoe box to soak up stray moisture.
Cold helps some coneflowers sprout, though purple ones often skip it. Some folks sow them outside in late fall and let winter do the work.
Others mix the seeds with damp sand in the fridge for about a month before planting. The chill tricks them into thinking winter has come and gone.
Stored properly, these seeds can stay healthy for two to three years. Still, fresher seeds usually sprout faster and stronger, so plant within a year if you can.
Extra seeds make wonderful gifts for friends, teachers, and neighbors. Add a note that named hybrids may not grow true from seed.
Those tiny seeds will grow into bright golden or purple blooms, usually in their second summer. Pollinators will visit them often, and you can say you grew them yourself.