What To Do When Aerating And Overseeding Fails To Fill Bare Spots In Your Virginia Lawn
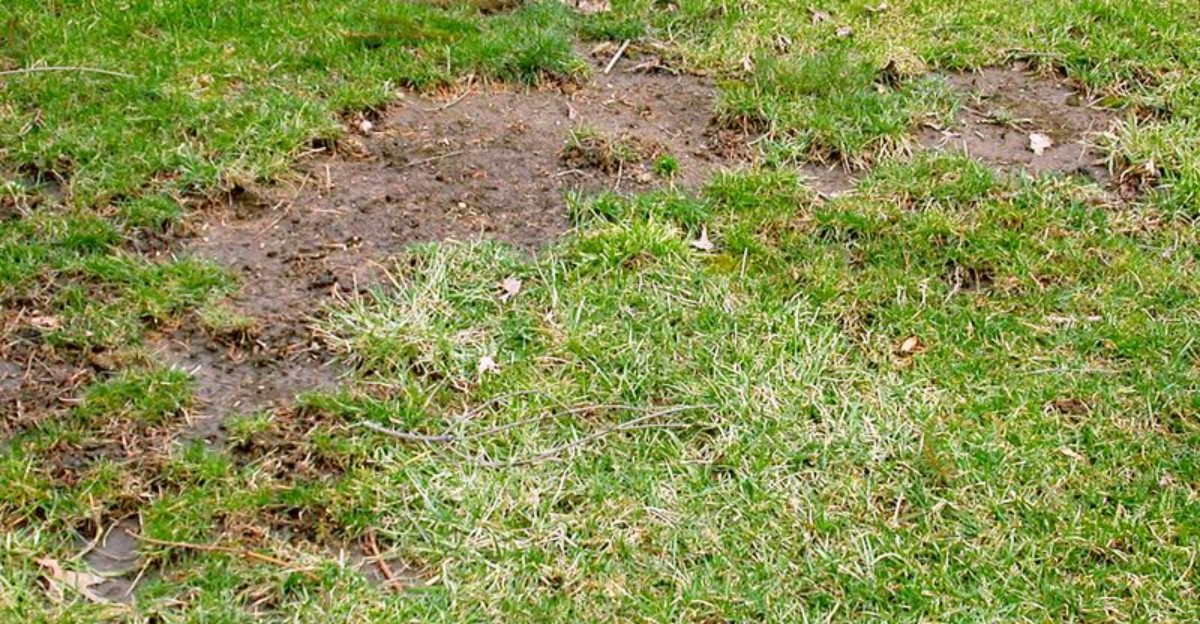
You did everything right, yet that bald patch still stares back like a stubborn stain. The aerator rumbled, the seed scattered, and the sprinkler hissed every morning.
Still, the dirt shows through, dusty and brown. It’s the kind of frustration that makes you want to toss the rake into the shed.
A bare spot that refuses to fill is usually a clue, not a failure. Something is holding that patch back, whether it’s hiding in the soil, the shade, or the seed bag.
Lawns across Virginia face the same quiet troublemakers, and most are easy to spot once you know where to look. Late timing is a common culprit too, since the seeding window closes around mid-October.
The fixes ahead might surprise you, and a screwdriver is all you need to start the detective work. Your grass will thank you for it.
1. Check Whether Shade Is Starving The Patch
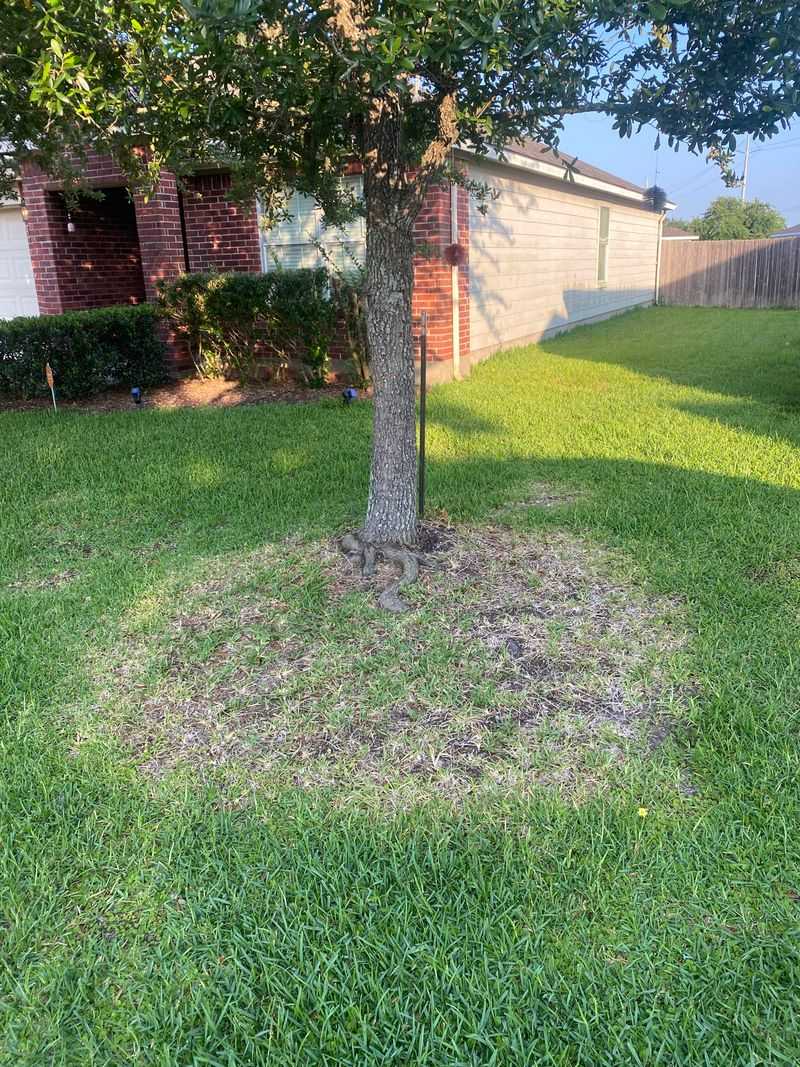
Picture a sunflower trying to grow in a closet. Grass under a thick oak feels much the same way, reaching for light that rarely arrives.
Most lawn grasses need four to six hours of direct sun each day. Without that light, new seedlings sprout weakly and then fade by midsummer.
Start by watching the bare patch for a full day. Jot down when sunlight actually touches the ground, not just nearby branches.
Many homeowners are shocked by the results. A spot that seems sunny at noon may sit in shadow most of the morning and evening.
Trees cause a second sneaky problem as well. Their roots steal water and nutrients, leaving young grass thirsty and hungry.
Fences, sheds, and the north side of houses also block light. In Virginia neighborhoods with mature hardwoods, shade issues are extremely common.
Thinning the canopy can help a great deal. Ask a certified arborist to remove lower limbs and open the crown for more filtered light.
Raking leaves quickly in autumn matters too. A soggy leaf blanket smothers tender seedlings right when they need sunshine most.
Some spots will stay too dim no matter what you trim. For those areas, mulch beds or shade plants like hostas may be smarter choices.
Knowing the light level saves money and effort. You stop throwing seed at a patch that was set up to struggle from the start.
2. Test The Soil For pH And Nutrient Problems
Guessing about soil is a bit like guessing your blood pressure. You might be close, but a real test tells the true story.
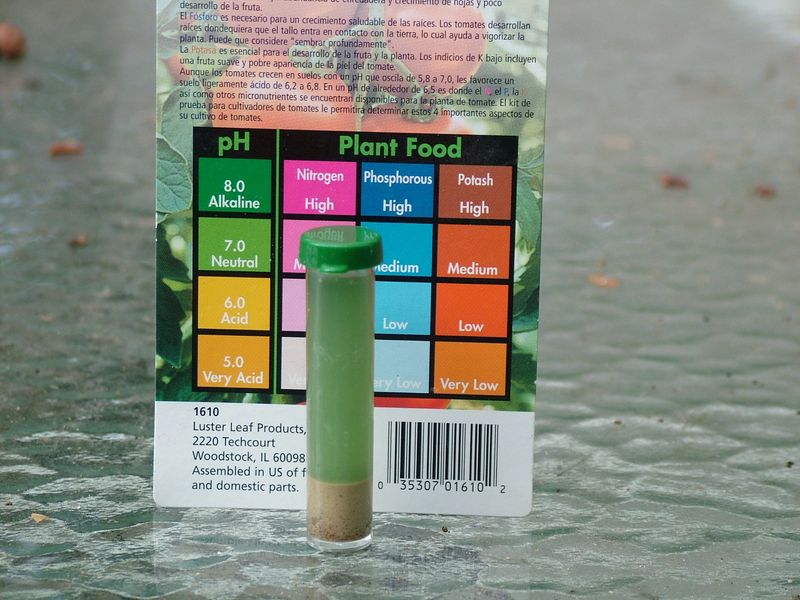
Soil pH controls how well grass uses food. When pH runs too low, fertilizer can sit in the ground without helping your lawn.
Much of the state has naturally acidic soil, especially clay-heavy ground. Many lawns drift below the ideal pH range of about 6.0 to 7.0.
The Virginia Tech Soil Testing Laboratory offers affordable testing for homeowners. Kits are available at local Virginia Cooperative Extension offices and many public libraries.
Collecting a sample is simple and quick. Take small cores from several spots, about three to four inches deep, and mix them together.
Your Virginia Garden Changes Every Week. Your Plan Should Too.
Gardening in Virginia changes quickly throughout the season. Every Friday you’ll receive a simple weekly plan showing exactly what to plant, prune, fertilize, harvest, and protect so you never miss the right timing.
Sample the bare patch separately from healthy turf. Comparing the two results can reveal why one area thrives while another stays empty.
Your report will show pH, phosphorus, potassium, calcium, and magnesium levels. It also gives clear recommendations on how much lime or fertilizer to add.
Lime works slowly, so patience pays off here. Spreading it in fall gives it months to adjust the soil before spring growth.
Here is a fun fact for curious gardeners. Soil labs have tested samples for decades, building a huge record of local soil trends.
Skip the random fertilizer bags until results arrive. Feeding blindly can waste money and sometimes push nutrients even further out of balance.
3. Rule Out Grubs Chewing The Roots
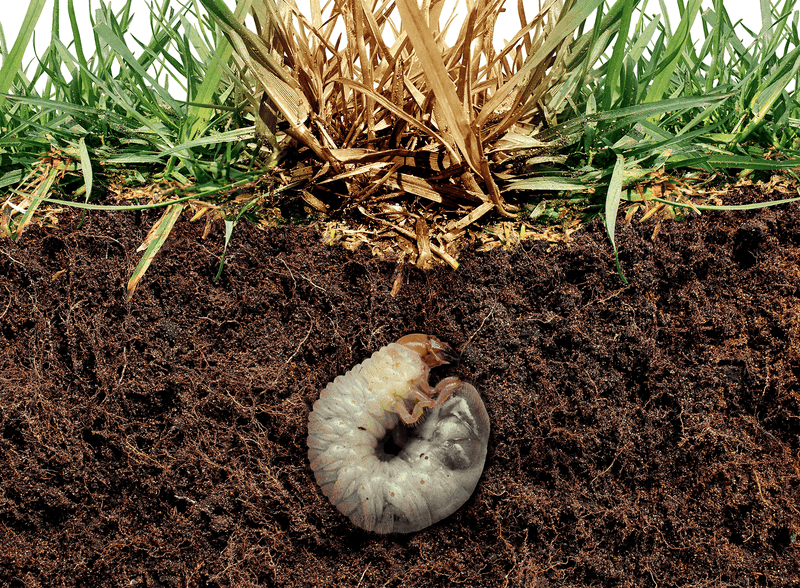
Underground, a hungry crowd may be holding a buffet. White grubs munch on grass roots, and new seedlings make an easy snack.
Grubs are the young of beetles like Japanese beetles and masked chafers. They look like plump, C-shaped worms with tan heads and creamy bodies.
Japanese beetles are well known across the state. Their larvae feed heavily in late summer and fall, right when people overseed.
Watch for brown patches that keep spreading. Damaged turf often feels spongy and may peel back like a loose rug.
Wildlife can tip you off as well. Skunks, raccoons, moles, and birds love digging for grubs, leaving torn-up sod behind.
Checking takes only a few minutes. Cut a one-foot square of turf on three sides and fold it back like a page.
Count the grubs you find in that square. Five or fewer is usually fine, but ten or more often signals a real problem.
Timing matters for treatment. Preventive products work best in early summer, while curative ones target active grubs in late summer.
Read every label carefully before applying anything. Some products are slow to act, and others should not touch seeded areas right away.
Beneficial nematodes offer a gentler option for some families. These tiny helpers hunt grubs in moist soil and are safe for kids and pets.
4. Look For Compacted Soil Under The Patch
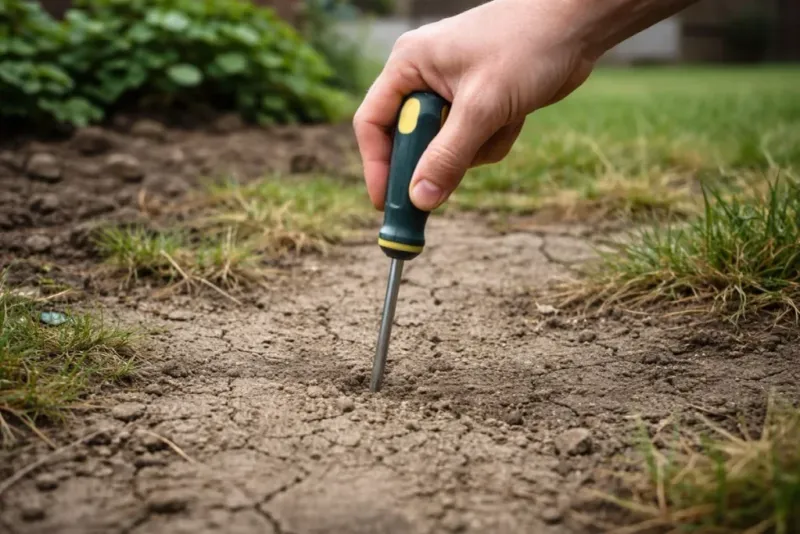
Ever tried planting a seed in a brick? Packed soil feels close to that, and grass roots simply cannot push through it.
Compaction happens when soil particles get squeezed tightly together. Air pockets shrink, so water, oxygen, and nutrients struggle to reach roots.
Virginia red clay is famous for this problem. It packs down easily after rain, foot traffic, or a parked car on the grass.
Grab a long screwdriver for a quick test. Push it into moist soil and see how far it goes without much effort.
Trouble shows up when it stops at four to six inches. Healthy, loose soil usually lets the tool slide in much deeper.
Other warning signs are easy to see. Water may puddle or run off, and paths where kids and dogs run often stay bare.
Core aeration helps, but one pass may not be enough. Severely packed spots sometimes need two passes in different directions.
Topdressing with a thin layer of compost works wonders over time. Earthworms pull that organic matter down and loosen the soil naturally.
Changing foot traffic matters as well. Stepping stones or a mulched path can protect a spot that everyone cuts across.
Small patches can be loosened by hand with a garden fork. Work in compost, rake smooth, and then reseed into the softer ground.
5. Re-Seed With Fresh, Good-Quality Seed
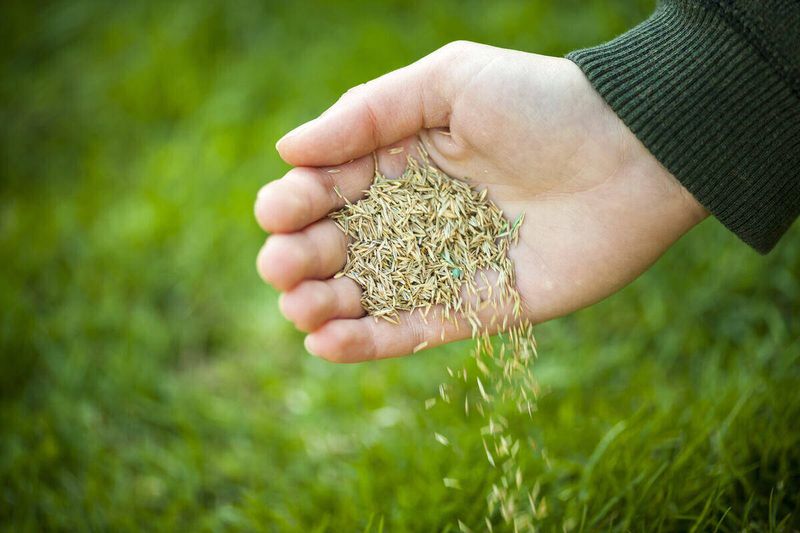
Old seed is a little like old popcorn kernels. Some will pop, but plenty just sit there doing nothing.
Grass seed loses strength as it ages. A bag forgotten in a hot garage for two summers may sprout poorly or barely at all.
Check the label for a tested date before buying. Fresher is better, ideally within the past nine to twelve months.
Look for low weed content and zero noxious weeds listed. Cheap bags often hide filler, annual ryegrass, or unwanted weed seed.
For most Virginia lawns, turf-type tall fescue is the top choice. It has deep roots, handles summer heat well, and tolerates moderate shade.
Many experts blend in some Kentucky bluegrass too. Bluegrass spreads by underground stems, helping fill small gaps over time.
Unsure about an older bag? Try a simple germination test with a damp paper towel and twenty seeds in a plastic bag.
Count the sprouts after about ten days. If fewer than fifteen popped, buy a fresh bag instead of gambling on the lawn.
Store leftovers in a cool, dry, dark spot. An airtight container keeps moisture and mice away from your investment.
Good seed costs more upfront, but it saves money in the end. One strong seeding beats three weak attempts with bargain bags.
6. Try Dormant Seeding If The Fall Window Has Closed
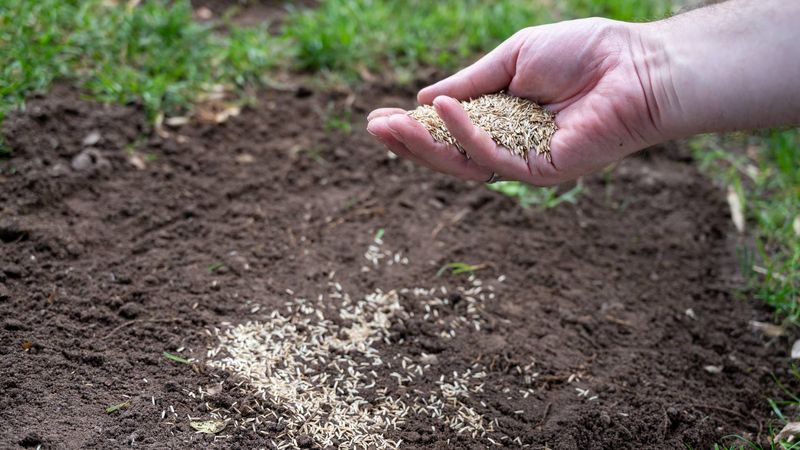
Missed September? Life gets busy, and the best seeding season can slip right past while you are juggling school runs and work.
Dormant seeding offers a clever second chance. You spread seed when soil is too cold to sprout it, usually from late November through February.
The seed simply rests through winter. Once spring soil warms, it wakes up and sprouts earlier than seed sown in April.
Nature helps with the hard work here. Freezing and thawing cycles open tiny cracks, pulling seed deeper into the soil.
Winter rain and snow also supply steady moisture. You will not need to drag hoses around in chilly weather.
Across much of the state, winters are mild enough for this method to work well. Seeds stay put and get a head start on spring weeds.
Prep still matters, so rake the bare patch first. Loosen the top layer so seed can settle into the soil rather than sit on top.
Avoid spreading seed on top of snow or frozen crust. Heavy rain could wash it away before it settles.
Skip spring pre-emergent weed control on dormant-seeded spots. Those products can block your grass seed from sprouting along with the weeds.
A light layer of straw or peat moss can help a bit. It shields seed from birds and keeps it from drifting in the wind.
7. Keep The Seedbed Consistently Moist
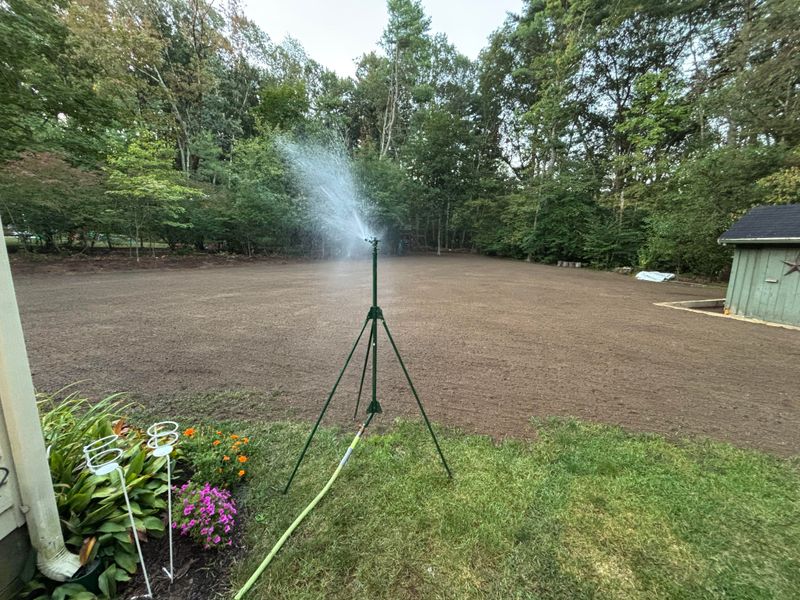
Here is the honest truth about seed. Once it swells with water and starts growing, letting it dry out even briefly can stop it cold.
Many failed patches come down to watering. Seed sprouted, then a hot, breezy afternoon dried out the top layer.
Aim to keep the top inch of soil damp like a wrung-out sponge. Puddles and runoff mean you have watered too much.
Light, frequent sprinkling works best at first. Try two to four short sessions daily, around five to ten minutes each.
Morning is the smartest time to water. Humid summers already invite fungus, so wet grass overnight raises disease risk.
A cheap hose timer makes life much easier. It keeps watering on schedule, even when you are stuck at work or away.
Watch the weather and adjust as needed. Cloudy, cool days need less water than sunny, windy ones.
Once seedlings reach about two inches, change the routine. Water less often but more deeply to coax roots farther down.
Deeper roots help grass survive the heat. Shallow-rooted lawns often brown out by July.
Keep foot traffic off the area during this tender stage. Little footprints can crush sprouts and pack the soil you worked to loosen.
8. Patch Bare Spots With Sod Or Plugs
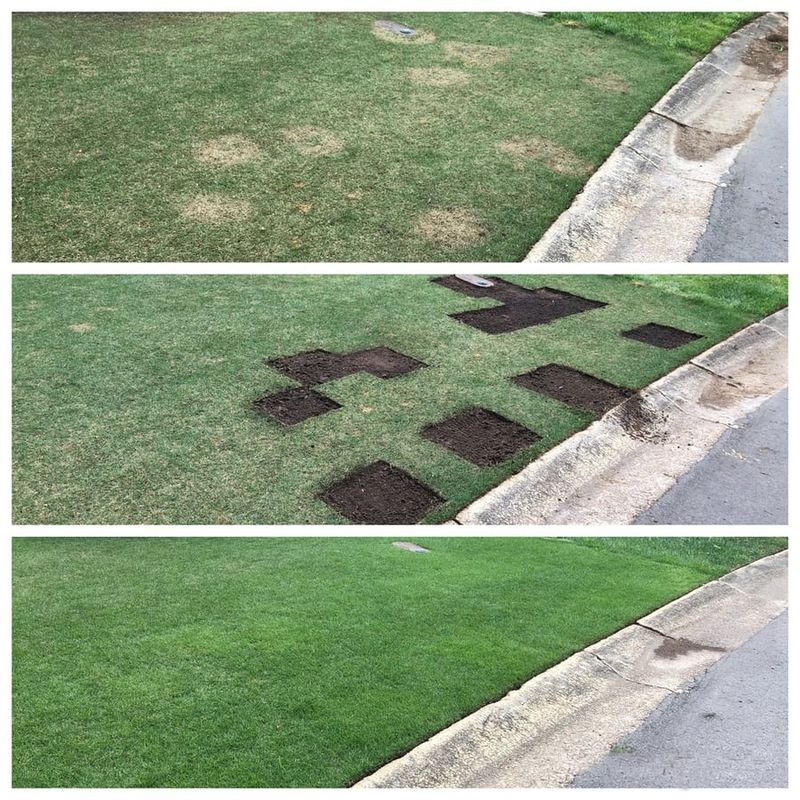
Sometimes waiting for seed just is not worth the stress. Sod gives you a green lawn by dinnertime, almost like magic.
Sod is mature grass grown on a farm and cut into strips. It covers bare ground instantly and stops soil from washing away.
Virginia sod farms commonly sell tall fescue or tall fescue and bluegrass blends. These match most local lawns and handle the regional climate well.
Prep the spot before laying anything down. Remove debris, loosen the soil, and add a little compost for better rooting.
Cut the patch edges straight with a flat shovel. Fit the sod snugly so edges touch neighboring grass with no gaps.
Press it down firmly or walk across it gently. Good contact helps roots grab the soil underneath quickly.
Plugs are a budget-friendly option for small areas. They are small chunks of grass planted several inches apart like a checkerboard.
Plugs work best with spreading grasses such as zoysia or bermuda. Tall fescue spreads slowly, so plugs from it rarely fill gaps well.
Water new sod daily for the first two weeks. Lift a corner to check whether white roots have started growing into the soil.
Fun fact for the curious. Fresh sod should be laid within a day of cutting, since rolled grass heats up fast.
9. Switch To A Shade-Tolerant Fescue Mix In Dim Spots
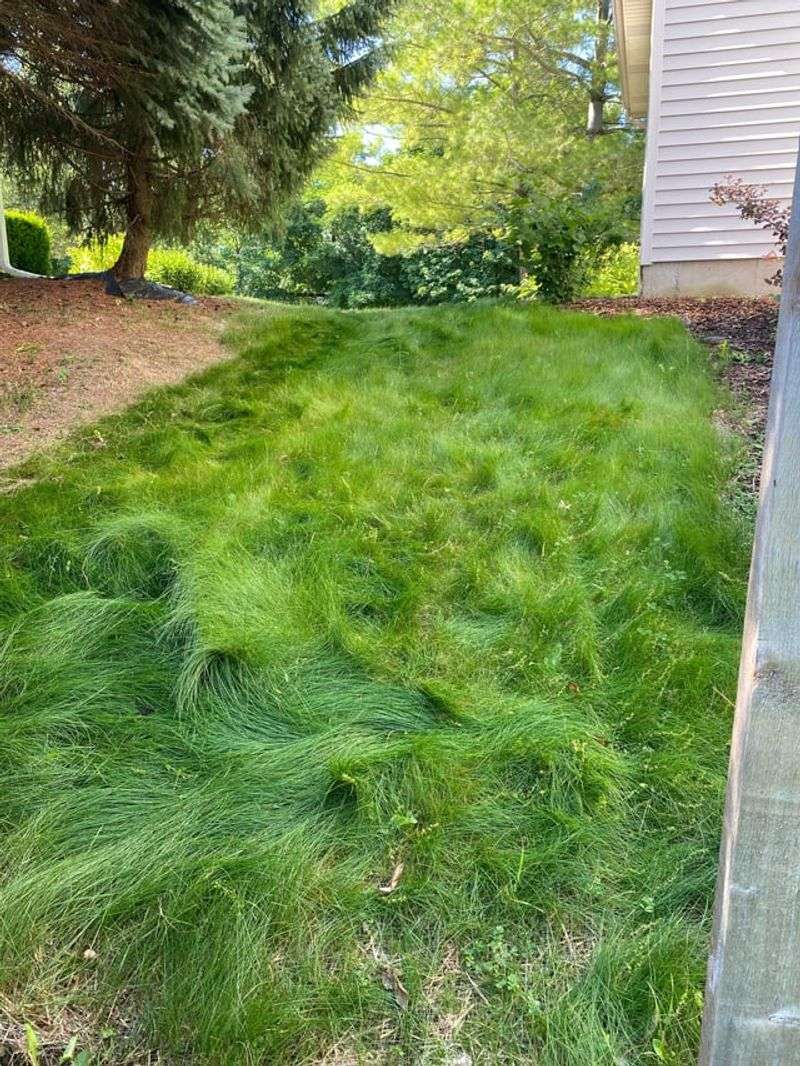
Not every grass loves the spotlight. Some types are perfectly happy in the cool, quiet corners of the yard.
Fine fescues are the shade champions among cool-season grasses. Virginia Cooperative Extension ranks them as the most shade-tolerant choice for the state.
The group includes creeping red fescue, chewings fescue, and hard fescue. Each has soft, needle-thin blades that look delicate but hold up well.
They can manage with just two to four hours of direct sun. Low fertilizer needs make them a good fit for easygoing homeowners.
Creeping red fescue spreads slowly to fill thin areas. Hard fescue stands up better to drought and grows densely.
Many store shade mixes blend fine fescues with other grasses. Look for labels that list fine fescue as the main ingredient.
Tall fescue can still work in moderate shade. It needs roughly four to six hours of sun to stay thick.
Fine fescues dislike heavy foot traffic and soggy ground. Keep play areas and dog paths out of these dim spots if possible.
Mow them a bit higher than usual, around three to four inches. Taller blades capture more of the limited light.
Fertilize lightly, mostly in fall. Too much nitrogen in summer can weaken shade grass and invite disease.
10. Use Spring Seeding As A Last Resort
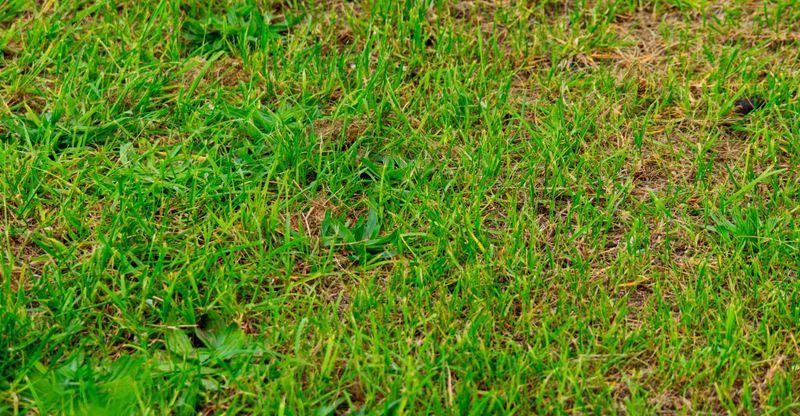
Spring fever hits every gardener eventually. Warm days arrive, and the urge to fix that bare patch feels impossible to ignore.
Still, spring seeding is a gamble for cool-season grass. Early fall remains the best time because seedlings get months to build roots.
Spring sprouts have only a few weeks before summer heat arrives. Their shallow roots often struggle once July temperatures climb.
Weeds add another headache to the mix. Crabgrass sprouts in spring too, crowding out tender seedlings fast.
Pre-emergent herbicides create a tricky problem. Most stop grass seed from sprouting along with weeds, so you cannot use both.
A product called mesotrione offers one exception. It controls some weeds while allowing new grass seed to grow.
Frequent spring watering raises disease risk as well. Warm, damp conditions can invite fungus on young blades.
Seed as early as possible if you must go ahead. Mid-March to mid-April gives grass the longest runway before heat.
Sod is often the smarter choice for urgent spring repairs. It handles summer better than seedlings planted the same week.
Treat spring seeding as a temporary bridge. Plan a stronger fix for September, when your lawn has its best shot at thick, lasting growth.