What Ohioans Can Do With Black Walnut Husks (Besides Staining Their Hands)
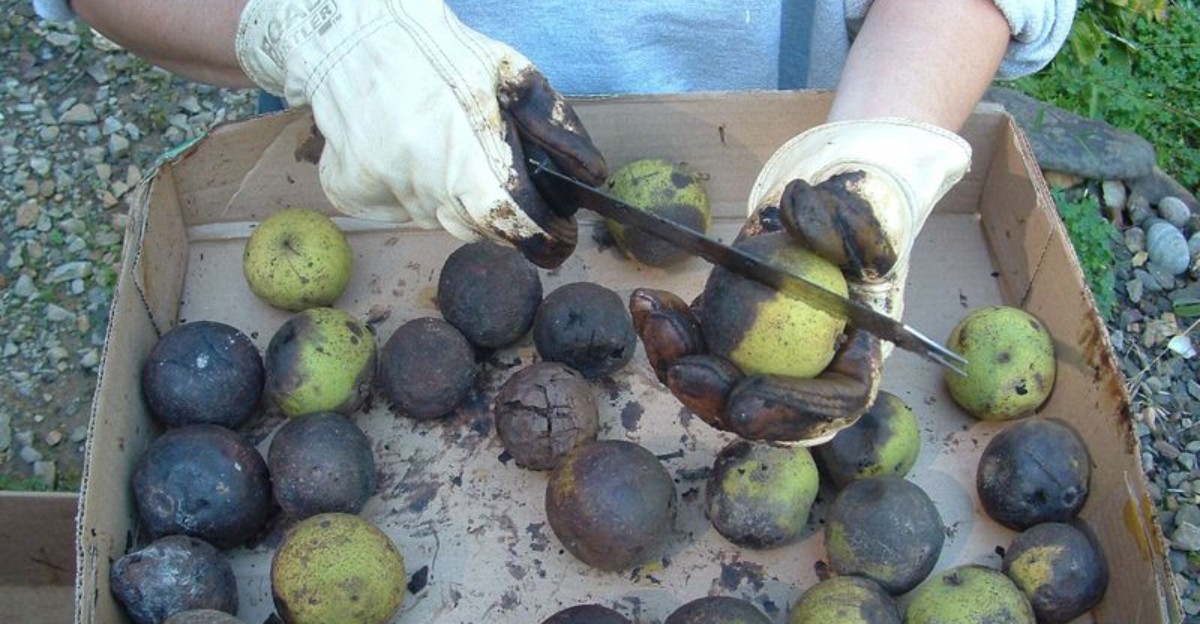
Every fall, black walnuts leave Ohio yards littered with green husks that stain your fingers, shoes, and just about anything else they touch. Most people see a messy cleanup job.
But those stubborn husks have another use that might make you think twice before tossing them in the trash.
Black walnut husks contain juglone, a natural compound that gives the tree some unusual properties. For generations, people have found creative ways to put different parts of the walnut to use, and the husks have a history that stretches well beyond the kitchen table.
One particular use is especially interesting for gardeners, crafters, and anyone who likes getting more out of what nature leaves behind.
It does come with a few precautions, though, since walnut husks can stain skin and materials far more stubbornly than you might expect.
So what can you do with that pile of fallen husks? The answer may turn an annoying fall chore into something useful.
1. Let The Husks Turn Black Before You Start
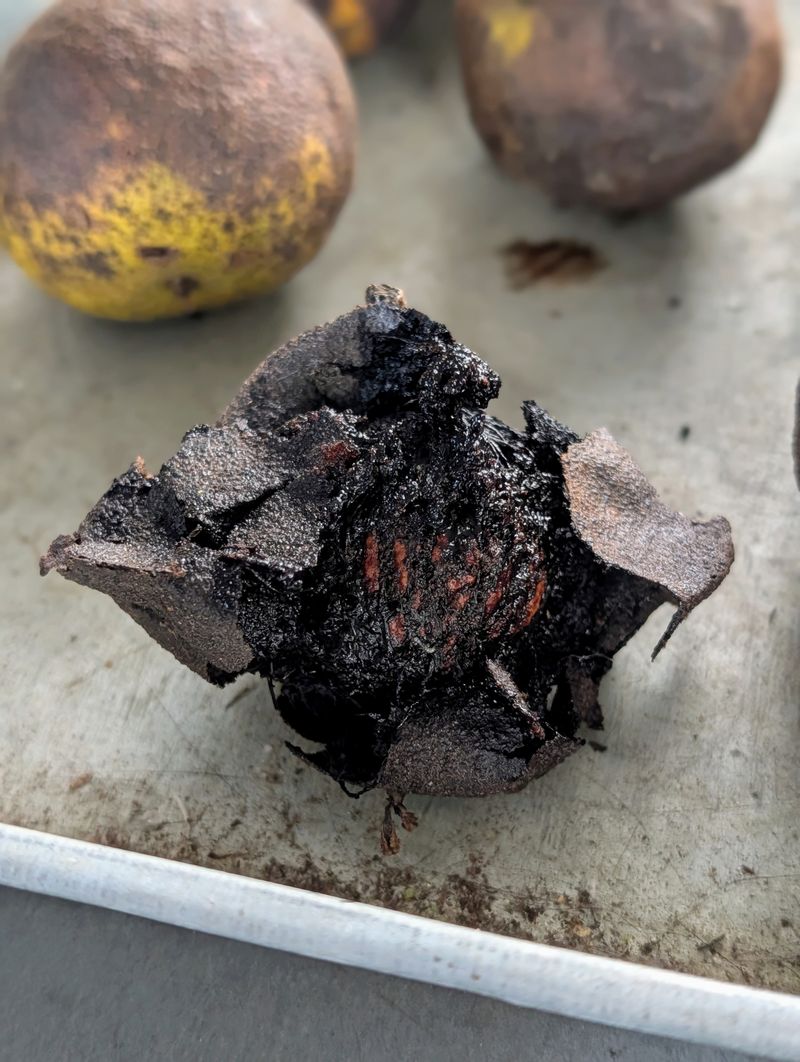
Patience pays off with walnut hulls. Many crafters gather the green balls in late September, then simply wait.
Over a week or two, the husks soften, darken, and turn a greasy brown or black.
As the husks age, exposure to air and the natural breakdown of the plant material help turn them from green to dark brown or black. That change can affect the dye you get, but darker husks do not automatically produce better results.
For ink makers, the darker stage often means a richer pigment, and the color may cook out faster on the stove.
Still, not everyone agrees on timing. Some dyers like fresh green husks because they believe the dye is stronger before any rot sets in.
Others report great results from fully blackened hulls. Honestly, both camps get lovely browns, so feel free to test each way.
A simple setup works well. Toss the husks in a bucket, cover it loosely, and park it somewhere outside where the smell will not bother anyone.
Check every few days and give them a stir with a stick.
Wear thick rubber gloves the whole time. The juice inside contains a compound called juglone, and it stains skin for days.
Squirrels might also try to raid your bucket, so a lid with a few air holes can save your stash. Once the husks feel mushy and look dark, you are ready for the fun part.
2. Keep A Pot Just For Dyeing
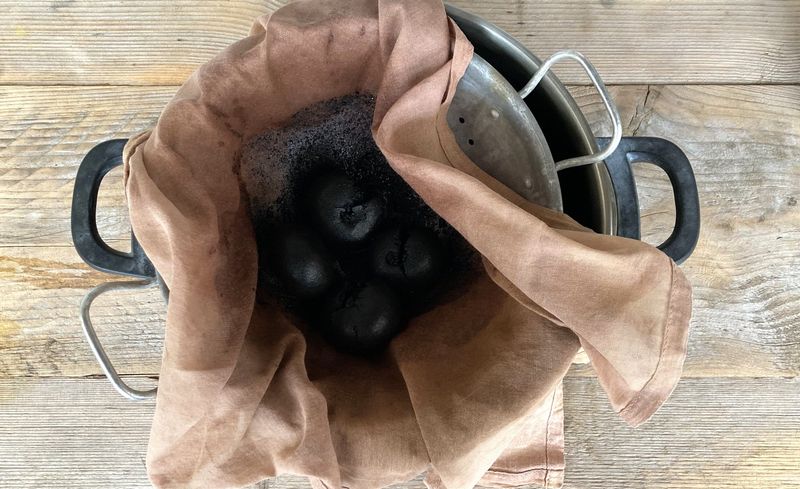
Picture Grandma’s spaghetti sauce tasting a little like tree bark. Nobody wants that, which is why seasoned dyers keep one pot strictly for crafts.
Thrift stores and garage sales are great places to find a cheap one.
Stainless steel is the top choice. It does not react with the dye, so the color you get is the color the husks really make.
Iron and aluminum pots act differently, and the tannins in walnuts can react with those metals.
That reaction is not a disaster, just a surprise. Iron tends to push the brown toward deep gray or nearly black.
Your Ohio Garden Changes Every Week. Your Plan Should Too.
Gardening in Ohio changes quickly throughout the season. Every Friday you’ll receive a simple weekly plan showing exactly what to plant, prune, fertilize, harvest, and protect so you never miss the right timing.
Aluminum can shift shades too. If you want predictable results, stick with stainless.
Tools need the same rule. Give your dye kit its own spoon, tongs, strainer, and measuring cup.
A permanent marker label reading DYE ONLY helps family members remember not to borrow them for dinner.
Many Ohio crafters set up outdoors on a camp stove or propane burner. That keeps the earthy smell out of the kitchen and makes spills less stressful.
A plastic tub for storage keeps everything together between projects. Once you have a dedicated kit, starting a new batch feels quick and easy, like pulling out a favorite board game.
3. No Mordant Needed, Thanks To Natural Tannins
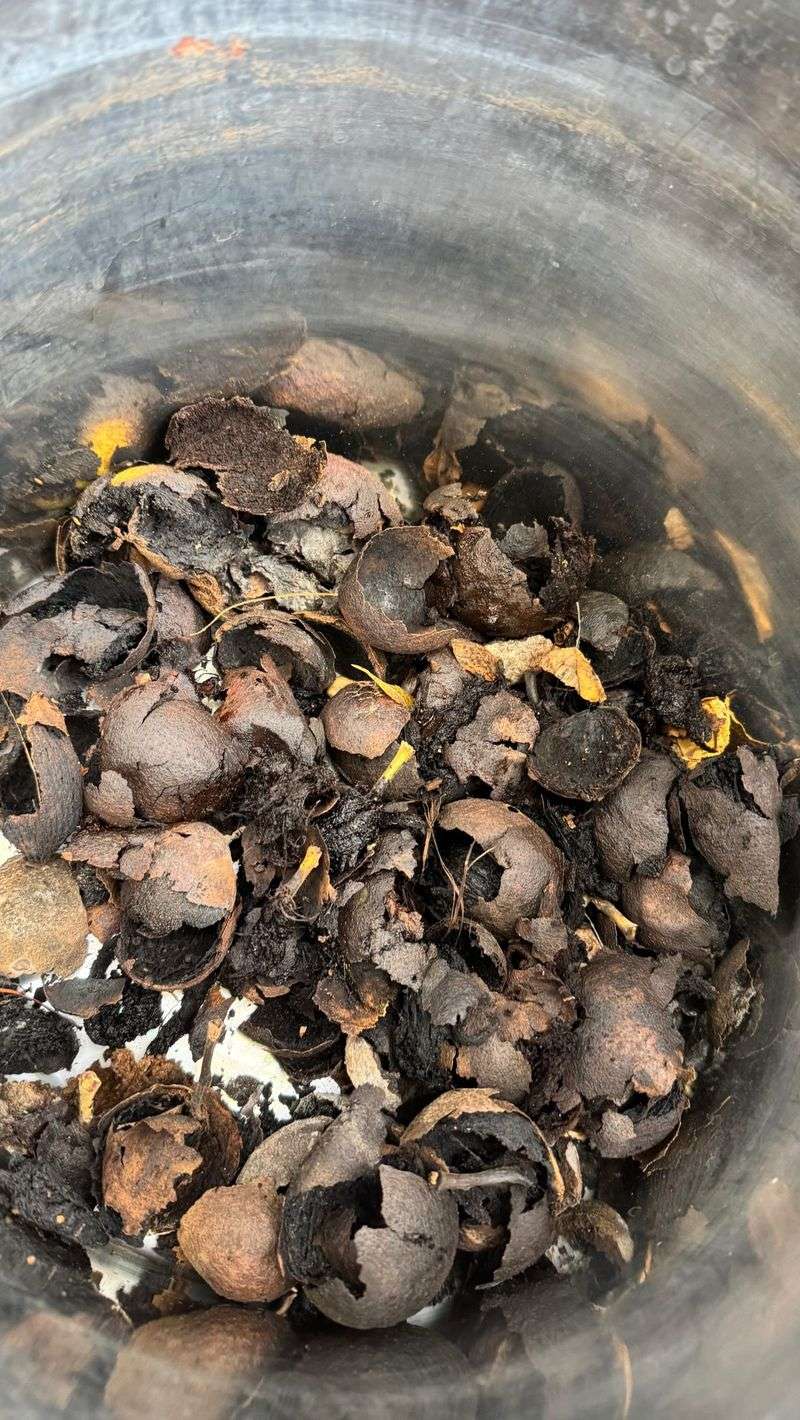
Most plant dyes are a bit needy. They require a helper called a mordant, which is a substance that locks color onto fabric.
Black walnut husks skip that step for many projects, and dyers love them for it.
Here is the science, explained simply. The husks contain tannins and other natural coloring compounds.
Wool and silk tend to absorb walnut dye more readily than cotton and linen. The tannins help produce those rich brown shades, and wool can often be dyed successfully without an added mordant.
That makes walnut a favorite first dye for beginners. You do not need to buy powders, measure tricky amounts, or worry about extra steps.
Just simmer the husks, strain the liquid, and add your fiber.
Plant fibers are a different story. Cotton and linen are made of cellulose, and they hold dye less eagerly.
Treating them first with alum or another tannin source can help the color take hold and stay bright longer in sunlight.
Fun fact: people have used walnut for coloring cloth for centuries, long before stores sold dye packets. Early settlers in the Ohio Valley knew the trees well.
Their homespun clothes often carried those warm brown shades. So when you dye with walnuts, you are joining a very old tradition with a very simple recipe.
4. Wood Takes On A Rich Brown Finish
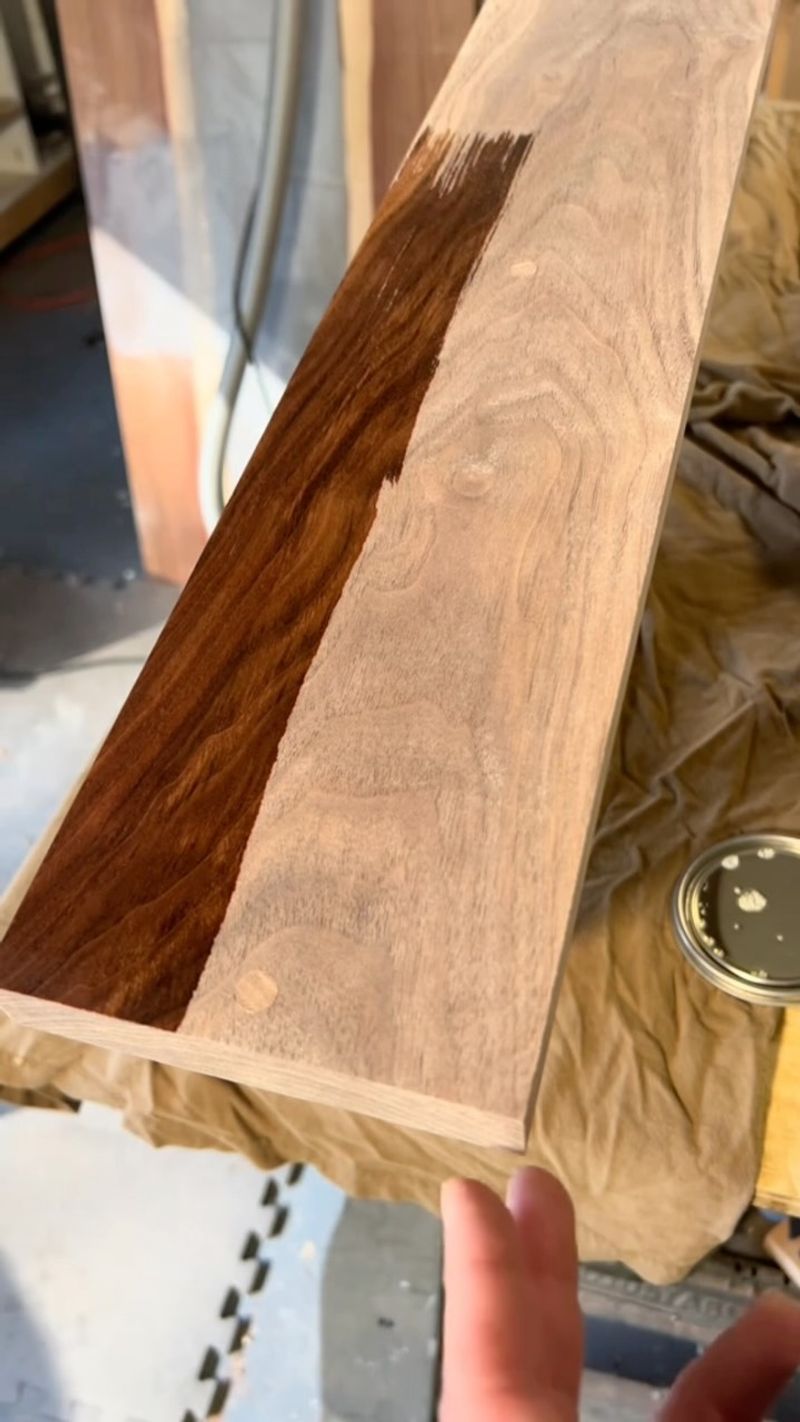
A plain pine shelf can look like an heirloom with one homemade trick. Woodworkers across Ohio brew walnut stain to give light boards a warm, aged color.
It costs almost nothing and smells far better than store cans.
There are two common methods. The quick one involves boiling husks in water for about an hour.
Strain out the chunks, let the liquid cool, and it is ready to brush on.
The slow method needs no stove at all. Steep the husks in a covered bucket of water for several days or even weeks.
Longer soaking usually means a deeper brown, so you can pull some out early for a lighter tone.
For application, a fine paintbrush works nicely, especially on carved details. A rag also spreads stain evenly on flat boards.
Test on a scrap piece first, because every type of wood drinks color differently.
Layering builds richness. Let each coat dry before adding another, and stop when it looks right to you.
After the final coat dries, seal the wood with a clear finish like wax or oil to protect it. Picture frames, cutting board handles, and birdhouses are fun starter projects.
Friends may ask which brand you bought, and you get to grin.
5. Wool And Yarn Soak Up Deep Earthy Tones
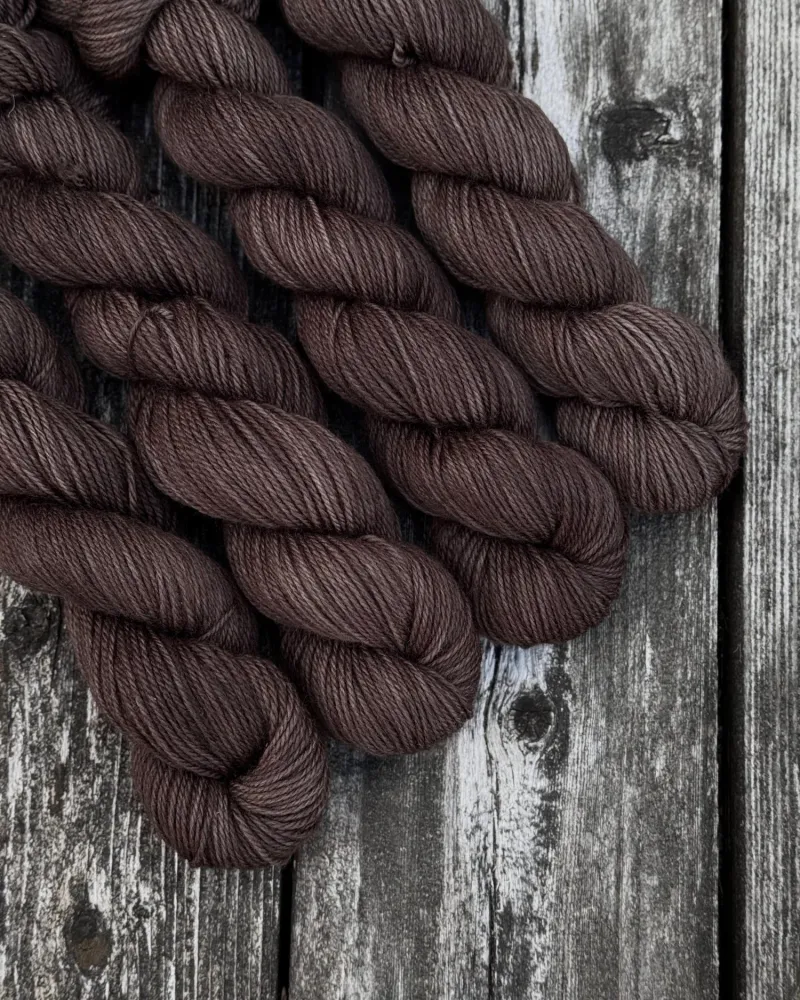
Knitters, this one is for you. Walnut-dyed yarn comes out in cozy browns that look like latte foam, toasted bread, or rich dark soil.
The shades lean neutral, without much yellow or red sneaking in.
Color depth depends mostly on your ratio. More husks for the same amount of yarn gives darker results.
Fewer husks create soft, creamy tones that pair well with bright accent colors.
Fresh husks often yield a stronger bath, so plan accordingly. Many dyers wet the yarn first, then lower it gently into warm dye.
Keep the heat low and avoid stirring too hard, because wool can felt if jostled in hot water.
Leave the yarn soaking for an hour or overnight. Some crafters dip several skeins one after another in the same pot.
The first comes out darkest, and each later skein gets lighter, giving you a matching gradient set.
Rinse in lukewarm water until it runs mostly clear. After that extra dye is gone, walnut color tends to hold up well through washing.
Hang the skeins to dry in the shade. Imagine a hat or scarf knitted from yarn colored by your own backyard tree.
That is a story worth sharing every time someone compliments it.
6. Easter Eggs Turn Chocolate Brown
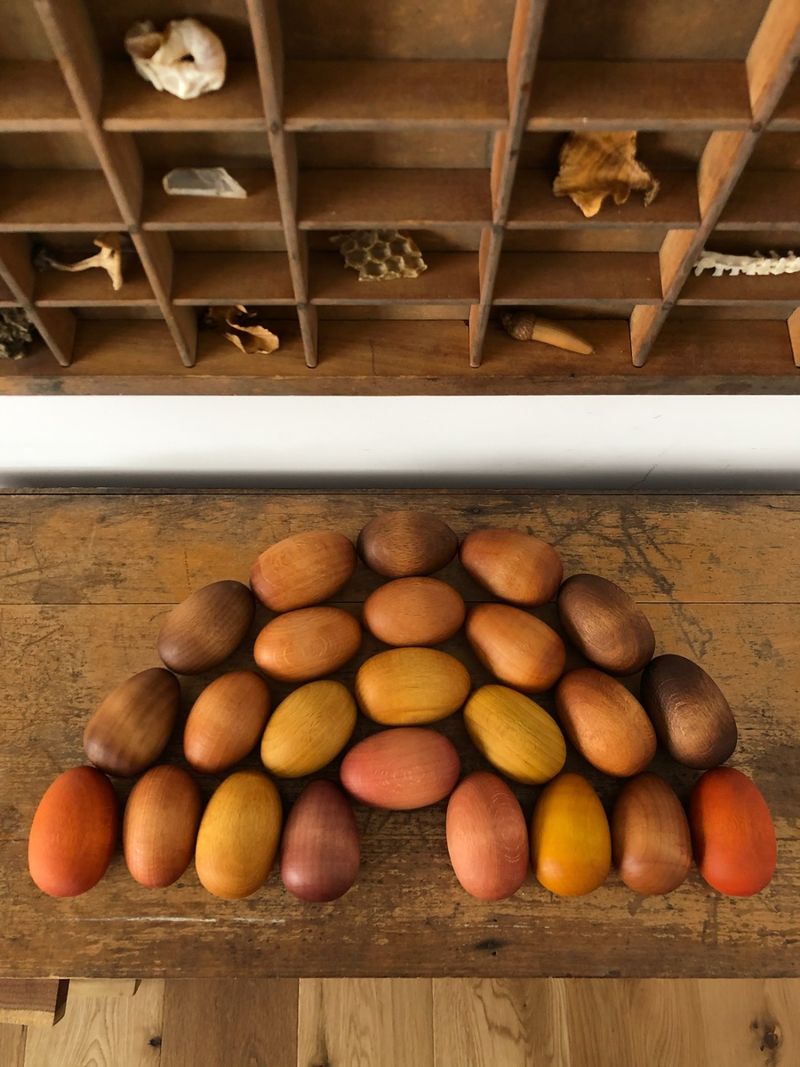
Forget pastel pink for a moment. Some traditional craft recipes use walnut hulls to create deep brown shades for decorative Easter eggs.
If you try this technique, treat the eggs as decorations unless you have verified that the dye and method are suitable for food use. Kids often think the eggs look good enough to eat, shell and all.
The custom has deep roots. In some Slavic traditions, walnut husks were used to create very dark, even black, egg dye.
Other families simply enjoyed the warm brown shades.
Making the dye is easy. Crush dried hulls or shells, cover them with water, and boil for a while until the liquid looks like strong coffee.
Strain it and let it cool.
For decorative eggs, lower the eggshells into the cooled dye bath and let the color deepen to your liking. Keep these craft-dyed eggs separate from eggs intended for eating.
Leaving them in the fridge overnight gives the boldest color.
Want to get creative? Wrap a small leaf or flower against the shell, then tie it snug with old pantyhose before dyeing.
When you unwrap it, a pale leaf print stays behind. A little rub with cooking oil makes the finished eggs shine.
Just remember that hulls stored for months can collect mold, so keep them dry. A brown paper bag in a cool closet works well until spring rolls around.
7. Paper Gets An Antique Look
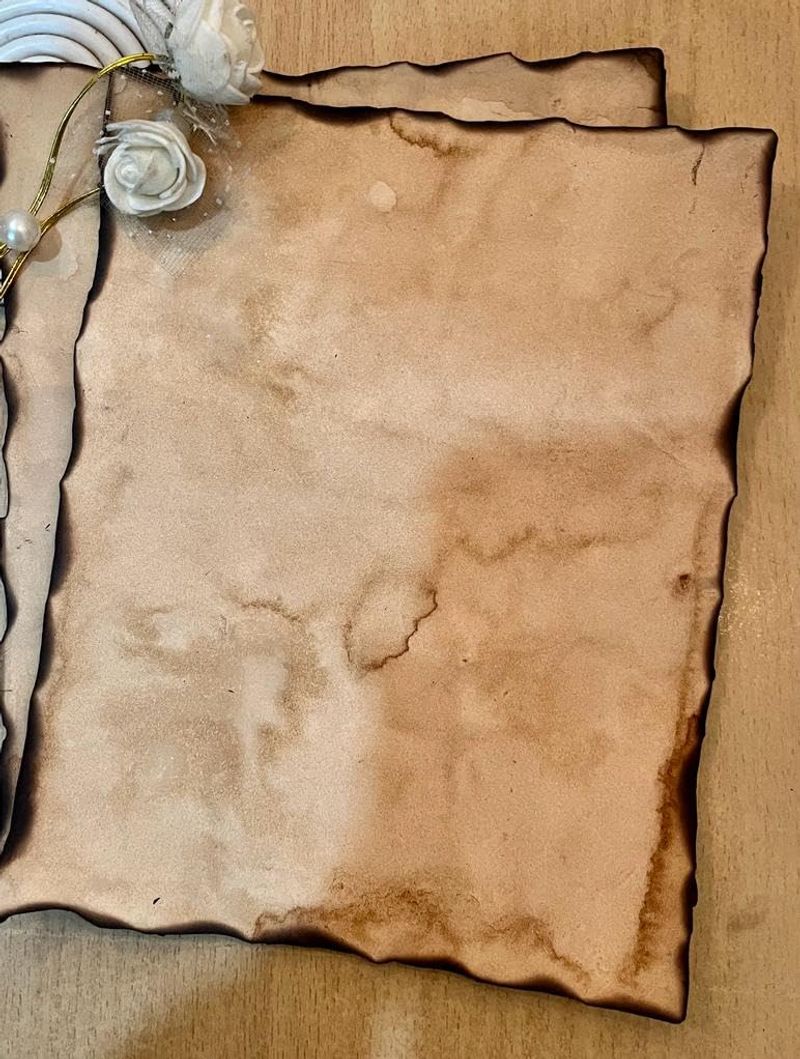
Treasure maps should look old and mysterious. With walnut dye, a crisp white sheet can pass for a page from a pirate’s chest in about an hour.
Teachers and scout leaders love this trick for history projects.
The method is wonderfully low-key. Brush walnut liquid over the paper with a wide brush or sponge.
For an uneven, weathered look, dab some spots darker than others.
Thicker paper handles moisture best. Watercolor paper or card stock resists tearing when wet.
Printer paper works too, but handle it gently.
Want extra character? Crumple the sheet before staining, then flatten it again.
The dye collects in the creases, creating lines that look like years of folding. Tear the edges carefully for a ragged finish.
Let each page dry flat on a towel, or set it under heavy books once it is barely damp. The result is a warm brown that resembles parchment.
Scrapbookers use it for backgrounds, while crafters make invitations for themed parties. Some writers even stain journal pages for a cozy, old-world feel.
If your house has a young wizard fan, homemade school acceptance letters on walnut paper are a guaranteed hit, so maybe brew a big batch.
8. Leather Darkens To A Warm Brown
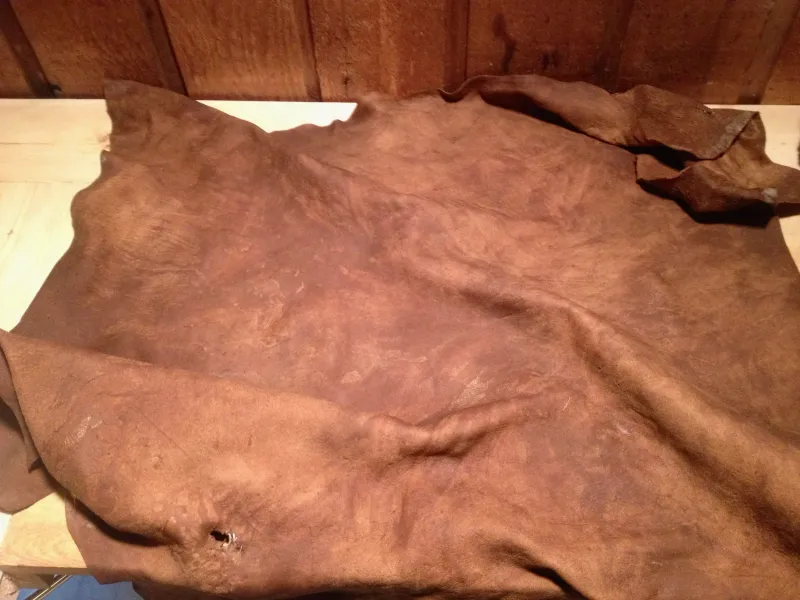
Old-time saddle makers knew a secret hiding in the woods. Walnut husks turn natural leather a handsome, warm brown that feels right at home on a belt or knife sheath.
Modern hobbyists keep that tradition going.
Start by boiling husks in water to make a strong dye. Strain it well so no gritty bits scratch your project.
Many leatherworkers apply it while it is still warm, since warm dye seems to soak in nicely.
Use a sponge, wool dauber, or soft brush. Work in even strokes to avoid blotches.
For a darker shade, let each coat dry and then add another until you love the color.
One caution matters here. Soaking leather in the dye bath for a long time can make it stiff.
The husks are astringent, meaning they tighten material, so brushing on coats works better than dunking.
After the color settles, condition the leather with oil or balm. That step brings back softness and adds a gentle glow.
Try plain vegetable-tanned leather, since chrome-tanned types do not absorb dye as evenly. Wallets, keychains, and journal covers make great first projects.
Each piece ends up with its own unique character, and no store catalog can match that.
9. Concentrate It Into Ink For Drawing
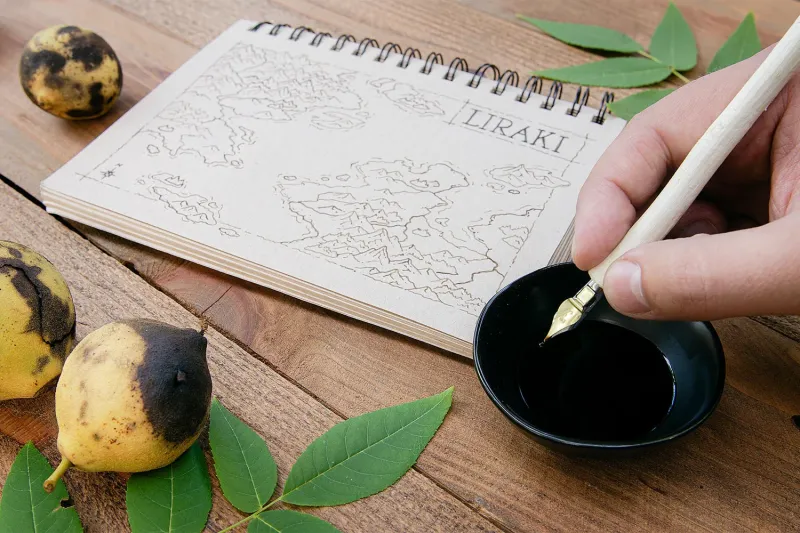
Leonardo da Vinci would have felt right at home here. Artists have sketched with walnut ink for ages, and Ohioans can brew their own from backyard hulls.
The color is a rich, flowing brown that looks great on paper.
Plan for a slow afternoon. Simmer the husks in water for several hours, adding a splash more if the pot gets too low.
As it reduces, the liquid grows darker and thicker.
Strain it through cloth or a coffee filter when the color looks deep enough. Then let the ink cool completely before transferring it to a clean, labeled jar.
Homemade walnut ink can spoil over time, so make small batches, keep them tightly sealed, and discard any ink that develops mold or an unusual smell. Do not assume that adding alcohol makes it safe to store indefinitely.
Want a darker shade? Drop in a rusty nail or a pinch of iron, and the brown shifts toward almost black.
Gum arabic, found at art supply stores, thickens the ink so it glides smoothly from a pen nib.
Store the finished ink in small glass jars with tight lids. Label each one with the date and any extras you added.
Try it with a dip pen for calligraphy, a brush for washes, or even a sharpened stick for rustic sketches. Water thins it into lovely light tones.
Your pages will carry a little bit of an Ohio autumn every time you draw.