Rosemary Care Tasks Texas Gardeners Should Do Before October Ends
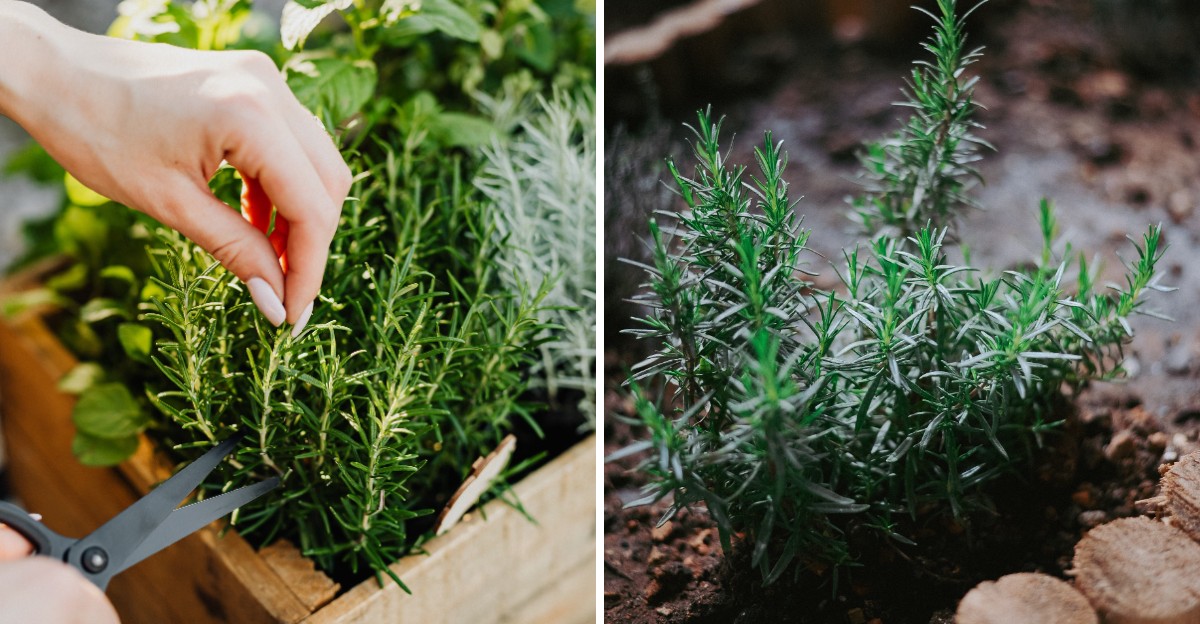
In plenty of Texas yards, rosemary is the plant that never seems to quit. It handles blazing heat, shrugs off dry spells, and keeps sending up fragrant sprigs year after year.
Many plants even grow into large, woody shrubs. That toughness makes it easy to forget it needs anything at all.
Rosemary isn’t completely carefree, though. Heavy clay, soggy roots, and sudden cold snaps can catch it off guard. A rushed trim or a poorly timed feeding can also leave it weaker heading into winter.
October is the perfect time to give it a little attention. A few quick tasks now can keep your rosemary healthy, bushy, and ready for the kitchen all season long.
1. Give It A Light Shaping
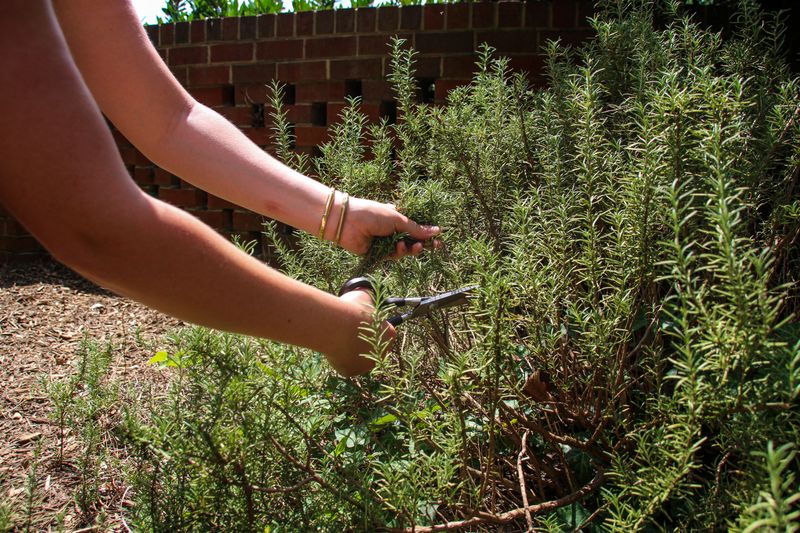
Think of a fall trim as a haircut, not a buzz cut. Your rosemary just survived a long Texas summer, and it probably looks a little wild. A gentle shaping now helps it look neat and grow fuller.
Start by looking at the whole plant from a few steps back. Find any stems that stick out too far or cross over each other. Those are your first targets.
Use clean, sharp pruners for the job. Dull blades crush stems instead of cutting them, and that invites trouble. Wipe your tools with rubbing alcohol before you begin.
Here is the golden rule. Never remove more than about one third of the plant at one time. Taking too much stresses rosemary right before winter, when it cannot bounce back quickly.
Another big tip is to stay in the green zone. Rosemary stems turn woody and bare as they get older. If you cut down into that old brown wood with no leaves, new shoots often will not appear.
Instead, snip just above a spot where green leaves are still growing. Each cut tells the plant to send out new side shoots. Over time, that gives you a thicker, bushier shrub.
Try to finish shaping by mid to late October. That gives fresh growth a few weeks to toughen up before cold weather arrives. Tender new shoots are more likely to get hurt by frost.
Fun fact: Rosemary belongs to the mint family, along with sage, basil, and lavender. That family loves a good trim. Do not toss those clippings, either. They smell wonderful and work great in your kitchen, which leads right into the next task.
2. Harvest And Preserve Extra Sprigs
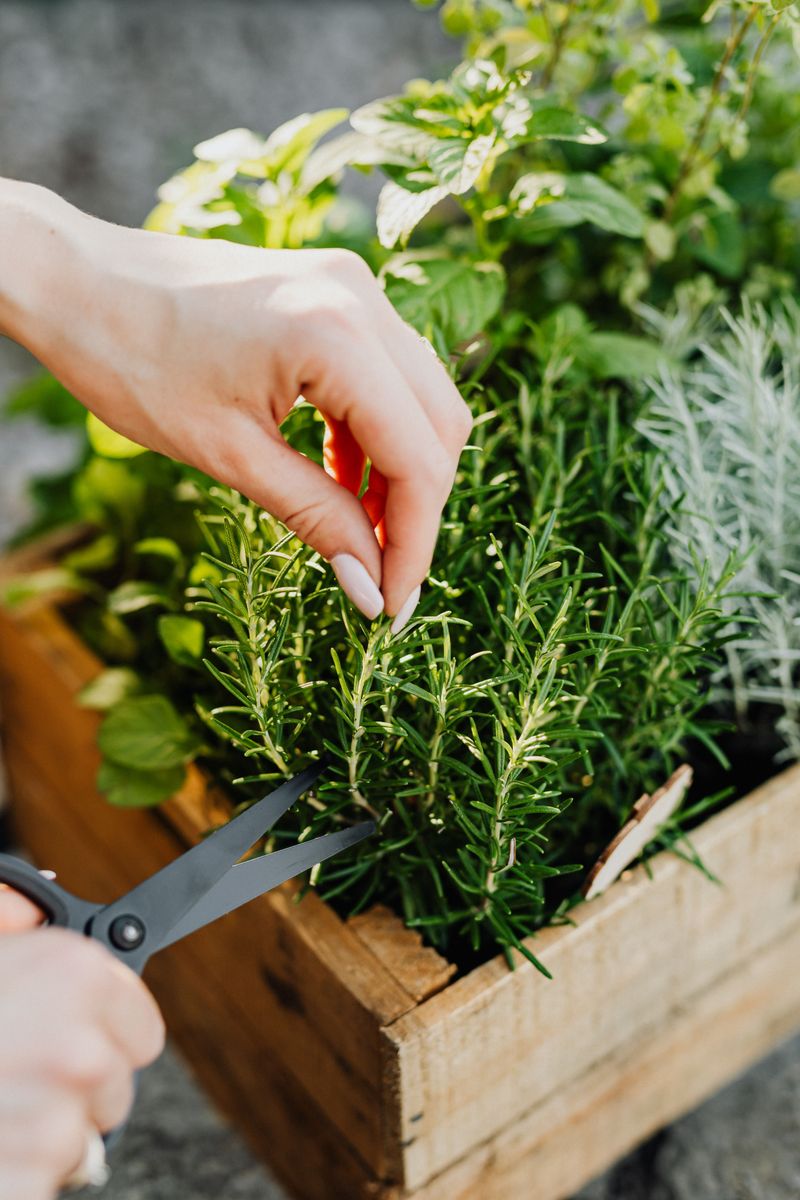
Nothing beats the smell of fresh rosemary on a cool autumn evening. Roasted potatoes, grilled chicken, and warm bread all taste better with it. Fall is the perfect season to gather a big batch.
Once the weather turns cold, rosemary slows down and grows very little. So this is your chance to stock up while the plant is full and healthy. Pick in the morning after the dew dries, when the oils are strongest.
Snip sprigs about four to six inches long from the tips. Spread your cuts around the plant so it stays balanced. Leave plenty of leaves behind so it can keep making food.
Your Texas Garden Changes Every Week. Your Plan Should Too.
Gardening in Texas changes quickly throughout the season. Every Friday you’ll receive a simple weekly plan showing exactly what to plant, prune, fertilize, harvest, and protect so you never miss the right timing.
Now comes the fun part. You can save your harvest in several easy ways. Drying is the simplest method.
Tie small bundles with string and hang them upside down in a dry, shady spot. In about two weeks, the leaves will feel crisp. Strip them off and store them in a jar with a tight lid.
Freezing keeps the flavor even brighter. Chop the leaves, pack them into ice cube trays, and cover them with olive oil. Pop out a cube whenever a soup or stew needs a boost.
Herb vinegar is another clever choice. Drop a few clean sprigs into a bottle of white wine vinegar and let it sit for two weeks. It makes a tasty salad dressing.
If you make rosemary oil, keep it in the fridge and use it within a week for safety. Fresh garlic or herbs in oil can grow harmful bacteria at room temperature.
Little jars of dried rosemary also make sweet holiday gifts for neighbors and teachers.
3. Improve Drainage Around The Base
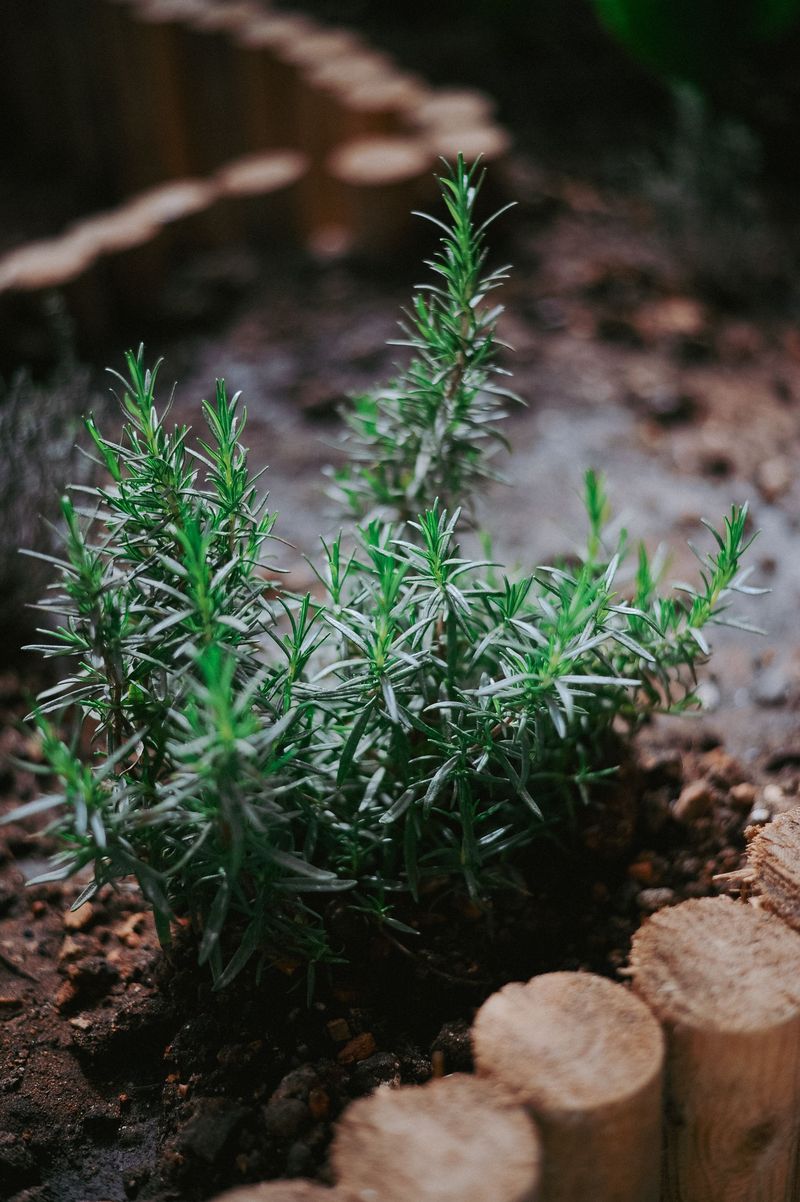
Wet feet are rosemary’s worst enemy. Back home around the Mediterranean Sea, it grows on rocky hillsides where rain drains away fast. Soggy Texas soil is a very different story.
Fall and winter can bring plenty of rain here. Forecasters often watch for El Niño, a weather pattern that can mean a wetter, cooler winter across much of Texas. When that happens, heavy clay soil can stay soaked for days.
Constant moisture leads to root rot. The roots turn brown and mushy, and the plant starts to wilt even though the ground is wet. By the time you notice, saving it can be tough.
So let’s fix the problem before it starts. First, look at the area right around the main stem, called the crown. Is wood mulch or leaf litter piled up against it?
If so, pull it back several inches. Organic mulch holds water, which is great for tomatoes but not for rosemary. A damp crown is an open door for rot.
Next, spread a thin layer of pea gravel or decomposed granite around the base. About one inch is plenty. Gravel lets water drain quickly and keeps the crown dry and warm.
Got a spot where puddles always form? Consider moving your plant to a raised bed or a mound of soil later on. Even six inches of height can help a lot.
For potted rosemary, check the drainage holes. Make sure they are not blocked. Skip the saucer during rainy weeks, or empty it after every storm. A little gravel today could save you a big headache this winter.
4. Cut Back On Watering
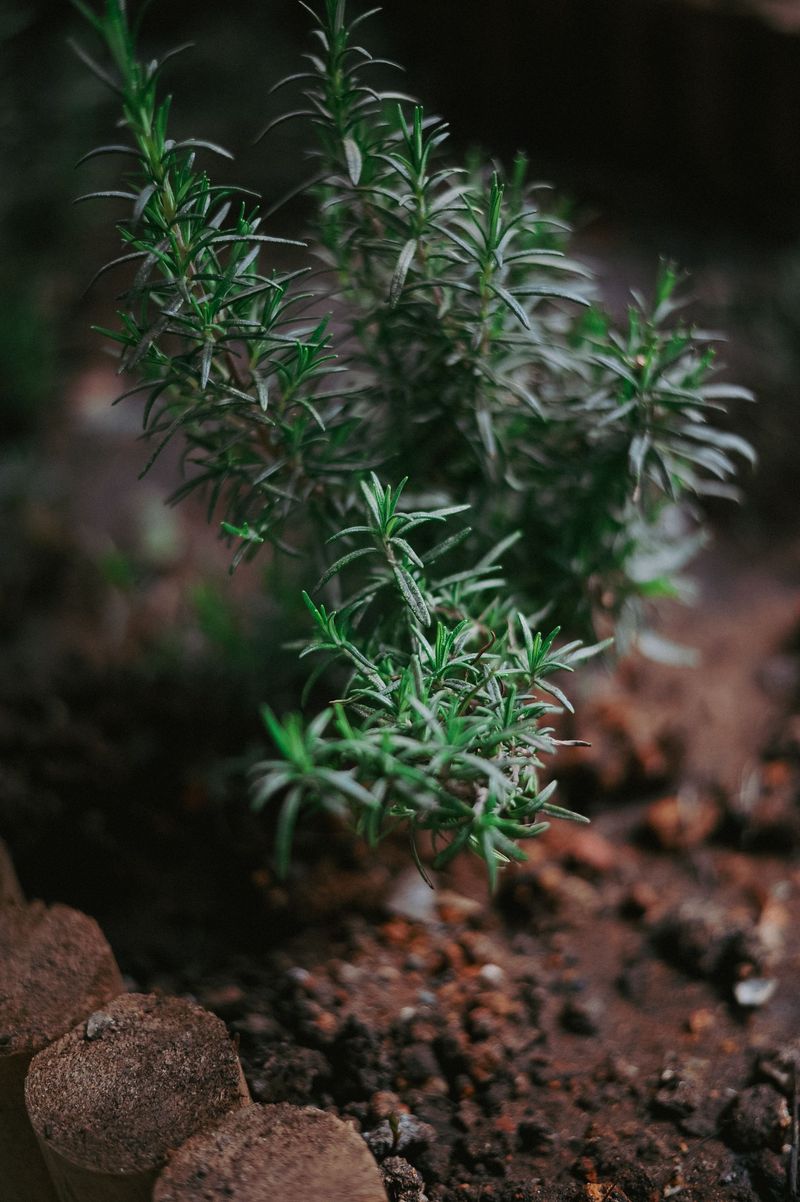
During July, your rosemary probably felt like it needed a drink every few days. Those days are over. As the air cools, the plant uses far less water.
Many gardeners keep the same summer schedule out of habit. Sadly, that kindness can backfire. Too much water in cool weather is one of the top reasons rosemary struggles in winter.
Here is a simple test anyone can do. Push your finger about two or three inches into the soil near the plant.
If it feels dry, go ahead and water. If it still feels damp or cool, walk away. Your rosemary is fine. Check again in a few days.
When you do water, soak the soil deeply instead of giving a light sprinkle. Deep watering helps roots grow down where moisture lasts longer. Then let the soil dry out again.
Let Mother Nature handle most of the work. Fall cold fronts often bring rain across Texas. After a good storm, you may not need to water for a week or even two.
Do you use a sprinkler system? Now is the time to adjust the timer. Better yet, put rosemary on its own zone or leave it off the schedule entirely.
Potted plants dry out faster than ones in the ground, so check them more often. Still, use the same finger test before reaching for the hose.
Watch for clues from the plant. Yellowing lower leaves often mean too much water. Soft, droopy tips on dry soil mean it needs a drink. Less effort, healthier plant. That is a deal worth taking.
5. Check For Pests And Disease
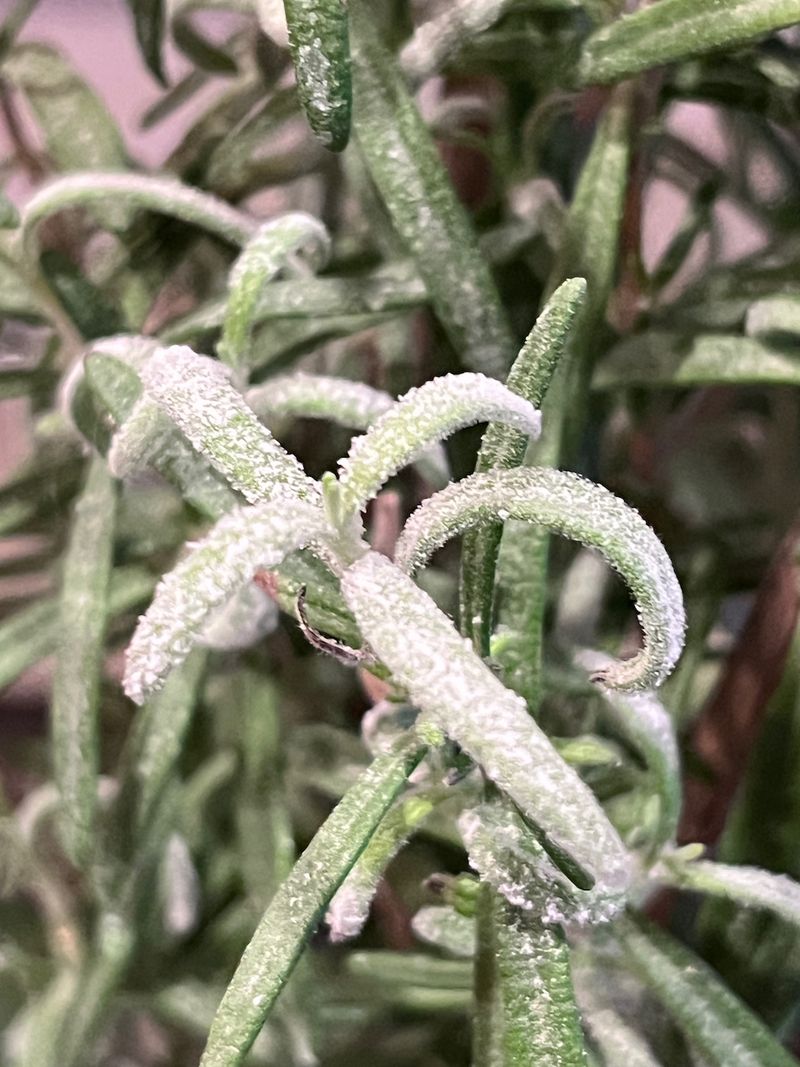
Bugs love a crowded neighborhood, and a thick rosemary bush can be prime real estate. Take a few minutes to play detective this month. Catching problems early makes them much easier to handle.
Spider mites are tiny and hard to see. Look for fine webbing between leaves or tiny yellow speckles. Hold a white sheet of paper under a branch and tap it, then watch for moving dots.
Scale insects look like little brown or white bumps stuck to the stems. They do not seem to move, so people often miss them. Scrape one with your fingernail, and if it pops off, it is probably scale.
Powdery mildew shows up as a dusty white coating on the leaves. It loves humid days and still air. Gulf Coast gardeners see it often in the fall.
What’s the best defense? Good airflow. Reach into the center of the plant and remove a few crowded inner stems so breezes can pass through.
For spider mites, a strong spray of water from the hose can knock many of them off. Do it in the morning so leaves dry by evening. Repeat every few days for a couple of weeks.
Scale and stubborn mites usually respond to insecticidal soap or horticultural oil. Follow the label closely, and avoid spraying on hot afternoons.
Cut off branches badly covered in mildew and throw them in the trash, not the compost. Also give plants plenty of space when you plant new ones.
Quick tip: Healthy, stress-free rosemary resists pests far better. The other tasks on this list help with that too.
6. Prepare For Hard Freezes
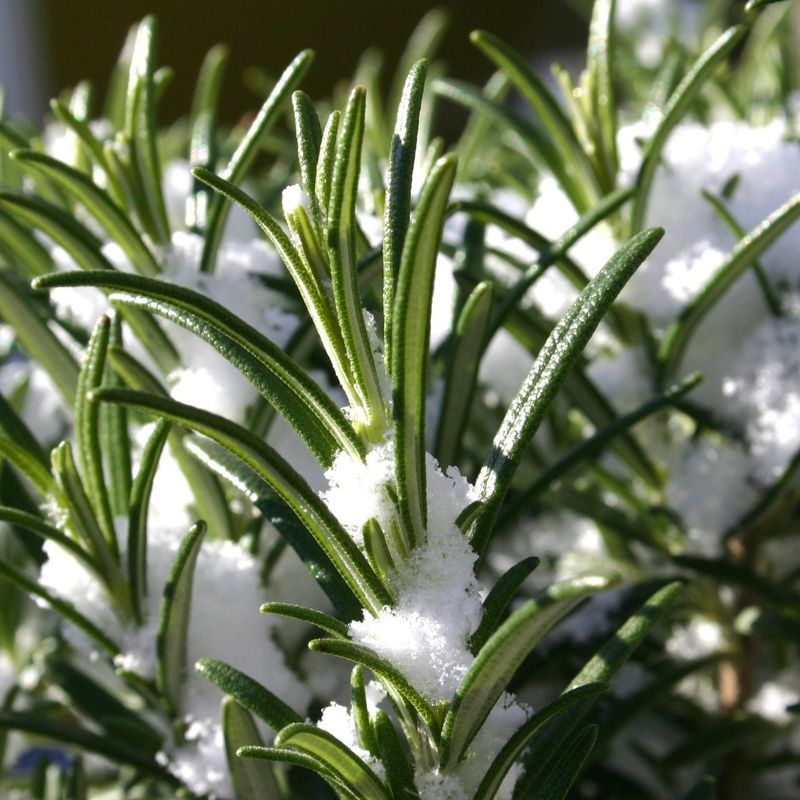
Remember the big Texas freeze of February 2021? Plenty of gardeners lost plants they thought were tough as nails. Rosemary was one of them in many yards.
Most rosemary can handle a light frost without much fuss. A hard freeze is different. When temperatures drop into the teens or lower, stems can split and leaves can turn brown.
Where you live matters a lot. Folks in Houston or San Antonio rarely see long freezes. Gardeners in Dallas, Amarillo, and Lubbock face much colder nights.
If you live up north, think about your plant choice. Varieties like ‘Arp’ and ‘Madeline Hill’ are known for handling cold better than most. ‘Arp’ was actually found in the small East Texas town of Arp, which makes it a true local hero.
Planning to add rosemary this fall? Pick one of those hardy types for better odds. Plant it in a sunny spot near a south-facing wall for extra warmth.
Now gather supplies before you need them. Buy frost cloth or old bedsheets and keep them handy. Skip plastic, since it can trap cold against the leaves.
When a hard freeze is coming, water the ground a day ahead if it is dry. Moist soil holds heat better than dry soil. Then cover the plant all the way to the ground and weigh down the edges.
Potted rosemary is easier to protect. Roll it into a garage, shed, or covered porch during the coldest nights. Bring it back into the sun once temperatures rise. Keep an eye on the forecast. A little prep goes a long way.
7. Take Cuttings For New Plants
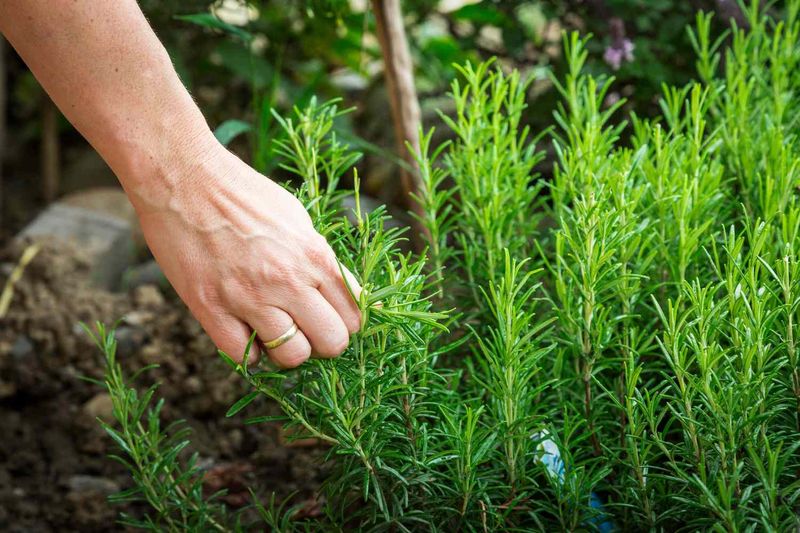
Free plants? Yes, please. One healthy rosemary bush can give you a whole tray of babies, and fall is a great time to start them.
Having backups is smart insurance. If a nasty freeze damages your outdoor plant, you will still have rosemary growing safely inside. You can also share extras with friends.
Choose healthy stems that are green and bendy, not old and woody. Cut pieces about four to six inches long. Make each cut just below a spot where leaves join the stem.
Next, strip the leaves off the bottom two inches. Those bare spots are where roots will form. Keep the top leaves in place.
Rooting hormone powder can speed things up, but it is optional. Dip the cut end lightly if you have some. Tap off the extra.
Fill small pots with moist potting mix. A mix with some sand or perlite works great because it drains well. Poke a hole with a pencil and slide each cutting in.
Gently press the soil around the stems. Set the pots in a bright spot out of harsh direct sun. A covered porch or a sunny windowsill works nicely.
Keep the soil lightly damp, never soggy. Some gardeners cover pots with a clear plastic bag to hold in humidity. Just open it every day for fresh air.
In about four to eight weeks, give a cutting a gentle tug. If you feel resistance, roots have formed. Celebrate a little.
Move rooted plants to bigger pots and keep them indoors for winter. Come spring, they will be ready for the garden.