How To Winterize A Rain Barrel Before Ohio’s First Freeze
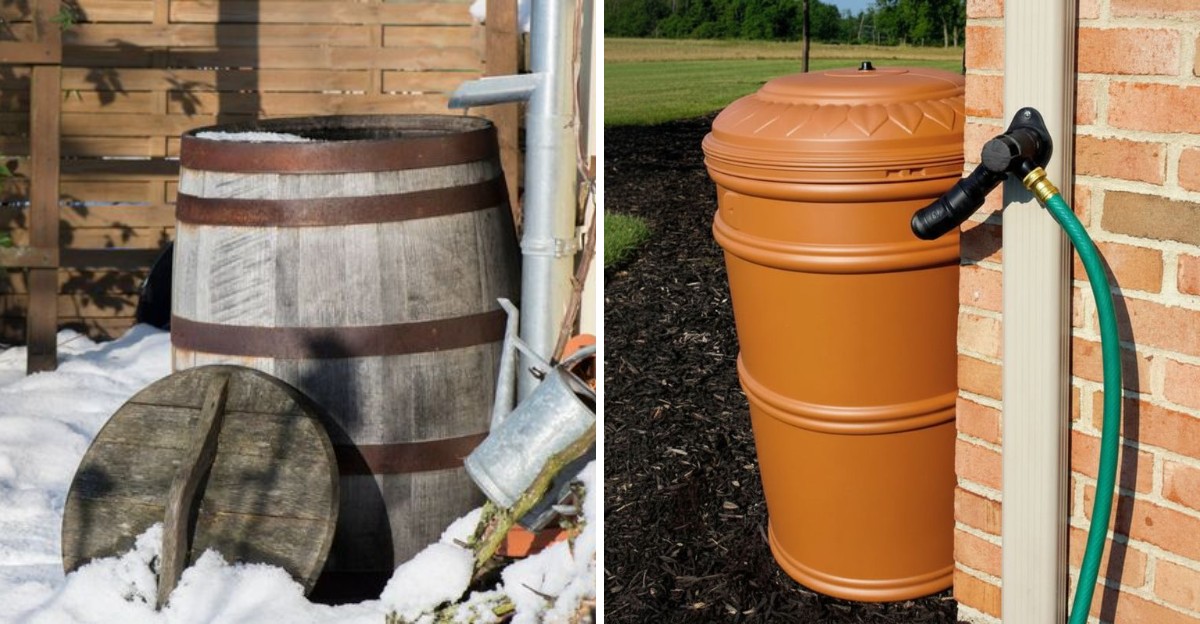
That rain barrel has served you well all summer, and one cold night could split it right down the seam.
Ohio’s first hard freeze arrives without much warning. Water expands as it turns to ice, and the plastic, wood, or whatever your barrel is built from pays the price.
Gardeners who skip this chore usually find out in March, with a puddle under the downspout and a shopping trip ahead.
The fix takes less time than a trip to the garden center. A few steps handle the barrel itself, the hose, and the spot where it sits.
Do them in the wrong order and you make a mess.
Some parts of the job feel backwards until you hear the reason.
Pick a dry afternoon before the cold sets in. Your barrel will thank you come spring.
1. Ice Can Crack A Full Or Nearly Full Barrel
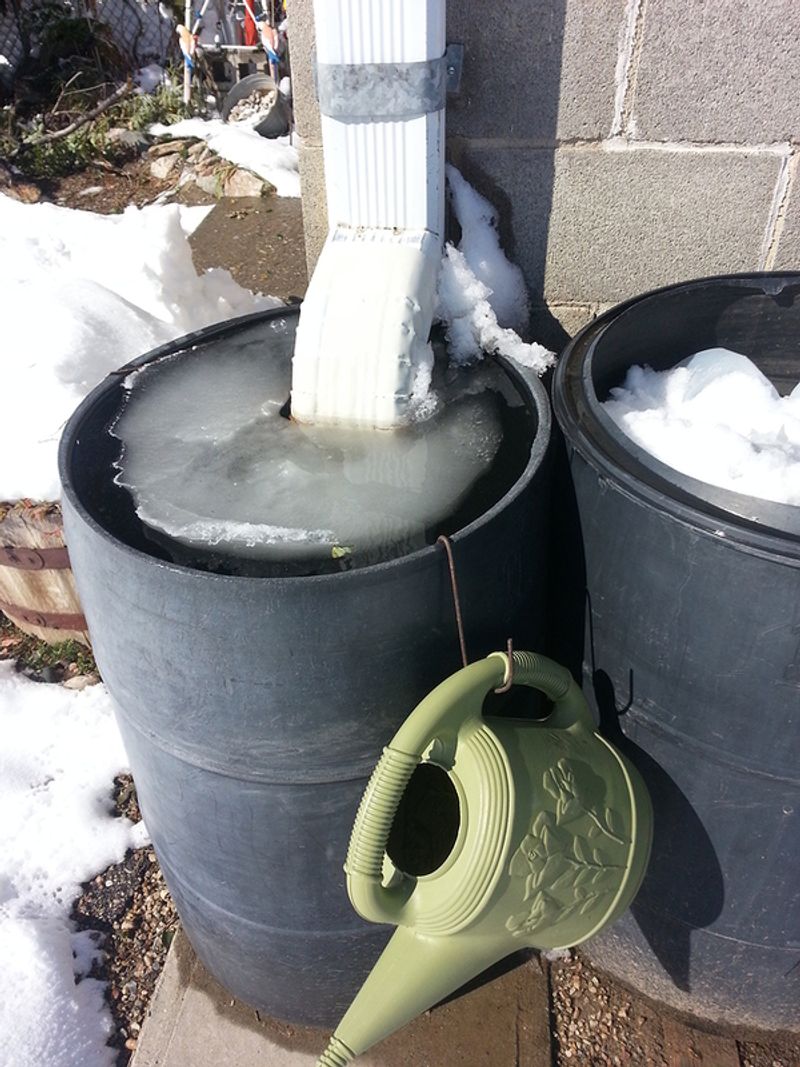
Ever left a soda can in the freezer too long? You probably found a bulging, split mess the next morning.
Your rain barrel faces the same problem on a much bigger scale. Water grows by about nine percent when it turns to ice, and that extra size has to go somewhere.
In a full barrel, the only place to go is outward, right into the walls. The pressure builds slowly, then the plastic gives way with a crack you might not notice until spring.
Cold also makes plastic stiffer and less forgiving. A barrel that bends a little in July can snap in January when the temperature drops into the teens.
Ohio weather loves to tease us, too. One week feels like fall, and the next brings a hard freeze overnight.
That back-and-forth means water can freeze, thaw, and freeze again many times. Each round puts fresh stress on seams, spigots, and the lid.
A barrel that is only half full is not safe either. Ice can still push against the bottom and the spigot fittings, loosening seals that keep water from leaking.
Fun fact: water is one of very few substances that gets bigger as it freezes. That quirk is why ice floats, and also why your barrel needs emptying before winter arrives.
Plan to act once nighttime lows start dipping near freezing. Late October or early November usually works well across most of the state.
2. Winter Winds Can Blow An Empty Barrel Away
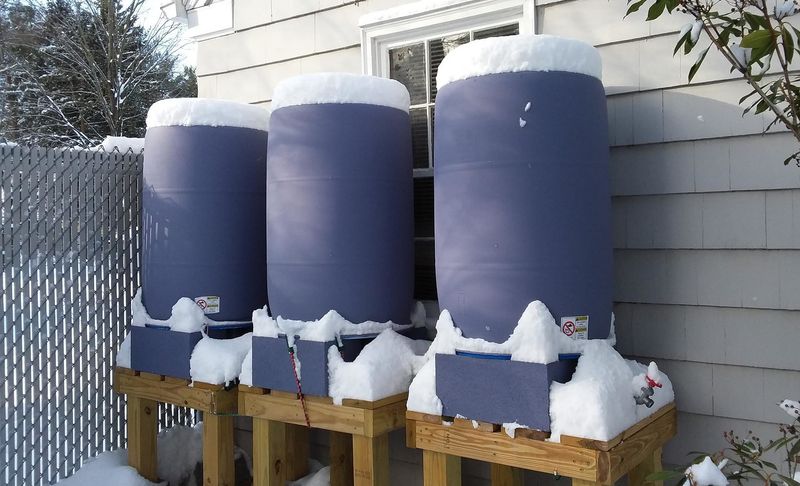
My neighbor once found his rain barrel two yards over, resting against a stranger’s fence. A January gust had picked it up like a beach ball and rolled it right down the street.
Sounds funny, but it can cause real trouble. A flying barrel can dent a car, crack a window, or block a sidewalk.
Here is the twist. Once you drain your barrel to protect it from ice, it becomes light enough for the wind to grab.
A typical 55-gallon plastic barrel weighs only around 15 to 20 pounds when empty. Compare that to roughly 450 pounds when it is full of water, and you can see the problem.
Your Ohio Garden Changes Every Week. Your Plan Should Too.
Gardening in Ohio changes quickly throughout the season. Every Friday you’ll receive a simple weekly plan showing exactly what to plant, prune, fertilize, harvest, and protect so you never miss the right timing.
Northeast Ohio gets especially blustery winters thanks to cold air sweeping across Lake Erie. Even central and southern parts of the state see strong storms that roar through overnight.
A round barrel also catches wind easily. Its curved shape lets it roll once it tips, so it can travel farther than you might expect.
Lost barrels mean extra shopping in spring. Good ones can cost anywhere from 60 to well over 100 dollars, so a runaway barrel stings your wallet.
The good news is that this problem is easy to solve. Indoor storage or a heavy weight on top keeps your barrel right where you left it, and we will cover both options shortly.
3. Open Every Spigot And Drain It Completely
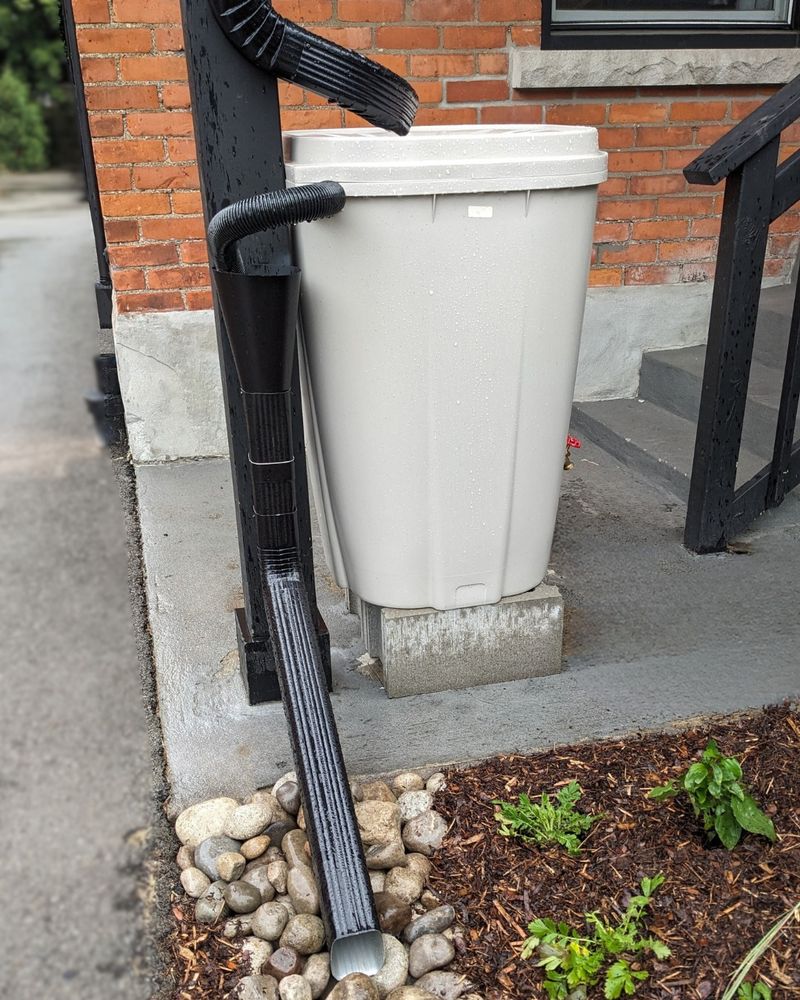
Think of this as giving your barrel a big, relaxing exhale. Start by finding every spigot, valve, and outlet on the barrel, including any near the top for overflow.
Turn each one all the way open. Let gravity do its job while you rake a few leaves or sip something warm.
Here is a smart trick before you start. Use that leftover water on your garden beds, young trees, or potted mums, since plants still appreciate a fall drink.
Fill a watering can or bucket from the lowest spigot. That way, nothing goes to waste, and the barrel empties a little faster.
Any attached hoses need draining too. Lift one end high and walk it toward the other end, pushing trapped water out like squeezing toothpaste.
Leave the spigot open once the flow stops. An open valve lets any last drips escape and keeps ice from forming inside the fitting.
That small step protects the rubber washers and seals hidden in the spigot. Those little parts are cheap but annoying to replace, and they crack easily when frozen.
Got a barrel with a spigot set a few inches above the bottom? Some water will stay behind, which is normal and easy to handle in the next step.
Patience pays off here, so give it plenty of time. A full barrel may take an hour or more to empty.
4. Tip The Barrel Upside Down To Empty The Last Bit
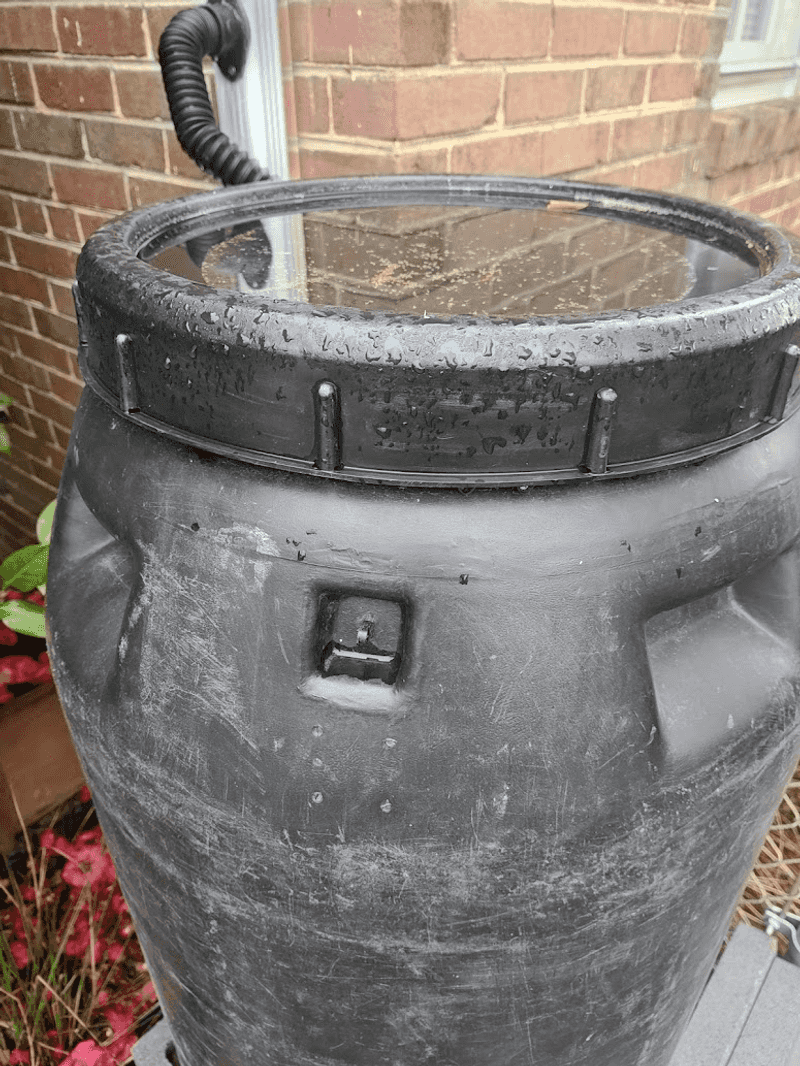
Sneaky puddles love to hide at the bottom of a barrel. Even after the spigot runs dry, a few inches of water often sit below the outlet, waiting for a cold snap.
Flipping the barrel is the easiest fix. First, make sure it is fully detached from its stand and any connections.
Grab a friend if you can, because wet plastic gets slippery. Tilt the barrel slowly onto its side, then roll it until the top faces the ground.
You might hear a satisfying gush as the last water spills out. Watch for leaves, sludge, and maybe a surprised spider or two.
Now is a great moment for a quick cleanup. Rinse out gunk with a hose and scrub with a soft brush if you spot slimy buildup.
A mild mix of water and a little vinegar works nicely for stubborn spots. Skip harsh chemicals, since you will use this water on plants later.
Let the barrel sit upside down in the sun for an afternoon. Air drying keeps mold and musty smells from setting in over winter.
Quick tip: set it on a couple of bricks or boards while drying. Lifting the rim lets air flow underneath, so the inside dries faster.
A clean, dry barrel will be ready to work hard again come spring.
5. Disconnect It From The Downspout
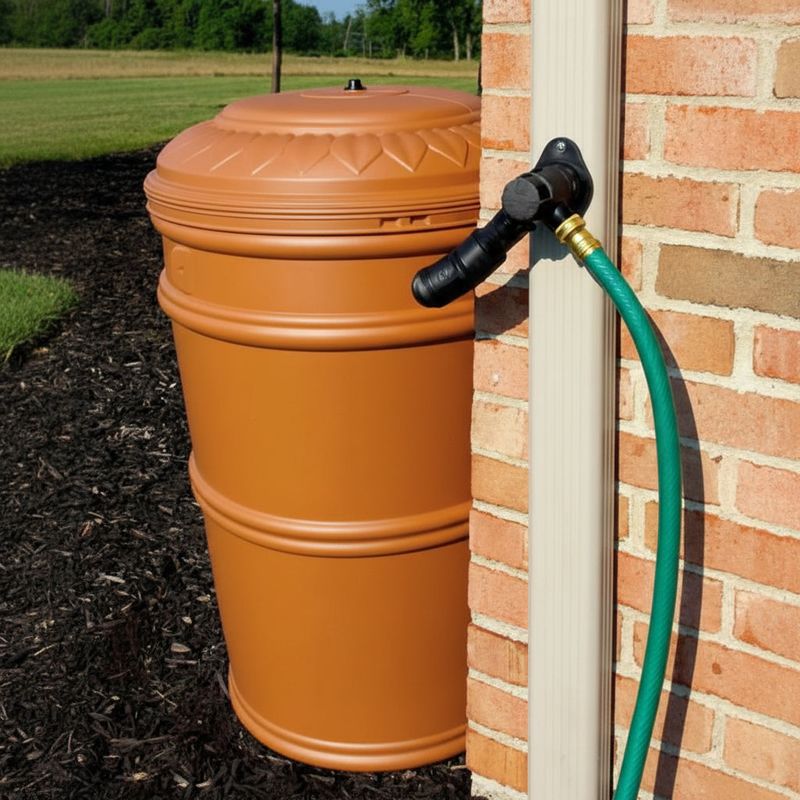
Picture this: you drain your barrel perfectly, then a December rain refills it overnight. The next hard freeze undoes all your work in a single night.
That is why cutting the connection matters so much. Your downspout keeps sending water as long as it is hooked up.
Most setups use one of two styles. Some barrels sit right under a shortened downspout, while others use a diverter that sends part of the flow through a small hose.
For a shortened downspout, slide the barrel away and check the opening. You will need to reconnect a pipe section, which comes up in the next step.
Diverters take a bit more care. Pull the connector hose free, then remove the diverter piece itself if your model allows it.
Many diverters have a winter setting or a cap. Flip the switch or plug the opening so water flows straight down the spout like normal.
Melting snow counts as water, too. A sunny afternoon in February can send plenty of runoff down your gutters.
Keep any small parts in a zip bag labeled with a marker. Screws, caps, and clamps vanish fast in a garage over a long winter.
Snap a quick photo of your setup before taking it apart. Future you will appreciate the reminder when spring cleanup rolls around.
6. Add An Extension To Steer Roof Water Away From Your Foundation
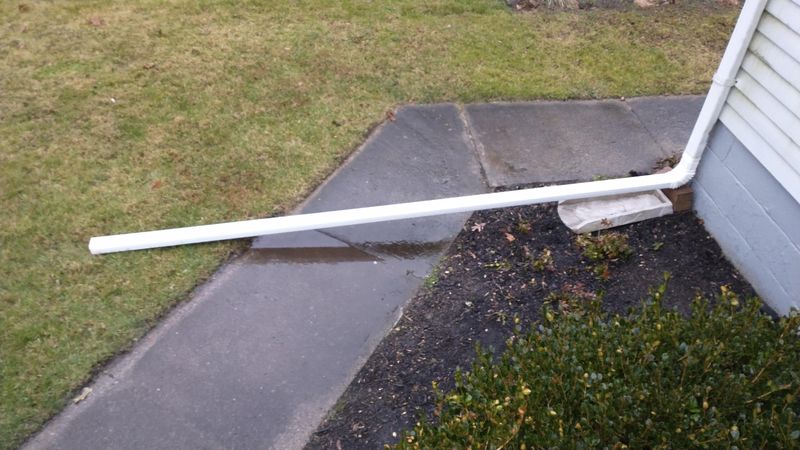
A single inch of rain on a 1,000-square-foot roof sends about 600 gallons rushing down your gutters. Without your barrel there to catch it, all that water needs a new path.
Left alone, it pours right beside your house. Over time, that soggy soil can push water into basements and crawl spaces.
Ohio has plenty of clay soil, which drains slowly. Water tends to pool near walls, and freezing ground can make the problem worse.
The simple fix is an extension. Reattach the original downspout piece you removed in spring, or add a new elbow and pipe section.
Aim for the water to land at least four to six feet from your foundation. Farther is even better if your yard allows it.
Hardware stores sell several handy options. Flexible accordion tubes bend around corners, while splash blocks spread water across the lawn.
Some extensions roll out when water flows and coil back up when dry. Those work nicely near walkways where a long pipe might trip someone.
Point the outlet downhill and away from sidewalks or driveways. Icy patches on paths can turn a quick walk to the mailbox into a slippery adventure.
Check the extension after big storms during winter. Leaves and ice can clog it, so a quick look keeps everything flowing.
7. Store The Hoses Separately Until Spring
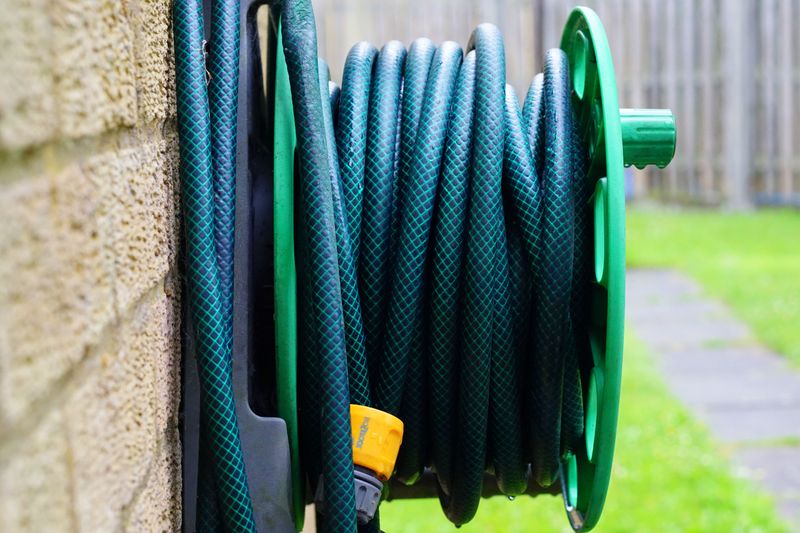
Hoses are the quiet troublemakers of winter. They look tough, yet a little trapped water can split one wide open after a single cold night.
Start by unscrewing every hose from the barrel. That includes the soaker hose, the overflow hose, and the short link to any diverter.
Drain each one carefully. Hold one end up high, then slowly walk the length so water runs out the far end.
Coil them loosely, almost like a big lazy loop. Tight coils can kink, and cold rubber or vinyl cracks along those bends.
Hang hoses on a wall hook or lay them flat on a shelf. A hose reel works well, too, as long as it stays indoors.
Bring in the small parts while you are at it. Diverters, connectors, and overflow fittings all benefit from a cozy spot out of the weather.
A plastic bin labeled for rain barrel gear keeps everything together. Toss in spare washers, too, since they wear out over time.
Fun fact: sunlight can weaken hoses as much as cold does. Ultraviolet rays slowly break down the material, so indoor storage helps in more ways than one.
Come spring, you will grab one bin and be ready to reconnect. That feels like a small gift from your past self.
8. Move It Into A Garage, Basement Or Shed
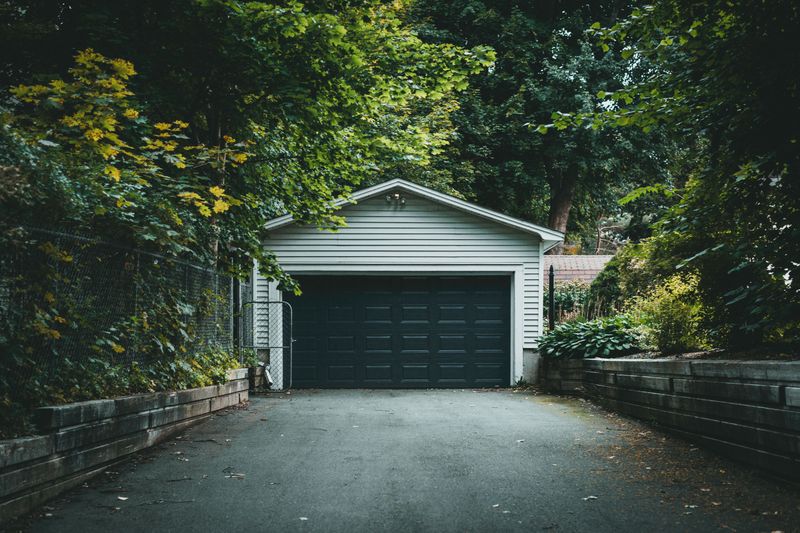
Nothing beats a warm, dry hideout for your barrel. Indoors, it stays safe from wind, ice, snow, and the occasional curious raccoon.
A garage is the most common pick. Tuck the barrel into a corner where it will not block the car door or the snowblower.
Basements work well if you can carry the barrel down the stairs. Sheds are great, too, especially if yours already holds garden tools.
Store it upside down even indoors. That keeps dust, bugs, and stray drips from collecting inside over the long months.
Set it on a pallet, scrap board, or piece of cardboard. Lifting it off cold concrete helps any leftover moisture dry out.
Short on space? Try stacking lightweight items, such as empty pots, on top of the upside-down barrel.
Indoor storage also protects the plastic from sunlight. Winter sun bouncing off snow can be surprisingly strong and fade the color over time.
Plus, you get a head start on spring. When warmer weather arrives in March or April, your barrel is clean, dry, and ready to roll.
Keep stands and bricks inside if you have room. Wooden stands in particular last longer when they spend winter out of the wet weather.
9. If It Stays Outside, Store It Upside Down And Weigh It Down
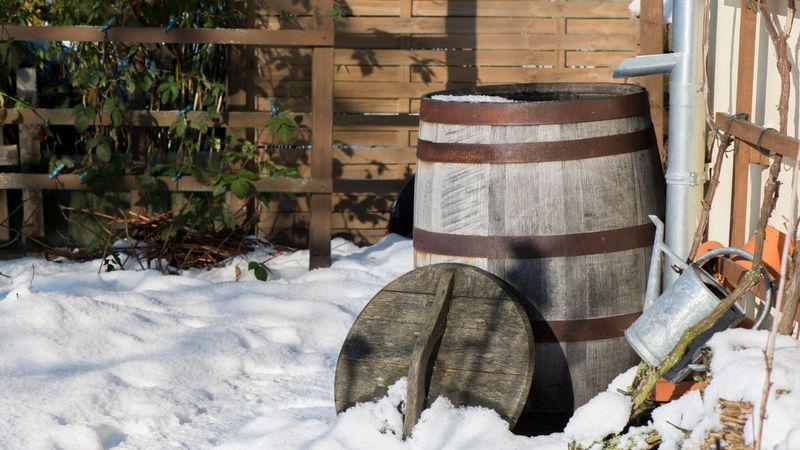
Not everyone has a spare corner in the garage, and that is perfectly fine. With a few smart tricks, your barrel can ride out winter right in the yard.
Flip it upside down first. That simple move keeps rain and snow from collecting inside, so ice has nowhere to form.
Choose a flat, sheltered spot if possible. The side of a shed or a corner beside the house blocks some of the strongest gusts.
Next, add weight on top. Two or three bricks, a cinder block, or a heavy paver will help it stay put during blustery storms.
Want extra security? Strap the barrel to a fence post or railing with a bungee cord or rope.
Some gardeners also drape a tarp over the top. Tie it down snugly, because a loose tarp acts like a sail in the wind.
Close the lid if your barrel has one. Then open the spigot so any moisture can escape rather than freeze in place.
Check on it after big storms. A quick peek helps you spot shifted bricks, flapping tarps, or snow piling up around the base.
Fun fact: many Ohio soil and water conservation districts recommend this exact setup. It is simple, cheap, and works well for most backyards.