Build This Simple Cold Frame Now, And Your New York Garden Keeps Growing Through Snow
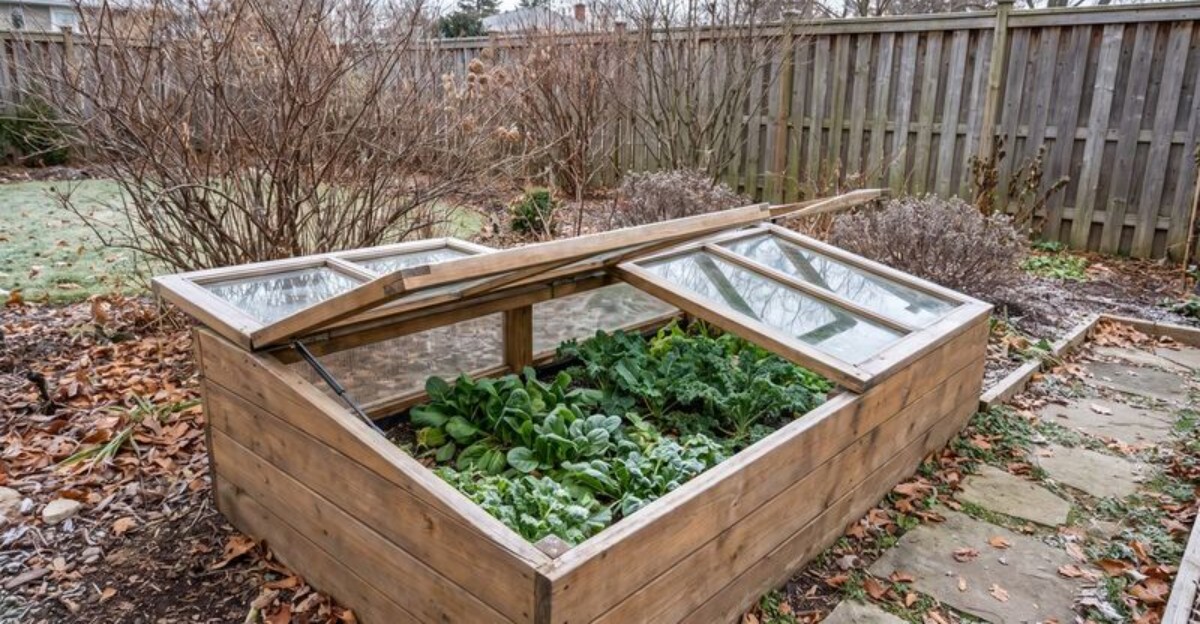
Pulling fresh spinach from your garden while snow piles up outside sounds like a winter daydream. A simple cold frame can make it real.
It’s basically a bottomless box with a clear lid that traps the sun’s warmth. In New York, where frost can show up by early October, that little box can buy you weeks or even months of extra harvest.
You don’t need fancy tools or a big budget to build one. A few boards, a lead-free old window, and an afternoon of work can get you started.
The real trick is in the details, like where you place it and how you care for it. Small choices make a big difference once the thermometer drops.
Your salad bowl can stay full long after the garden goes quiet. Building and using a cold frame is easier than you might think.
1. Pick A Sunny, South-Facing Spot
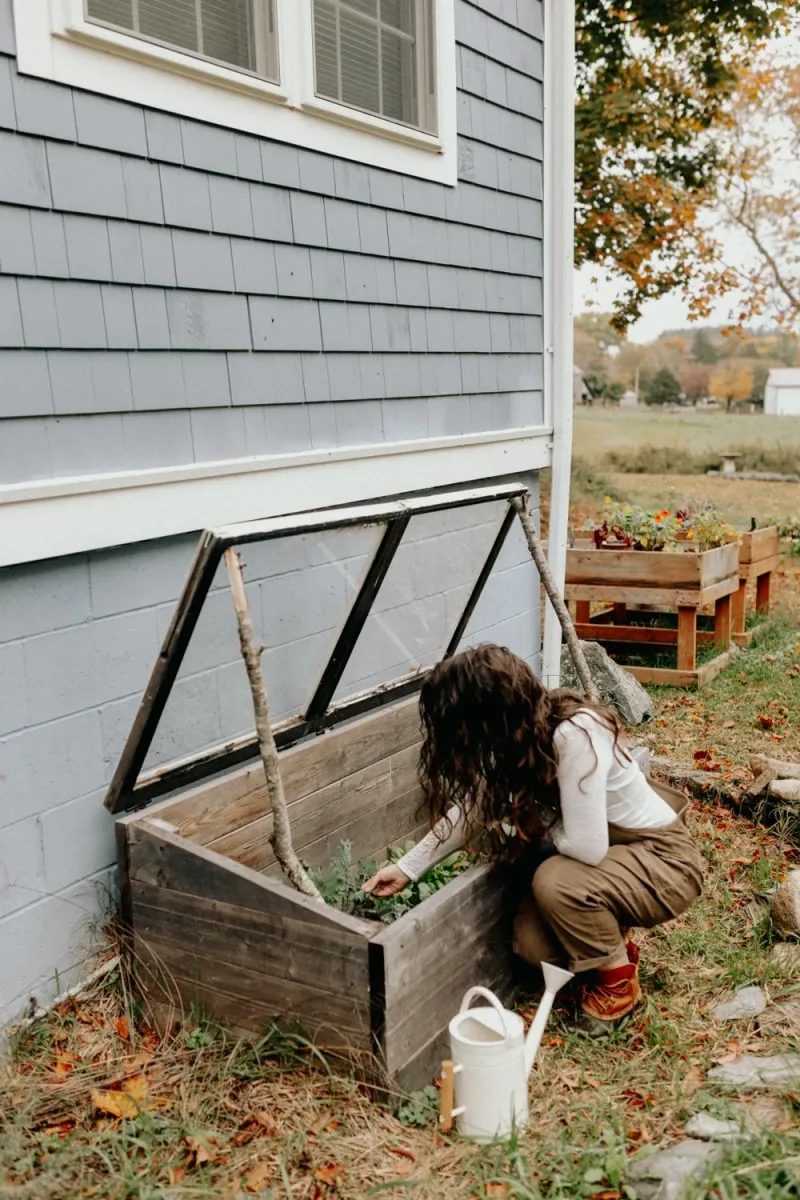
Sunlight is the only heater your cold frame gets for free. Pointing it south lets the box soak up the most light during short winter days.
Winter sun stays low in the sky across New York. A south-facing frame catches those slanted rays from morning until mid-afternoon.
Walk your yard on a clear day in late fall and watch the shadows. Trees, sheds, and fences that seem harmless in summer can block light in December.
Look for a spot with at least six hours of direct sun. More is better, especially in colder upstate areas rated zones 4a to 5a.
Here is a clever trick many gardeners use. Set the back of the frame against a south-facing house wall, fence, or garage.
That wall blocks harsh north winds that sweep in during storms. It also gives off stored warmth after sunset, like a gentle radiator.
Drainage matters just as much as sunshine. Soggy ground turns roots mushy and invites rot, which ruins tender greens quickly.
Avoid low corners where rain puddles or melting snow collects. A slightly raised area works best, or you can add a few inches of gravel underneath.
Think about convenience too, since you will visit often. A spot near your back door makes it easy to check plants on cold mornings.
Take a quick photo of your chosen spot at noon. Comparing it later helps you see exactly how the light shifts as winter deepens.
2. Build The Back Taller Than The Front
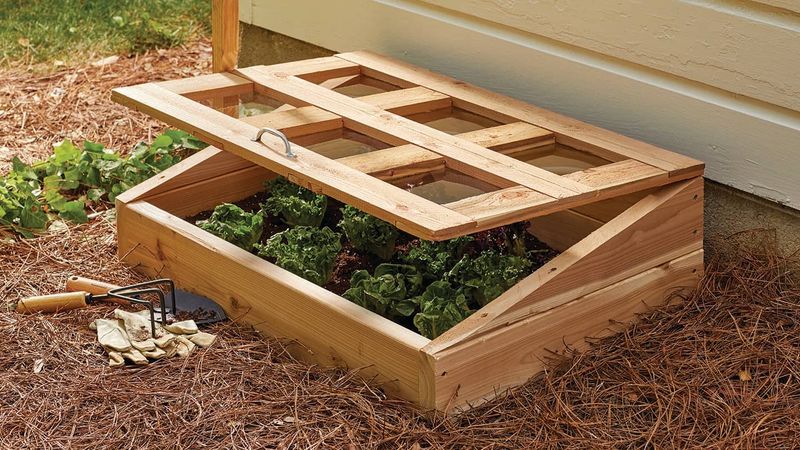
Ever notice how solar panels tilt toward the sky? Your cold frame works the same way, and a slanted lid grabs far more winter light.
The idea is simple. Make the back wall taller than the front so the lid slopes toward the south.
Most builders aim for a front height of 8 to 12 inches. The back usually stands 12 to 18 inches tall.
That angle helps low winter sunbeams hit the glass more directly. Less light bounces away, so more warmth reaches your plants and soil.
Snow is another big reason for the slope. A flat lid lets heavy snow pile up, blocking light and straining the frame.
With a tilted top, rain and melting snow slide right off. You spend less time brushing away drifts after storm.
Height also depends on what you plan to grow. Leaves pressed against cold glass can freeze, so give plants a little headroom.
Low greens like spinach and mache fit fine in a shorter frame. Taller kale or chard may need a back wall closer to 18 inches.
Cutting the side boards is the trickiest step. Lay a board diagonally, mark a straight line from the short end to the tall end, then saw.
Measure your lid before cutting any wood at all. Building the box to fit the window saves frustration and keeps gaps small.
3. Use An Old Window Or Polycarbonate Lid
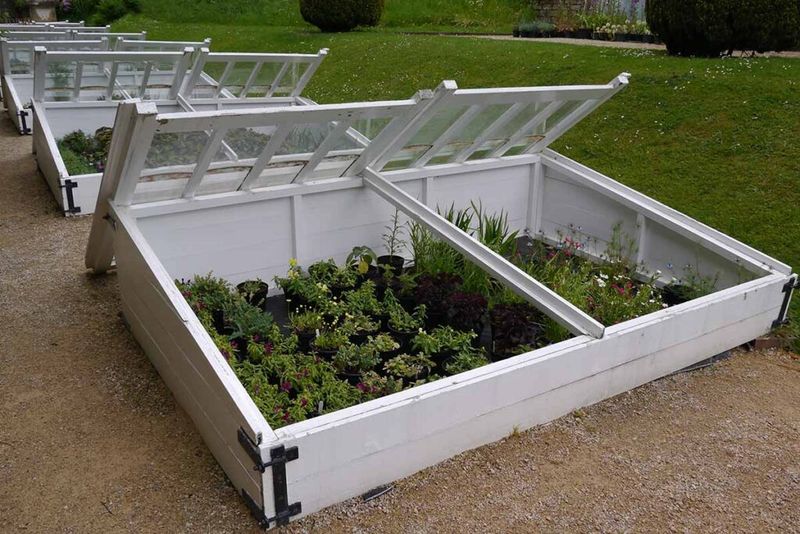
Grandma’s old farmhouse windows might be sitting in a garage somewhere, waiting for a second life. Turning one into a cold frame lid is a classic gardener move.
Old glass windows are often cheap or even free. Check yard sales, salvage stores, and neighbors who are replacing windows.
Glass lets in a lot of light, which plants love. It is also heavy, so it holds steady when wind gusts blow.
Be careful with very old frames, though. Paint or putty from before 1978 may contain lead, which you do not want near food crops.
Glass has another drawback in snowy places. Hail, falling branches, or a heavy snow load can crack or shatter it.
Polycarbonate is the modern alternative many growers prefer. It is about 200 times stronger than glass and much lighter to lift.
Twin-wall panels trap a layer of air between two sheets. That pocket works like a puffy jacket, holding in more heat at night.
The material also spreads light evenly instead of creating hot spots. Young seedlings tend to appreciate that softer glow.
Polycarbonate can yellow after 5 to 10 years, especially if scratched. Clean it with a soft cloth and mild soap to help it last.
Whichever you choose, handle edges with gloves. Sharp corners on glass or freshly cut plastic can nick fingers quickly.
4. Choose Rot-Resistant Wood Like Cedar
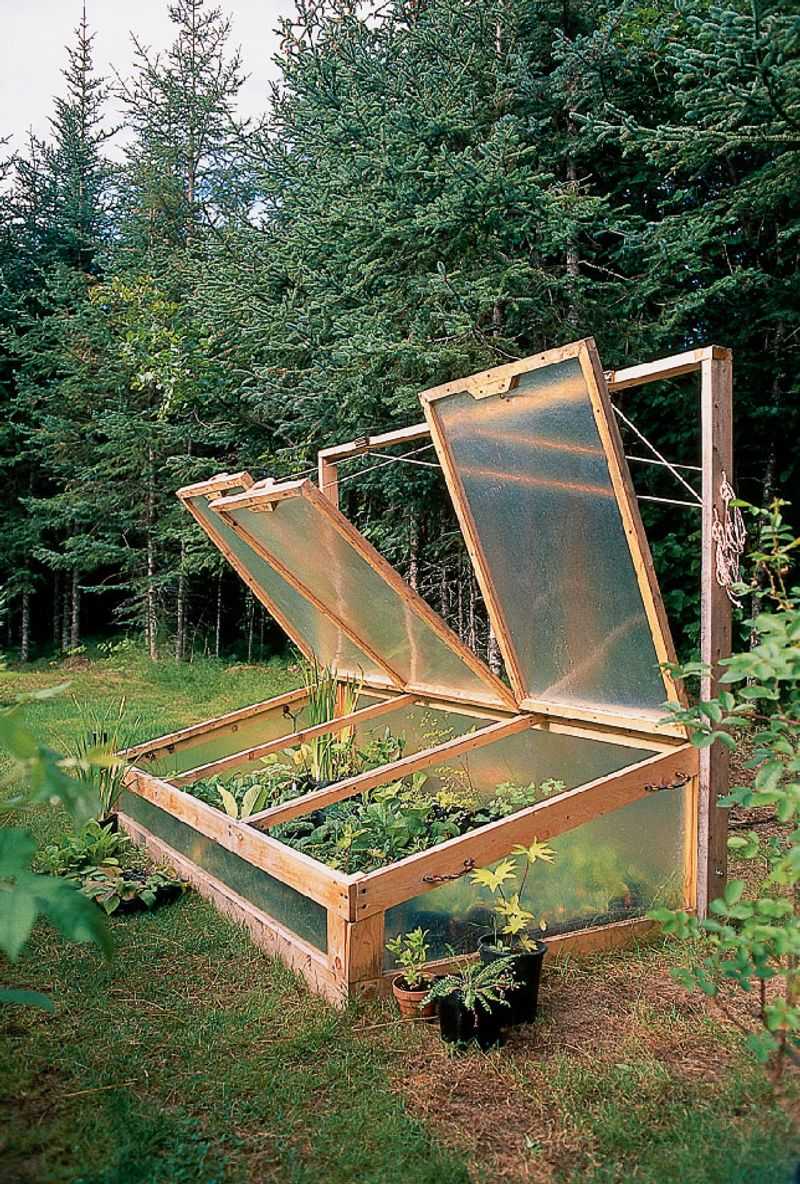
Wood that sits on wet soil all winter takes a beating. Picking the right lumber means your frame lasts many seasons instead of crumbling in two.
Cedar is a favorite for good reason. Natural oils in the wood resist rot, decay, and hungry insects.
It also smells wonderful when you cut it. Cedar offers some insulation value too, helping hold warmth inside the box.
Redwood works just as well but costs more in the Northeast. Cypress is another solid pick, once nicknamed the wood eternal for its toughness.
Untreated lumber is usually the safest choice for growing food. You avoid worries about chemicals seeping into the soil around your lettuce.
Pressure-treated wood made after 2004 uses safer copper-based treatments. If you go that route, line the inside with heavy plastic as a barrier.
Budget builders sometimes use pine or Douglas fir. Both are fine, but they need paint or sealant and regular touch-ups to survive outdoors.
Fun fact: old cedar shingles on colonial homes sometimes lasted over 50 years. That same staying power helps your garden box shrug off slush and mud.
Use exterior-grade screws, such as stainless steel or coated deck screws. Regular screws rust quickly and loosen when the wood swells and shrinks.
Boards about one inch thick give good strength and decent insulation. Thicker two-inch boards hold heat even better in a frosty yard.
5. Seal Gaps To Hold In Heat
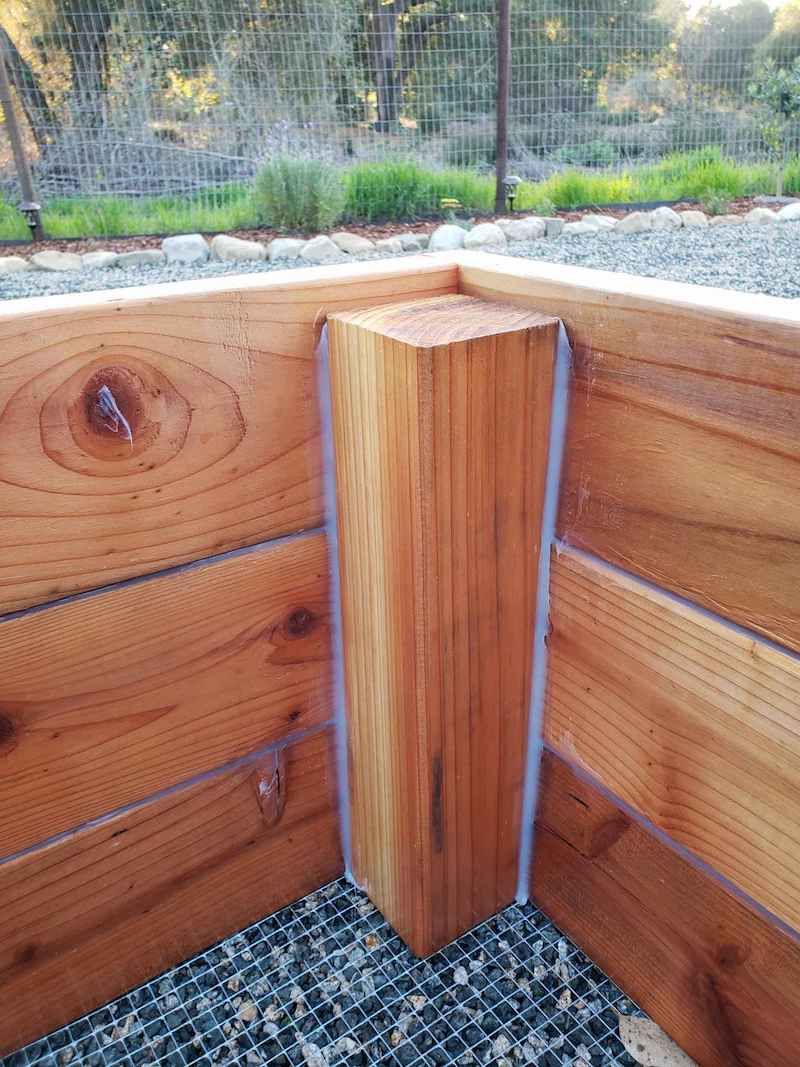
Hold your hand near a drafty window in January, and you will feel the problem right away. Tiny cracks let precious heat slip out of your cold frame too.
Gaps form where boards meet and where the lid rests on the box. Even a thin opening can drop the inside temperature several degrees overnight.
Weatherstripping is your first line of defense. Run foam tape or V-strip along the top edges where the lid sits.
Adhesive strips are easy to apply, but glue can fail in freezing weather. Nail-on or screw-on strips tend to hold up better on wood frames.
Next, grab a tube of exterior-grade caulk. Silicone or acrylic latex with silicone works well for corners and seams that stay still.
Run a smooth bead along each joint, then press it in with a damp finger. Let it cure fully before planting, usually about a day.
Larger hidden holes may need low-expansion foam sealant. Use it outdoors or in a well-aired space, and wear gloves because it sticks to everything.
A simple test helps you spot leaks. On a breezy day, hold a lit incense stick near the seams and watch where the smoke wavers.
Do not seal the frame airtight forever, though. You still need to open the lid for fresh air, which comes up later.
Check your seals each fall before cold weather settles across the state. Strips wear down, and a quick replacement takes only minutes.
6. Add A Hinge Or Prop For Easy Venting
Lifting a loose window off a box and balancing it somewhere gets old fast. Hinges turn that clumsy chore into a quick, one-handed task.
Attach heavy-duty strap hinges along the back edge of the lid. They handle wind and weight better than small cabinet hinges.
Next, you need a way to hold the lid open. A sturdy stick, a brick, or a notched board all work nicely.
Notches let you choose how wide to crack it. Open an inch on cool days and much wider when the sun blazes.
Adding a simple handle on the front edge helps too. Cold fingers grip a handle far more easily than a slippery frame.
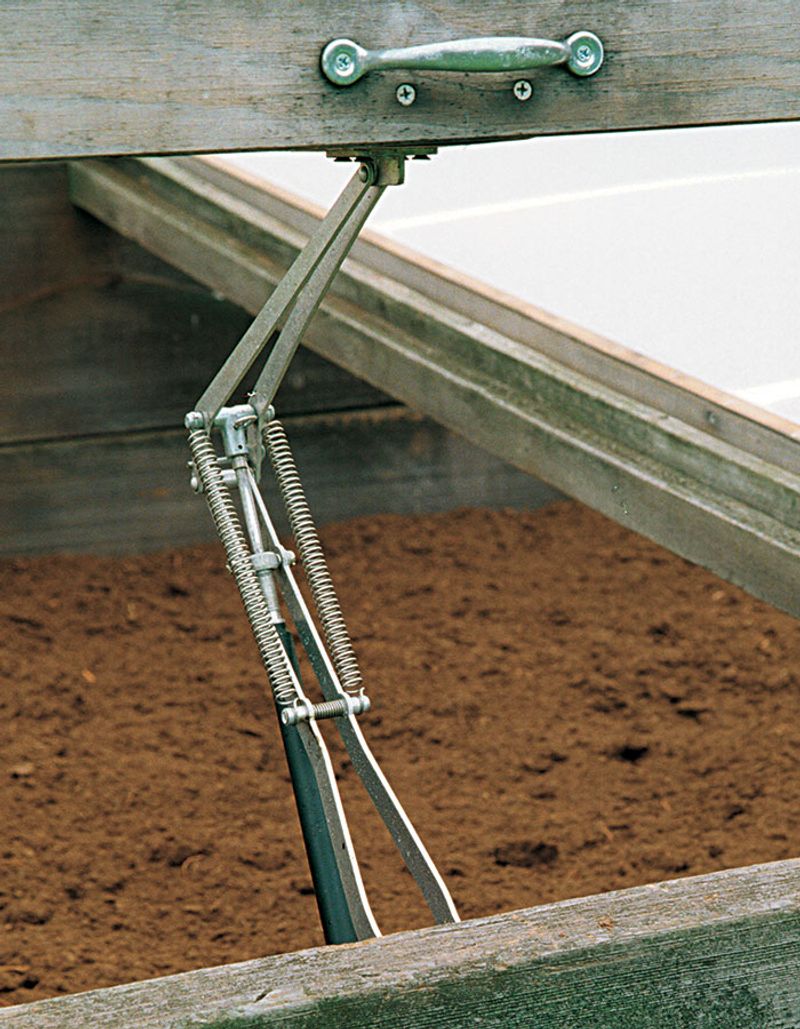
Busy gardeners love automatic vent openers. These clever gadgets use a wax-filled cylinder that expands when warm, pushing the lid open without electricity.
Most start opening somewhere between 55 and 77 degrees. As things cool, the wax shrinks and the lid lowers itself.
That feature is a lifesaver if you work all day. Your plants stay comfortable even when a surprise sunny afternoon hits while you are away.
Secure the prop so wind cannot knock it loose. A sudden slam can crack glass or crush a row of seedlings.
Spray hinges with a little lubricant every few months. Smooth movement keeps them from sticking after icy nights in winter.
7. Open The Lid On Sunny Days
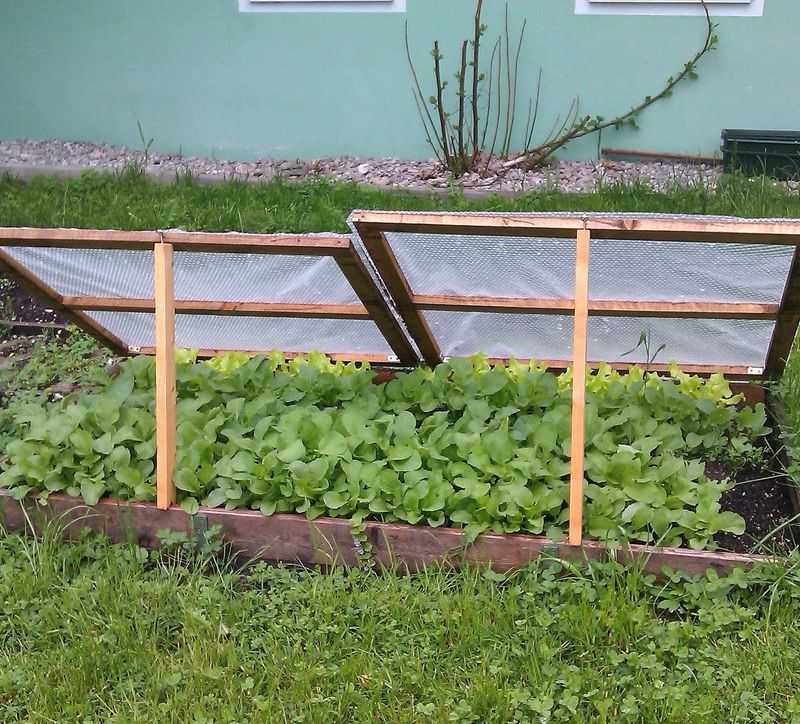
Here is the surprise that catches new gardeners off guard. A closed cold frame can overheat even when it is freezing outside.
Sunlight pours through the lid and gets trapped inside. On a clear day, temperatures can climb 30 degrees or more above the outdoor air.
Cool-season crops prefer a range of about 40 to 65 degrees. Too much heat makes greens wilt, turn bitter, or bolt early.
Many New York growers aim for about 65 degrees in fall and 70 in spring. A cheap thermometer inside the box takes the guesswork away.
Crack the lid when outside air rises above roughly 40 to 50 degrees. If the inside feels warm to your hand, it is time to vent.
Fresh air also clears out extra moisture. Damp, still air invites mold and mildew that can spread across leaves quickly.
Erring on the side of more airflow usually works out better. Plants grown with a little breeze tend to be sturdier and tougher.
Timing the evening close is just as important. Shut the lid by mid to late afternoon so the box traps the day’s warmth.
Set a phone reminder if you tend to forget. A missed closing on a frosty night can leave tender leaves limp by morning.
Cloudy, bitter days are different. Keep the lid shut and let your plants stay snug until the sun returns.
8. Fill It With Cold-Hardy Greens
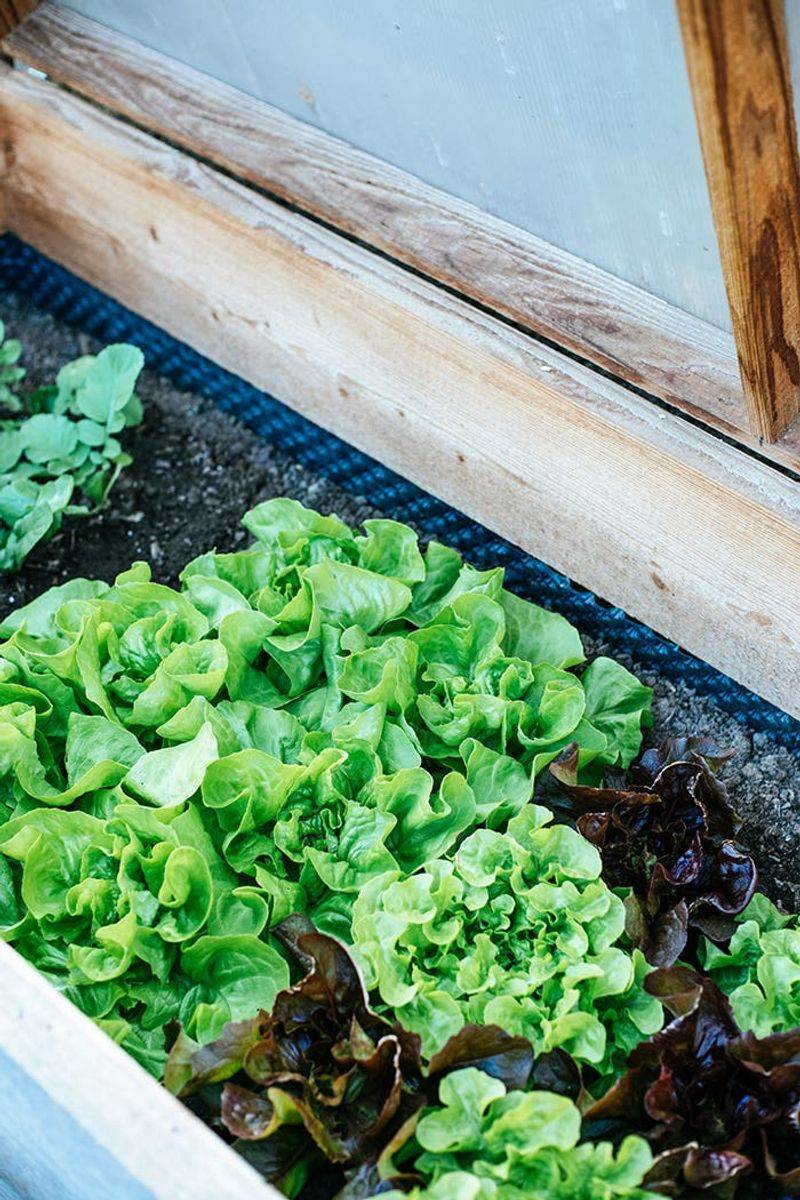
Spinach that tastes sweeter after frost sounds like a myth, but it is true. Cold weather makes many greens turn starch into sugar, acting like natural antifreeze.
Spinach is a cold frame superstar. Try varieties like Winter Bloomsdale or Giant Winter for steady harvests.
Kale shrugs off chilly nights with ease. Red Russian and Vates both grow well and gain flavor after a freeze.
Lettuce needs the right type to handle winter. Look for Rouge d’Hiver, Ice Queen, Winter Density, or loose-leaf mixes you can snip again and again.
Arugula grows fast and adds a peppery kick to sandwiches. Swiss chard brings bright stems and keeps producing with a little protection.
Asian greens deserve a spot too. Bok choy, mizuna, and tatsoi are tough, quick, and great in stir-fries.
Root crops can join the party. Carrots, beets, radishes, scallions, and salad turnips like Market Express all handle the cold.
Sow carrots and beets right where they will grow, since they dislike being moved. Herbs like parsley, chives, and cilantro also fit nicely.
Timing makes the biggest difference. Plant in late summer or early fall so crops reach near full size before the darkest weeks.
Growth slows a lot in December. Think of the frame as a living refrigerator that keeps mature plants fresh for picking.
9. Bank Soil Or Straw Around The Sides For Insulation
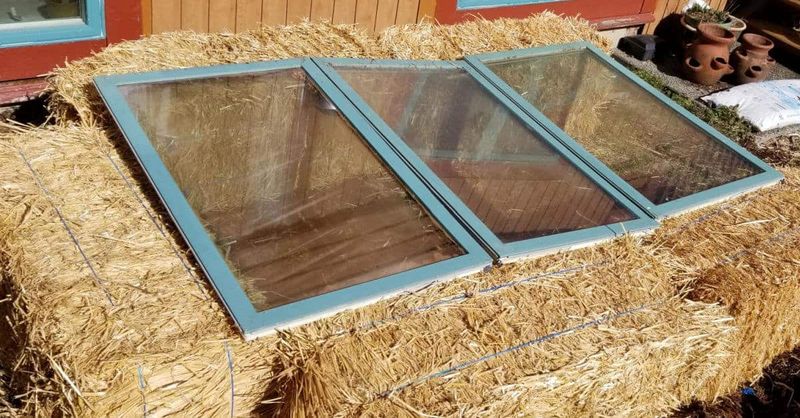
Think of this step as tucking your cold frame into a warm blanket. A little padding outside the walls makes a huge difference on bitter nights.
Banking soil is the simplest method. Pile dirt several inches up the outside walls to block wind and hold in warmth.
Straw bales are another great option. Stack them snugly along the sides and back to stop icy drafts cold.
Make sure you buy straw, not hay. Hay carries weed seeds that will sprout all over your garden next spring.
Come spring, those bales get a second job. Break them apart for mulch or toss them into the compost pile.
Bags of fallen leaves work in a pinch too. Fill trash bags with raked leaves and line them around the frame.
Snow itself is a surprisingly good insulator. Let drifts gather around the sides, but brush the lid clear so light can still shine through.
For the coldest parts of New York, consider extra help inside. Rigid foam board along the inner walls adds serious protection against deep freezes.
All this padding keeps temperatures steadier. Plants handle cold better than sudden swings between freezing nights and thawing afternoons.
An old blanket tossed over the lid helps on brutal nights below zero. Just remove it each morning so your greens can soak up the sun again.