What Your Texas Lawn Needs After Armadillos Dig It Up
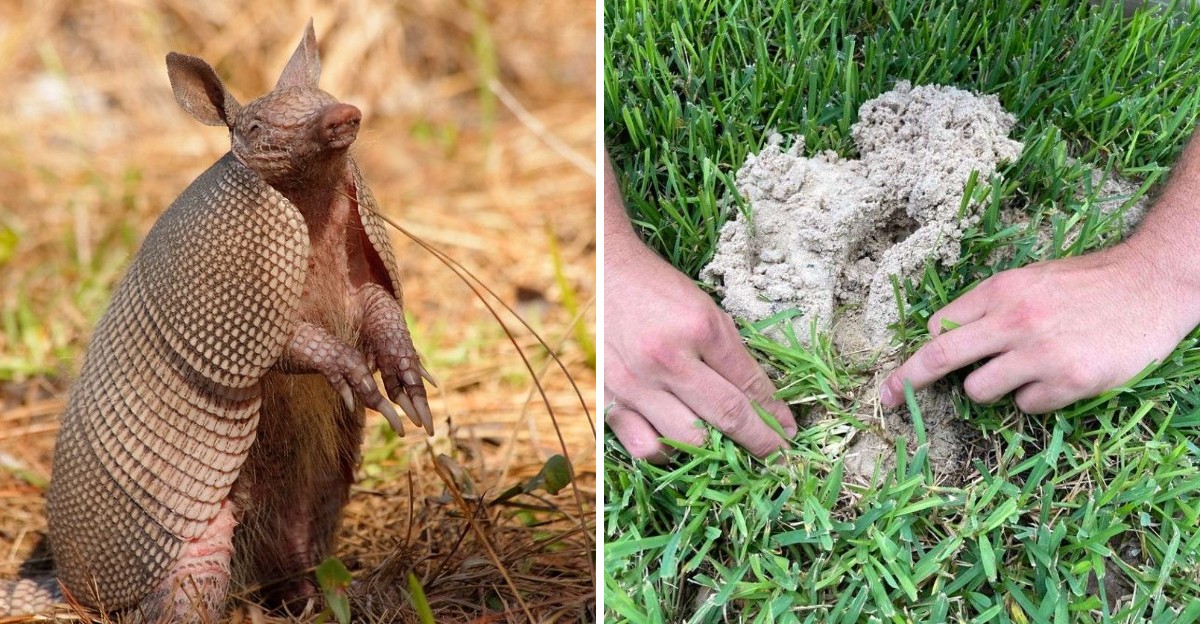
Armadillos are among Texas’s most curious creatures. They’re the official state small mammal, they can hold their breath for several minutes, and they almost always give birth to identical quadruplets.
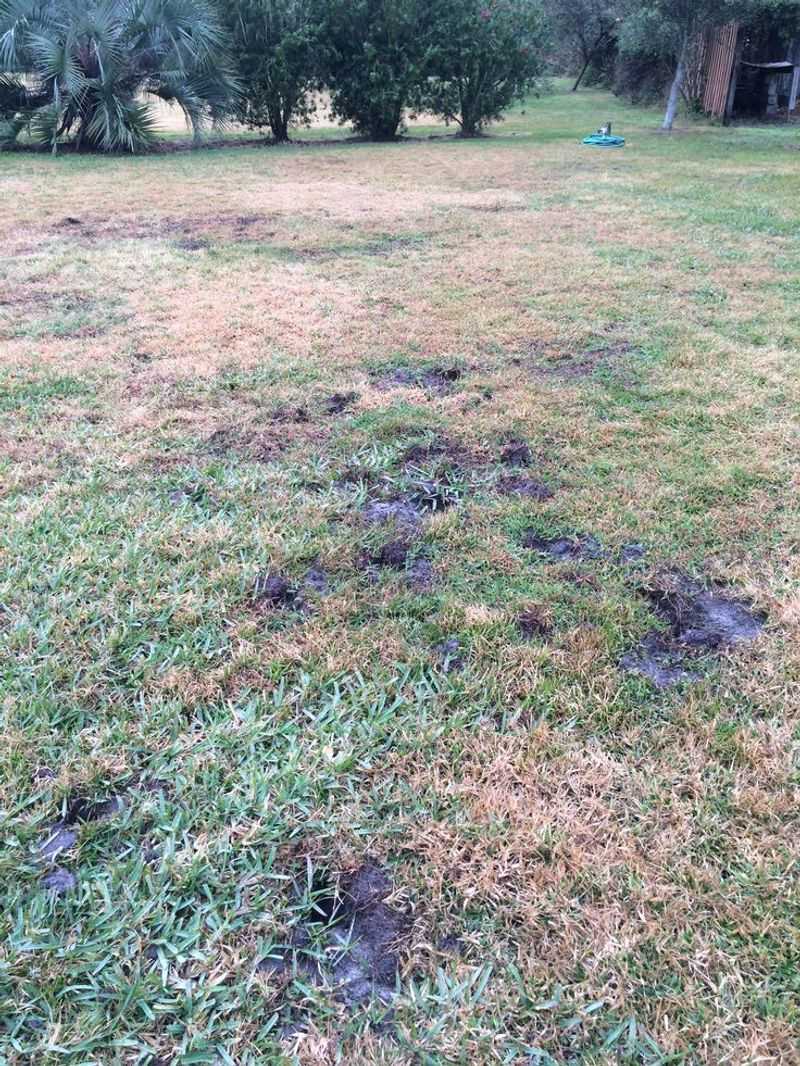
They’re also one of the fastest ways to turn a smooth lawn into a cratered mess. These armored diggers spend their nights nosing through the soil in search of grubs, worms, and insects.
With strong claws and a powerful sense of smell, they can tear up patches of grass, flip over sod, and leave dozens of holes behind before sunrise. By morning, your yard can look like it hosted a tiny excavation crew.
Most armadillo damage is fixable, though. With the right steps, grass can recover and fill back in.
Taking care of what attracted them in the first place also makes a big difference. A little repair work now can get your lawn looking healthy again.
1. Press Uprooted Sod Back In Place
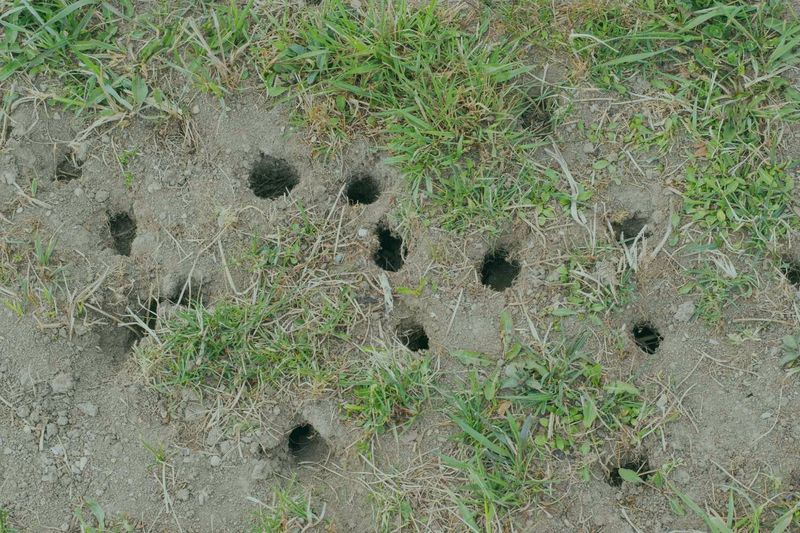
Speed matters more than skill with this first step. Those flipped-up chunks of grass are not trash. In most cases, they are still alive and ready to grow again if you act quickly.
Armadillos dig with strong front claws while hunting for insects. As they push their snouts into the dirt, they often peel back little patches of sod.
The roots end up pointing at the sky, where the hot Texas sun can dry them out in just a day or two.
Walk your yard early in the morning and look for these loose pieces. Flip each one over so the grass side faces up.
Set it back into the spot it came from, kind of like putting a puzzle piece where it belongs. Then press down hard with your hands or step on it with your foot.
Firm pressure is the secret. You want the roots to touch the soil underneath with no air pockets in between. Air gaps keep roots from grabbing hold, and the patch may turn brown.
Some chunks may be broken or crumbly. That is okay. Fit the pieces together as best you can. Even small bits of St. Augustine or Bermuda grass can spread and fill in over time.
If a hole sits under the loose sod, add a handful of soil first. Then place the grass on top and press it down. That way the patch sits level with the rest of the lawn.
Many Texas homeowners find that sod pressed back within a day or two greens up again in about a week. Waiting longer lowers your chances. So make this your first chore when you spot fresh damage, before you do anything else.
2. Fill And Level The Holes
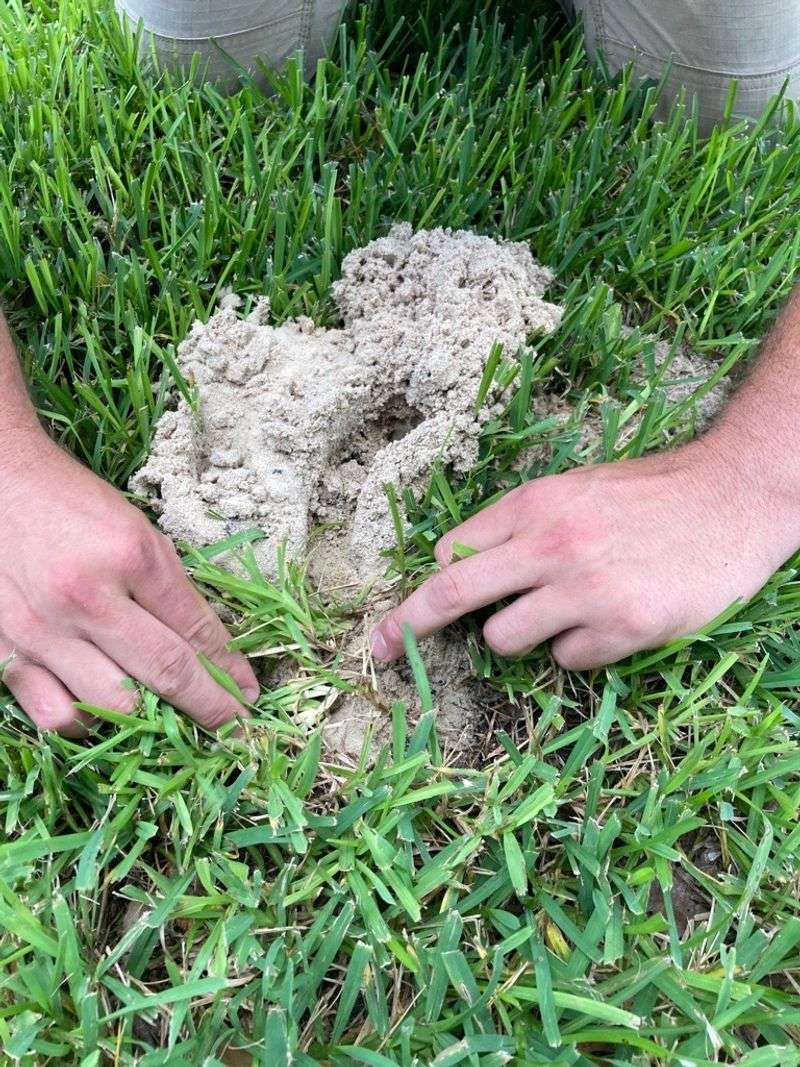
Ever rolled an ankle in a sneaky little hole while mowing? Armadillo pits are the perfect trap for that. They are usually small and shaped like cones, only a few inches deep, but they add up fast.
Leaving them open causes more trouble than you might think. Holes collect water, invite weeds, and make the lawn bumpy. Your mower can also scalp the grass around the edges, leaving ugly bare rings.
Your Texas Garden Changes Every Week. Your Plan Should Too.
Gardening in Texas changes quickly throughout the season. Every Friday you’ll receive a simple weekly plan showing exactly what to plant, prune, fertilize, harvest, and protect so you never miss the right timing.
Fixing them is simple. Grab a bag of topsoil or mix it half and half with compost. Compost adds food for the grass and helps the soil hold water, which is a big plus in our hot summers.
Scoop the mix into each hole until it is slightly overfilled. Then tap it down with your hand, the back of a shovel, or your shoe. Soil settles after watering, so a tiny mound now prevents a dip later.
Next, use a rake to smooth everything out. Try to match the height of the soil around it. A level surface makes mowing easier and helps grass creep back in from the edges.
Here is a handy tip. Avoid using heavy clay from another part of your yard. Clay packs down hard, and grass roots struggle to push through it. Loose, rich soil works much better.
For yards with dozens of holes, buy soil in bulk from a local garden center. It often costs less than many small bags. A wheelbarrow makes the job go quicker too.
Once the holes are filled, take a step back. Your yard will already look neater, and you will be ready for the next stage of recovery.
3. Water To Help Roots Recover
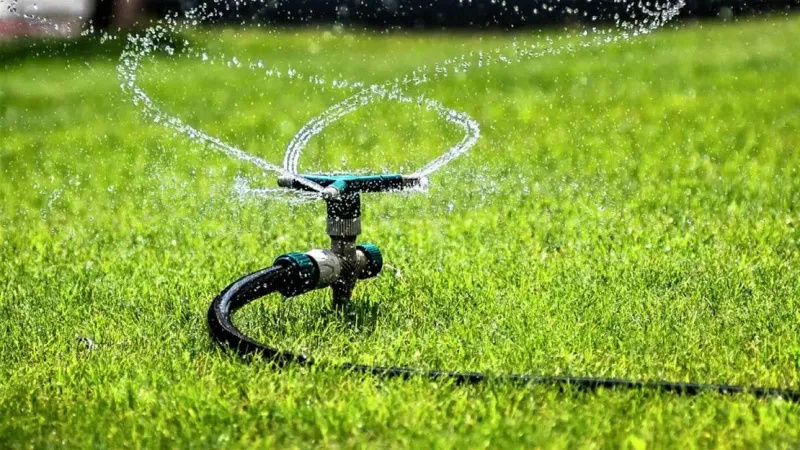
Think of your repaired lawn like someone getting over a cold. Rest and fluids help it heal. For grass, water is the most important medicine you can give.
After pressing sod back and filling holes, the roots are stressed. They have been torn, flipped, and moved around. Water helps them settle into the soil and start growing new root hairs that grab moisture and nutrients.
Start with a deep soaking right after your repairs. Use a hose with a gentle spray so you do not wash away the fresh soil.
Keep going until the ground feels damp a few inches down. You can check by pushing a screwdriver into the soil. If it slides in easily, you did a good job.
For the next week or two, keep the repaired spots lightly moist. Not soggy, just damp. In the middle of a Texas summer, that might mean a quick sprinkle each morning. In cooler months, every few days may be plenty.
Morning is the best time to water. The air is cooler, so less water dries up in the heat. Grass also has time to dry before night, which helps prevent fungus.
Keep an eye out for local watering limits. Many Texas cities have rules about which days you can water. Hand watering small patches is often allowed even when sprinklers are restricted, but check with your city to be sure.
After about two weeks, tug gently on a repaired piece of sod. If it holds tight, the roots have taken hold. At that point, you can go back to your normal watering routine.
4. Patch Bare Spots With The Right Method
Here is a fact that surprises plenty of new Texas homeowners. Most St. Augustine grass sold today cannot be grown from seed at all. So tossing a bag of seed on bare spots usually leads to disappointment.
Popular warm-season grasses like St. Augustine and zoysia are normally repaired with sod or plugs. Sod comes in squares or rolls, ready to lay down. Plugs are small rounds of grass with roots attached, and they spread out over time to fill gaps.
For small bare spots, plugs are budget-friendly. Use a plug tool or a trowel to dig holes about a foot apart. Drop in each plug, press the soil around it, and water well. Within a season, the runners will reach out and connect.
Larger bare areas do better with fresh sod. Cut the damaged part into a neat square, loosen the soil, and fit the new piece in snugly. Press it down so the edges meet the old grass.
Timing makes a huge difference. Warm-season lawns slow down in late fall and go dormant in winter. Grass planted too late may not root before the cold arrives.
Early fall is a sweet spot for small patches. The heat has eased, but the soil is still warm enough for roots to grow. For bigger repairs, waiting until spring often works best, once the lawn greens up and starts growing fast again.
Bermuda grass is a little different. It can be grown from seed, so seeding is an option if that is what your yard has. Just match the grass type so your patches blend in.
5. Reduce Their Food Supply
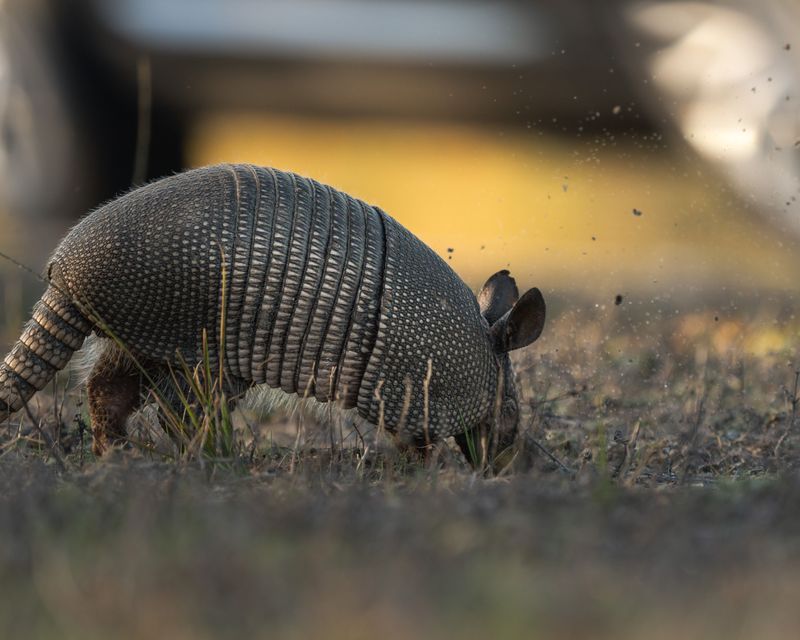
Armadillos are basically walking vacuum cleaners for bugs. Their long sticky tongues slurp up grubs, earthworms, beetles, ants, and all kinds of crawly snacks. Your lawn is like an all-you-can-eat buffet to them.
Did you know? An armadillo can hold its breath for about six minutes. That skill helps it dig with its nose buried deep in the dirt without coming up for air.
Since food is the main reason they visit, cutting back the menu can help. White grubs are a top target. These C-shaped larvae of June beetles live in the soil and chew on grass roots.
To check for grubs, cut a square foot of sod on three sides and peel it back. Count what you see. Finding more than five or six grubs in that small space may mean it is time to treat.
Grub control products are sold at most garden stores. Some work best as a preventive in early summer, while others treat grubs that are already there.
Always read the label and follow the directions closely. Beneficial nematodes are a natural option some gardeners like.
Now for the honest part. Armadillos do not only eat grubs. They also go after earthworms and many other insects, which you would not want to remove anyway. Earthworms are great for healthy soil.
So controlling grubs may cut down the digging, but it might not stop it completely. Think of it as one helpful step, not a magic fix. Pair it with the other tips here for the best results.
6. Water Less Often But More Deeply
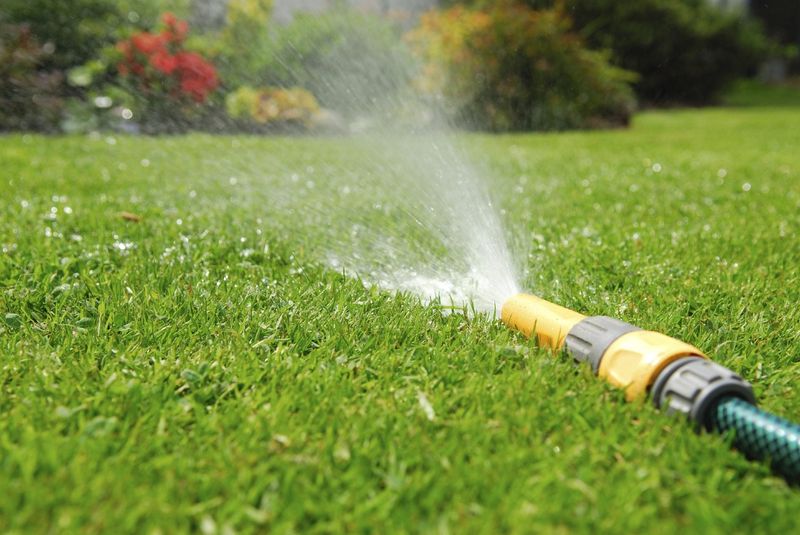
Funny enough, your sprinkler might be sending out party invitations. A daily, quick spray keeps the top layer of soil soft and damp. To an armadillo, that is a welcome sign.
Here is why. Worms and insects love moist soil. When only the top inch stays wet, they crowd close to the surface. Soft ground plus lots of shallow bugs makes digging super easy for a hungry armadillo.
Watering deeply and less often changes the whole picture. Instead of a short daily sprinkle, give your lawn about an inch of water once or twice a week, depending on the season and the rain.
Not sure how much an inch is? Set a few empty tuna cans around the yard and run your sprinklers. Time how long it takes to fill them an inch deep. Now you know how long to run each zone.
Deep watering pushes moisture down into the soil. Grass roots follow the water and grow longer and stronger. The surface dries out between waterings, so bugs move deeper and the ground gets firmer.
Your lawn wins in other ways too. Deep roots help grass handle Texas heat waves and dry spells. You may even save money on your water bill.
A quick warning, though. Freshly repaired spots still need light, frequent watering for a week or two, as mentioned earlier. Once those patches root in, switch the whole yard to the deeper schedule.
Many homeowners notice fewer fresh holes within a few weeks of making this change. It is one of the easiest fixes on the list.
7. Block Them From Coming Back
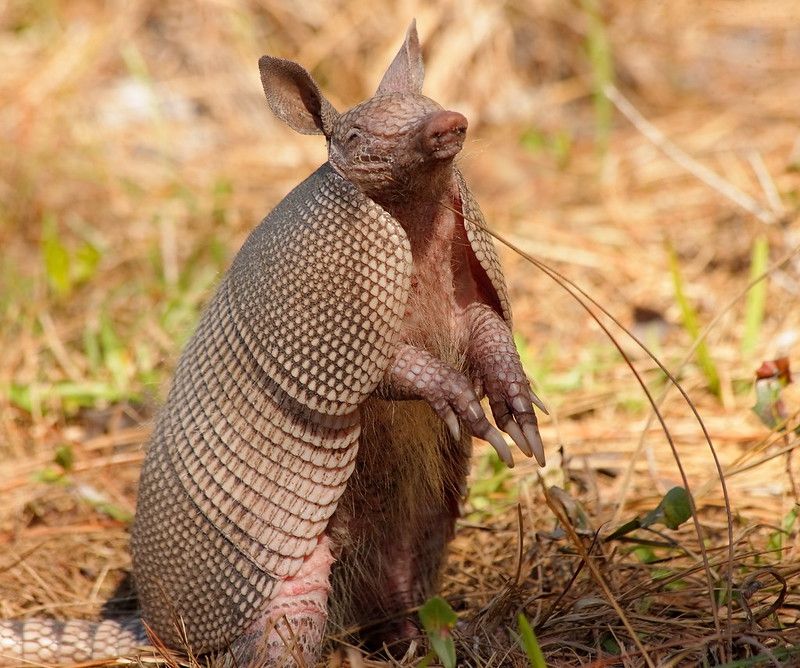
Some folks swear by mothballs, cayenne pepper, or fancy sprays. Sadly, armadillos mostly shrug these off. Experts say repellents usually do not work well, so a physical barrier is a smarter bet.
Fencing can protect gardens, flower beds, and small yards. Armadillos are strong diggers, though, so a regular fence sitting on top of the ground will not stop them. They will just tunnel underneath.
To build a better barrier, bury the bottom of the fence at least a foot deep. Then bend the buried part outward, away from the area you want to protect, like the letter L. When an armadillo digs down, it hits the wire and usually gives up.
Sturdy wire mesh or hardware cloth works well. Make the fence about two feet tall above ground, since armadillos can climb a little. Check it now and then for gaps or loose spots.
Now, a word of caution. Never pick up or handle an armadillo, even if it seems calm or cute. Some armadillos in Texas carry the bacteria that cause leprosy, also called Hansen’s disease. The risk is low, but there is no reason to take chances.
Wear gloves when working in areas where they dig, and wash your hands afterward. Keep pets from chasing them too.
If armadillos keep coming back no matter what you try, call a licensed wildlife professional. These experts know local laws and can safely trap and relocate the animals. Sometimes a little outside help is the fastest way to get your peaceful, hole-free lawn back.