The One Thing To Do To Florida Hibiscus Before The First Cold Snap
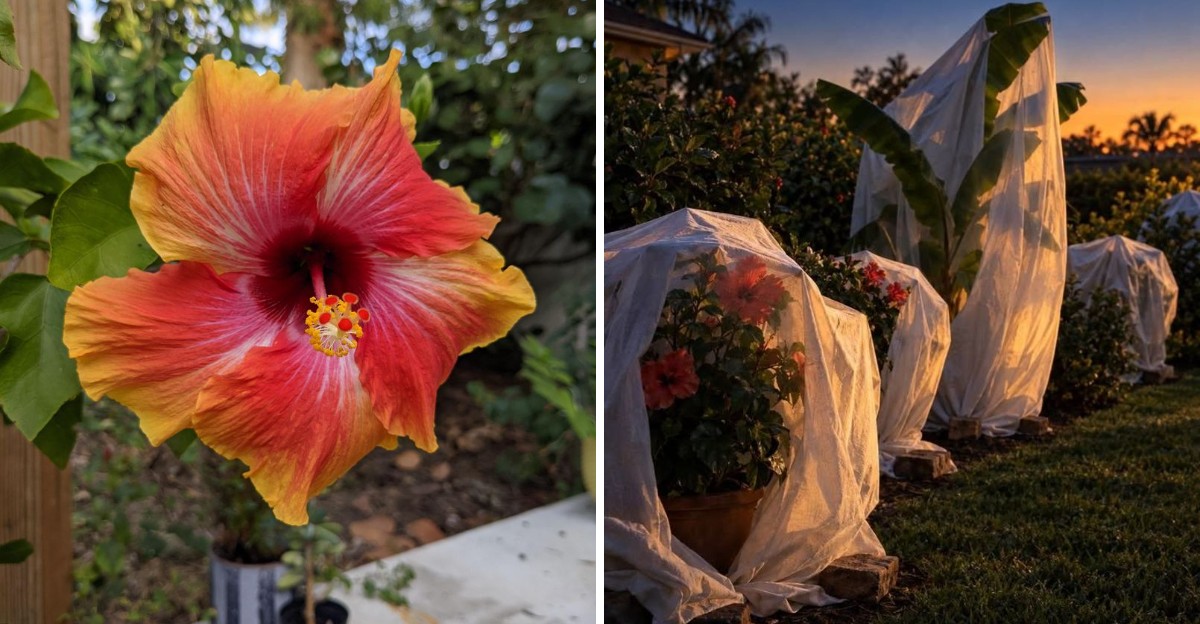
Your hibiscus is having a moment right now. Bright petals, glossy leaves, the whole yard looking like a travel brochure.
Then the weather app flashes a number low enough to make you dig out a sweater, and suddenly the mood changes. Florida gardeners get spoiled by warm days most of the year, so a sneaky cold night can catch even seasoned growers off guard.
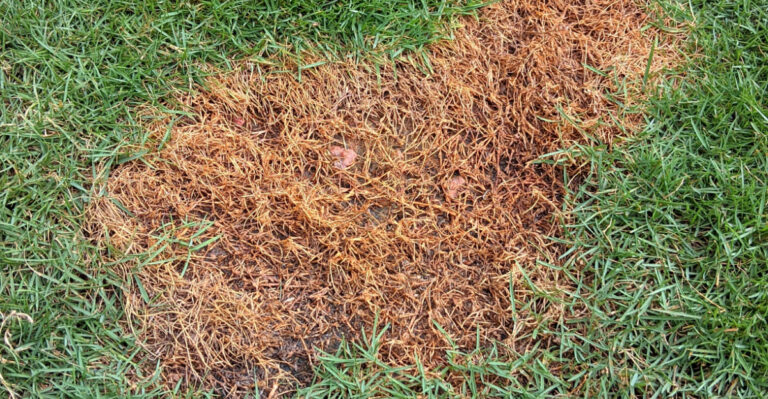
Those big, cheerful blooms have a softer side than they let on, and one chilly night can leave brown, droopy leaves behind after months of careful work. Sad stuff.
The good news is that one simple habit can save the show, and it takes far less effort than most people expect. Keep reading to find the move that keeps your hibiscus glowing all winter.
1. Know Your Hibiscus And Its Cold Limits
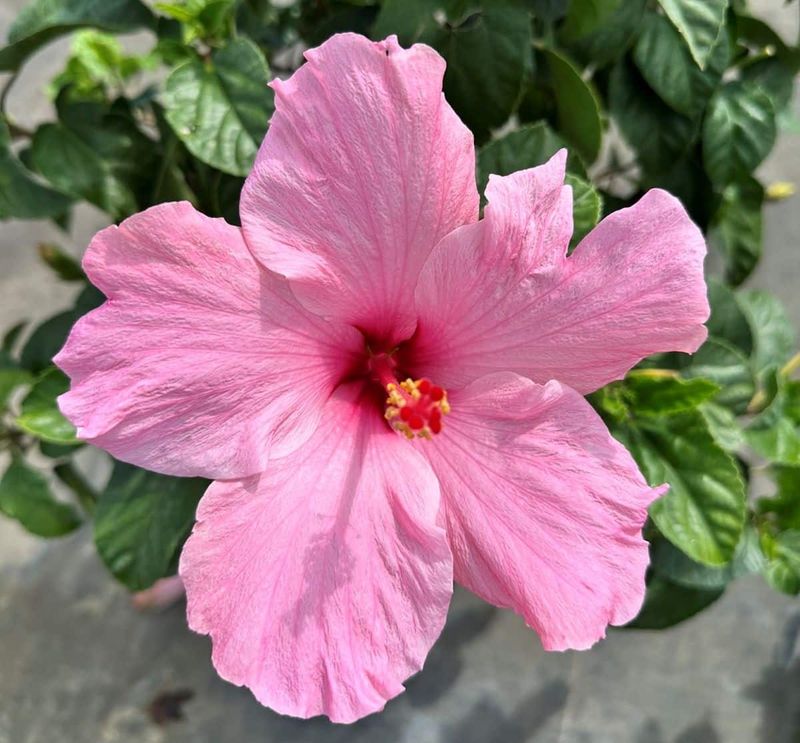
Not every hibiscus handles chilly weather the same way, so it helps to figure out what you actually have. Tropical hibiscus, the type with glossy leaves and blooms in red, orange, yellow, and pink, is the one that needs protection.
It is the most common hibiscus sold at garden centers and big box stores, and it is sensitive to cold. Growth slows when nights turn cool, and a run of cold nights can cause leaves to yellow and drop.
A frost or freeze can damage leaves and stems.
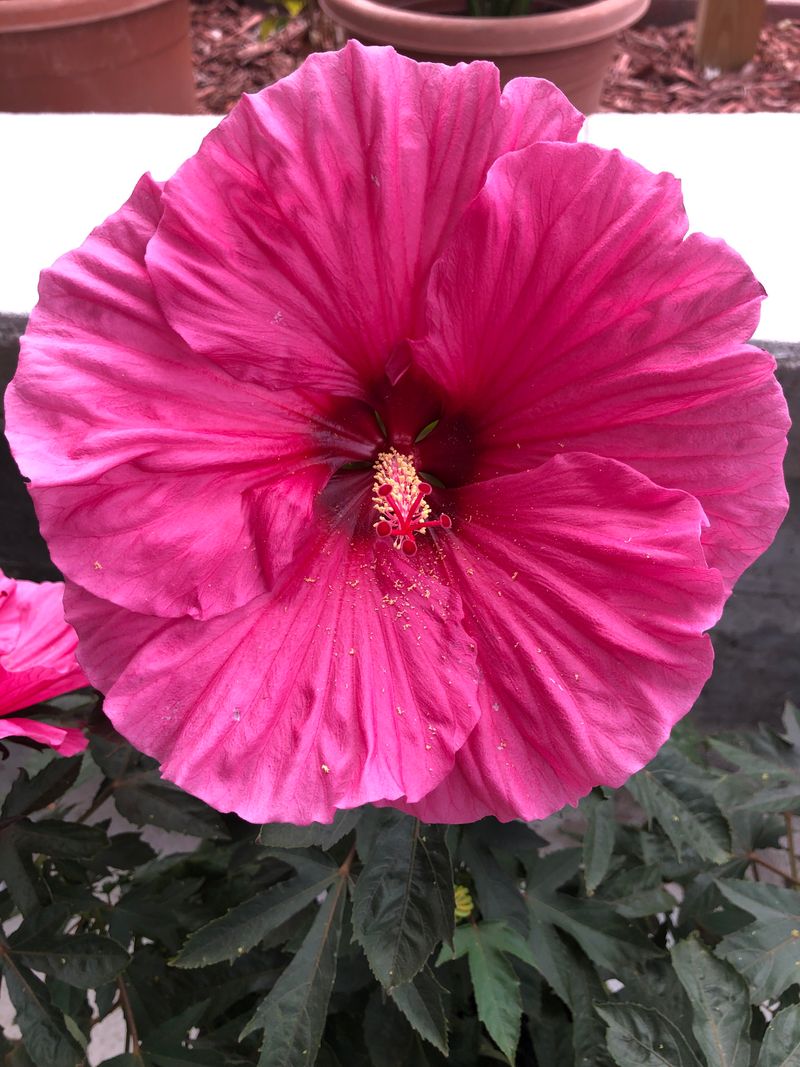
Hardy types are a different story. Hardy hibiscus and native species like swamp hibiscus naturally go dormant and lose their stems in winter, then return in spring.
They do not need the same fuss, so you can skip the covers for them.
If you are not sure which one is growing in your yard, check the plant tag or ask the nursery where you bought it. Leaf shape and flower size can also offer clues.
Glossy, dark green leaves and flowers that can bloom for much of the year usually point to tropical hibiscus.
Knowing the type matters because it tells you how much effort a cold night deserves. For gardeners in Florida, tropical hibiscus is by far the most common, so the rest of these steps focus on protecting it.
A little knowledge now keeps you from rushing around in the dark later.
2. Check The Forecast And Know Your Region
Location makes a big difference when it comes to cold protection. Winter weather in Florida varies a lot from the Panhandle to the Keys, and what counts as a cold snap in Tallahassee looks very different from one in Miami.
North and Central Florida can see frost and freezing nights several times in a typical winter, while South Florida may go long stretches between truly cold nights.
Make it a habit to check the forecast regularly from late fall through early spring. Look at the overnight low, not just the daytime high, since the low is what puts plants at risk.
When the forecast calls for temperatures at or near freezing, that is your cue to act. Clear, calm nights tend to be the coldest because heat escapes quickly into the sky, so pay extra attention when the wind dies down and the clouds disappear.
Your Florida Garden Changes Every Week. Your Plan Should Too.
Gardening in Florida changes quickly throughout the season. Every Friday you’ll receive a simple weekly plan showing exactly what to plant, prune, fertilize, harvest, and protect so you never miss the right timing.
Your own yard matters too. Low spots collect cold air, and open areas lose heat faster than spots near a house, fence, or large tree.
A hibiscus tucked against a south-facing wall may stay several degrees warmer than one in the middle of the lawn. Coastal yards often stay milder than inland ones.
A weather app with freeze alerts can help, and so can a simple outdoor thermometer placed near your plants. Knowing the real temperature where your hibiscus lives gives you a better sense of when covers are worth the effort and when you can relax.
3. Get Frost Cloth And Covers Ready Before The Cold Arrives
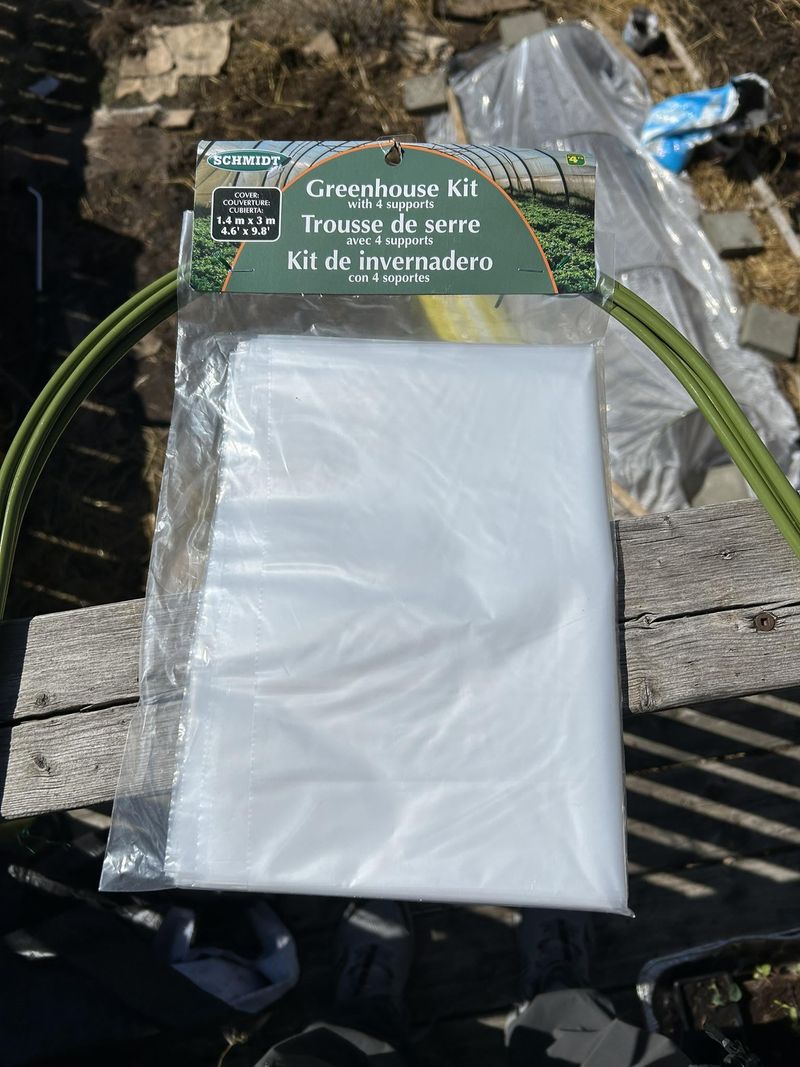
Waiting until the evening of a freeze to find covers is a recipe for stress. Gather your supplies early, ideally before the first cold front shows up, so everything is ready when you need it.
Frost cloth, sometimes sold as freeze cloth or row cover, is the best option. It is lightweight, breathable, and made to trap a little warmth while letting air move through.
You can find it at most garden centers and online, and it is usually sold by the roll or in precut sizes. Old bedsheets, blankets, and burlap also work well in a pinch, which makes this an easy job to do with items you may already own.
Skip plastic if you can. Plastic does not breathe, and wherever it touches leaves, it can transfer cold and cause more harm than good.
If plastic is the only thing available, use stakes or a frame to hold it off the foliage, and remove it promptly in the morning.
Think about how many plants you need to cover and measure a few of them. A large hibiscus can be taller and wider than you expect, so make sure your covers are big enough to reach the ground.
Clothespins, clips, or garden staples help hold fabric in place when the wind picks up.
Store everything in one spot, like a labeled bin in the garage or a closet near the door. When a Florida cold front is on the way, you will be glad you can grab it all in a minute.
4. Water The Soil During The Day Before A Freeze
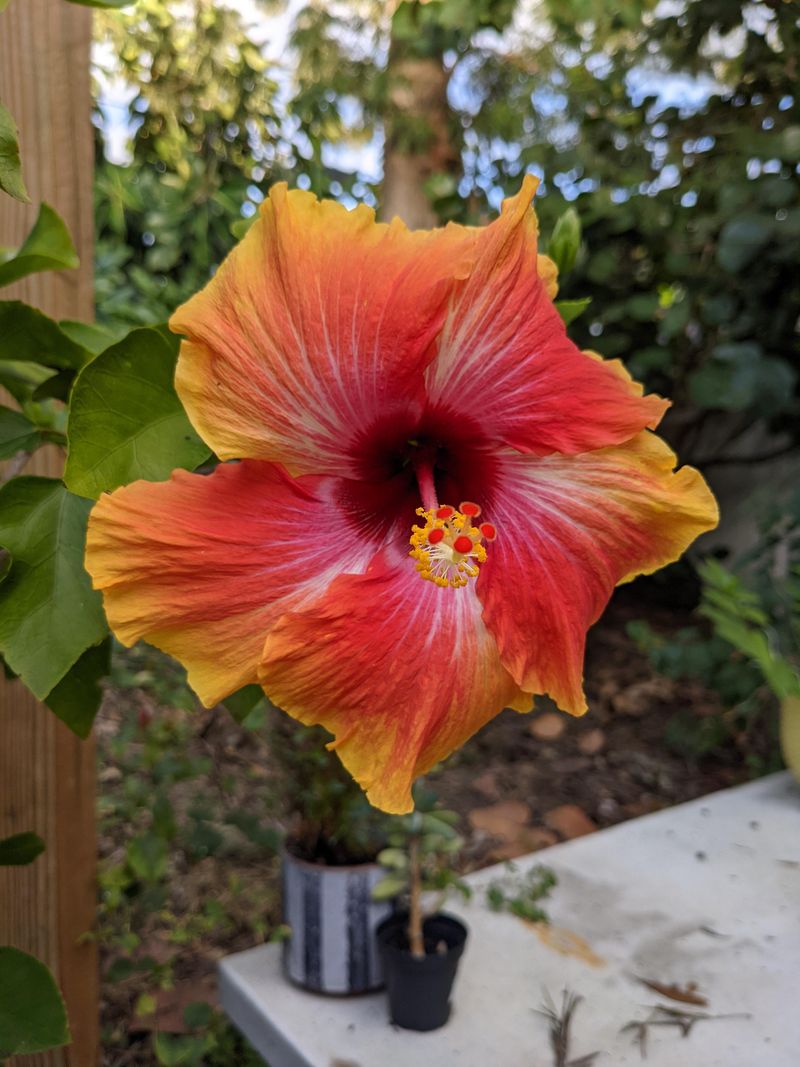
It may sound odd to water before a freeze, but moist soil really does help. Wet soil holds and releases heat better than dry soil, which means the ground can keep the air around your plant a little warmer overnight.
Sandy ground, common across Florida, dries out quickly and holds less warmth, so this step is especially useful in yards with sandy soil.
Timing matters. Water in the morning or early afternoon on the day before the cold arrives, so the soil has time to absorb moisture and warm up in the sun.
Avoid watering late in the evening right before temperatures drop, since cold, soggy conditions around the roots are not helpful. A deep, slow soaking works better than a quick sprinkle.
Aim to moisten the soil throughout the root zone, not just the surface.
Do not overdo it, though. Hibiscus does not like soggy roots, and standing water can cause problems of its own.
If a cold front is arriving right after a heavy rain, the soil is probably already wet enough, and you can skip the extra watering.
For potted hibiscus, check the soil by pushing a finger a couple of inches into the pot. If it feels dry, give it a good drink before the cold arrives.
It is a quick, low-cost step, and it adds one more layer of protection alongside covers and mulch.
5. Cover The Plant So The Fabric Reaches The Ground
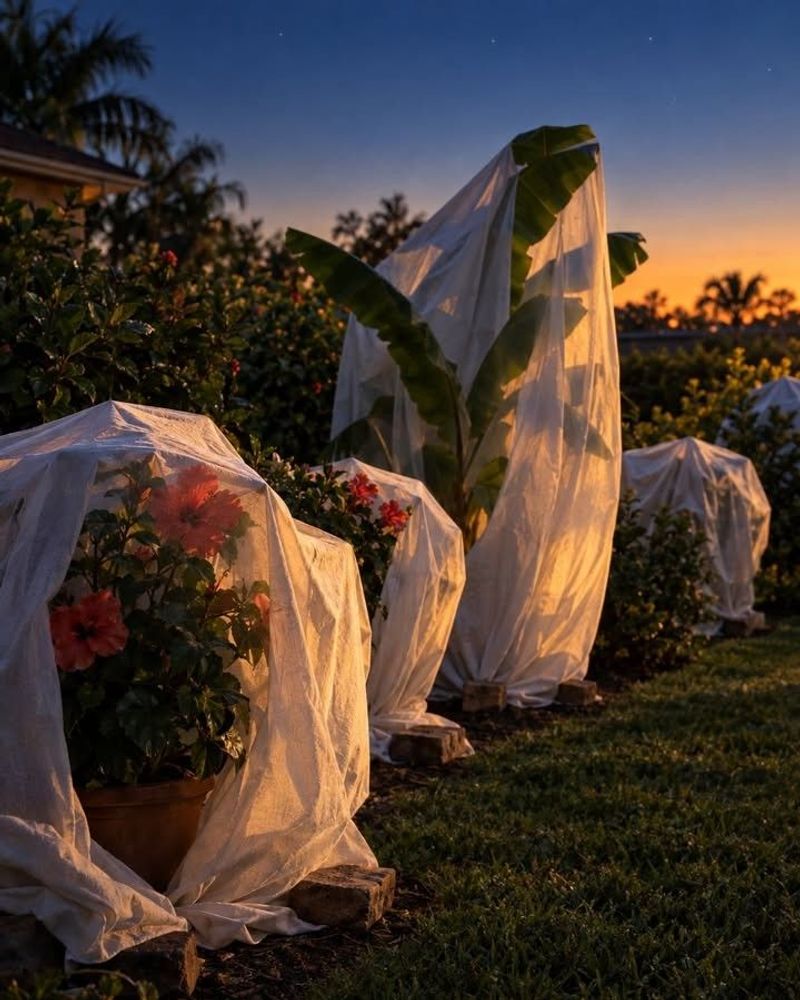
Once the sun goes down and the temperature starts to fall, it is time to put your covers on. Drape the frost cloth or sheet over the entire plant so the fabric reaches all the way to the ground.
This detail matters more than most gardeners realize. Soil absorbs heat during the day and releases it at night, and a cover that drapes to the ground helps trap that warmth around the plant.
A cover that stops short of the ground allows more heat to escape.
For tall shrubs, a few stakes or a simple frame can keep the fabric from crushing branches or blooms. Secure the edges with clips, rocks, or garden staples so a breeze does not pull the cover loose.
Try to finish before dusk, since the air cools quickly once the sun drops.
Small string lights, the old-fashioned incandescent kind, can provide some additional warmth under the fabric for tender plants. LED lights generally produce too little heat to offer the same benefit.
If you use lights, choose a set rated for outdoor use, keep the cords and plugs off wet ground, and keep the bulbs from touching the fabric or leaves, since hot bulbs can scorch foliage or create a fire hazard.
Keep a close eye on forecasts through the cold stretch. In Florida, cold snaps may last only a night or two, so covering plants properly before temperatures drop can help protect them from cold damage.
6. Uncover The Plant The Next Morning
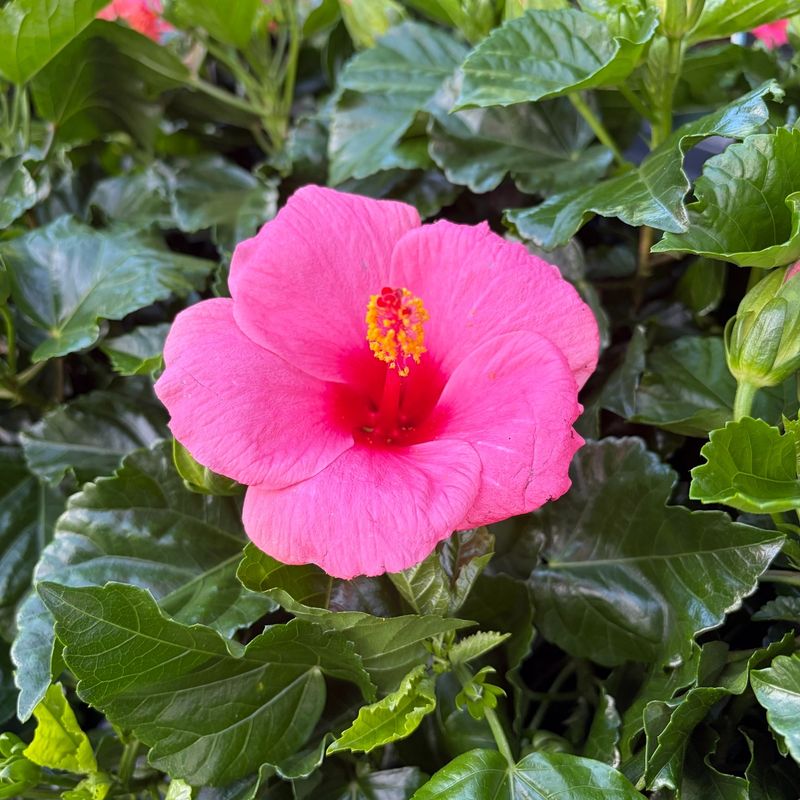
Morning is just as important as evening when protecting plants from cold weather. Remove the frost cloth or sheet the next day once temperatures have risen above freezing and conditions have warmed sufficiently.
Leaving a cover in place throughout a sunny Florida day can trap excess heat and humidity, potentially stressing your plants. Removing it also allows sunlight and fresh air to reach the foliage, helping plants return to their normal daytime conditions.
However, if temperatures remain near freezing during the morning, consider waiting until conditions become warmer before removing the cover.
As you uncover your plants, handle branches and leaves gently, especially if they have become brittle from the cold. Fold the fabric and store it in a dry place so it is ready for the next cold night.
Before storing it, check for tears or other damage that could reduce its effectiveness during future cold snaps. If another cold front is approaching, cover your plants again before sunset to help protect sensitive foliage from falling temperatures.
Check your local weather forecast each day, since temperatures can vary across Florida, and adjust your covering schedule based on the expected overnight conditions and the cold sensitivity of your plants. For additional guidance, consult your local UF/IFAS Extension office for recommendations suited to the plants growing in your area.
7. Move Potted Hibiscus To A Sheltered Spot

Container plants have a big advantage when cold weather shows up: you can simply move them. Pots also have a disadvantage, since roots in a container are more exposed to cold than roots in the ground.
Both facts make relocating potted hibiscus one of the most reliable ways to protect it.
Start by choosing a better spot. A location against the house, especially a south-facing wall, tends to stay warmer than open ground.
A covered porch, lanai, carport, or spot under a deep roof overhang can offer extra shelter from wind and frost. For hard freezes, bringing the plant indoors or into a garage for a night or two is the safest choice.
Place it near a bright window if it will be inside for more than a day.
Heavy pots can be tough to lift, so consider a wheeled plant caddy. Set the pot on it ahead of time, and moving a large hibiscus becomes a quick job instead of a back-straining chore.
Group pots together too, since plants sheltered side by side hold a little more warmth.
Before bringing a plant indoors, check the leaves for pests like whiteflies, aphids, and mites. Rinsing the foliage with a gentle spray of water can help.
Once the cold passes, return the plant to its usual spot. Hibiscus often needs a few days to adjust to changes in light, so move it back gradually if you can.
8. Add Mulch To Help Insulate The Roots
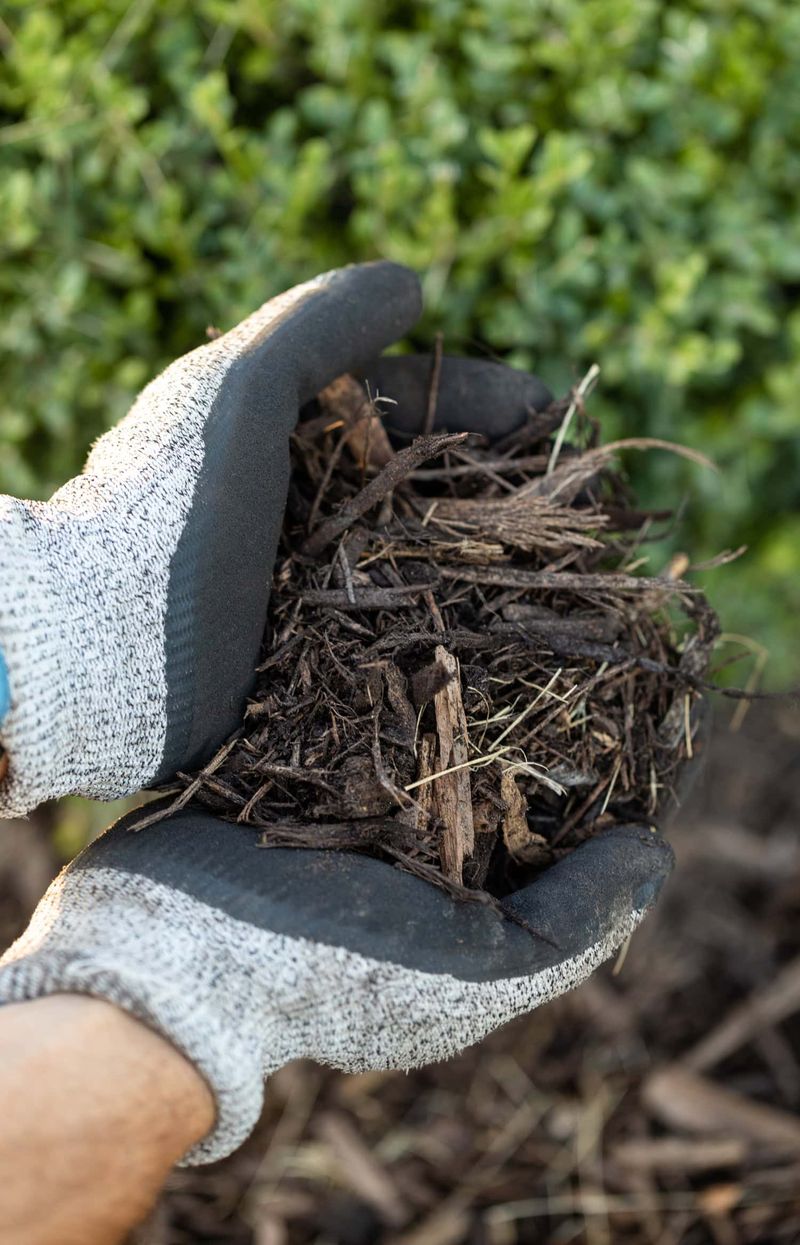
Mulch acts like a cozy blanket for the soil, and it is one of the easiest ways to give your hibiscus a bit of extra protection. A layer of organic mulch helps keep the ground from losing heat too quickly and reduces swings between warm days and cold nights.
That steadier soil temperature is gentle on roots.
Pine bark, pine straw, shredded leaves, and wood chips all work well. Spread a layer about two to three inches deep, extending out toward the edge of the plant’s canopy.
Keep the mulch a few inches back from the stems so moisture does not sit against the bark and invite rot.
It is worth being clear about what mulch can and cannot do. It protects the roots and the base of the plant, but it does not shield the leaves and stems above ground.
That is why mulch works best alongside covers, not as a replacement. Still, the benefit can be significant.
If a hard freeze does damage the top growth of a hibiscus, healthy roots and a protected base give the plant a much better chance to send out new shoots when warm weather returns.
Mulch also helps the soil hold moisture, keeps weeds down, and slowly feeds the ground as it breaks down. Many Florida gardeners already mulch their beds, so this step may only need a quick refresh.
Add a little extra before winter settles in, and your hibiscus will be better prepared for whatever the weather brings.
9. Hold Off On Pruning Until Frost Danger Has Passed
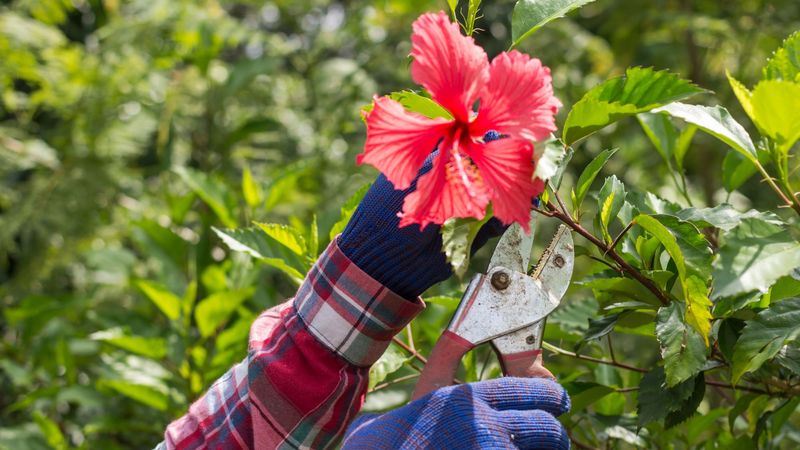
After a cold night, the sight of brown, droopy leaves can tempt anyone to grab the pruning shears. Resist that urge for a while.
Pruning in late fall or winter encourages soft, tender new growth, and that fresh growth is especially vulnerable to the next cold snap. Even healthy-looking plants are better left alone until the risk of frost has passed.
Damaged leaves and stems actually provide some protection for the parts of the plant below them. Leaving them in place can act as a thin layer of insulation during any later cold nights.
Wait until the weather has warmed up and the plant shows signs of new growth, then you can see more clearly what is healthy and what is not.
For most of Florida, that usually means waiting until late winter or early spring, though the right timing depends on your region and the weather that year. North Florida gardeners may need to wait longer than those farther south.
When the time comes, a simple test can help. Gently scratch a small section of bark on a stem with your fingernail.
If you see green underneath, that part of the plant is still alive. If it is brown and dry, move down the stem and test again until you find green tissue.
Make your cut just above healthy growth.
Patience pays off here. Many plants that look rough in January recover well by spring, though how much they bounce back depends on how severe the cold was, and a little restraint can save you from cutting away branches that would have regrown on their own.