Make A Self-Watering Herb Pot From A Plastic Bottle For Your Virginia Windowsill
A single cotton shoelace can lift water several inches uphill with zero help from you. Plants have used the same trick inside their stems for millions of years. I find that oddly thrilling every time I see a dry wick turn dark.
Now pair that string with an empty soda bottle and a pair of scissors. You get a tiny planter that drinks from its own hidden tank. I can’t imagine going back to guessing whether my basil needs a splash today.
Virginia homes can be tricky for indoor herbs. Summer air conditioning and winter heat both pull moisture out of small pots faster than most of us expect. A busy week away can leave tender leaves limp and sad.
Personally, I love projects that cost almost nothing and fix a real problem. So what would you grow if your windowsill could handle the watering for you?
That Empty Soda Bottle Has A Hidden Water Trick
Paper towels gave me my first clue. Dip one corner in a puddle, and the water creeps upward on its own.
That quiet climb is called capillary action, and it is the engine behind every bottle planter.
Water molecules love to cling to tiny fibers. They also cling to each other, so one molecule tugs the next one along.
Inside a cotton or acrylic wick, those pulls add up and carry moisture from a reservoir into the soil above.
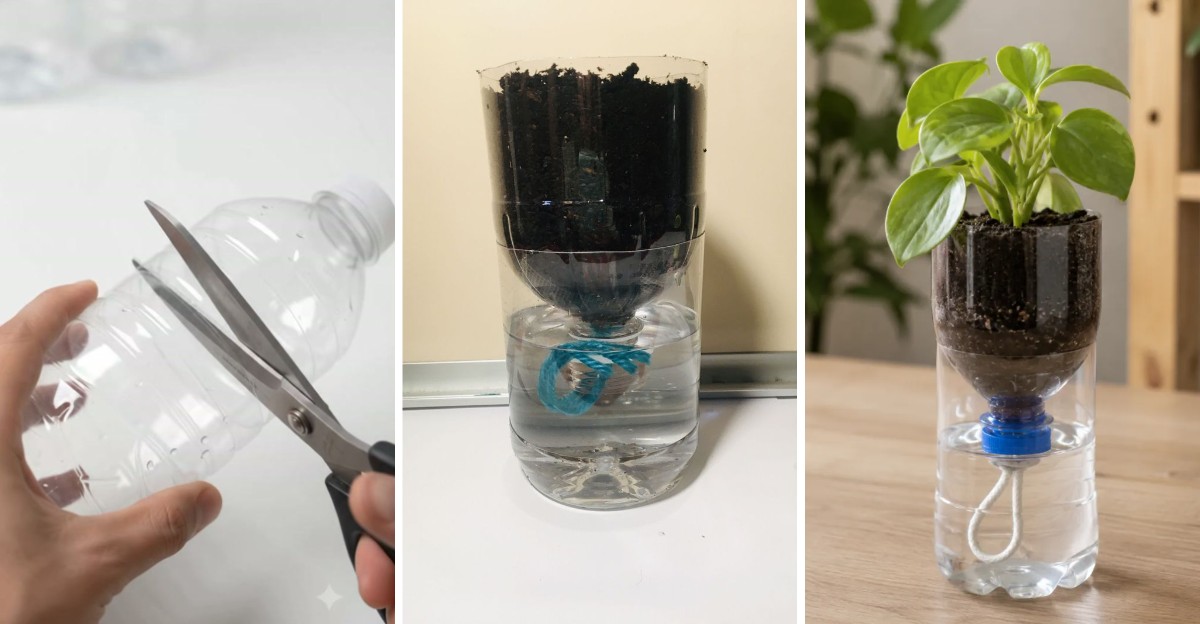
The setup is simple. The bottom half of a bottle holds water, and the upside-down top half holds soil and a plant.
A wick runs through the cap, linking the two sections like a drinking straw.
As the soil dries, it pulls more water through the wick. When the soil stays damp, the flow slows down.
That steady give-and-take keeps roots evenly moist instead of swinging between soggy and parched.
Plants actually move water in a similar way inside their own stems, using narrow tubes that work with that same clingy force. I like knowing my little planter borrows a strategy nature has used for ages.
The best part is that you can watch the whole system work. Clear plastic lets you see the water level drop, so you know exactly when your herbs have been sipping.
Grab A Plastic Bottle, Cotton String, And Scissors
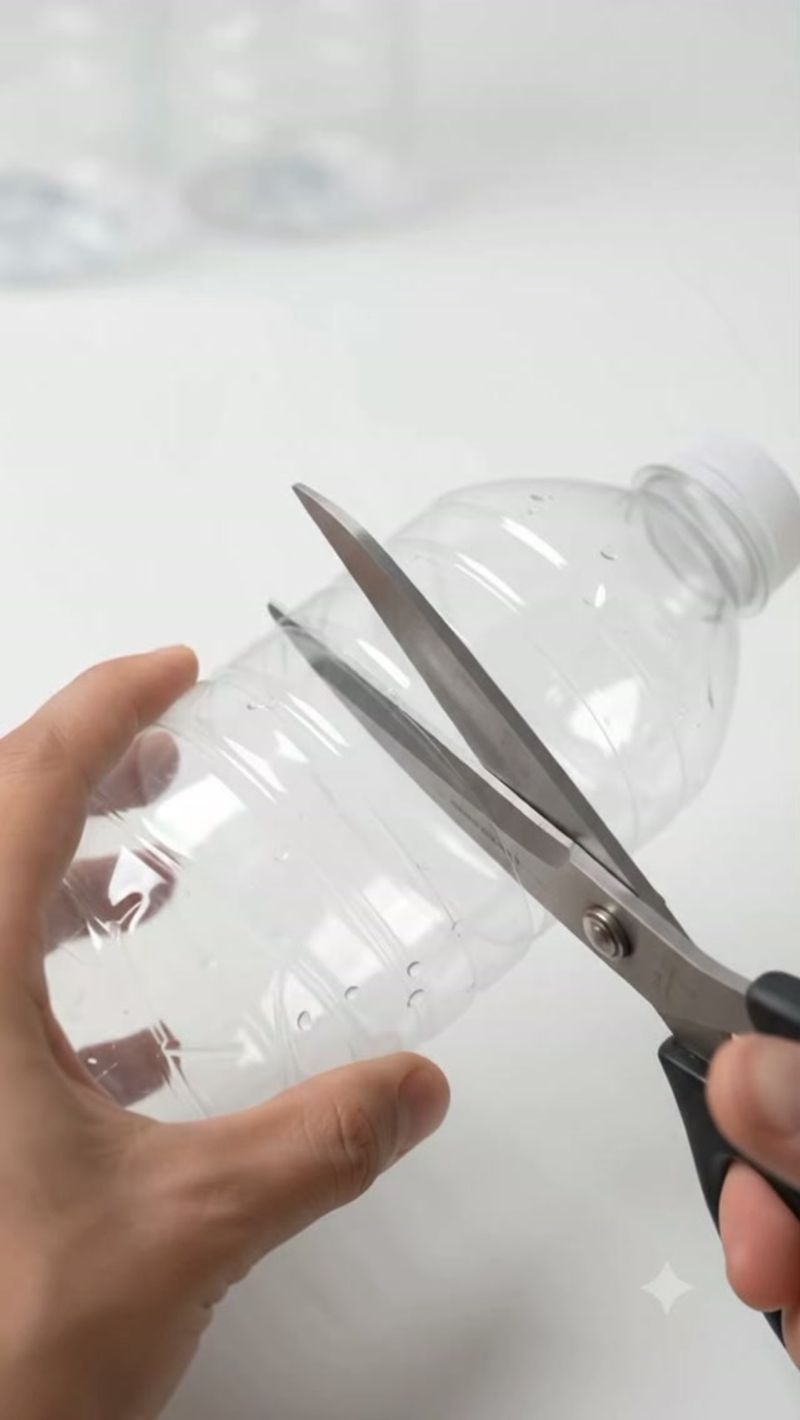
Your recycling bin is about to become a supply store. Most of what you need for this planter is probably sitting in your kitchen right now.
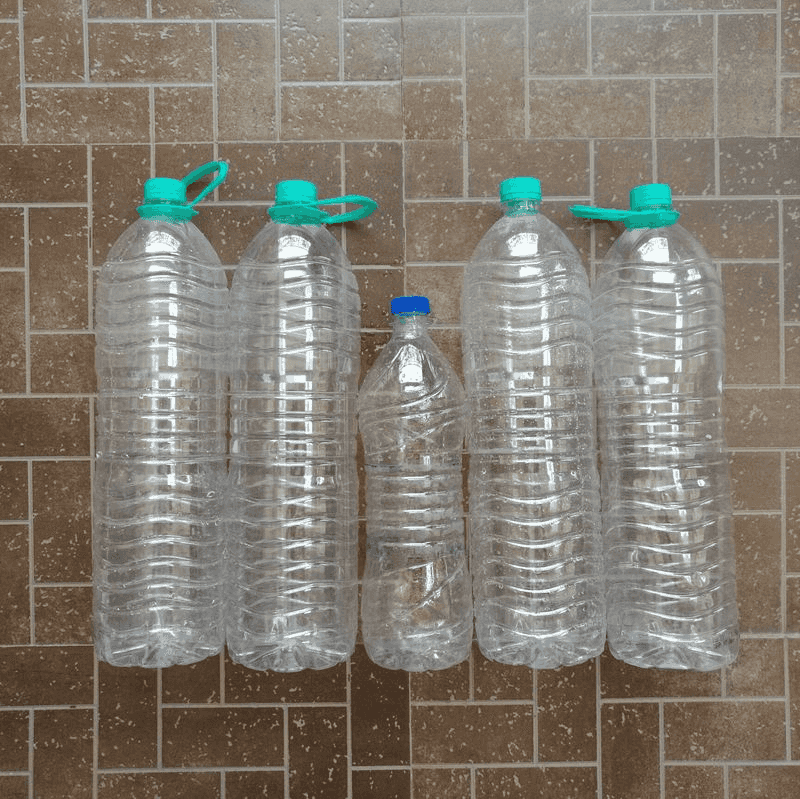
Start with a clean plastic bottle that holds 1 to 2 liters, plus its cap. Smooth, round soda bottles cut more evenly than ridged water bottles.
Peel the label and rinse out any sticky leftovers.
Next comes the wick, about 8 inches long. Cotton string, a strip from an old T-shirt, or a cotton shoelace all work fine.
Acrylic yarn or polyester cord wicks well too, and synthetic fibers won’t rot the way cotton can after months in damp soil.
For tools, gather a permanent marker, a craft knife, and sharp scissors. You will also need a small nail and a hammer, or a drill, to poke a hole in the cap.
Masking tape or cloth tape covers the cut edges so nobody gets scratched.
Finally, pick up a bag of quality potting mix and a small herb plant or a few seeds. Skip garden soil from the yard, since it packs down hard in containers.
Kids love helping with this project, but let an adult handle the knife and nail. Everything else, from threading the wick to filling soil, makes a fun family job.
A Few Careful Cuts Turn The Bottle Into A Planter
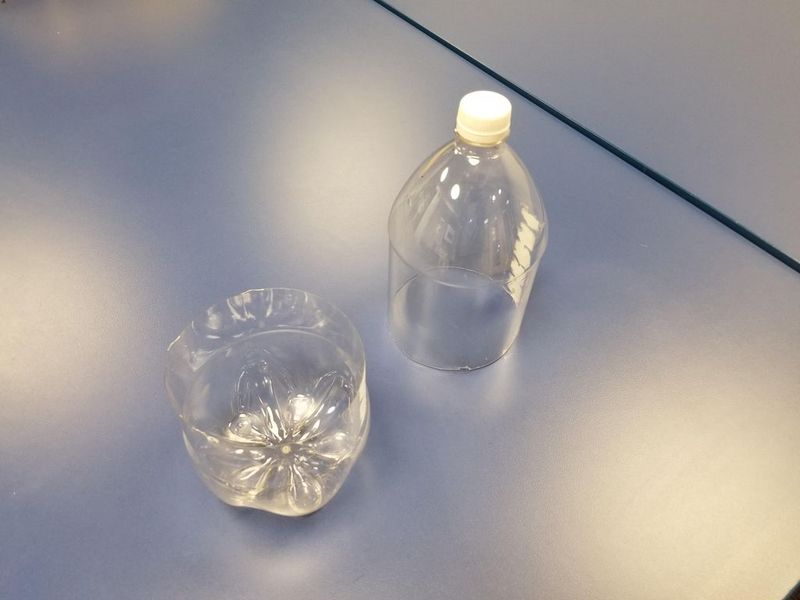
Measure twice and cut once, as my grandfather liked to say. That advice fits this step perfectly, because a clean cut makes a sturdier planter.
Use your marker to draw a line around the bottle a little above the middle. The bottom piece should end up slightly taller than the top.
That extra height gives the inverted top section room to sit snugly without touching the floor of the reservoir.
Make a small starter slit with the craft knife. Then switch to scissors and follow your line all the way around.
Cover both raw edges with masking tape or cloth tape for a smooth, safe finish.
Now grab the cap. Set it on a scrap board and tap a nail through the center with your hammer.
Wiggle the nail a bit so the hole fits your wick snugly but not tightly.
Fold the wick in half and push the loose ends through the hole from the inside. Leave a loop of about 2 inches on the inside of the cap and let the tails hang out the bottom.
Tie a loose knot in that loop so the wick can’t slip back through. Screw the cap firmly onto the bottle neck, and your planter is ready for assembly.
Flip The Bottle Top And Tuck In Your Herb Seedling
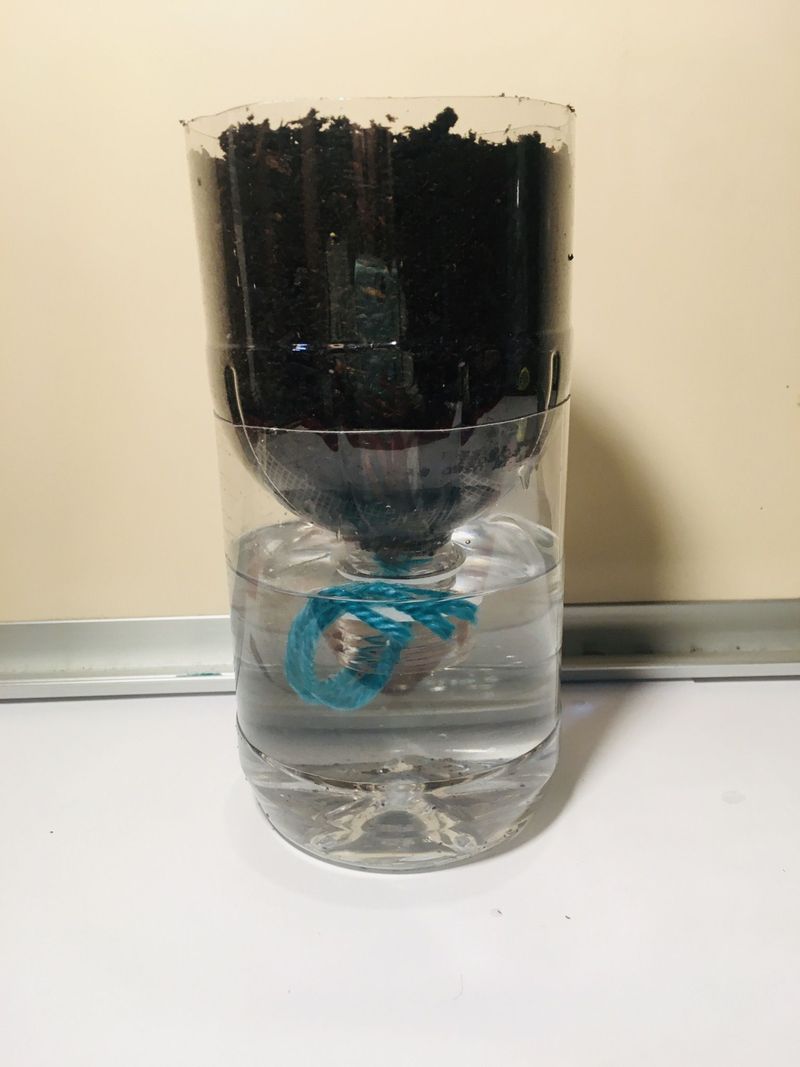
Here comes my favorite moment, when two plastic halves suddenly look like a real pot. Turn the top section upside down so the cap points toward the ground.
Set it into the bottom half like a funnel resting in a cup. The wick tails should dangle down into the lower section, which will become your water tank.
Give it a gentle wiggle to make sure it sits level.
Fill the top with a light, fluffy potting mix. Look for one with peat moss or coco coir, perlite, and a little compost.
Those ingredients hold moisture and still leave air pockets that roots need to breathe.
Tuck the inner wick loop up into the soil as you fill, so it reaches the root zone. Then make a small hole and set your seedling in at the same depth it grew in its nursery pot.
Press the soil lightly around the stem. Don’t pack it down hard, since loose soil lets water travel more easily from the wick.
Finish with a good soak from the top until water drips through. That first drink wets the wick and links it to the soil, which gets capillary action flowing right away.
Fill The Bottle Reservoir And Let The Wick Do The Work
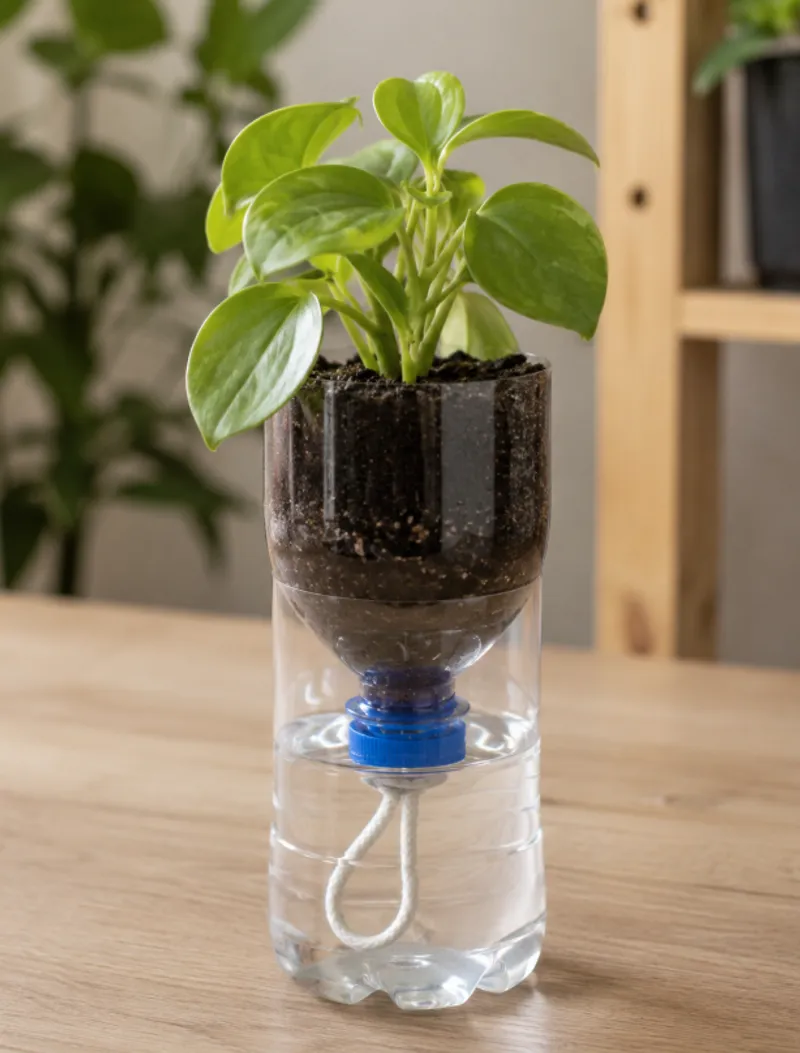
Watering day might become your least frequent chore. Once the reservoir is filled, the planter takes over most of the daily work.
Lift the top section and pour water into the bottom half. Add enough to fully cover the wick tails.
Try to leave a small gap of air between the water line and the bottle neck holding the soil.
That gap matters more than people realize. Roots that sit directly in water can run short on oxygen and start to rot.
The wick bridges the space, so moisture arrives without drowning anything.
Depending on the plant size, your room temperature, and the bottle volume, a refill might last anywhere from about 3 days to 2 weeks. A big leafy basil drinks much faster than a small chive clump.
Check the water level every couple of days at first to learn your plant’s rhythm. Rinse the reservoir every few weeks to keep algae from building up in the clear plastic.
Some gardeners wrap the bottom in paper or paint it to block light and slow algae. A few drops of diluted liquid fertilizer in the water once a month also keeps hungry herbs well fed through the season.
Basil, Mint, And Parsley Love A Steady Drink
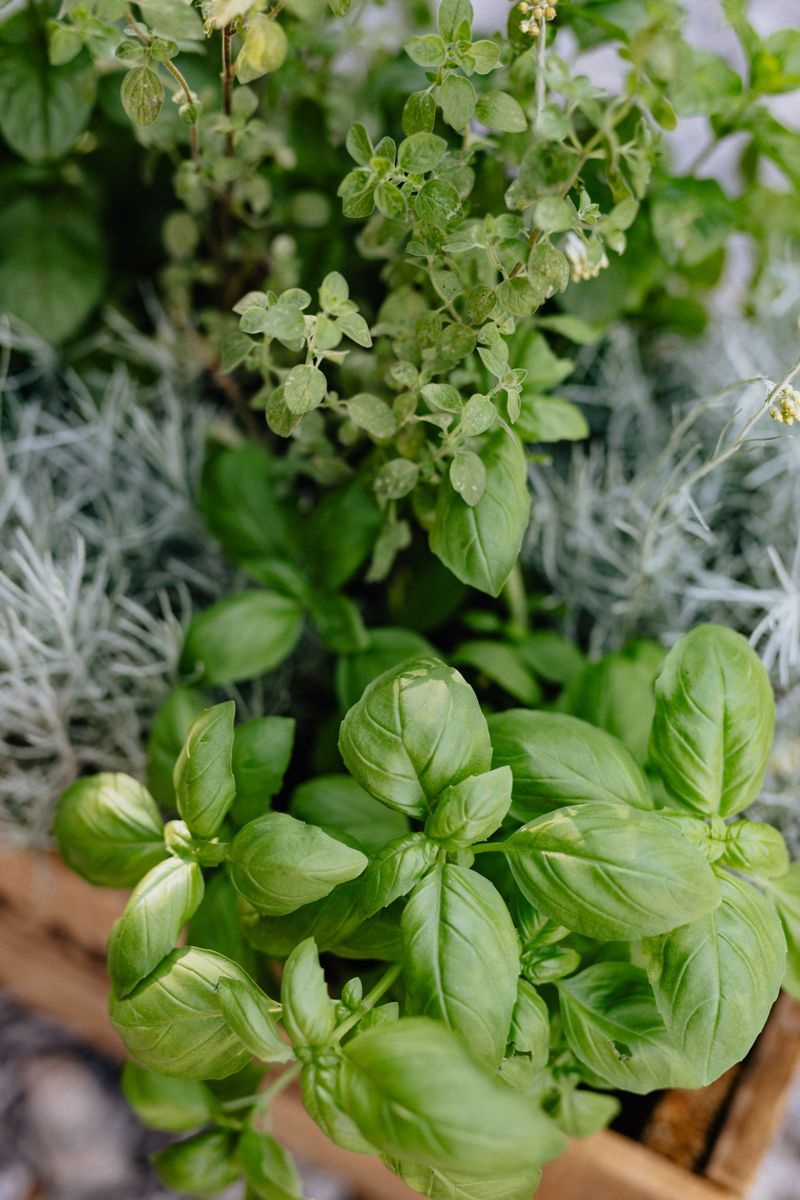
Not every herb wants the same amount of water. Picking the right plant can make the difference between a lush harvest and a sulky pot.
Moisture lovers shine in bottle planters. Basil, mint, parsley, chives, and cilantro all prefer soil that stays evenly damp.
Cilantro bolts quickly in warmth, so sow fresh seeds every few weeks for a steady supply.
Mediterranean herbs are a different story. Rosemary, thyme, oregano, sage, and lavender like their soil to dry between drinks.
Constant moisture can lead to root rot, so I keep those in clay pots and water them by hand.
Light is the next big piece. Most culinary herbs want around 6 hours of strong sun a day.
In Virginia, a south or west-facing window works best, especially from November through February when days are short.
If your windows face north or sit under deep porch shade, a small LED grow light can fill the gap. Keep it a few inches above the leaves for 12 to 14 hours a day.
Watch for cold glass in winter too. Leaves touching an icy pane can get damaged, so slide pots a few inches back on frosty nights.
Fungus Gnats And Aphids Can Still Crash The Herb Party
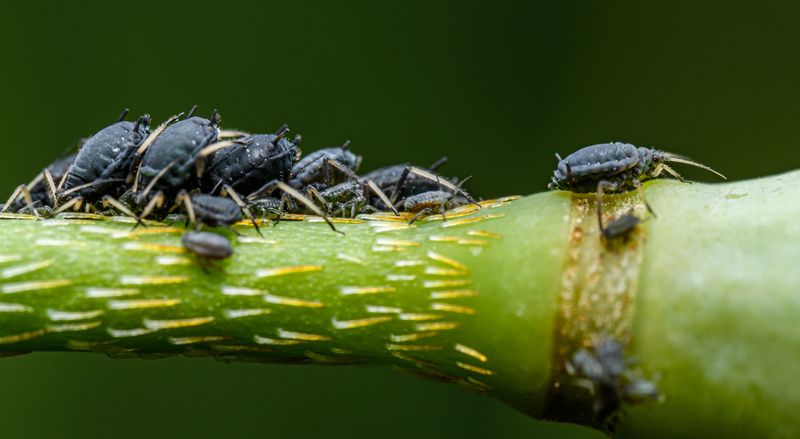
Tiny black flies circling your herbs? Those are probably fungus gnats, and they adore constantly wet soil surfaces where their larvae can feed.
Bottle planters actually give you an edge here. Since water comes from below, the top layer of soil often stays drier than in a hand-watered pot.
A thin layer of sand on top can make the surface even less inviting.
Other pests are not so easily discouraged. Aphids, spider mites, whiteflies, and mealybugs can sneak indoors on new plants or ride in on clothes after time in the garden.
Inspect every new herb before it joins your windowsill. Check under leaves and along stems for clusters, webbing, or sticky spots.
If something looks off, keep that plant separate for a week or two.
For light problems, rinse leaves under the sink or wipe them with a soft, soapy cloth. Yellow sticky cards poked into the soil catch flying adults and show you how many are around.
Stubborn cases may need insecticidal soap or horticultural oil, applied according to the label. Rinse herbs well before eating them after any treatment.
Healthy, evenly watered plants usually bounce back faster from minor pest trouble.
Snip Fresh Herbs From Your Bottle Garden All Year
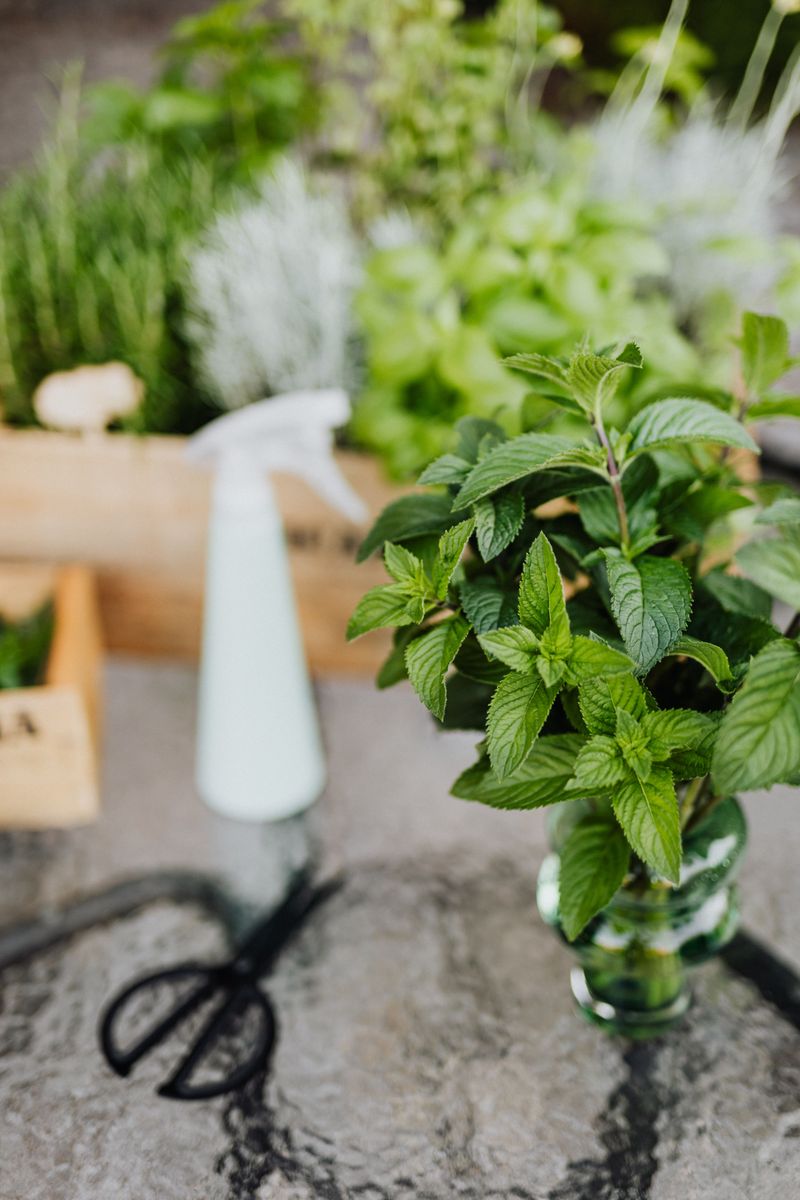
Few kitchen moments beat pinching a handful of basil straight off the windowsill. That fresh scent lingers on your fingers for an hour, and I count it as a small daily treat.
Regular harvests keep herbs bushy and productive. Snip basil and mint just above a pair of leaves, and two new shoots usually grow from that spot.
Try not to take more than about a third of the plant at once.
Pinch off flower buds on basil as soon as they appear. Once flowering starts, leaf flavor can fade and growth slows down.
Over time, roots may fill the small bottle. When the plant dries out quickly or looks crowded, move it into a larger container or start a fresh cutting.
Basil and mint root easily in a glass of water.
Build a whole row of planters and give each one a label. Kids enjoy decorating bottles with markers or paper sleeves, which also helps block algae.
These little gardens reuse plastic, save water, and bring green life to gray winter days. Grab a bottle tonight, and you could be adding homegrown herbs to dinner within a few weeks.