8 Orchid Care Tips for Florida Homes Before the Holidays
A rare swamp flower in southwest Florida grows without leaves and looks like a tiny white frog leaping midair. Its cousins sit on grocery store shelves every December, and I love how many end up on holiday tables.
Those store-bought beauties share wild roots, so they crave warm air and steady light like their swamp relatives. Indoors, our homes swing between chilly air conditioning and stuffy heat, which confuses plants built for gentle tropics.
I have to admit my first holiday bloom dropped its petals before guests even arrived for dinner. You might notice the same sad slump when shorter days and dry indoor air sneak up in a Florida home.
Small tweaks made all the difference for me, and most of them take just minutes each week. Want to keep yours glowing through every party and well into the new year?
1. Slide Your Moth Orchid Into Bright East Window Light
Orchid leaves act like little mood rings, and their color tells you exactly how they feel about the light. A healthy plant shows medium olive green, while very dark leaves often mean the spot is too gloomy.
Yellowish leaves with reddish edges send the opposite message, warning you that the sun is a bit too strong. I check mine every few weeks, because the fall sun shifts lower and sneaks deeper into the room.
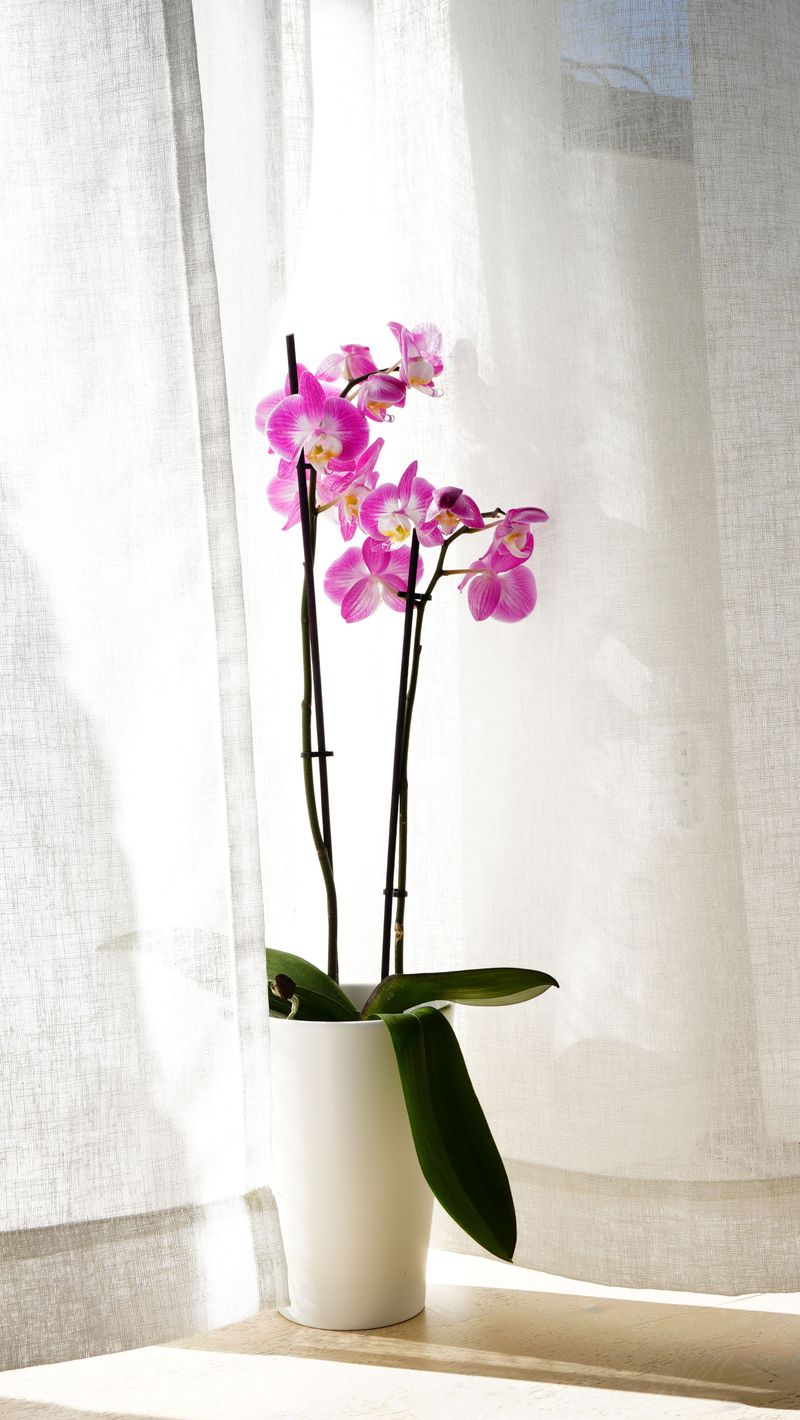
East windows usually work best, since they offer soft morning sun without the harsh afternoon blast of heat. South or west windows can still help if you pull the plant back a few feet.
A sheer curtain also softens strong rays, and it adds a pretty, airy look for holiday decorating too. Sunburn shows up as pale or brown patches, and those scorched spots will not turn green again.
Shorter days can leave some homes a little dim, especially rooms shaded by porches or big oak trees. Personally, I like a small LED grow light on a timer for those darker corners of the house.
Moth orchids also need real darkness at night, so avoid parking them under lamps that stay on late. Many growers suggest giving them around ten hours of steady darkness to keep their natural rhythm on track.
Twinkling holiday lights nearby are mostly fine, but bright overhead fixtures shining all evening can confuse the plant. Give your orchid a cozy bright day and a calm dark night, and it rewards you handsomely.
2. Let Orchid Roots Turn Silvery Before You Water Again
Overwatering sends more orchids to the compost pile than any pest, and I learned that lesson the soggy way. My first plant sat in a puddle inside its decorative pot, and the roots turned mushy within weeks.
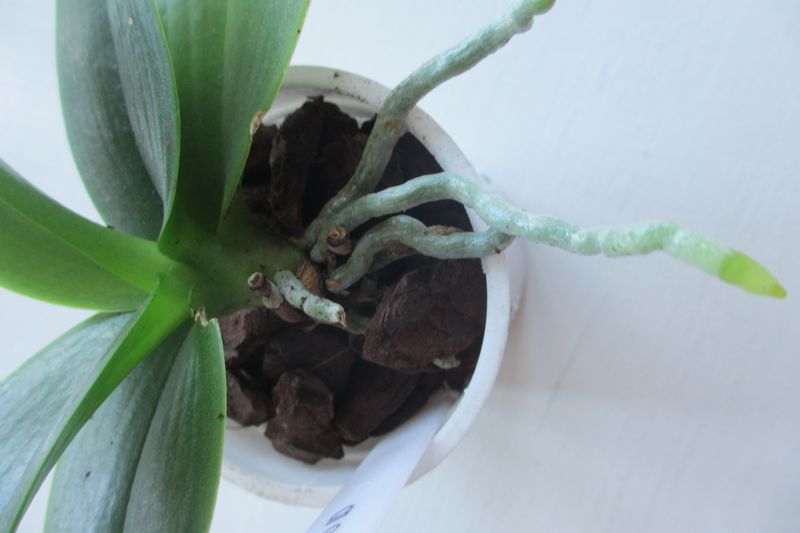
Roots give you a handy clue, because silvery gray roots are thirsty while plump green roots are happy. You can also lift the pot, since a light pot usually means the bark has dried out.
Moth orchids lack big water storage organs, so water them just before the mix turns fully dry. Cattleyas store moisture in thick pseudobulbs, which lets them handle a drier stretch between drinks without much fuss.
In homes that stay fairly humid, you may need to water less often than the plastic care tag suggests. A weekly routine up north could stretch to every ten days or longer in many homes here.
When watering day arrives, I carry the pot to the sink and let room temperature water run through. That steady flow soaks the bark well and rinses away built up salts that can irritate tender roots.
Let every drop drain before the plant goes back into its pretty holiday cover pot or basket. Standing water invites root rot quickly, and that problem spreads faster than most beginners expect it to.
Cooler winter weeks slow growth down, so your orchid will drink less as the season settles in. Checking roots before reaching for the watering can is one habit that I believe saves countless plants.
3. Keep Moth Orchids Away From Cold Drafts And Heater Vents
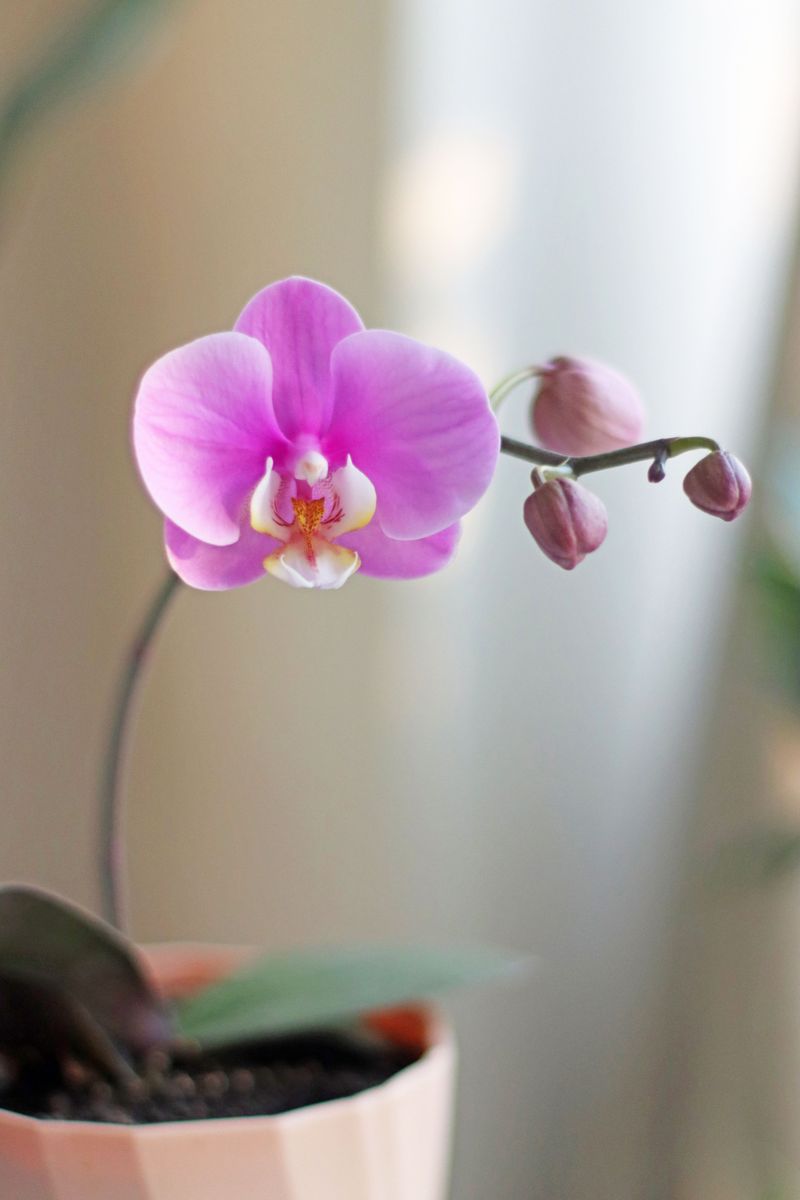
Cool autumn nights can actually work in your favor, because many moth orchids form flower spikes after a chill. Growers often aim for nights near the low sixties for several weeks to give plants that gentle nudge.
Daytime temperatures between about 75 and 85 degrees keep most popular orchids comfortable and growing at a steady pace. Nights around 60 to 70 degrees suit them well, which matches many air conditioned homes quite nicely.
Trouble starts when temperatures dip below roughly 55 degrees, since warm growers like Vandas can suffer chill damage. Frost harm cannot be reversed, so prevention matters far more than any rescue attempt after the fact.
If your orchids summered outside on a porch, watch the forecast closely as the first cold fronts arrive. North Florida sees frost far more often than Miami, so northern growers should bring plants indoors sooner.
Inside, drafts from busy front doors can surprise a plant, especially when guests come and go all evening. I keep my blooming orchids away from entryways during parties, and they seem much happier for it.
Heater vents cause the opposite headache, blasting hot dry air that can shrivel buds before they ever open. Bud blast, as growers call it, often follows a sudden temperature swing or a strong stream of air.
On rare chilly nights, slide pots a few inches back from cold window glass until morning sunshine returns. Steady comfort, not perfect numbers, is what really keeps those flowers looking fresh through the holiday rush.
4. Group Orchids On A Pebble Tray For Extra Humidity
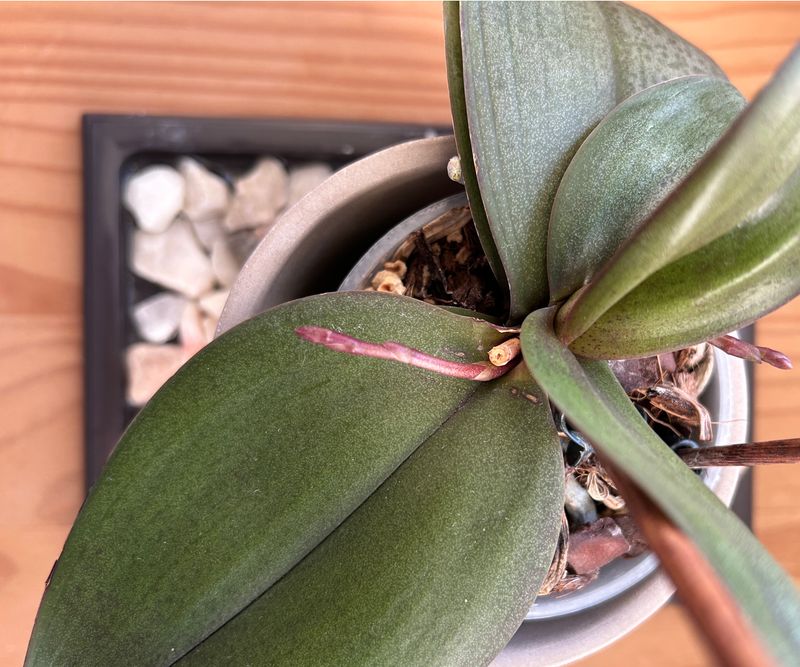
Outdoors, our muggy air feels like a warm towel, yet the air inside our homes can be surprisingly dry. Air conditioners pull moisture from the room, which leaves orchids missing the humidity their wild cousins enjoy.
Most common orchids do best with humidity somewhere between 50 and 80 percent, according to many experienced growers. A cheap digital hygrometer from the hardware store tells you exactly where your living room stands right now.
Grouping plants together is my favorite trick, since leaves release moisture and create a small humid pocket. A cluster of orchids also makes a lovely holiday centerpiece on a sideboard or a bright kitchen counter.
Pebble trays work nicely too, and you can build one in five minutes with supplies from your garage. Fill a shallow tray with gravel, add water below the top of the stones, then set pots on top.
Keep the pot bottoms above the waterline, because roots sitting in water will rot instead of enjoying the moisture. Misting feels helpful, but the boost fades within minutes and can leave water sitting in leaf crowns.
Moisture needs a partner, and that partner is moving air that helps leaves dry before the evening hours. Stale damp air can encourage black leaf spots or soft crown rot, two problems nobody wants this season.
A small clip fan on its lowest setting keeps a gentle breeze flowing without drying the plants too fast. I love how that soft rustle of leaves makes the corner feel like a tiny tropical garden.
5. Feed Orchids Weakly Weekly With Diluted Fertilizer
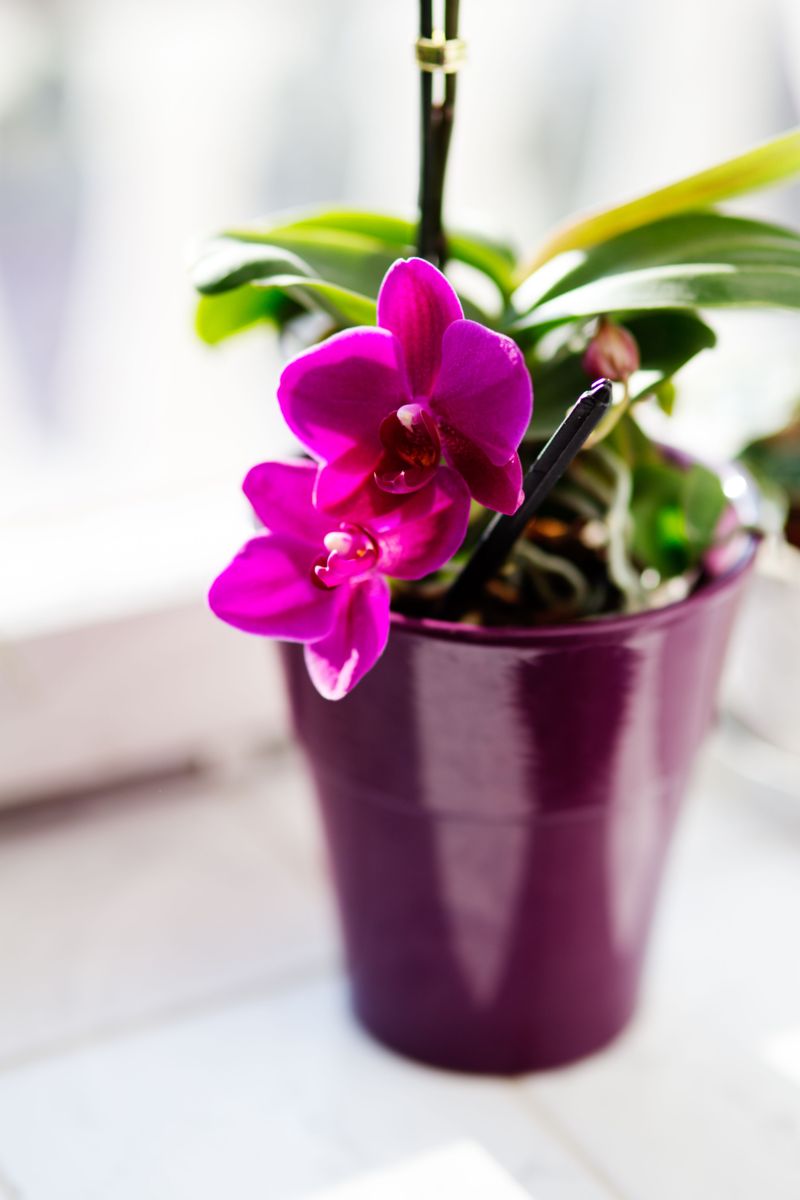
Growers repeat a catchy rhyme about feeding orchids, and weakly weekly might be the best garden advice ever. Many orchids grow on tree bark in nature, sipping tiny amounts of nutrients from rain and fallen leaves.
Bark potting mixes hold very little food, so your indoor plant depends on you for regular small meals. I mix my fertilizer at one quarter to one half of the label strength for every feeding.
A balanced water soluble orchid formula, such as 20-20-20, keeps leaves and roots growing at a healthy pace. Some growers switch to a bloom booster with extra phosphorus as moth orchids start forming fall flower spikes.
Research suggests balanced feeding works fine for blooms too, so that switch is optional rather than required. Either way, the bigger secret is steady, gentle feeding instead of an occasional heavy dose that shocks roots.
Water your orchid with plain water first, because fertilizer poured onto dry roots can burn their delicate tips. Once a month, flush the pot with clear water to rinse away crusty salts building up in the bark.
White crust on the pot rim or bark often signals salt buildup, and a good flush usually fixes it. Florida tap water in some areas runs hard, so rainwater can be a handy choice for orchid watering.
As winter growth slows down, cut back to feeding about once a month until spring warmth returns. Think of it as a light holiday snack schedule, enough to keep plants content without overloading them.
6. Check Orchid Leaves For Scale And Mealybugs
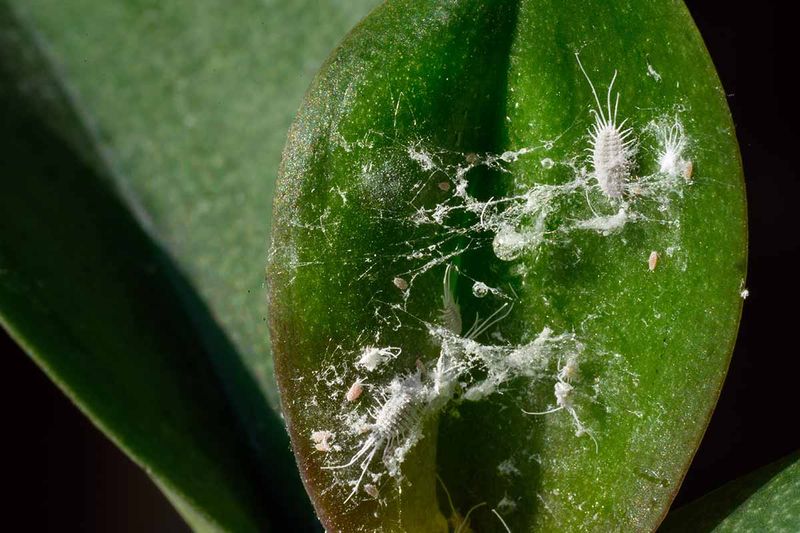
Tiny stowaways love catching a ride indoors, and orchids that summered on the patio often carry a few guests. Scale insects look like little brown bumps glued to leaves, and many people mistake them for natural spots.
Mealybugs resemble fluffy bits of cotton tucked into leaf joints and hidden folds near the base of the plant. Spider mites are harder to spot, though fine webbing and speckled pale leaves give their sneaky presence away.
I grab a flashlight and check leaf undersides slowly, because pests love the shady side where nobody looks. A small magnifying glass helps too, and honestly it turns pest patrol into a fun little detective game.
For a light outbreak, a cotton swab dipped in insecticidal soap wipes mealybugs and scale right off the leaves. Horticultural oil or neem products can handle bigger problems, but test a single leaf before spraying everything.
Repeat treatments every week or so, since eggs often hatch after the first round and start the cycle again. Keep any infested plant away from the rest of your collection until several clean checks have passed.
Watch for odd streaks or mottled patterns on leaves, since those can point to a virus rather than insects. Viruses have no cure, so sterilize your pruning tools between plants to avoid spreading trouble around the house.
Gift orchids from stores deserve a quick inspection too, because even pretty new plants can hide hitchhikers. A five minute check now saves you weeks of frustration once the holiday decorations come down in January.
7. Repot Crowded Orchids In Fresh Chunky Bark
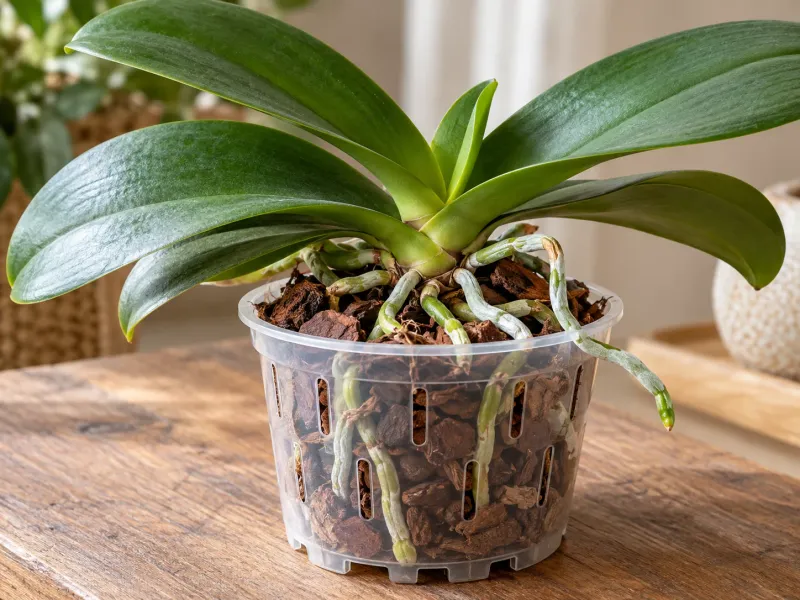
Old orchid bark slowly breaks down like soggy cereal, and warm humid weather speeds up that crumbly decline. Once the mix turns mushy, roots struggle to breathe, and the plant starts looking tired and droopy.
Most orchids appreciate fresh mix every one to two years, ideally right after their flowers finish and fall. If your plant is spiking or blooming for the holidays, wait until the show ends before you disturb it.
Cattleyas prefer repotting when fresh roots appear, which often happens in late winter or early spring each year. Moth orchids that are resting without buds can usually move into a new pot whenever you find time.
Roots spilling over the rim or a sour smell from the pot are both clear signs of trouble. Sphagnum moss from the store holds lots of water, so I swap it for chunky bark in humid climates.
Gently shake off old mix, then snip mushy brown roots with clean, sterilized shears to keep things tidy. Healthy roots feel firm and look white or silvery, often with bright green tips that show active growth.
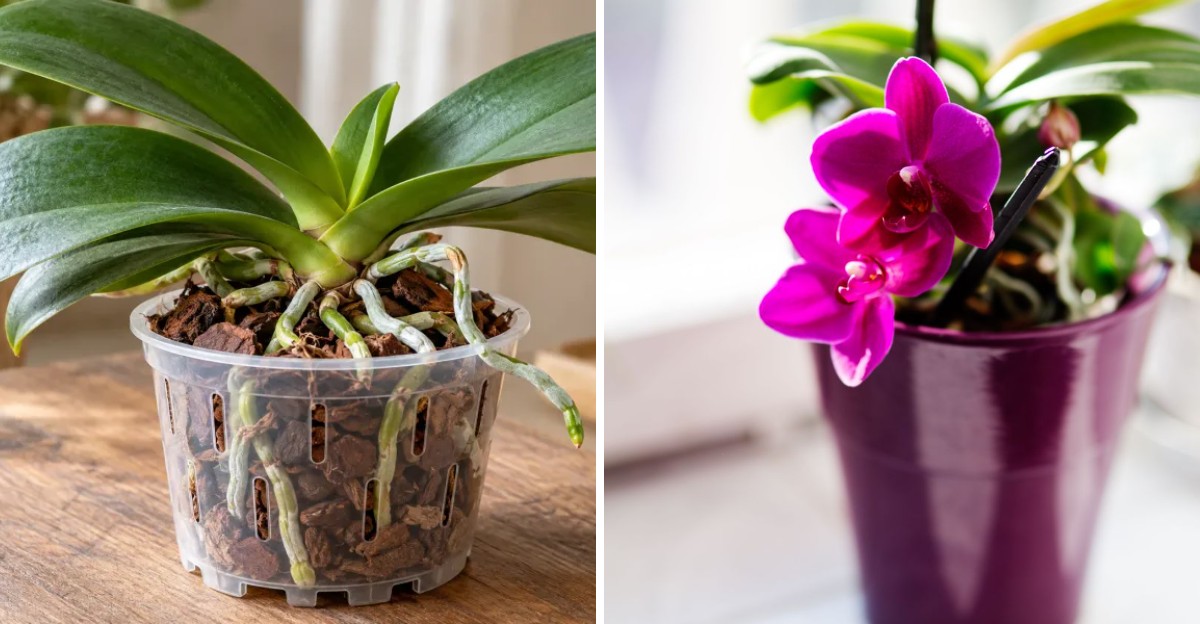
Choose a pot just a bit bigger than the root ball, since oversized pots stay wet for too long. Clear plastic pots let you peek at roots anytime, which I find wonderfully handy for judging watering needs.
After repotting, give the plant a light drink and a shady spot for a few calm days. Hold off on fertilizer for several weeks while new roots settle into their roomy, freshly scented home.
8. Trim Spent Moth Orchid Spikes Above A Node
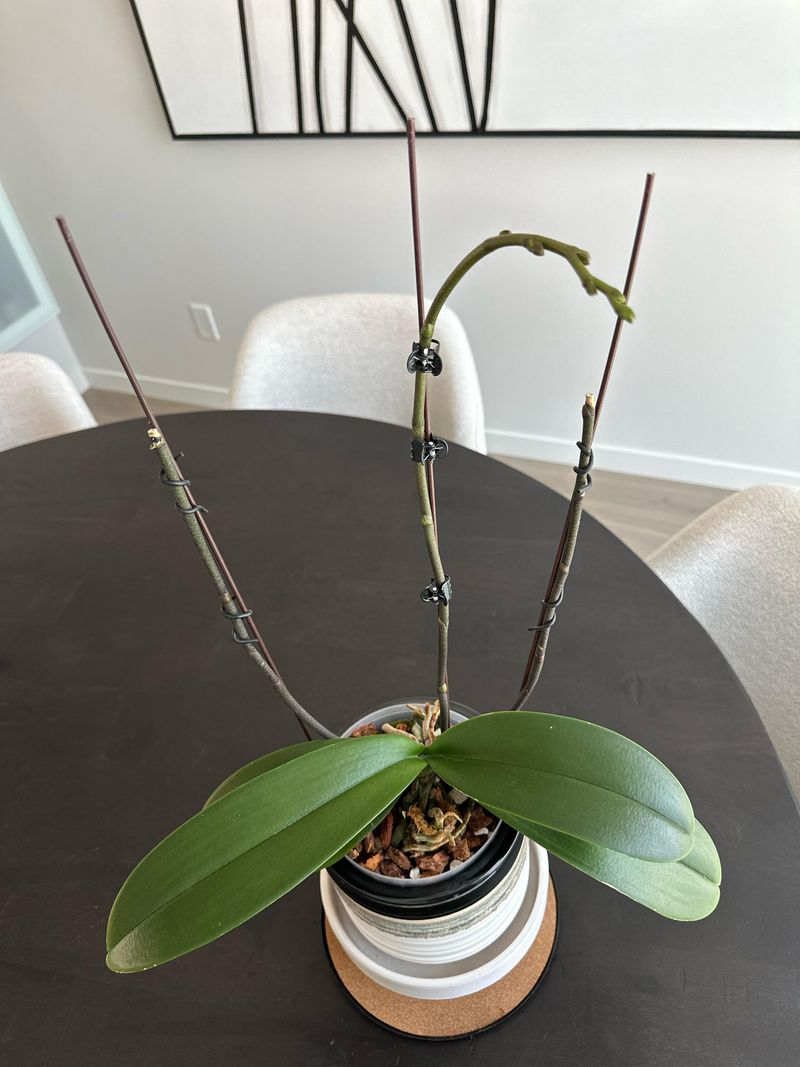
Faded orchid flowers feel like the end of the party, but your plant is only taking a well earned rest. What surprises me most is how often a tossed grocery store orchid could have bloomed again next year.
Moth orchids, known to botanists as Phalaenopsis, often respond to cooler autumn nights by sending up fresh spikes. Nights around 55 to 65 degrees, with days ten or more degrees warmer, give them that helpful signal.
A spot near a bright window in a Florida home often provides that natural dip without any extra fuss. I like checking for new spikes, which look like little gray green mittens poking out between lower leaves.
Once the last flower drops, look along the green stem for small bumps called nodes covered by thin sheaths. Cutting about an inch above a lower node can sometimes coax a smaller side branch of flowers to form.
If the spike turns brown and dry, trim it near the base and let the plant focus its energy. Many growers prefer this full cut anyway, since it often leads to a stronger spike the following season.
Keep watering on schedule during the rest, and continue gentle feeding to help leaves store up fresh energy. Bright indirect light still matters a lot, because healthy leaves are the engine behind every future flower spike.
Patience pays off here, since orchids follow their own internal clock and may take several months to rebloom. You’re in for a big surprise when that same plant greets next winter with a fresh arch of blooms.