How To Protect Roses And Young Shrubs From Minnesota Winter Damage
Every autumn, some Minnesota gardeners dig shallow trenches and lay their prized flowering shrubs down flat like sleepy campers. They cover the whole plant with soil, and the trick even borrows the state’s name for its title.
Tender hybrid varieties can sustain serious cane injury once winter temperatures slide below roughly ten degrees Fahrenheit. Our northern winters routinely drop far lower, so bare stems standing in an open yard face real trouble.
I skipped the extra prep one fall and spent the next spring snipping brown canes down to stubby nubs. You build your confidence fast once you see bundled, buried plants wake up green and eager in April.
Most of the work takes one crisp weekend with a shovel and a generous pile of raked leaves. So which of your Minnesota bushes really need the full treatment, and which ones can tough it out alone?
1. Sort Hardy Shrub Roses From Tender Hybrid Teas

Canadian Explorer roses were bred to shrug off prairie winters, and many handle bitterly cold temperatures without help. Meanwhile, a gorgeous hybrid tea from the garden center may sulk badly after one rough January night outdoors.
Your first job is figuring out which camp each bush falls into before you grab a single garden tool. Check old plant tags or nursery receipts for the variety name and its listed hardiness zone rating online.
Most of the state now sits in USDA zones 3 and 4, with a slim southern band of zone 5. Roses rated for zone 3 or 4, like rugosas and many Explorer types, usually need only light care.
Hybrid teas and grandifloras are usually grafted plants rated closer to zone 5 or warmer, gentler climates. Those tender beauties need serious protection, which is where trenches and thick leaf piles enter the picture later on.
I keep a simple notebook sketch of my beds with each rose labeled by its type and hardiness. It saves me from guessing in October and from wasting energy wrapping bushes that honestly do not need it.
Lost the tag and have no idea what variety your grandmother planted along the back fence years ago? Treat that mystery bush as tender for one winter, then watch how it responds before deciding next fall.
2. Wait For A Few Hard Frosts Before Covering Roses
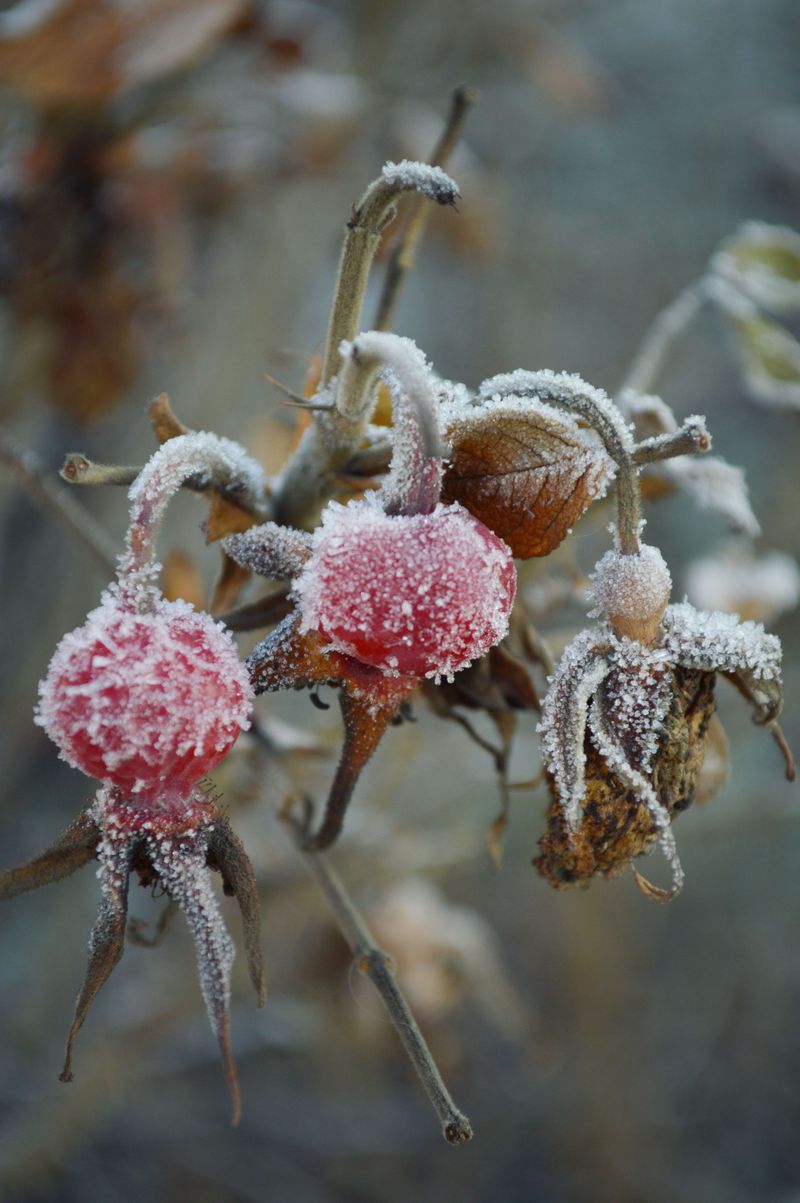
Frost-kissed rose hips glowing red on a chilly October morning tell you something important is happening inside the plant. Those cold nights signal the bush to slow down, harden its canes, and settle into a deep winter rest.
Covering roses too early can trap warmth and moisture, which may invite mold and confuse the plant about the season. University of Minnesota Extension suggests waiting until after several hard frosts before tipping or mounding tender roses.
In most years, that window lands somewhere between late October and early November, depending on where you live. Northern gardens often reach that point sooner, while southern areas near the Iowa border may wait a little longer.
You can help the hardening process start earlier by changing a couple of late summer habits in your beds. Stop fertilizing around mid-August, and let the last flowers fade into hips instead of snipping every spent bloom.
I once rushed the job during a cold snap, then watched a week of sunny sixty-degree afternoons follow right behind. My buried roses stayed soggy and stressed, and I learned patience mattered far more than speed that season.
Keep an eye on your local forecast once nighttime lows dip into the low twenties several times in a row. That steady cold usually means your roses are ready, and you can grab your shovel with real confidence.
3. Give Rose Beds A Deep Fall Watering

Thirsty canes heading into winter are a bit like hikers starting a long trail with empty water bottles. Dry winter winds pull moisture from rose stems for months, and the frozen ground cannot easily replace what gets lost.
A slow, deep watering in fall gives roots a reserve that carries the whole plant through the cold stretch ahead. Aim to soak the soil several inches down rather than sprinkling the surface for a quick few minutes.
Autumn rain sometimes handles this job for you, but dry falls happen more often than many gardeners realize. Push a finger or a small trowel into the soil, and water if it feels dry a couple inches down.
I like using a soaker hose or simply letting a garden hose trickle at the base for a while. Watering during the warmer part of the day gives moisture time to sink in before temperatures drop overnight.
Moist soil also holds heat a little better than dry soil, which gives roots slightly steadier conditions as nights cool. It is a small bonus, but every bit of buffering helps when the thermometer starts sliding toward winter.
Keep watering every week or so during dry spells until the ground begins to freeze for the season. Once the hose starts stiffening in your hands, you can coil it up and store it away until spring.
4. Rake Up Fallen Rose Leaves And Skip Heavy Pruning
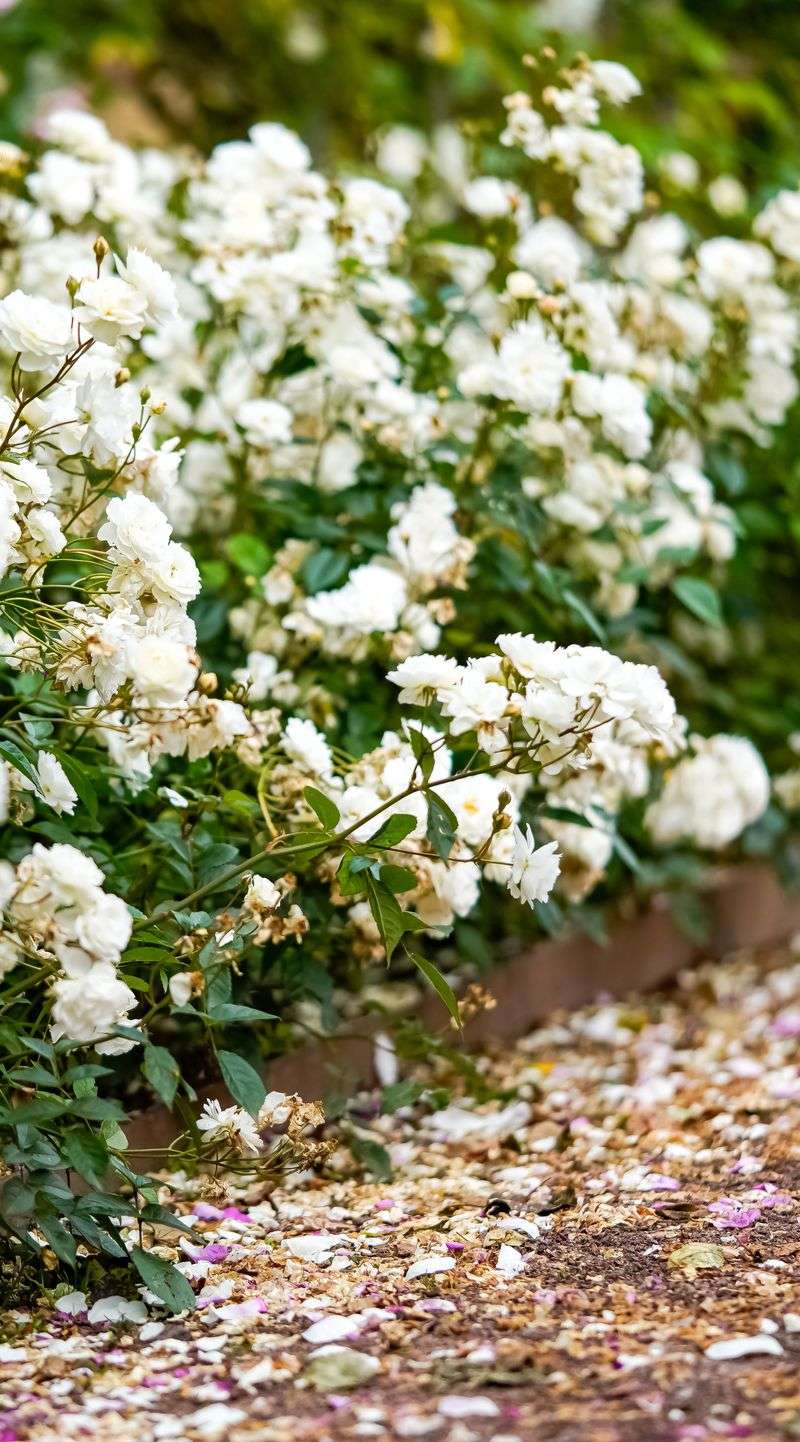
Those spotted yellow leaves littering the ground under your roses are not just messy, they can carry trouble. Black spot fungus survives winter on fallen foliage, then splashes back onto fresh leaves when spring rain arrives.
Grab a rake and clear away every leaf and petal you can find beneath each bush before covering anything. Bag the diseased material or send it out with yard waste instead of adding it to your home compost pile.
Pruning is a different story, and here a lighter touch serves your roses much better in the fall. Big cuts now can leave open wounds that struggle to heal before freezing weather settles in for months.
Limit fall trimming to broken canes, obviously diseased stems, or long whips that would make tipping and covering awkward. Save the real shaping work for spring, when you can clearly see which canes made it through winter in good shape.
I used to give my hybrid teas a dramatic fall haircut because it looked so neat and tidy. Spring showed me plenty of browned stubs, and now my autumn shears barely leave their holster at all.
A clean bed with lightly trimmed bushes makes the next steps much easier to handle as well. You will have fewer hiding spots for pests and a far simpler plant to bundle, bend, or bury.
5. Tie Rose Canes Into A Tidy Bundle With Twine
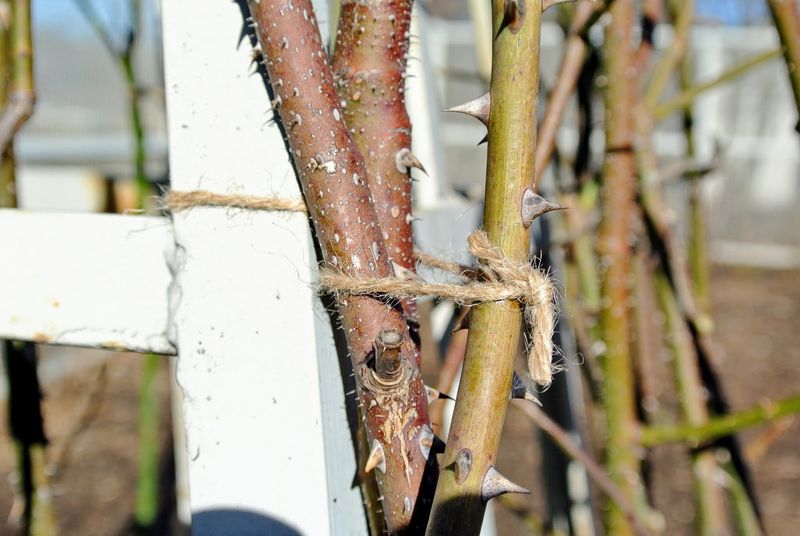
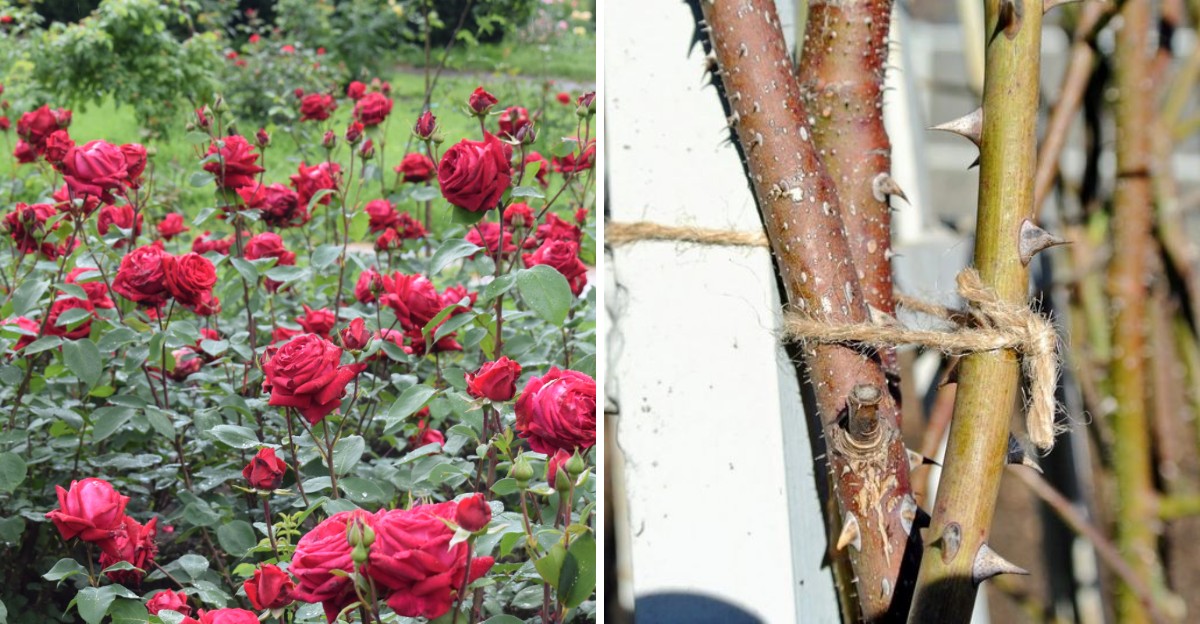
Wrestling a sprawling, thorny rose without tying it first feels a lot like hugging an angry porcupine. Wrapping the canes into a snug bundle turns that prickly mess into something you can actually move and cover safely.
Pull on your thickest leather gloves and gently gather the canes together starting near the base of the plant. Wind twine around them in a loose spiral, working upward until the whole bush forms a narrow, manageable column.
Synthetic twine holds up better than natural jute, which can rot and snap while buried in damp soil all winter. Bright colors help, too, because a tail of orange string poking out makes your roses easy to find later.
Bundling also reduces wind rock, the back-and-forth motion that can loosen a plant at its base during storms. Strong gusts across open yards can twist unprotected canes, so a compact shape stands up much better against rough weather.
I learned the color trick after spending one muddy April morning poking around blindly for a buried climber. Now every rose in my yard gets a neon tag that practically waves hello once the snow finally melts away.
Do not cinch the twine so tightly that it crushes or scrapes the bark along the canes. Snug is the goal here, firm enough to hold everything together but gentle enough to protect each stem underneath.
6. Lay Tender Roses Down With The Minnesota Tip
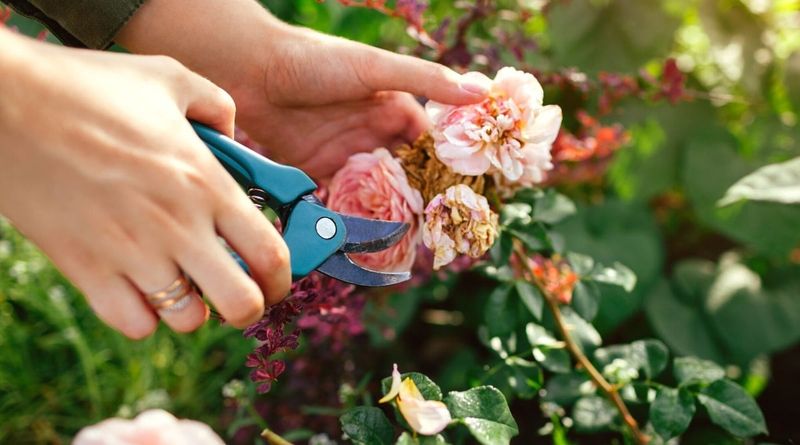
Burying an entire rose bush sideways sounds wild until you see a tipped hybrid tea leafing out happily in spring. The Minnesota Tip, promoted by University of Minnesota Extension, uses the soil itself as a thick winter blanket.
Start by digging a trench beside your bundled rose that runs about as long as the plant stands tall. Make it deep enough that the whole bush can lie flat below the surrounding soil level once it gets laid down.
Next, loosen the roots on the side opposite the trench with a spade or garden fork, working slowly and carefully. Some roots will stretch or snap, which is normal, but try to keep most of the root ball firmly attached.
Gently push the bush over into the trench, bending at the roots so the canes rest along the bottom. Cover the whole plant, including the exposed roots, with soil you dug out, leaving your bright twine tail visible.
The process looked scary my first time, and I honestly hesitated with the shovel hovering over my favorite rose. That bush came back stronger than ever, and tipping became my favorite chilly afternoon ritual every autumn since then.
Hardier grafted roses can sometimes get by with a mound of soil roughly a foot high over the base. Tipping still gives tender varieties the most dependable protection through a long, bitter winter in this part of the country.
7. Pile Leaves Over Roses Once The Ground Freezes

Crunchy oak leaves piled knee-deep over a rose bed might look like a lazy raking job to your neighbors. In reality, that fluffy pile works like a puffy winter coat, trapping air and steadying soil temperatures beneath it.
Timing matters here, so wait until the top layer of soil has frozen before adding your leafy blanket. Mulching too early can give mice a cozy home and keep the ground warm enough to delay dormancy.
Extension guidance suggests piling about a foot or more of dry leaves or straw over tipped and mounded roses. Oak leaves are a fantastic choice because they resist matting down and stay loose and airy all season long.
Wind loves to scatter loose leaves across the yard, especially in open spots without fences or nearby buildings. A simple ring of chicken wire or a piece of burlap staked on top keeps everything right where it belongs.
I remember a winter with several January thaws that turned my driveway into a slushy skating rink overnight. My leaf-covered roses barely noticed, staying cold and quiet underneath while the weather bounced around above them.
Snow adds even more insulation once it settles on top of your leaf pile throughout the winter months. Shovel extra snow onto the beds if you like, because that fluffy white layer helps protect everything underneath it.
8. Block Hungry Rabbits And Voles From Rose Canes

Cottontails seem sweet hopping across a snowy yard until you spot the clean, angled cuts on your rose canes. Rabbits snip stems neatly at snow height, while voles tunnel underneath and chew bark where you cannot easily see it.
Winter food grows scarce, so tender rose stems and roots become an easy snack for these hungry visitors. Planning a little defense now saves you from a disappointing surprise when the snow finally melts in spring.
Hardware cloth with quarter-inch openings makes a sturdy cylinder around individual shrub roses that stay standing all winter. Sink the bottom edge a couple inches into the soil, and make the top taller than your usual snow depth.
Voles love thick mulch, so wait until the ground freezes before piling leaves, which gives them less time to settle in. Keeping grass trimmed short around beds in fall also removes some of the cover these small rodents prefer.
One spring I found a favorite climber girdled right at the base, with the bark chewed away in a ring. That sight convinced me to wrap every unprotected cane, and I have not had a repeat problem since then.
Check on your barriers after big storms or thaws, because drifting snow can bury fences and create easy ramps. A quick walk around the yard every few weeks keeps small problems from growing into major losses.
9. Tuck Potted Roses Into A Cold Garage
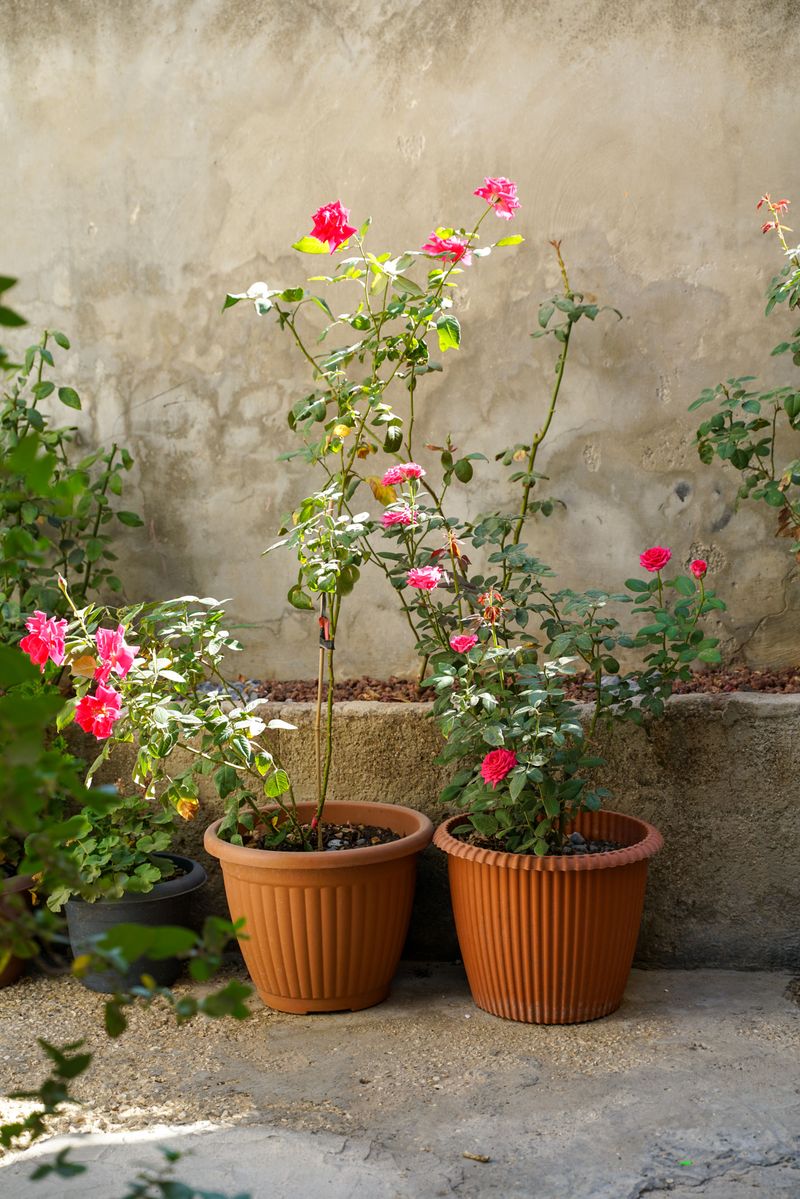
Container roses face a tougher winter than their in-ground cousins because their roots sit up above the protective soil. Cold air hits the pot from every side, and those roots can freeze far faster than roots planted in the garden.
An unheated attached garage often works beautifully as a winter hideaway for potted roses after they go dormant. You want temperatures that stay cold but mostly above the deep single digits, so the plant rests without serious damage.
Wait until the leaves have dropped and the plant has felt a few frosts before moving it indoors. Water the pot well first, then check every few weeks and add a little water if the soil feels dry.
Burying the whole container in a garden bed is another option that many northern rose growers swear by every year. Dig a hole deep enough to cover the pot rim, then mulch over the top once the ground freezes.
My little miniature roses spend each winter lined up against the garage wall like patient kids waiting for recess. They look sleepy and bare until April, then push out bright red shoots almost as soon as they come outside.
Move stored pots back outdoors gradually in spring, starting with a shady spot for several days before full sun. Uncover tipped garden roses around mid to late April, once the hardest freezes have passed for the season.