Never Let November End Without Planting Garlic In North Carolina
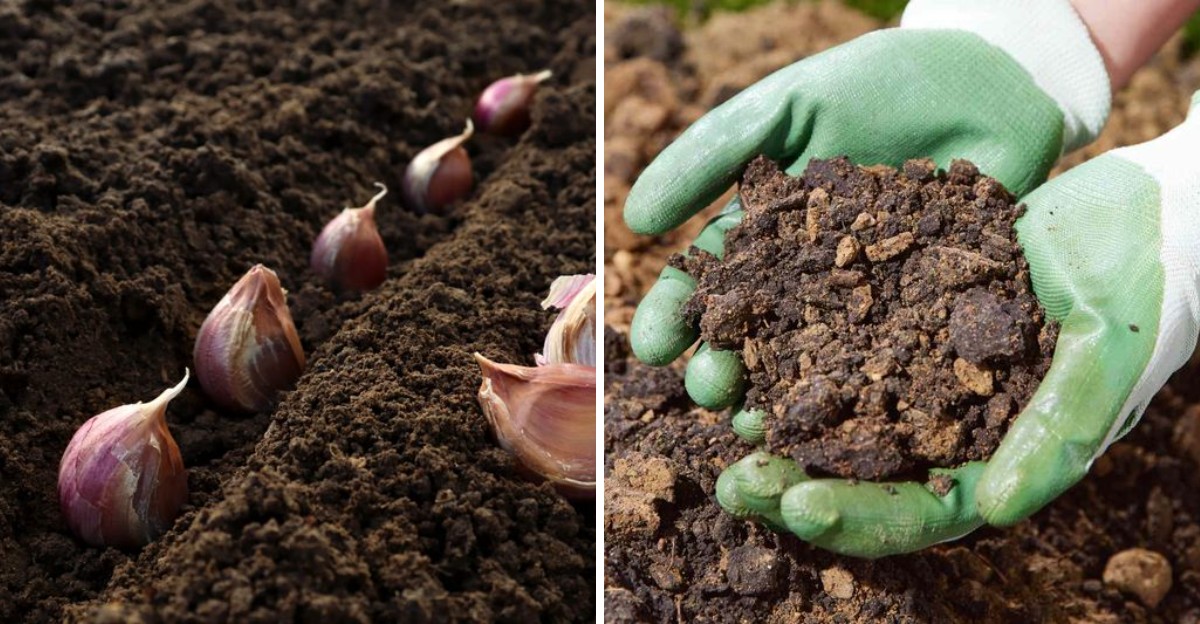
A single clove tucked into cold dirt this month can split itself into a dozen new cloves by early summer. That math still makes me grin every single season.
Here’s what caught my attention years ago. This crop actually needs a long stretch of winter chill to form those plump, papery bulbs.
Without enough cold, many plants grow one big round lump instead of separate cloves.
I’m a big fan of crops that work while I rest. You plant, you mulch, and then the roots quietly settle in under frosty mornings and gray skies across North Carolina.
By spring, bright green spears poke up like they own the place.
The flavor is another story. Homegrown bulbs taste sharper, sweeter, and juicier than the dusty ones in a store bin.
So why do so many gardeners skip this easy fall job?
1. Those Garlic Cloves Need Cold Soil More Than You Realize
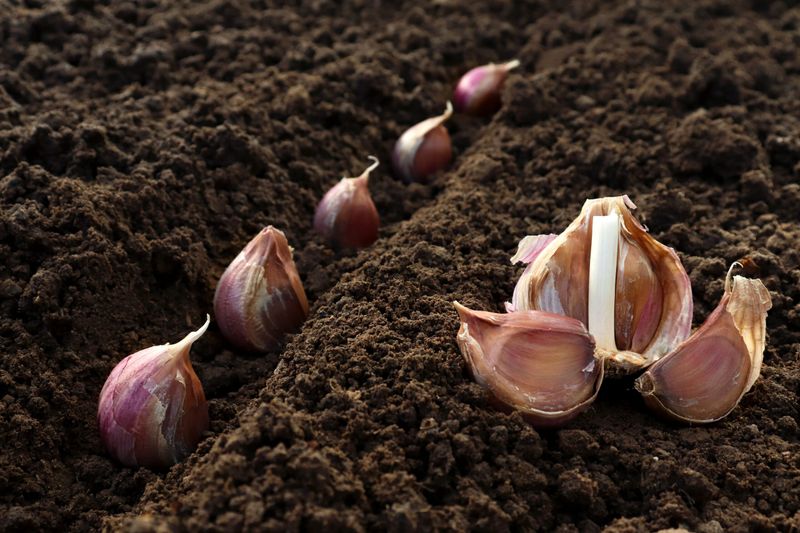
Cold weather is the secret ingredient, and November delivers it at just the right pace. Garlic cloves planted now grow roots while the soil is still a bit warm, but the tops stay mostly quiet until late winter.
Scientists call the chill requirement vernalization. The plant needs several weeks of cool temperatures, roughly below 50 degrees, before it knows to divide into separate cloves.
Plant too late in spring and you often get a single round bulb with no segments at all.
Fall planting also gives the plant a huge head start. Strong roots built in late autumn feed fast leaf growth in March and April.
More leaves mean bigger bulbs, since every leaf adds a layer of wrapper around the cloves below.
I like to think of it as banking energy for later. Those quiet weeks underground are anything but lazy.
Roots spread out, settle in, and prepare for a growth spurt the moment days lengthen.
Gardeners who wait until February usually notice smaller harvests. The plants simply run out of time before summer heat signals them to stop growing.
A November planting gives your crop the full season it craves.
2. Mountain, Piedmont, And Coastal Garlic Beds Run On Different Calendars
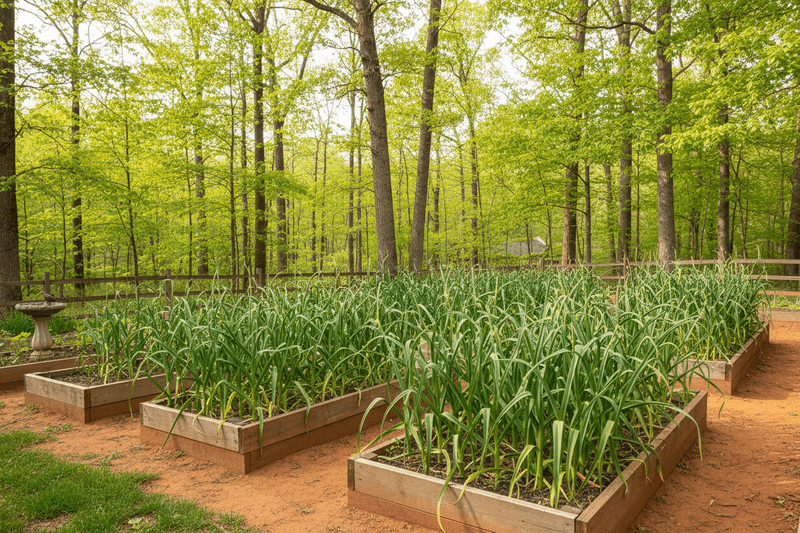
Timing shifts depending on where you live, and the state covers a lot of ground. Elevations range from beaches near sea level to peaks over 6,000 feet, which spreads gardens across USDA zones 5b to 8b.
Mountain gardeners usually plant earliest, often from mid-October into early November. The ground there gets cold fast, so cloves need time to root before hard freezes arrive.
Waiting until late November in the high country can leave roots shallow and weak.
Piedmont growers in places like Raleigh, Charlotte, and Greensboro have a comfortable window. Late October through mid-November works well for most yards.
A few weeks of flexibility makes this region forgiving for busy families.
Coastal plain gardeners enjoy the longest stretch. Many plant throughout November and sometimes into early December, since winters stay milder near the shore.
Warm soil in October can actually push too much top growth too soon there.
A simple rule helps everywhere. Aim to plant about four to six weeks before your ground usually freezes, or once soil cools near 50 degrees.
Your local NC State Extension office can share exact dates for your county if you want extra confidence.
3. Hardneck Or Softneck Bulbs Make A Big Difference Here
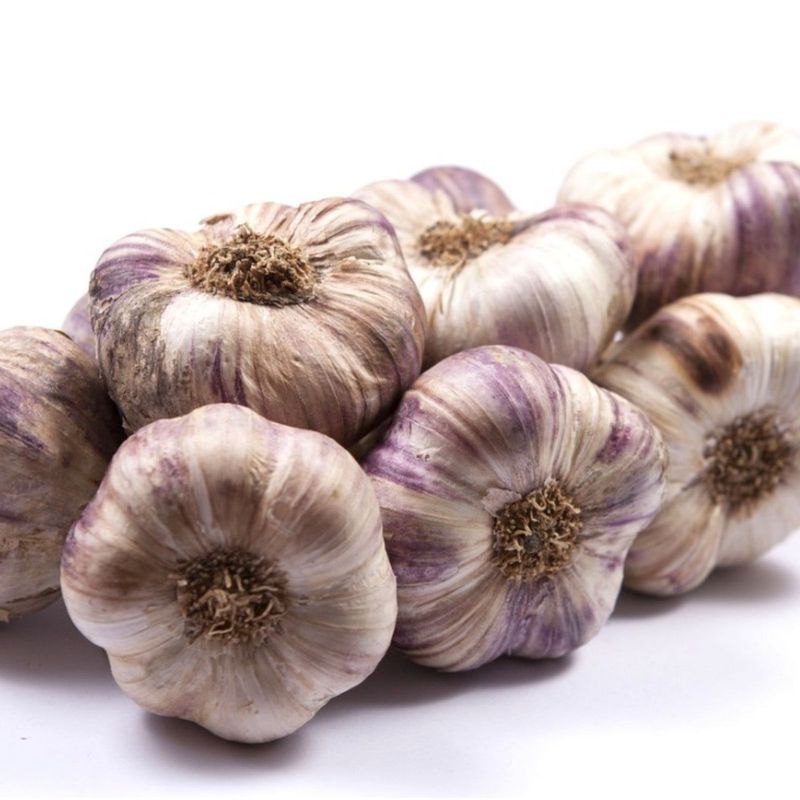
Picking the right type matters as much as picking the right date. Garlic comes in two big families, and each one handles winter differently.
Hardneck garlic grows a stiff center stalk and loves serious cold. Varieties like Music and Chesnok Red shine in the mountains, where winters run long and chilly.
Bonus perk: they produce curly flower stalks called scapes, which taste amazing in stir fries and pesto.
Softneck garlic skips the stiff stalk and tolerates warmer winters. Inchelium Red and many Creole types do well in the coastal plain and eastern counties.
Their bendy stems are what people braid into those pretty kitchen hangings.
Piedmont gardeners get to play with both. I find it fun to plant a row of each and compare flavors next summer.
Creole varieties are especially worth a try in the warmer half of the state, since they handle heat and humidity nicely.
One tip saves a lot of trouble. Buy seed garlic from a garden supplier rather than the grocery store.
Store bulbs are often grown far away, may carry diseases, and are sometimes treated to stop sprouting.
4. That Red Clay Soil Needs A Little Help Before Garlic Goes In

Red clay sticks to boots and shovels for a reason. Its tiny particles pack tightly, holding water like a sponge that refuses to drain.
Garlic hates soggy feet. Cloves sitting in waterlogged soil over winter can rot before spring ever arrives.
Good drainage is the single biggest favor you can give this crop.
Mixing in two to three inches of compost loosens heavy clay and feeds the soil at the same time. Shredded leaves and aged manure work too.
Work it into the top eight inches or so, where the roots will spread.
Raised beds are my favorite shortcut. They warm faster, drain better, and let you control the soil mix without fighting the native ground.
Even a simple mound six inches high can make a noticeable difference.
Soil pH deserves a quick check as well. Garlic grows best between about 6.0 and 7.0, and many local soils lean acidic.
The NC Department of Agriculture offers soil testing, often free during much of the year, so it costs little to know exactly what lime or nutrients your bed needs.
5. Plant Each Garlic Clove Pointy Side Up And Spaced Just Right
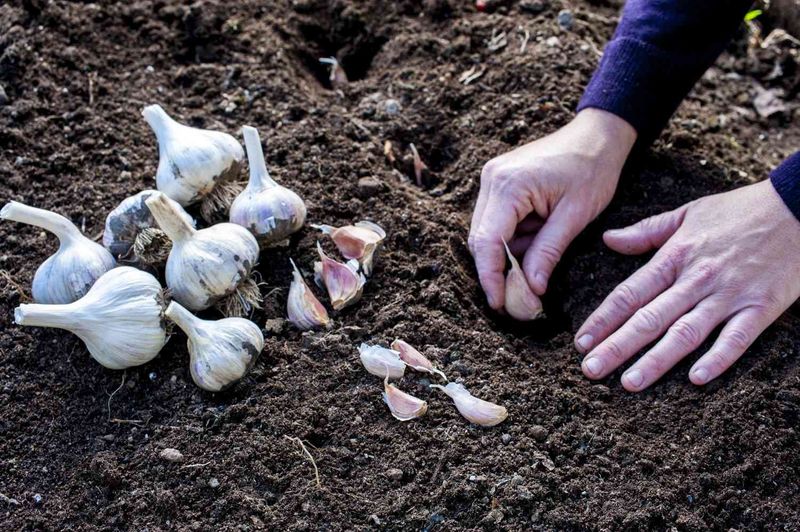
Break the bulbs apart only a day or two before planting. Separated cloves dry out quickly, and the papery skin helps protect them in the ground.
Save the biggest cloves for planting. Large cloves usually grow large bulbs, while tiny inner ones tend to stay small.
Those little guys are perfect for tonight’s pasta sauce instead.
Set each clove with the flat root end down and the pointed tip facing up. Push it about two inches deep in the coastal plain and Piedmont.
Mountain gardeners can go three to four inches for extra protection from deep freezes.
Spacing keeps plants happy. Leave around six inches between cloves and about a foot between rows, so each bulb has room to swell.
Crowded garlic competes for water and nutrients, and the bulbs show it.
A fun fact: one bulb typically holds eight to fifteen cloves. That means a single pound of seed garlic can plant a surprisingly long row.
After planting, water the bed well to settle the soil around each clove and get roots started.
6. A Thick Straw Mulch Keeps Garlic Snug All Winter
Winter here loves to flip-flop. A sunny 65-degree afternoon can follow a hard frost, and that back-and-forth is rough on young plants.
Freeze and thaw cycles make soil expand and shrink, which can push cloves right out of the ground. Gardeners call this frost heaving.
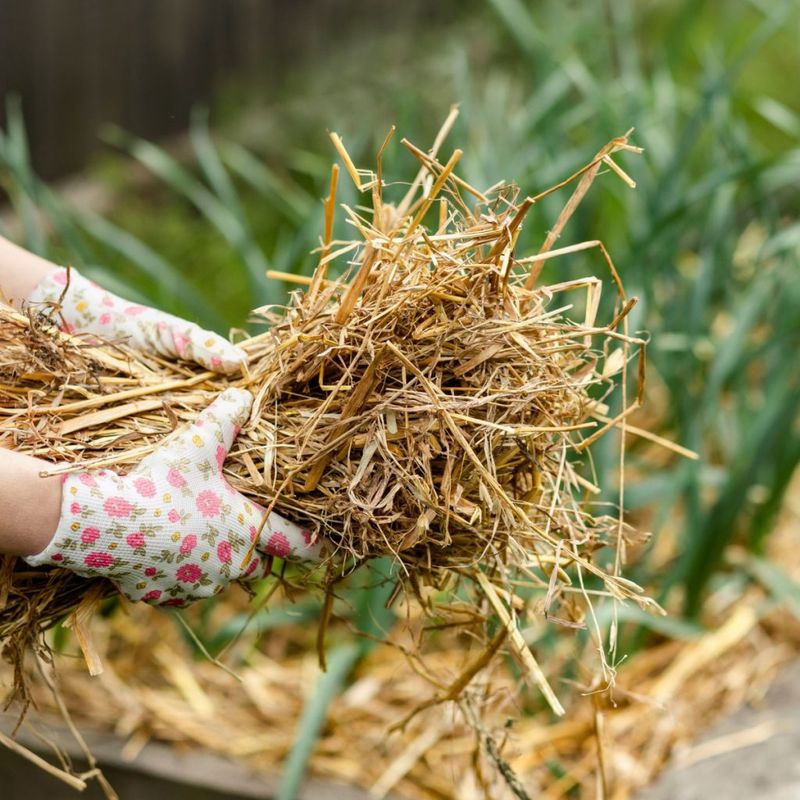
A thick layer of mulch acts like a cozy quilt, keeping soil temperatures steady.
Spread three to four inches of clean straw or shredded leaves over the bed after planting. Make sure the straw is free of weed seeds, since hay often carries plenty.
Pine needles also work and are easy to find in many yards.
Mulch brings extra perks too. It holds moisture during dry spells, keeps weeds from sneaking in, and slowly adds organic matter as it breaks down.
Garlic has shallow roots and grassy leaves, so it struggles against weed competition.
Green shoots will poke right through the mulch in late winter. You don’t need to pull it back.
In the coastal plain, a slightly thinner layer is fine, while mountain beds benefit from the full, fluffy depth.
7. Bright Green Garlic Shoots In Spring Are Hungry For Nitrogen
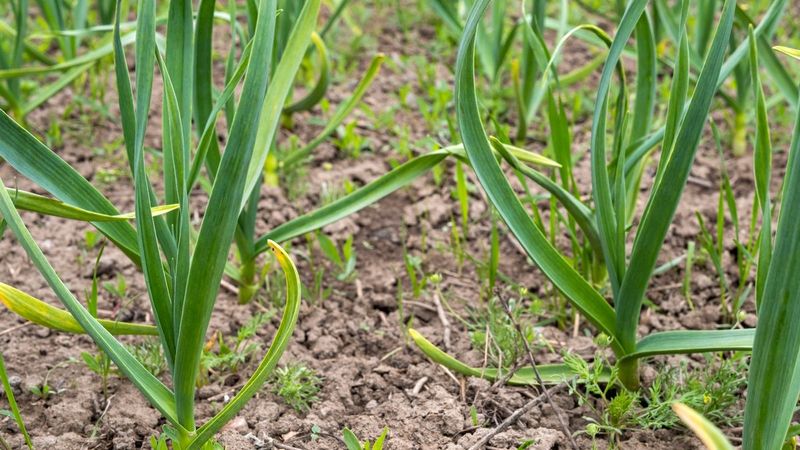
Spring wakes these plants up fast. Around February or March, depending on your region, those green spears start reaching for the sun with real enthusiasm.
That growth spurt calls for food. Side-dress with a nitrogen fertilizer, such as blood meal or a balanced garden fertilizer, once in late winter and again a few weeks later.
Each new leaf you encourage now becomes another protective layer around the bulb.
Stop feeding by early May. Fertilizer late in the season can keep plants growing leaves instead of filling out bulbs.
It may also reduce how long your harvest stores.
Water matters in spring too. Aim for about an inch per week if rain falls short, but ease off as harvest nears.
Soggy soil in late spring can stain wrappers and invite rot.
Hardneck growers get a tasty bonus around May. Curly scapes appear from the center stalk, and snapping them off helps direct energy into the bulb.
I grill them with a little olive oil, and they vanish from the plate in minutes.
8. Digging And Curing Garlic Bulbs Rewards Your Patience
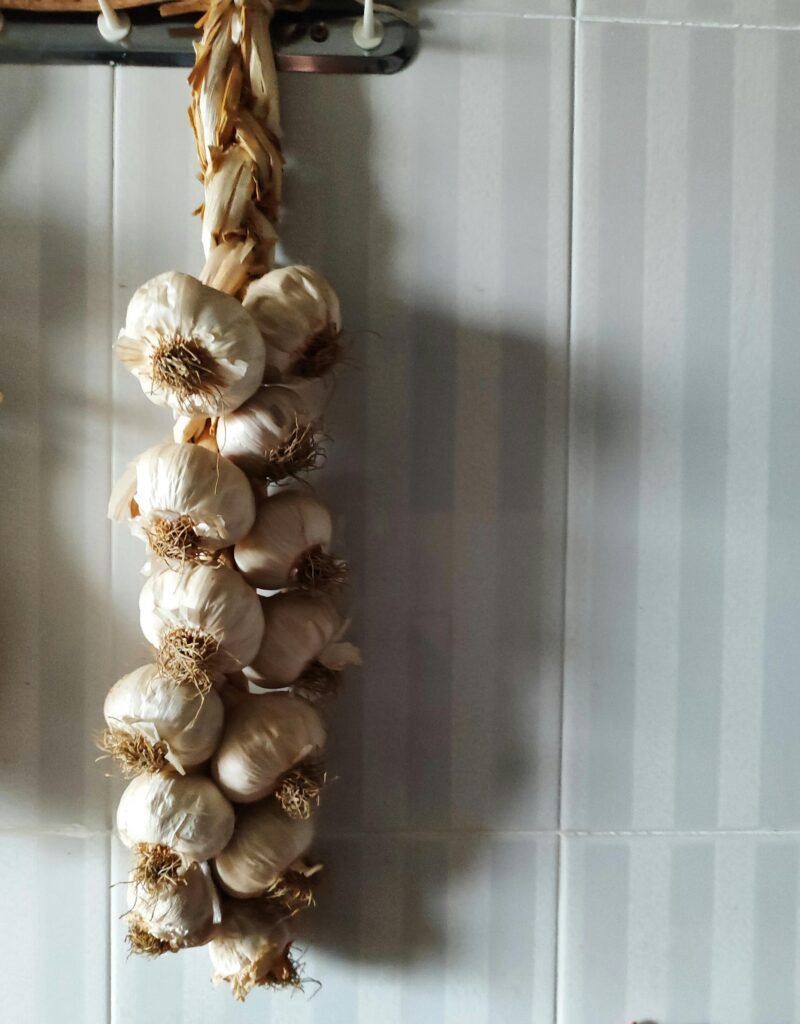
Harvest day feels like opening a present you wrapped seven months ago. Coastal gardens often harvest in late May, while mountain beds may wait until late June or early July.
Watch the leaves for your signal. When the lower third to half turn brown and the upper leaves stay green, it’s time to dig.
Wait too long and the wrappers split, leaving cloves exposed and harder to store.
Loosen the soil with a garden fork a few inches away from the plants. Lift gently instead of yanking the stems.
Bruised bulbs spoil faster, so handle them like eggs.
Curing turns fresh garlic into pantry garlic. Hang bundles or spread bulbs in a shady, breezy spot like a garage or covered porch for three to four weeks.
Summer humidity here makes airflow especially valuable, and a small fan helps a lot.
Once the necks feel dry, trim roots and stems. Softneck types can store nine months or longer, while hardnecks usually last four to six.
Save your plumpest bulbs for replanting, and you’ll be ready when November rolls around again.