7 November Rosemary Jobs to Do in Virginia Before Winter Arrives
Botanists quietly moved one of my favorite kitchen herbs into the sage family’s main genus back in 2017. Its old Latin name meant dew of the sea, a nod to the salty Mediterranean cliffs it calls home.
That seaside heritage explains why the plant shrugs off drought yet sulks through cold, soggy winter weather. Virginia sits across USDA zones 6a through 8b, so a winter here can feel mild or downright brutal.
I adore this shaggy evergreen, mostly because it perfumes my hands every time I brush past. You might be surprised how much a few weekend chores now can change its odds come spring.
Gardeners across Virginia lose plenty of these fragrant shrubs each year to wet roots rather than frosty air. So which simple November jobs give your favorite herb its best shot at a green, leafy comeback?
1. Shelter In-Ground Rosemary Beside A Warm South Wall

Brick and stone walls soak up afternoon sun, then slowly release that stored heat after the sun goes down. I love how a south-facing wall can turn a chilly yard into a tiny pocket of Mediterranean comfort.
Rosemary grows best in zones 7 through 10, so gardeners in the western mountains face a tougher challenge. Hardy types such as Arp and Hill Hardy give you a better chance in those colder zone 6 spots.
November is late for planting new shrubs, so focus on protecting the ones already growing in the ground. If a plant sits in an exposed, windy spot, consider giving it a temporary windbreak this month.
Burlap stretched between a few garden stakes works nicely, as long as it does not touch the foliage. Drying winter winds often harm evergreen herbs more than cold temperatures alone, especially when the ground freezes.
Take a moment to study where water collects after a heavy rain near your rosemary bed. Puddles that linger around the base are a warning sign, since soggy soil in winter invites root rot.
A shallow trench that steers runoff away from the plant can make a surprising difference before January arrives. Heavy clay is common across much of the Piedmont, and rosemary struggles badly when its roots stay wet.
Make a quick note of any weak spots now, and plan to amend or relocate plants next spring. Your future self will thank you when that rosemary greets you with fresh, piney growth in April.
2. Tuck Pine Needle Mulch Around Rosemary Roots
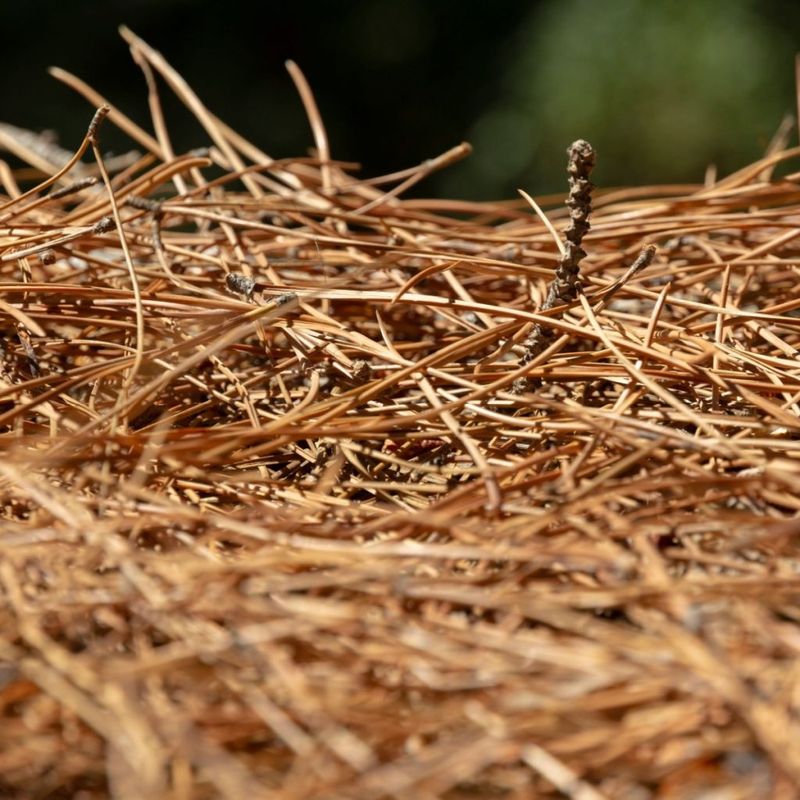
Pine needles might be the most underrated gift your yard drops each fall, and rosemary seems to agree. They stay light and airy, letting water drain through instead of forming a soggy mat around the stems.
Straw and shredded leaves also work well if you do not have a pine tree nearby to borrow from. Aim for a layer about two to three inches deep spread over the root zone around the plant.
Leave a small gap of a few inches between the mulch and the woody crown of your shrub. Mulch piled right against the stems traps moisture there, which can invite rot and fungal trouble over winter.
What I find interesting is that mulch works less like a blanket and more like a thermostat. It evens out soil temperatures, reducing the freeze and thaw swings that can heave and tear tender roots.
Those swings are common in many parts of the state, where sunny afternoons often follow frosty nights. A steady root zone lets your rosemary rest quietly instead of reacting to every sudden temperature change.
Skip heavy wood chips around rosemary if your soil already holds water, since they stay damp for weeks. Pea gravel is another clever option, because it drains fast and reflects a little warmth back up.
Once spring returns and the soil begins warming, pull the mulch back so the ground can dry out. That simple step helps the plant wake up gently and push out fresh new growth on schedule.
3. Check Potted Rosemary For Pests Before Moving It Indoors
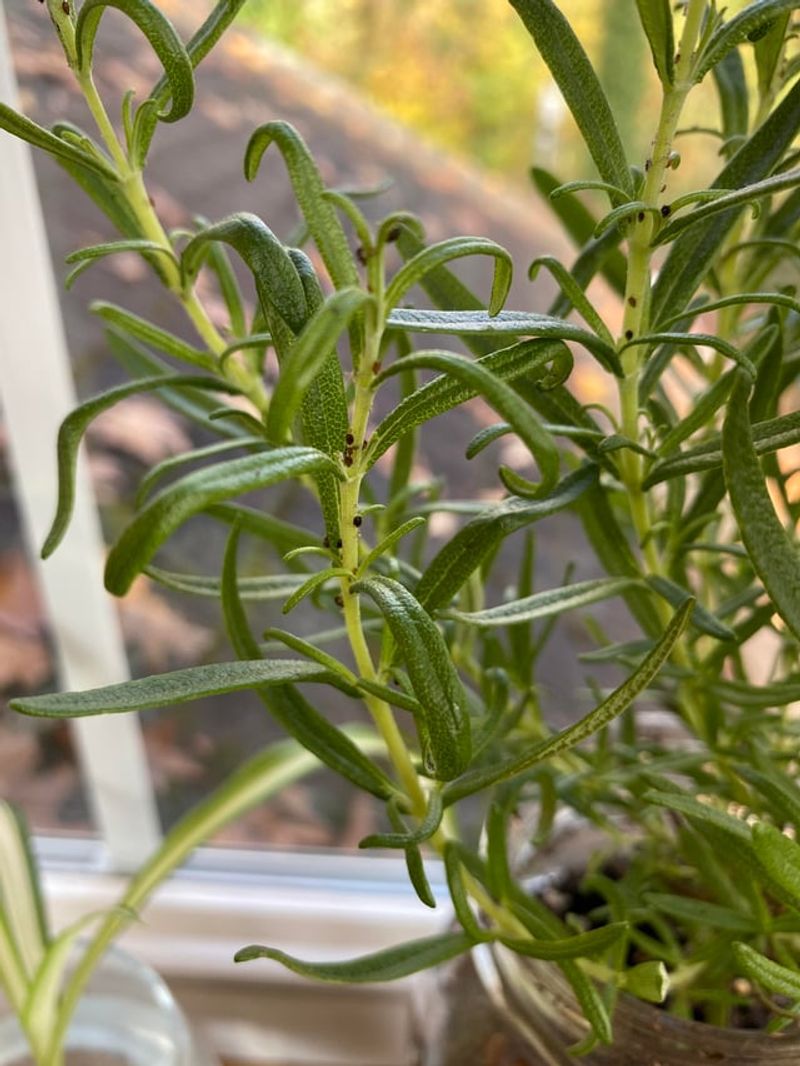
Tiny spider mites can hitch a ride indoors on a single potted herb and spread quietly across your houseplants. I learned that lesson the hard way, so now every pot gets a careful inspection first.
Most potted rosemary should come inside once nighttime temperatures settle into the 40s or lower for good. In much of Virginia, that point arrives by early November, though coastal gardens often stay milder longer.
Grab a flashlight and a magnifying glass, then check the undersides of the needles and the stem joints. Fine webbing points to spider mites, while tiny white fluffs often mean mealybugs are hiding in the foliage.
Aphids and whiteflies can also tag along, especially on soft new growth near the tips of branches. A strong spray of water from the hose knocks many of them loose before the plant comes inside.
For stubborn pests, insecticidal soap is a fairly gentle choice that works on contact with soft-bodied insects. Follow the label carefully, and rinse the herb well before you snip any sprigs for cooking.
Do not forget the pot itself, since slugs and pill bugs love hiding under the drainage holes. Tip the container sideways and brush off the bottom before setting it on a clean saucer indoors.
Keep the newcomer apart from other houseplants for a week or two, just to be safe. That short quarantine gives hidden eggs time to hatch, so you can spot trouble before it spreads further.
4. Ease Rosemary Indoors Through A Cool Garage Or Porch
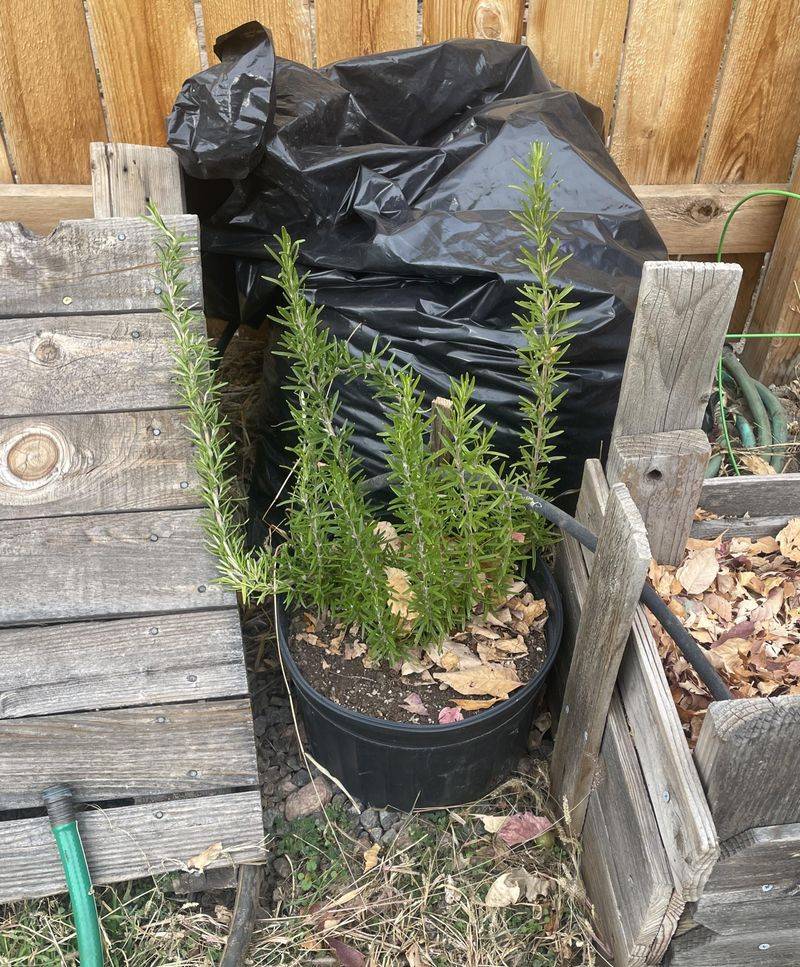
Moving rosemary straight from a crisp porch into a toasty living room is like jumping into a hot tub. The sudden switch in light and humidity often triggers needle drop, which can alarm even seasoned gardeners.
A gentler approach uses a halfway spot, such as an unheated garage with a window or an enclosed porch. Let the plant rest there for one to two weeks while it adjusts to lower light levels.
Honestly, many rosemary plants seem happiest staying in that cool space for the whole winter season. Temperatures between roughly 40 and 60 degrees Fahrenheit suit them far better than a warm, dry den.
Light matters just as much, because rosemary needs at least six hours of bright light each day. A south-facing window is ideal, and a simple LED grow light can fill gaps on cloudy days.
Keep the pot away from heating vents and radiators, which dry the air and stress the foliage. Good air circulation helps too, since stale, still air can encourage powdery mildew on crowded indoor plants.
Do not panic if a few needles turn brown or fall during the first couple of weeks. Some leaf drop is a normal response to new surroundings, and healthy plants usually settle in nicely.
I like giving the pot a quarter turn every week so all sides get their share of light. That small habit keeps the plant growing evenly instead of leaning hard toward the nearest window.
5. Water Rosemary Sparingly As Days Get Colder
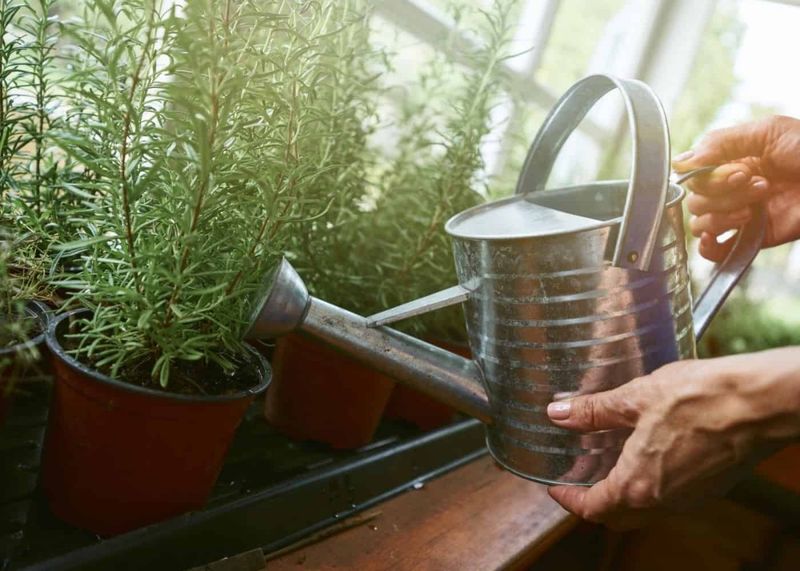
Rosemary has a funny relationship with water, thriving through summer droughts yet sulking in a damp winter pot. Overwatering ranks among the most common reasons overwintered plants decline, so a lighter hand pays off handsomely.
Before watering, push a finger about an inch into the soil and carefully feel for moisture. If it still feels cool and damp, wait a few more days and check again a bit later.
Water thoroughly when the top inch is dry, letting the extra drain freely out the bottom holes. Empty the saucer afterward, because roots sitting in standing water can rot surprisingly fast in cool rooms.
Terracotta pots are my favorite for this herb, since the porous clay lets extra moisture escape through the walls. Pair one with a gritty, fast-draining potting mix, and you have a much more forgiving setup.
Here’s something worth knowing about rosemary, too: the plant cannot easily recover once its roots dry out fully. So aim for a balance, avoiding soggy soil without letting the pot turn bone dry for weeks.
Outdoor plants need far less help, since winter rain usually handles the job nicely for in-ground rosemary. During a long dry spell, a modest drink on a mild afternoon helps evergreen foliage resist winter burn.
Indoor air can get quite dry once the furnace finally kicks on, and rosemary notices that change. Grouping it with other houseplants or setting it on a pebble tray adds a little welcome humidity.
6. Snip Fresh Rosemary Sprigs For The Winter Kitchen
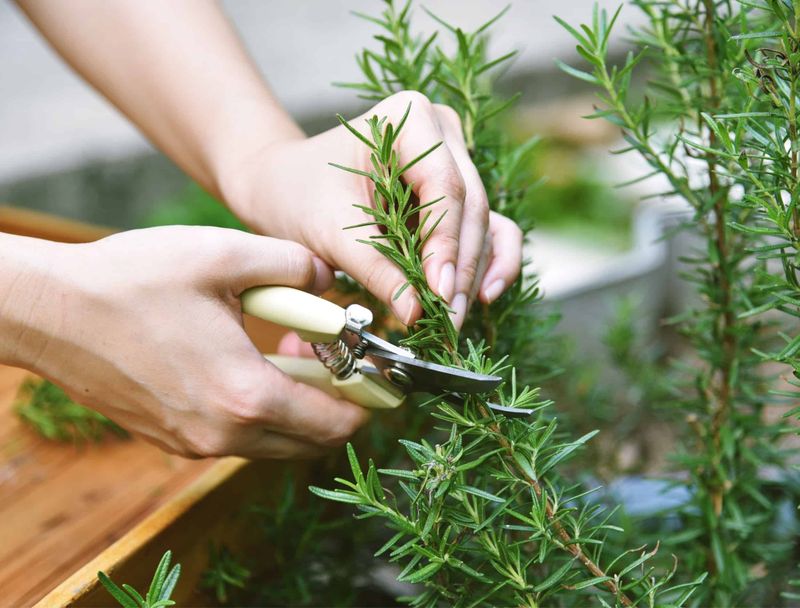
A handful of rosemary sprigs tossed onto roasting potatoes can make a gray November evening smell like a holiday. I find it hard to resist snipping a few extra stems whenever I wander past the herb bed.
Rosemary is an evergreen, so you can harvest it lightly through the winter, indoors or out. Still, heavy cutting now encourages tender new shoots that cold weather can easily damage in the weeks ahead.
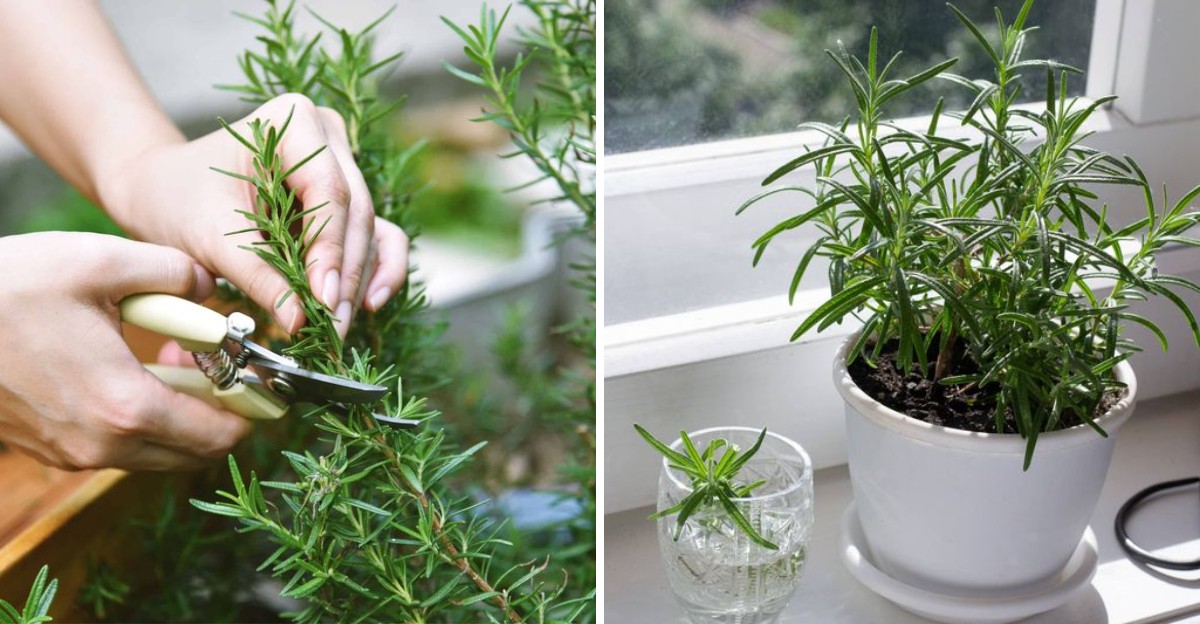
Use clean, sharp pruners and clip the soft green tips rather than chopping into older wood. Bare woody stems rarely sprout new growth, so cuts made too low can leave ugly gaps for months.
A good rule is to take no more than one third of the plant at one time. Leaving plenty of foliage behind helps the shrub keep feeding itself through short, chilly winter days ahead.
If you want a bigger stash, consider drying bundles of stems in a warm, airy spot indoors. Rosemary holds its flavor well after drying, which is not true for every leafy green kitchen herb.
Freezing works nicely too, especially if you pack chopped needles into ice cube trays with olive oil. Pop out a cube whenever a soup or stew needs a quick, piney boost of flavor.
Fun fact for your next dinner party, the herb was long linked with memory in old European folklore. Shakespeare even had Ophelia say that rosemary is for remembrance, a line that still charms herb lovers.
7. Root Rosemary Cuttings On A Bright Windowsill
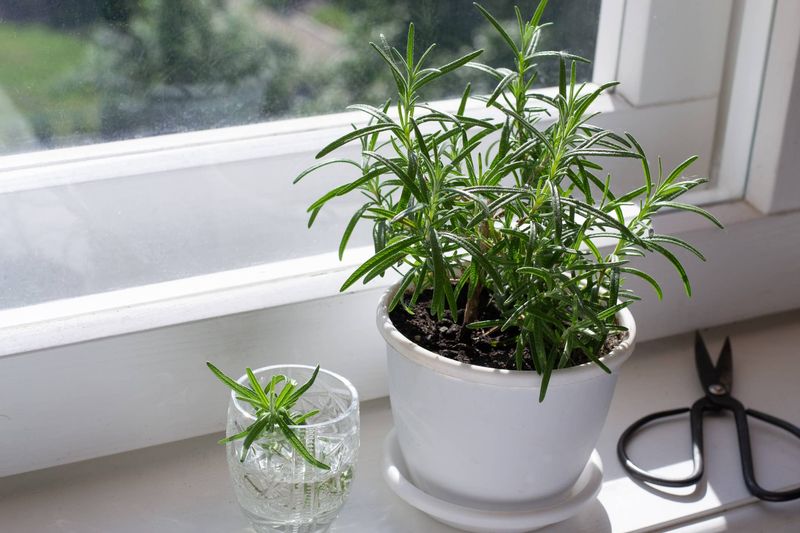
Turning one rosemary shrub into five or six new plants costs nothing more than a sharp knife and patience. I still get a thrill watching a tiny green twig quietly grow roots on a sunny kitchen windowsill.
Cuttings also act as cheap insurance, since a backup plant indoors can replace an outdoor shrub that struggles. Gardeners in the colder corners of Virginia find this trick especially handy after a rough, icy winter.
Snip pieces about four to six inches long from healthy stems that still feel flexible and green. Strip the needles from the bottom inch or two, leaving the top foliage in place to keep growing.
Dipping the cut ends in rooting hormone is optional, but it can speed things along for some gardeners. Push each stem into a small pot of coarse sand or a gritty seed starting mix.
Keep the mix lightly moist rather than soggy, since waterlogged cuttings tend to rot before roots can form. A clear plastic bag tented loosely over the pot holds in humidity without smothering the tender stems.
Set the pot in bright, indirect light, and open the bag every few days to let fresh air in. Roots usually appear within two to six weeks, though cooler rooms can stretch that timeline a bit.
A gentle tug that meets resistance tells you roots have formed and the cutting is settling in. Move each young plant into its own pot, then let it grow on until spring planting time arrives.