The One Hydrangea Chore Pennsylvania Gardeners Should Finish Before The Hard Freeze
The flowers you hope to see next July are already sitting on many of your shrubs right now. They are tucked inside fat little buds at the tips of bare, woody stems.
That surprised me the first time I learned it. A single bitter January night can undo a whole summer of blooms before spring even shows up.
Gardeners across Pennsylvania deal with wild swings in winter weather. One week the ground is frozen solid, and the next it turns to mud. Those ups and downs are rough on shallow roots and tender buds.
Personally, I used to think a tidy fall cleanup was enough. It turns out one quiet, easy task matters far more than raking every last leaf. Would you guess it costs almost nothing and takes less than an hour?
1. Those Fat Hydrangea Buds Are Hiding Next Summer’s Show
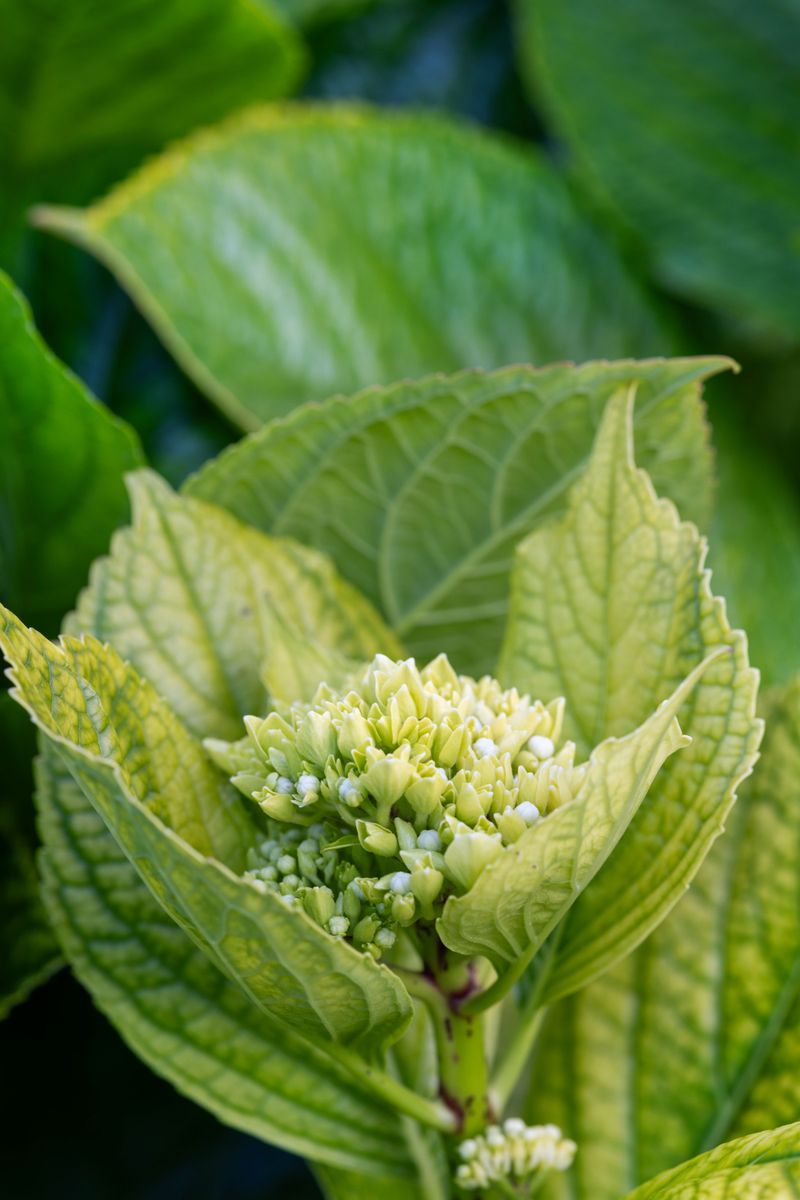
Walk outside and look closely at a bigleaf hydrangea after its leaves drop. You will spot plump buds sitting at the ends of the stems and along the upper nodes.
Those buds hold next year’s flowers. Bigleaf hydrangeas (Hydrangea macrophylla) and oakleaf hydrangeas set their flower buds in late summer and fall on the stems that grew this year. Gardeners call this blooming on old wood.
That detail explains why so many people end up with big green leafy shrubs and zero flowers. The plant itself made it through winter just fine, but the buds got zapped by cold or snipped off by mistake.
Root health matters too. Hydrangeas have fairly shallow roots, so they feel the sting of frozen, bare soil more than deep-rooted trees.
So what keeps both roots and plant steady through the cold months? The answer is surprisingly low-tech and probably already piled up somewhere in your yard.
Fun fact: the name hydrangea comes from Greek words meaning water vessel. It refers to the cup-shaped seed capsules, and it also fits how thirsty these shrubs are.
Knowing where those buds live changes how you treat the plant this time of year.
2. A Thick Mulch Blanket Around Your Hydrangea Is The Big Chore
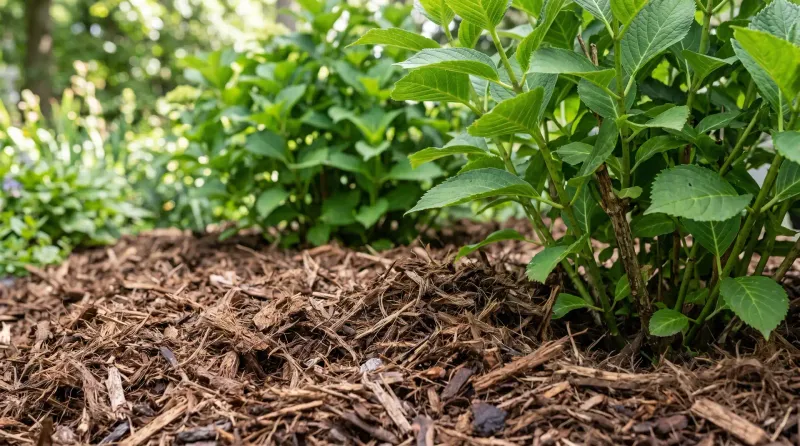
Mulch is the one chore worth finishing before the ground freezes hard. A deep layer around the base of each hydrangea acts like insulation for the root zone.
Here is how it helps. Bare soil in Pennsylvania often freezes, thaws, and refreezes many times in a single winter. That repeated movement, called frost heave, can lift shallow roots and even push young plants partly out of the ground.
A good mulch layer slows those temperature swings. The soil stays colder and steadier, which is what a dormant shrub actually wants.
Mulch also holds moisture in the soil. Winter wind and sun pull water from stems, and frozen ground makes it hard for roots to replace it. A covered root zone gives the plant a better water supply on milder days.
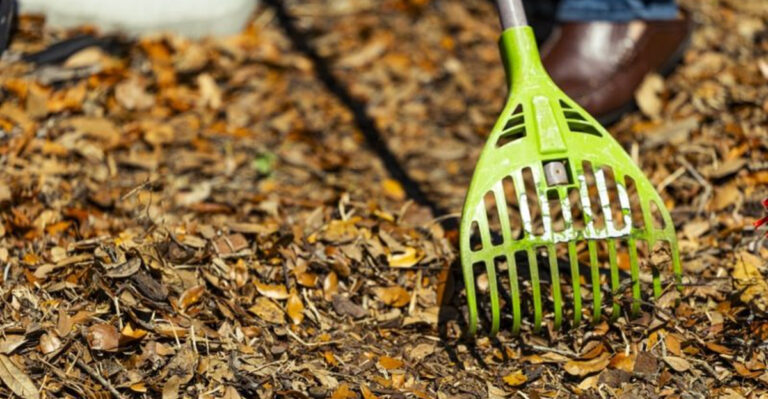
I like how simple this is. No fancy tools, no special products, just a rake, a wheelbarrow, and some shredded material.
Penn State Extension and many other university programs recommend winter mulch for shallow-rooted shrubs in cold areas.
Newly planted hydrangeas benefit the most, since their roots have had less time to spread out. Think of it as a cozy quilt rather than a heater.
3. Spread Mulch After The First Frost But Before Frozen Ground
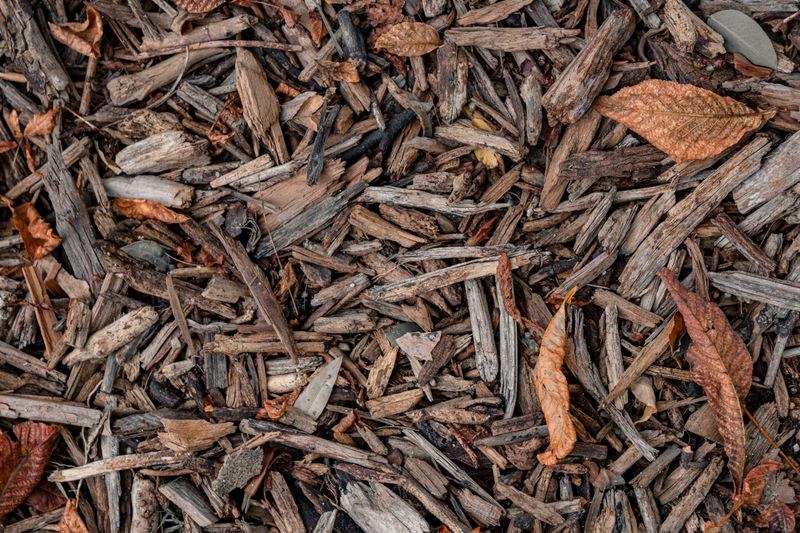
Timing can make or break this job. You want to spread winter mulch after a few light frosts have nudged your hydrangeas into dormancy, but before the soil freezes solid.
For much of Pennsylvania, that window usually falls from early November into early December.
The state stretches across USDA zones 5b through 7b, so mountain gardens in the north often need to move sooner than yards near Philadelphia or Pittsburgh’s river valleys.
Why not mulch in September? Heavy mulch on warm soil can keep things cozy for mice and voles looking for winter homes. It may also delay the plant’s natural slowdown.
Waiting too long brings its own trouble. Once the ground is rock hard, you lose the chance to tuck that cold in place, and frozen clumps make spreading messy.
A practical tip is to watch your local forecast for the first nights dipping into the low 20s. That hard freeze is your signal to finish up.
You can also check soil with a garden trowel. If it still slices in easily, you are right on time. Nature gives plenty of hints, so you rarely need a calendar alarm.
4. Shredded Leaves Make A Free Hydrangea Winter Mulch
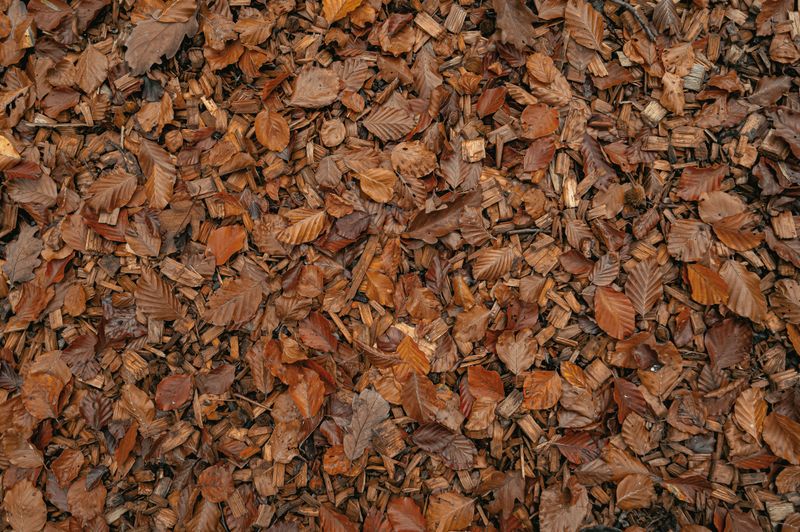
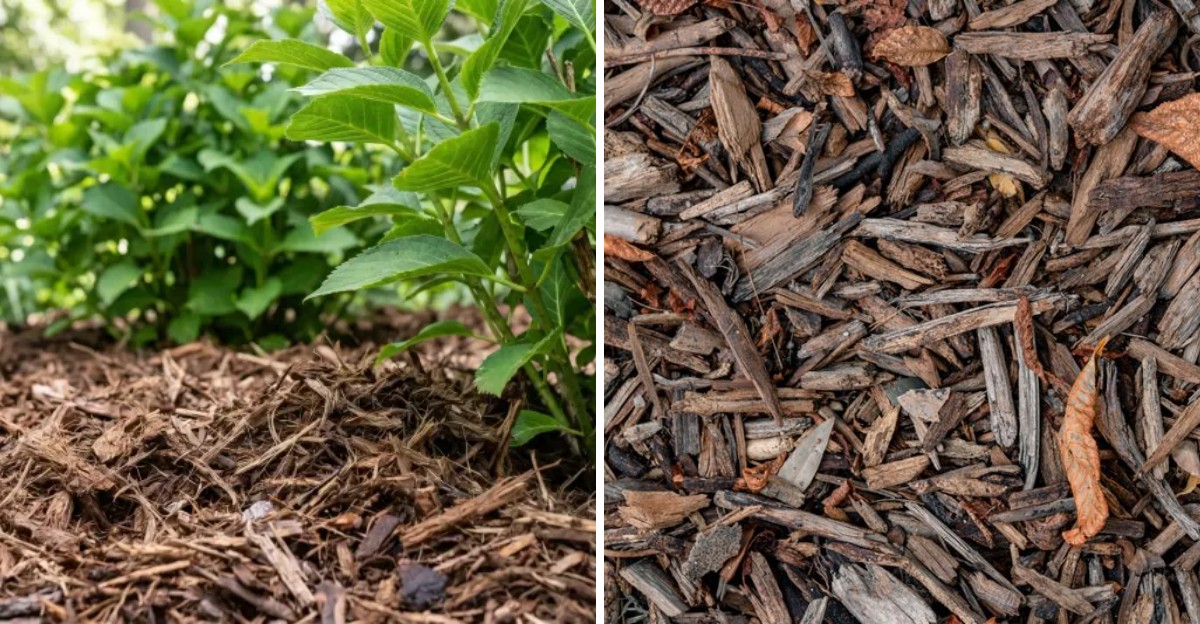
Those leaves you just raked could be the best gift your hydrangeas get all year. Shredded leaves are free, light, and break down into rich organic matter by spring.
Shredding matters, though. Whole maple leaves tend to mat into a soggy layer that blocks air and water.
Run them over with a mulching mower a couple of times, and they stay fluffy. Other good choices include:
Pine needles, which stay airy and drain well. Shredded hardwood or pine bark, which looks tidy and lasts a long time. Clean straw, which is light and easy to remove in spring.
Skip hay that may carry weed seeds. A seedy mulch can turn into a weeding headache next summer.
Personally, I mix shredded leaves with a thin topping of bark so the bed still looks neat from the street. Neighbors never guess most of it came from my lawn.
Fun fact: pine needles will not noticeably change your soil pH or flower color. That popular idea gets more credit than it deserves.
Whatever you choose, use material that is free of disease, chemicals, and invasive plant seeds.
5. Keep Mulch A Few Inches Away From Hydrangea Stems
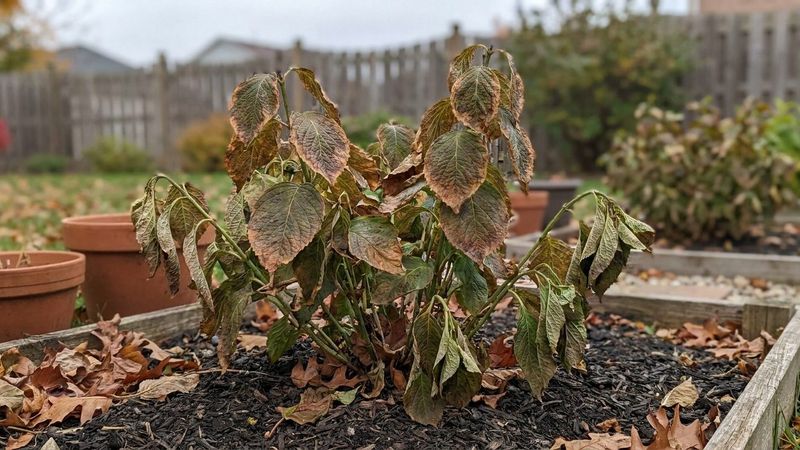
Depth and placement matter as much as the material. A layer about 4 to 6 inches deep over the root zone works well for most established hydrangeas.
Some gardeners in colder northern counties pile it up to around 8 inches for extra protection. Just avoid going overboard in heavy clay, which can stay soggy.
Spread the mulch out to the drip line, which is the edge of the branches. That covers most of the active roots.
Now for the detail that trips people up. Leave a gap of 2 or 3 inches between the mulch and the stems.
Mulch packed tight against bark traps moisture. That damp spot invites rot, fungal problems, and chewing rodents who love a hidden tunnel. Picture a donut, not a volcano. A ring of mulch with an open center is the shape you want.
One quick check helps. Push the mulch back with your gloved hand and make sure you can see bare soil right next to each stem.
If mice have been a problem before, wait until the ground is a bit colder to spread the final layer. They usually settle in elsewhere by then.
6. Give Hydrangeas A Deep Drink Before The Soil Freezes
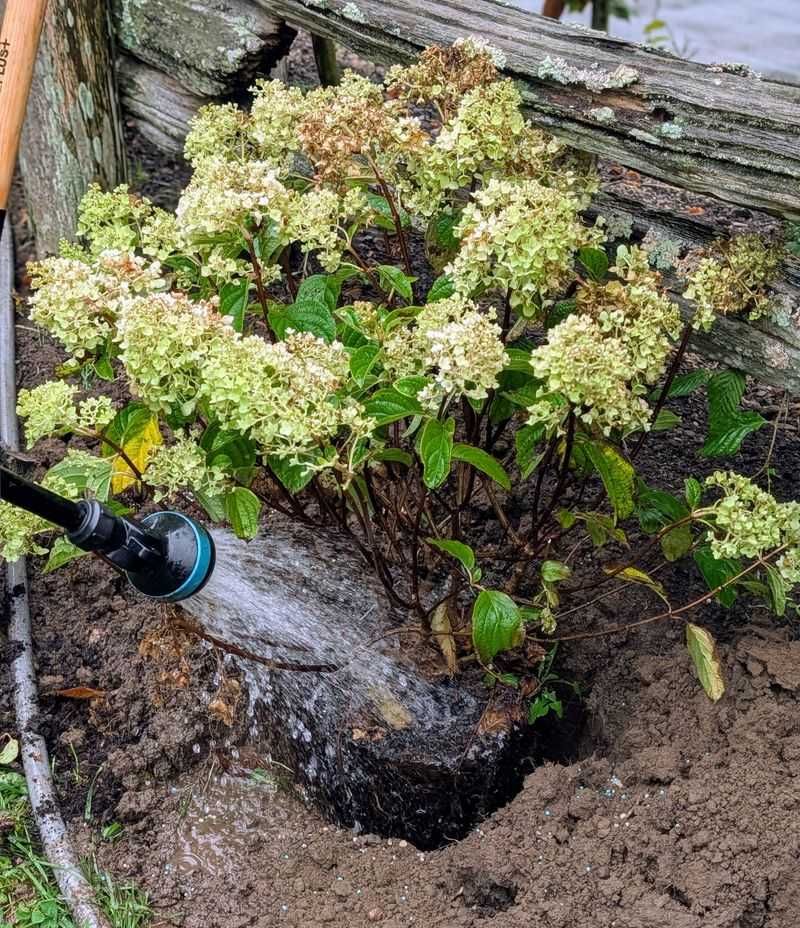
Thirsty shrubs head into winter at a disadvantage. If your fall has been dry, water hydrangeas deeply before you spread that mulch.
Hydrangeas lose water through their stems even while dormant. Once the ground freezes, roots cannot pull up much moisture, so starting winter well hydrated really helps.
A slow soak works better than a quick splash. Let a hose trickle at the base for 20 to 30 minutes, or use a soaker hose, so water sinks deep into the root zone.
Aim for soil that feels moist several inches down. Your finger or a trowel will tell you quickly.
Skip watering if the soil is already soggy from autumn rain. Soggy, cold roots can struggle just as much as dry ones. After soaking, lay the mulch right on top. It locks the moisture in like a lid on a pot.
Remember to drain and store your hose afterward. A forgotten hose left full can crack in the first deep freeze, and nobody wants that surprise in spring.
Container hydrangeas need extra attention, since pots dry out fast and freeze faster.
7. Put The Pruning Shears Down On Bigleaf Hydrangeas This Fall
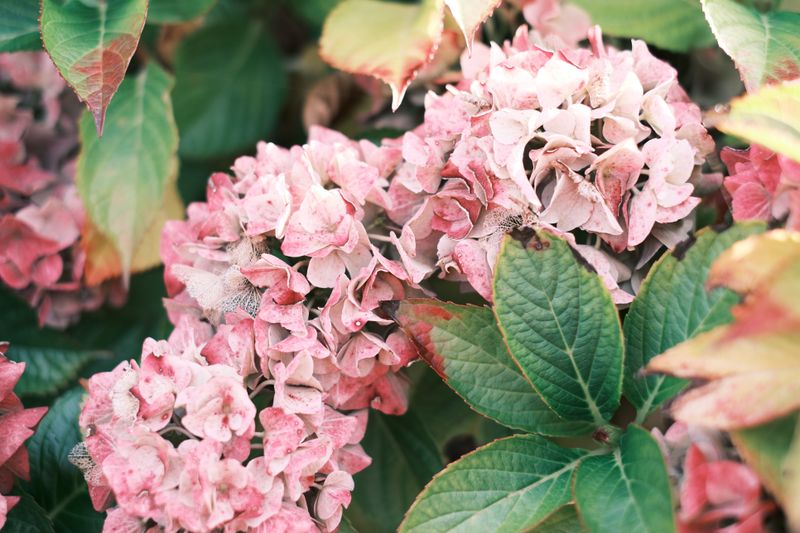
Fall cleanup fever is real, and I have felt it too. Still, cutting back bigleaf or oakleaf hydrangeas now often means snipping off next summer’s flowers.
Those old-wood bloomers already formed their buds. A hard fall trim removes them before they ever get a chance to open.
Leave the dried flower heads in place. Many gardeners believe they offer a bit of shelter to buds below, and they look lovely dusted with snow.
Panicle hydrangeas like Limelight and smooth hydrangeas like Annabelle are different. They bloom on new wood, so you can prune them in late winter or early spring without losing flowers.
Not sure which type you have? Mophead or lacecap flowers that turn pink or blue usually mean bigleaf. Cone-shaped white blooms usually point to panicle types.
Reblooming varieties such as the Endless Summer series can flower on both old and new wood. They are more forgiving, but light pruning in spring still works best.
The one safe fall cut is removing broken or clearly damaged stems. Save shaping for spring, after you can see where green buds are waking up.
8. Pull Back Hydrangea Mulch In Spring For A Strong Start
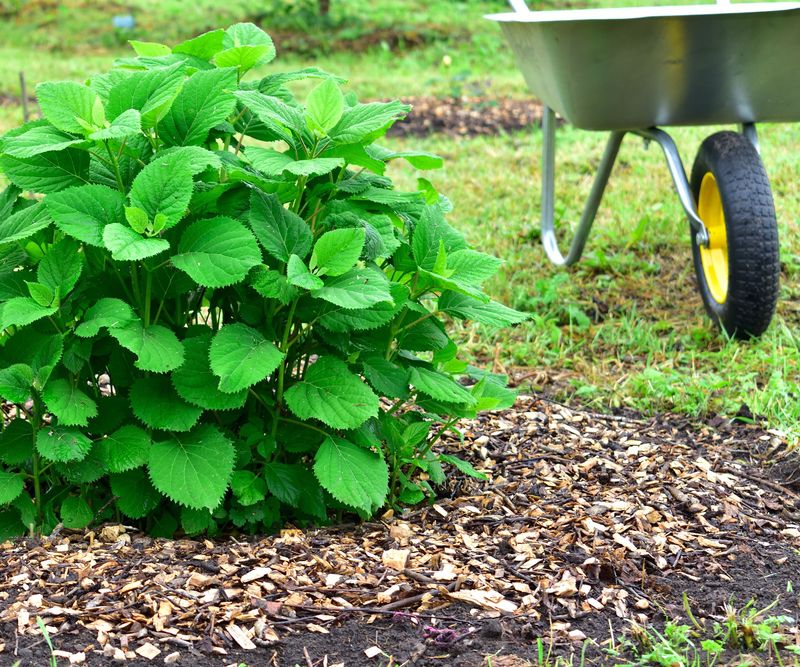
Winter mulch does its quiet work for months, then one spring morning you notice tiny green leaves popping out. That is your cue to check on it.
Once hard freezes are mostly behind you, usually in April across much of Pennsylvania, rake back some of the thickest mulch. A 2 to 3 inch layer can stay to hold moisture and calm weeds through summer.
Keep an eye on late spring frost warnings. Old-wood buds that just opened can get nipped, and an old bedsheet tossed over the shrub overnight helps a lot.
Spring is also a fine time to add a little compost. Hydrangeas rarely need heavy feeding, and too much fertilizer can mean lots of leaves with fewer blooms.
I believe this one fall habit pays off more than almost any other garden task. It takes an afternoon, uses free materials, and protects the plant you waited all year to enjoy.
Jot a note on your calendar for next November. Future you will appreciate the reminder when the first frosty mornings roll in and those buds are counting on you again.