7 Ways to Use Oak and Sycamore Leaves in a Virginia Garden This Month
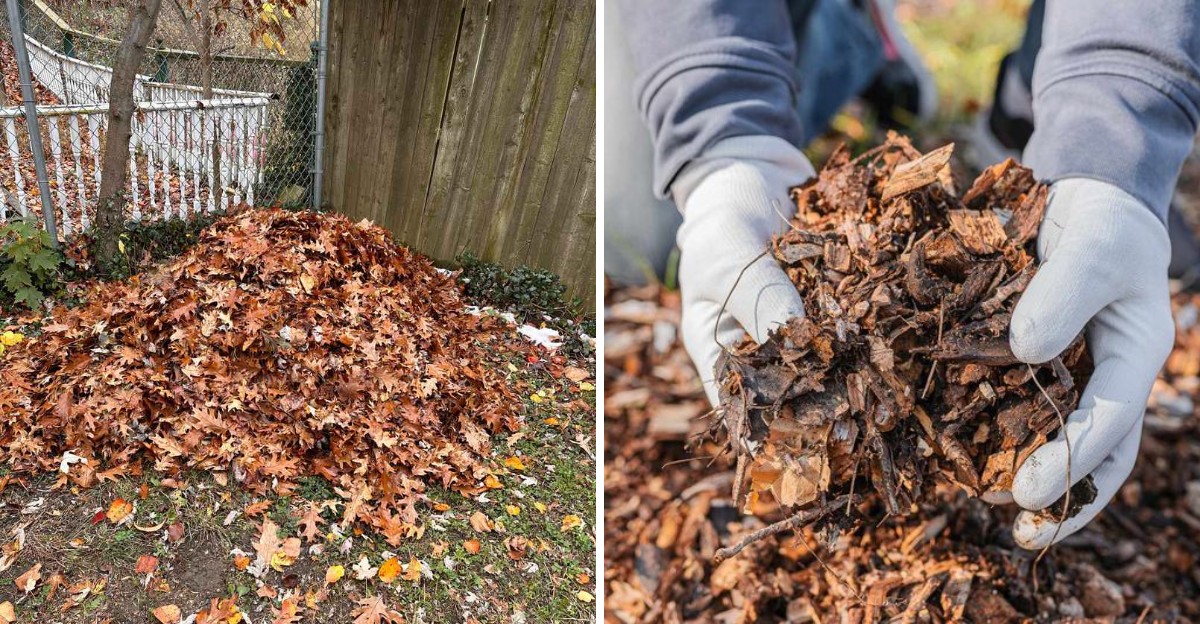
One tree genus feeds more than 500 kinds of caterpillars, and its leaves are probably piling up on your lawn right now. Those same leaves are tough and slow to rot, so plenty of Virginia gardeners end up bagging them in frustration.
Their messy neighbor is a big riverbank tree with leaves that can stretch wider than your open hand. Both are packed with lignin, which keeps them crunching underfoot long after softer maple leaves have melted away.
I love free garden supplies, and few things come cheaper than leaves that drop from the sky. Once you know a few tricks, that stubborn nature actually works in your favor.
Here in Virginia, late fall is prime time to put that crunchy pile to work before winter settles in. Why buy mulch when your own trees just delivered a full season’s supply for free?
1. Shredded Oak Leaf Mulch Tucks Garden Beds In For Winter
Running a mower over oak leaves sounds dull, but the brown confetti it leaves behind is garden gold. Those chopped bits settle into a fluffy layer that hugs your beds instead of matting down like whole leaves.
Whole oak and sycamore leaves are stiff and broad, so they tend to stack into a slick, soggy sheet. That mat can shed rainwater and smother small plants, which is the opposite of what you want.
Shredding fixes the problem fast, and one or two passes with a bagging mower usually does the job. A leaf vacuum with a shredder setting works too if your yard is small or sloped.
Spread the shreds three to six inches deep over perennial beds and around shrubs once the ground has cooled. Keep the mulch about six inches back from tree trunks and plant crowns to discourage rot and rodents.
I love how this layer evens out soil temperatures during those wild swings between sunny afternoons and frosty nights. Freeze and thaw cycles can heave shallow roots right out of the ground, especially in heavy clay soils.
Across much of Virginia, November is when extension experts suggest mulching beds to hold moisture and insulate soil. Your timing could hardly be better, since the trees are handing you the supplies right now.
By spring, the bottom of the layer will already be softening into dark, earthy material underneath. Just rake a fresh topping over it, and your beds keep improving year after year without extra cost.
2. Toss Crunchy Brown Leaves Into Your Compost Bin
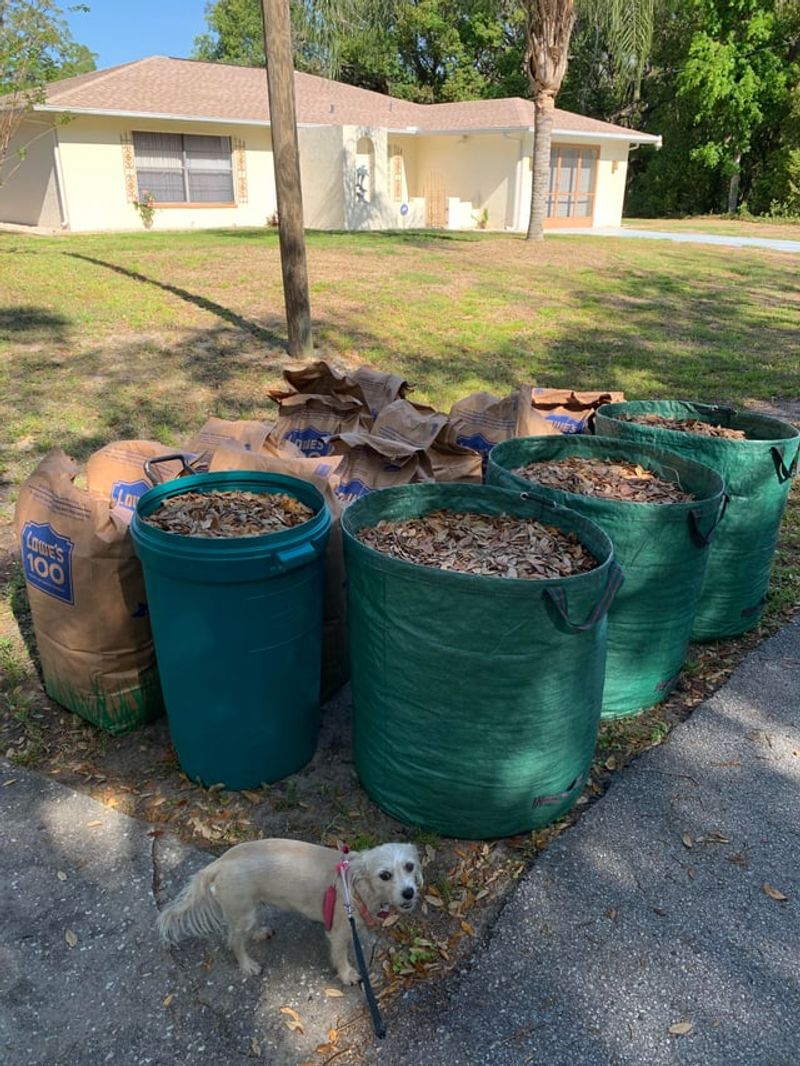
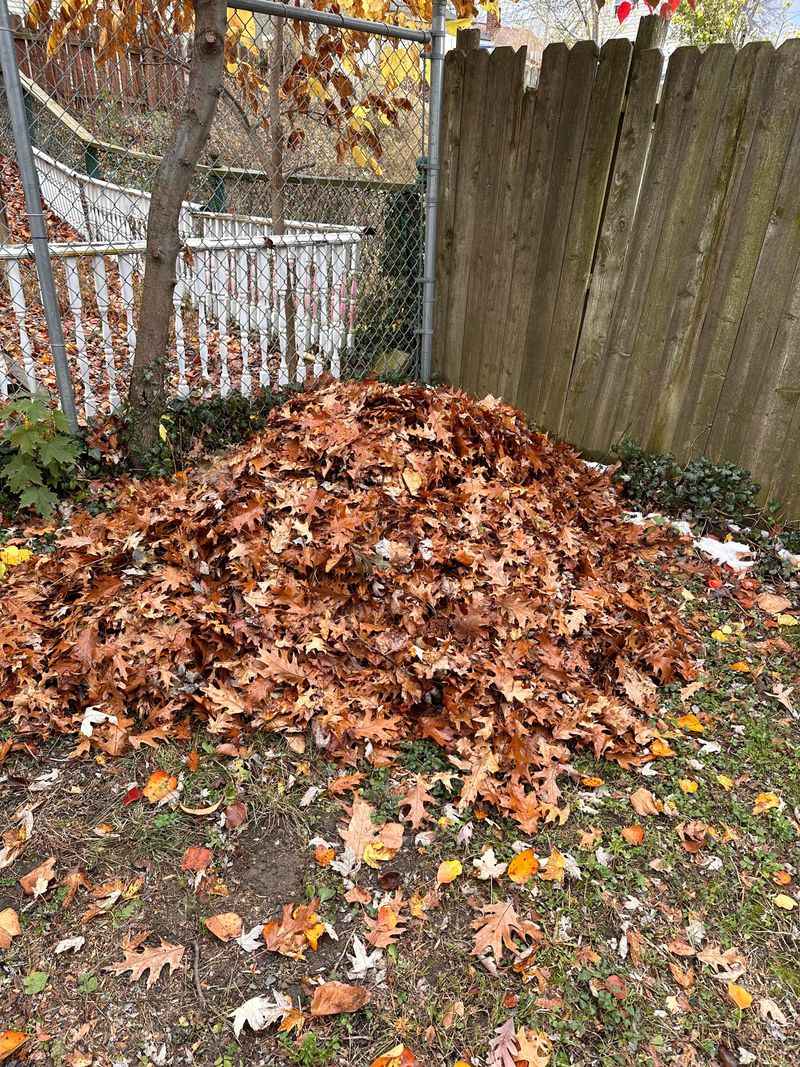
Every compost pile needs a steady diet of browns, and fallen oak leaves are about as brown as it gets. With a carbon to nitrogen ratio near 60 to 1, they bring plenty of carbon to the party.
Microbes work fastest when the overall mix sits closer to 30 to 1, so leaves need some green partners. Grass clippings, kitchen scraps, coffee grounds, and seed-free weeds supply that missing nitrogen nicely.
A simple rule I follow is about two or three buckets of leaves for every bucket of greens. It is not exact science, but it keeps the pile from turning slimy or sitting cold for months.
Shred the leaves first whenever you can, because whole oak and sycamore leaves can linger for two years or more. Chopped leaves in a moist, turned pile often finish in roughly six months to a year or so.
Plenty of gardeners worry that tannin-rich oak leaves will turn their compost sour and harm their vegetable beds. Fresh leaves start out mildly acidic, yet finished compost usually lands near neutral, around pH 6 to 8.
Keep the pile about as damp as a wrung-out sponge, and give it a turn every couple of weeks. Even in chilly weather, a well-built pile may steam a little when you open it with a fork.
Stockpile a few extra bags of dry leaves beside the bin for later in the year. Come summer, when grass clippings pile up, you will have the perfect brown partner waiting and ready to mix.
3. Bag Sycamore Leaves Now For Dark Crumbly Leaf Mold
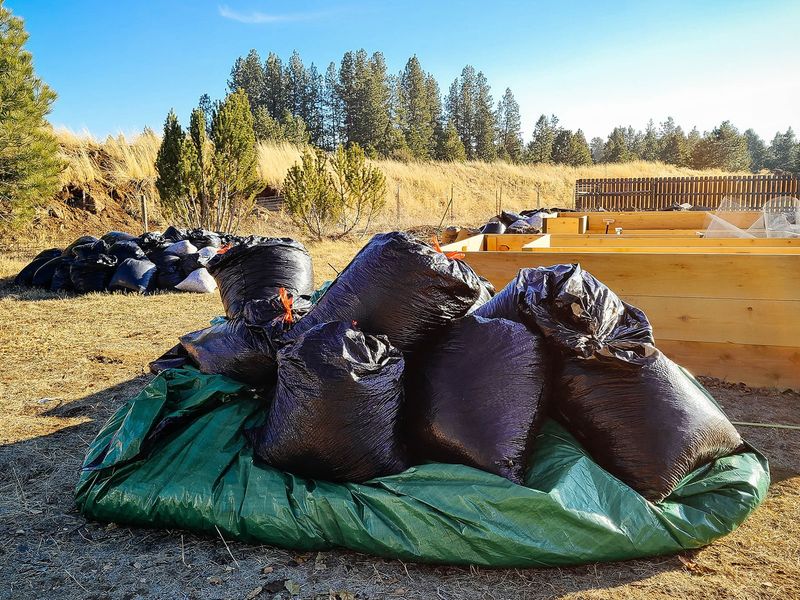
Gardeners in England have prized leaf mold for generations, and it is easy to see why once you handle some. The finished stuff smells like a forest floor after rain and crumbles between your fingers like chocolate cake.
Unlike regular compost, leaf mold is made almost only from leaves and broken down mostly by fungi. That cool, slow process works fine with tough sycamore and oak leaves, as long as you stay patient.
The method could not be simpler, which is part of the charm for busy or lazy gardeners like me. Fill a wire bin or a few heavy plastic bags with leaves, then poke some holes for air.
Wet the leaves until they feel like a damp sponge, but stop before water pools at the bottom. Tuck the bags behind the shed or in a shady corner, and let the fungi handle the hard work.
Shredded leaves can turn into usable leaf mold in about six to twelve months under decent conditions. Whole leaves often take one to two years, so chopping them now saves you a full season of waiting.
Leaf mold is not a big nutrient source, but it shines as a soil conditioner and moisture sponge. Some sources say it holds several times its own weight in water, which helps sandy soils during summer droughts.
It also loosens heavy clay, which is welcome relief for anyone digging in red Piedmont soil. Mix it into potting soil or planting holes next year, and you will notice the difference quickly.
4. Dig Chopped Leaves Into Vegetable Beds To Feed The Soil
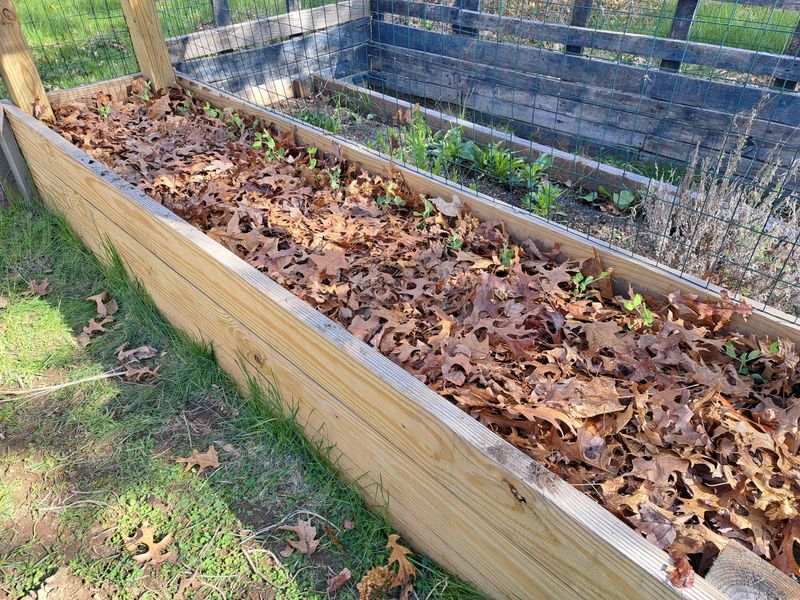
Earthworms treat chopped leaves like an all-you-can-eat buffet, and they happily do your tilling for free. You can often spot their little castings on the surface just weeks after the leaves go down.
Working shredded leaves into empty vegetable beds this month adds organic matter right where next year’s crops will grow. That extra material improves drainage in heavy soil and helps lighter soil hang on to moisture.
Aim to mix a two or three inch layer of shredded leaves into the top few inches of soil. A garden fork or broadfork works well, and you skip the heavy tilling that disturbs soil life.
One catch deserves attention before you go wild and bury every leaf from the yard in your beds. Soil microbes borrow nitrogen while they chew through carbon-rich leaves, a process often called nitrogen tie-up.
That borrowed nitrogen returns later, but seedlings planted too soon can look pale and hungry in the meantime. Adding a sprinkle of balanced organic fertilizer or aged manure with the leaves helps even things out.
Fall incorporation gives the leaves several months to break down before spring planting in most of Virginia. By the time you set out peas or lettuce, much of that tie-up should have eased considerably.
I like to save one bed for an experiment each year, adding leaves to half and leaving the rest alone. The difference in soil texture after a couple of seasons is often surprisingly easy to see and feel.
5. Pile Dry Leaves Around Tender Shrubs Like A Winter Blanket
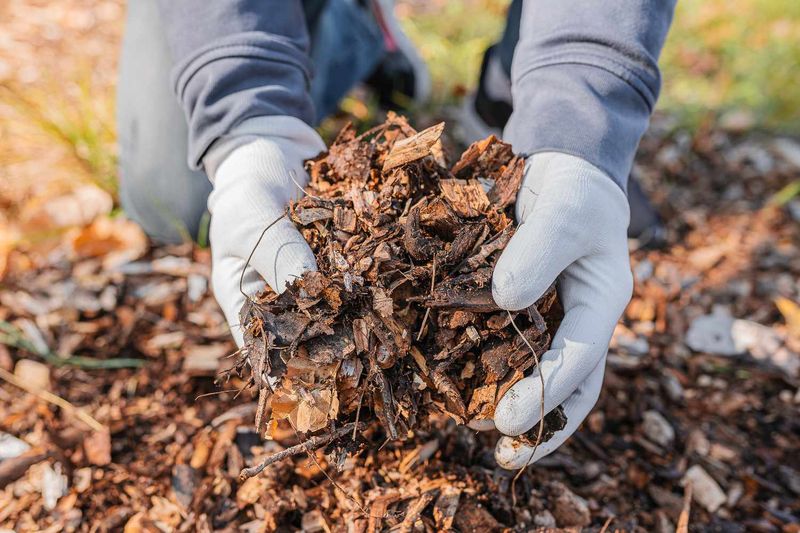
Fig trees and other borderline plants often sulk through a hard winter, and a puffy jacket of leaves can help. Dry leaves trap air between them, and that trapped air acts a lot like insulation inside your attic.
This trick matters most for plants pushing their hardiness limits, like a zone 8 shrub growing in a zone 7 yard. Virginia stretches from about zone 5b in the mountains to 8b near the coast, so your risk varies.
Start by circling the plant with a loose cage of chicken wire or burlap staked firmly into the ground. Fill the cage with dry oak or sycamore leaves, packing them gently around the base and lower stems.
Oak leaves are especially handy here because their stiff, curled shape resists packing down into a soggy mass. They hold their loft for weeks, which keeps those air pockets working on the coldest nights.
Dryness matters more than you might expect, since wet leaves sitting against a crown can invite rot and fungal trouble. Gather leaves after a few sunny days, and toss out any soggy clumps before filling the cage.
Wait until the plant has gone dormant and the first hard freezes have arrived before you wrap it up. Covering too early can keep stems soft instead of letting them toughen up naturally for the cold months.
In early spring, once the threat of hard freezes passes, pull the leaves away so new shoots get sun. Spread those used leaves across a nearby bed, and they will keep working as mulch all season long.
6. Leave A Leaf Pile For Bumblebee Queens And Toads
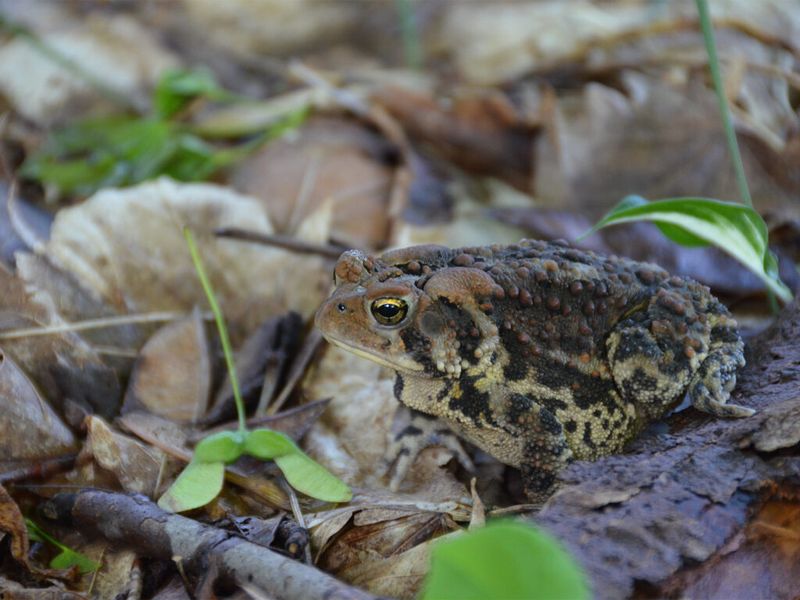
A queen bumblebee spends the winter alone in a shallow burrow, often under a cozy blanket of fallen leaves. When you leave some leaves in place, you are basically leaving the porch light on for next spring’s pollinators.
Plenty of moth and butterfly caterpillars also ride out the cold season in leaf litter as pupae or cocoons. Luna moth cocoons, for example, often drop to the ground and spend winter hidden among the leaves.
Beetles, spiders, millipedes, and salamanders depend on that layer for food and shelter through the colder months. Toads may dig in nearby too, and towhees love scratching through leaf litter for tasty snacks.
Oaks matter here in a big way, since Doug Tallamy’s research shows they host hundreds of caterpillar species. Those caterpillars feed nesting songbirds in spring, so the whole backyard food web gets a real boost.
You do not need to turn your whole yard into a forest floor to help these little creatures. Pick a spot or two under shrubs or along a back fence line where leaves can simply stay put.
Whole leaves usually make better shelter than finely shredded ones, so skip the mower in those wild corners. Local programs in Northern Virginia and Chesapeake have encouraged residents to leave leaves for wildlife habitat.
I find it oddly satisfying to have a valid excuse for skipping some raking this month. Hold off on tidying those spots until spring nights stay reliably warm, giving sleepy insects time to emerge.
7. Smother Spring Weeds With A Thick Layer Of Shredded Leaves
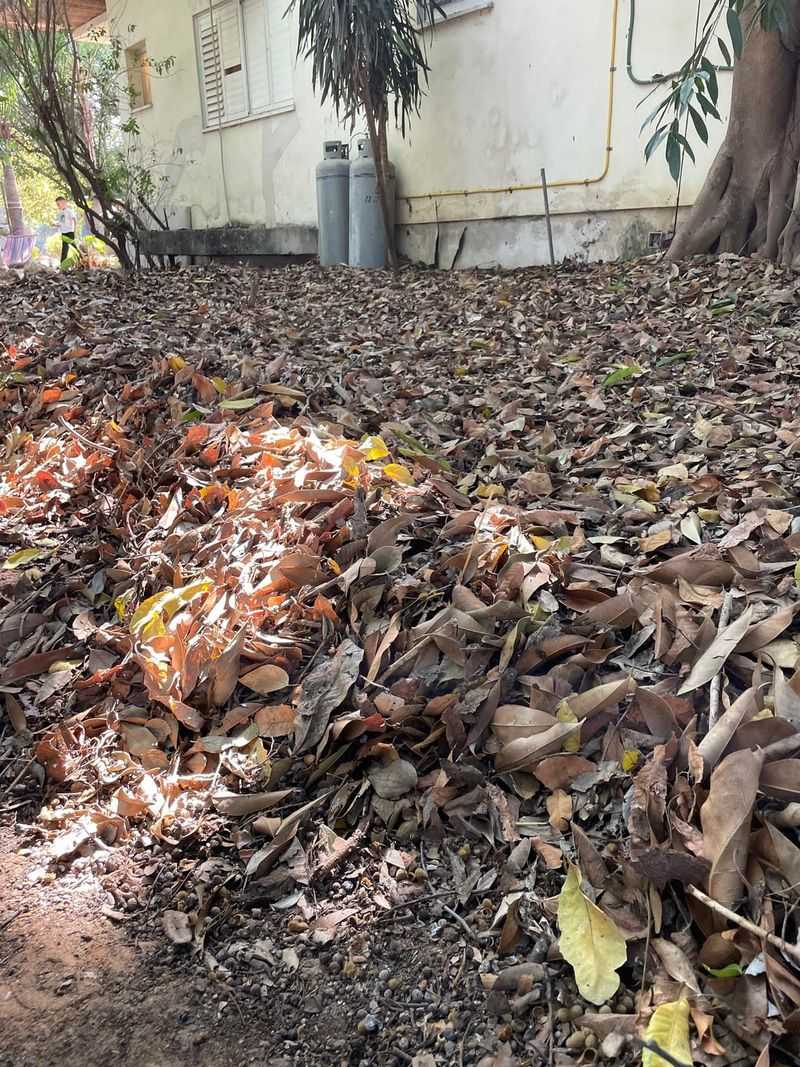
Chickweed and henbit are probably already sprouting in your bare beds, and they will flower before most plants wake up. A thick layer of shredded leaves blocks the light those sneaky winter weeds need to get going.
Many small weed seeds need sunlight to sprout, so shading the soil surface stops plenty of them early. A layer three to five inches deep works well for beds and paths that tend to fill with weeds.
Shred the leaves first, because whole oak and sycamore leaves can form a tough mat that sheds water. Chopped leaves knit together loosely, letting rain soak through while still keeping the soil surface dark.
Pull any weeds that are already up before you spread the leaves, since established plants can push through. For tough spots, lay a sheet of plain cardboard down first and pile the leaves on top of it.
Leaf mulch will not stop deep-rooted perennial weeds, so watch for bindweed and wild onion in spring. Spot pulling a few stragglers beats weeding a whole bed on your hands and knees in April.
Over the winter, the bottom layer slowly breaks down and feeds the soil with fresh organic matter. That means your weed barrier doubles as a slow soil builder, something plastic landscape fabric simply cannot offer.
Top up any thin spots in late winter, since wind and hungry birds tend to scatter leaves around. By spring, you will likely spend far less time on your knees pulling weeds from those tidy beds.