Root Your Holiday Holly And Boxwood Trimmings In Your North Carolina Garden Instead Of Tossing Them
Those green sprigs on your mantel are still alive. Cut evergreen stems can hold on for weeks indoors, quietly waiting for a chance to grow roots.
I used to haul every wreath scrap and mantel swag straight to the curb in January. Then a stray twig left in a damp pot surprised me with tiny white roots by spring.
North Carolina gardeners have a real advantage here. Our winters are mild enough in much of the state that slow-rooting evergreens can sit outdoors in a sheltered spot. Extension experts even list winter as a fine time to take hardwood cuttings from broadleaf evergreens.
So why pay nursery prices for new shrubs? A handful of holiday clippings, a bag of potting mix, and some patience might fill that bare corner by your porch. Which trimmings deserve a second chance, and which belong in the compost bin?
Those Holly Sprigs On Your Mantel Have A Hidden Second Act
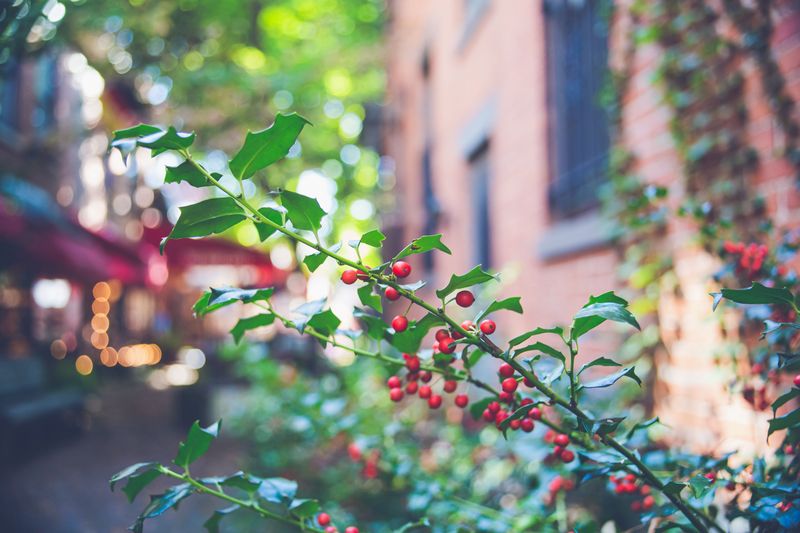
Call me sentimental, but tossing holly after the holidays always felt wasteful. Those glossy branches are not just decorations. They are living stems that can still form roots under the right conditions.
Hollies and boxwoods are both broadleaf evergreens. NC State Extension notes that this group is often propagated from semi-hardwood or hardwood cuttings, and winter is one of the accepted windows. Late November through February works for many hollies, because the stems have firmed up and the plant is resting.
There is a catch, though. Freshness matters a lot. Greenery that sat in a hot, dry living room for a month is often too far gone. Stems that were cut recently and kept cool, perhaps in a garage or on a shady porch, have a much better chance.
Before you start, sort your pile. Keep firm, green, healthy pieces with bright leaves. Toss anything brown, brittle, moldy, or spray-painted with glitter or artificial snow.
One more tip worth knowing. Most hollies are male or female plants, and berries only appear on females. If you want berries later, root those berry-laden pieces, and remember a male holly nearby helps with pollination.
Pick Pencil-Thick Boxwood And Holly Stems For The Best Odds
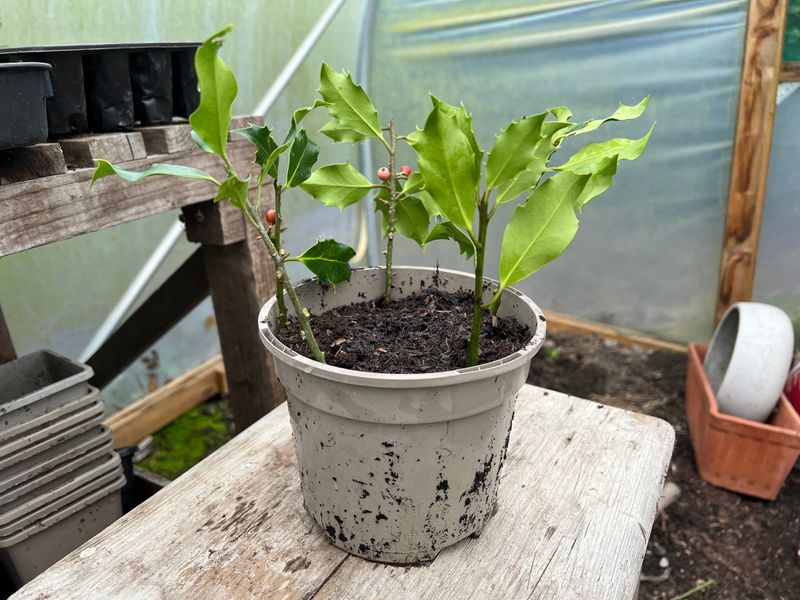
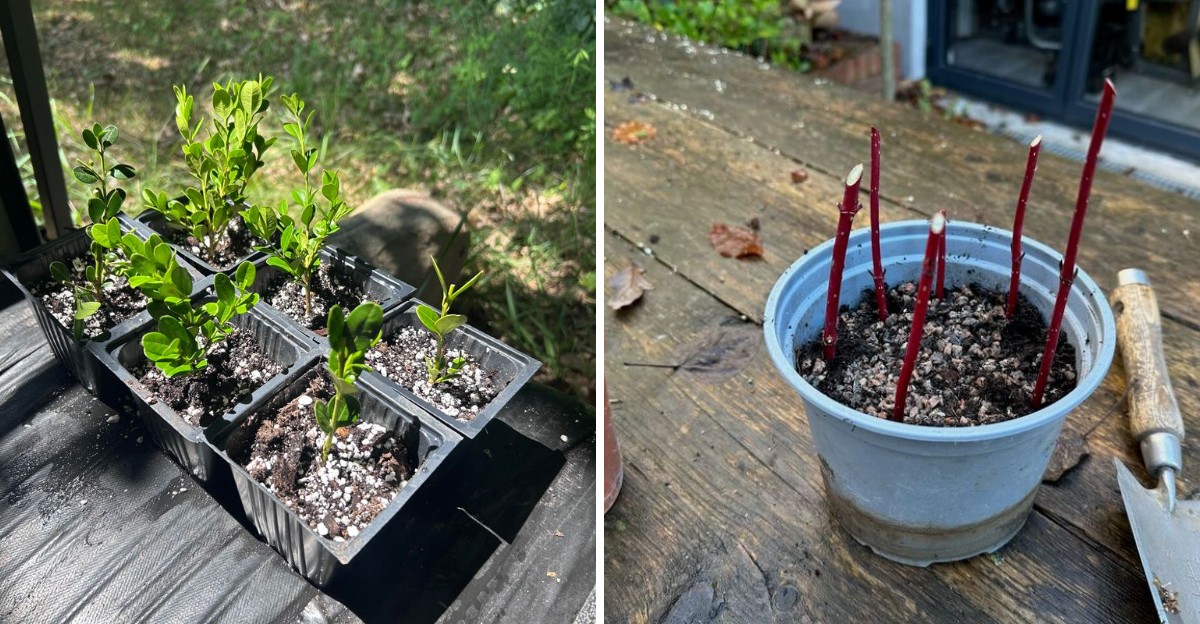
Size really does count when you choose cuttings. Aim for stems roughly as thick as a pencil and about 4 to 6 inches long, taken from this year’s growth.
Use clean, sharp pruners to make a fresh cut just below a leaf node. Nodes are the small bumps where leaves attach, and they are packed with cells ready to become roots. A crushed, ragged end from dull blades tends to rot instead.
Next, strip the leaves from the bottom half of each stem. Leave a few leaves near the top so the cutting can still make food. With large holly leaves, I trim the remaining ones in half to cut down on water loss.
Many propagators also make a light wound on holly stems. Simply scrape a thin strip of bark, about an inch long, from one side near the base. Research from nursery growers shows this can help hard-to-root hollies form roots more evenly.
Work quickly once you start cutting. Drop finished cuttings into a plastic bag with a damp paper towel so they stay crisp. A cutting that wilts on the potting bench loses energy it needs for rooting later.
A Little Rooting Hormone Gives Stubborn Holly Cuttings A Push
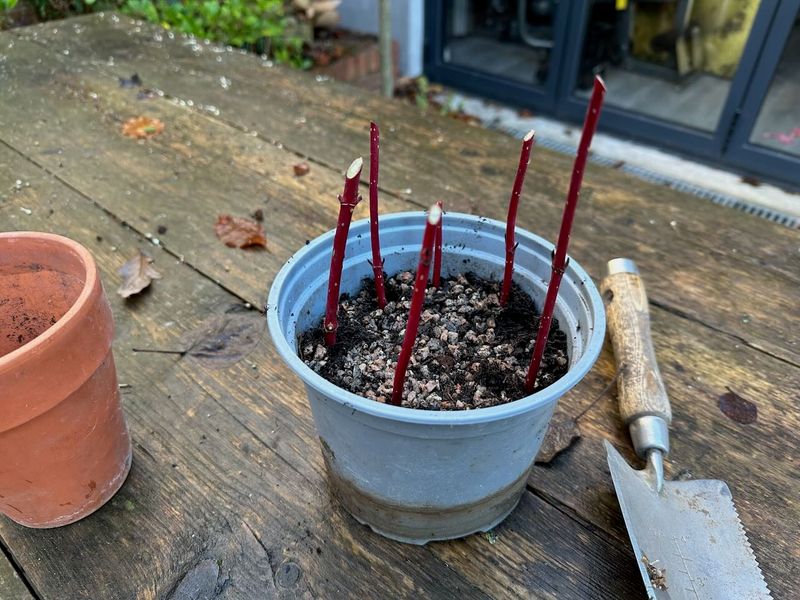
Holly is famous for being slow and a bit stubborn about rooting. Boxwood is usually more cooperative, yet both appreciate a little help from rooting hormone.
Rooting hormone contains synthetic auxin, often IBA, which is a plant growth compound. You can find powders and gels at most garden centers in North Carolina. Products labeled for semi-hardwood or woody cuttings usually have a stronger concentration, which suits these tougher stems.
The method is simple. Dip the base of each stem in water, tap off the extra, then roll it lightly in the powder. Shake off any thick clumps, since more is not better here.
Pour a small amount into a separate dish rather than dipping straight into the container. That habit keeps diseases from spreading into your whole supply.
Now grab a pencil or chopstick. Poke a hole in pre-moistened potting mix and slide the cutting in so the powder stays on the stem. Firm the mix gently around it for good contact.
Bury about one third to one half of the stem. A couple of nodes under the surface gives roots more places to start.
Build A Humid Mini Greenhouse For Your Evergreen Cuttings
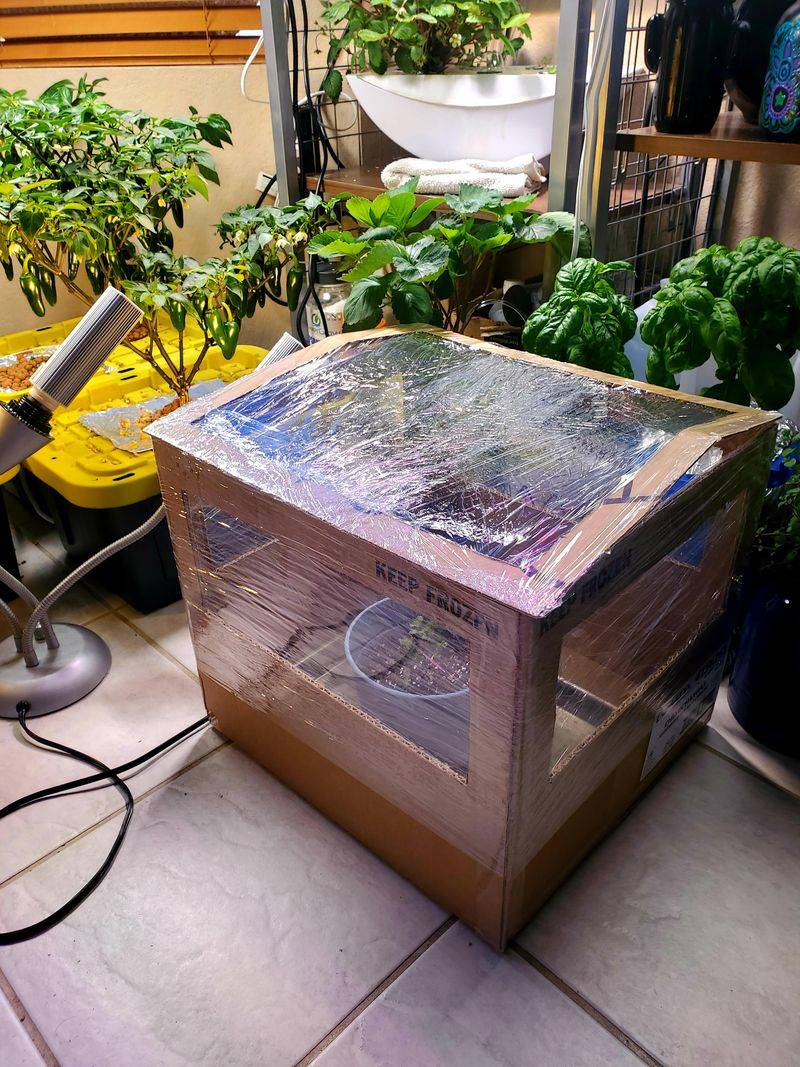
Cuttings have no roots, so they cannot drink much water. Your job is to keep the air around them moist so their leaves do not dry out.
Start with a light, airy mix. Equal parts perlite and peat moss or coir works well, and so does a coarse sand blend. Skip garden soil, which holds too much water, and heavy fertilizer, which can burn tender new roots.
Next, cover the pot or tray with a clear plastic bag or a humidity dome. Prop it up with sticks so plastic does not rest on the leaves. Open it every few days for fresh air, which helps prevent mold and fungus.
Light matters too. Bright, indirect light is ideal, such as a north-facing window, a covered porch, or a spot under tall trees. Direct sun inside a plastic cover can heat things up quickly.
Check moisture with your finger once or twice a week. The mix should feel like a wrung-out sponge, damp but never soggy.
Some patient gardeners skip pots and use a shaded cold frame instead. It holds humidity nicely and requires less fuss.
Boxwood Roots Faster While Holly Takes Its Sweet Time
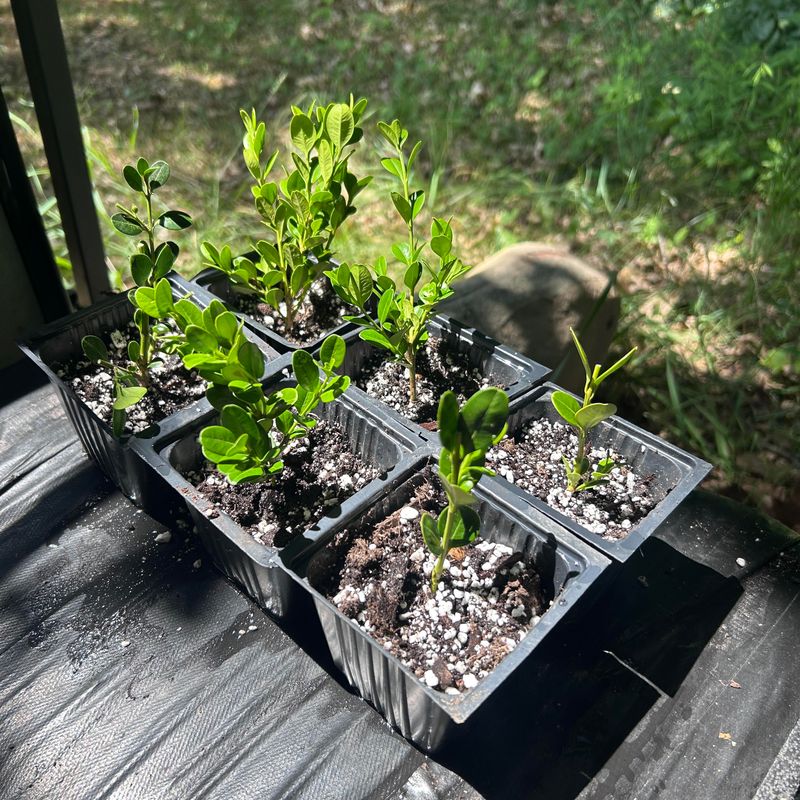
Patience is not optional with this project. Rooting times vary a lot, and that surprises plenty of first-timers.
Boxwood cuttings taken in late fall or winter often root within two to three months, sometimes sooner with gentle bottom heat. Holly is a slower friend. Some types, like many Japanese and hybrid hollies, root fairly well, while American holly can take many months and may not root at all.
Resist the urge to yank cuttings out every week. Tugging tears the delicate young roots and sets them back. Instead, give a very light tug after a couple of months and feel for gentle resistance.
Other clues help, too. New leaves at the tip or white roots peeking through the drainage holes are cheerful signs.
Expect some losses along the way. Even professional growers rarely see every cutting succeed, so start more than you need. If you hope for three new shrubs, pot up ten or twelve cuttings.
Leaves that turn yellow and drop are a warning sign. Pull those stems out so rot does not spread to their neighbors in the tray.
Mountain Freezes And Coastal Warmth Change Where Cuttings Should Sit
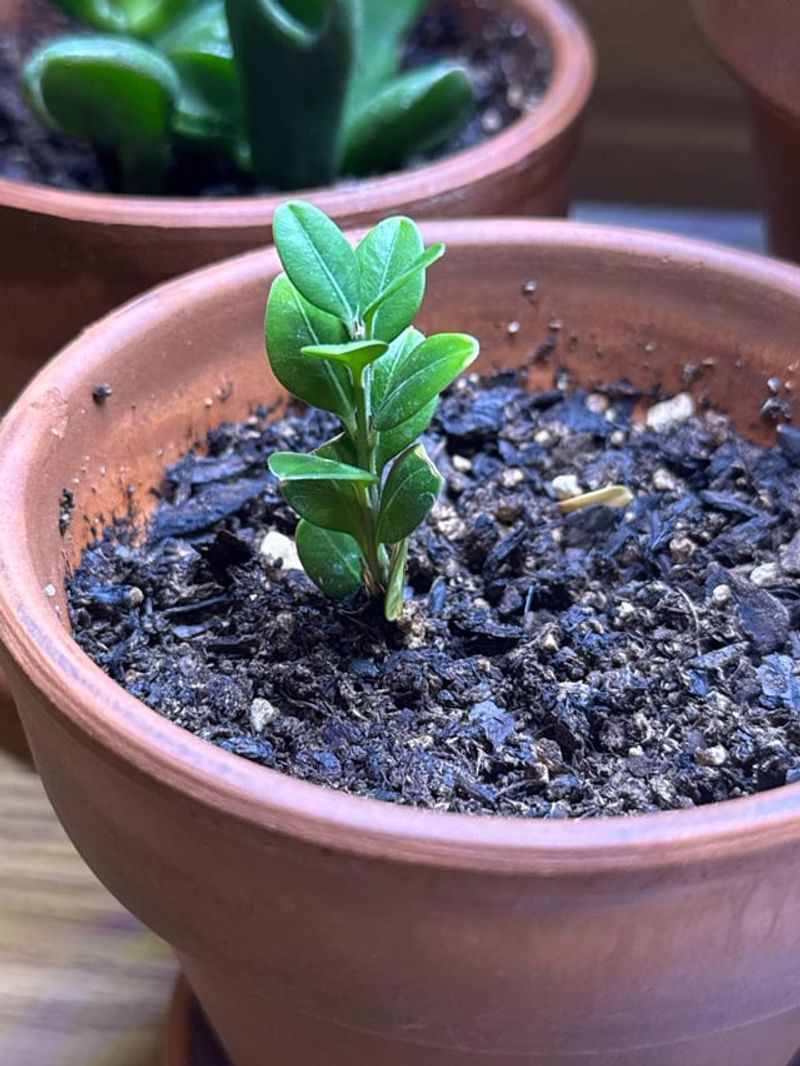
North Carolina stretches from chilly mountain ridges to the mild coast. That spread, roughly USDA zones 6a to 8b, changes how you protect young cuttings in winter.
Down east and across much of the Piedmont, a sheltered, shady spot outdoors often works fine. Tuck pots against the north side of the house or under an evergreen tree. Group them close together so they share warmth.
In the mountains, nights can drop well below freezing for days at a time. Small pots freeze solid much faster than ground soil does. An unheated garage with a window, a cold frame, or a cool porch keeps cuttings safer there.
Watch the forecast during cold snaps statewide. On nights in the teens, cover pots with frost cloth or move them indoors briefly.
Skip warm, dry rooms inside the house. Indoor heat and low humidity stress cuttings far more than steady cool weather does. They prefer temperatures in the 40s to 60s while rooting.
A layer of pine straw or shredded leaves around the pots adds extra insulation. It also costs nothing, which fits the thrifty spirit of this project nicely.
Watch For Boxwood Blight Before You Root Those Clippings
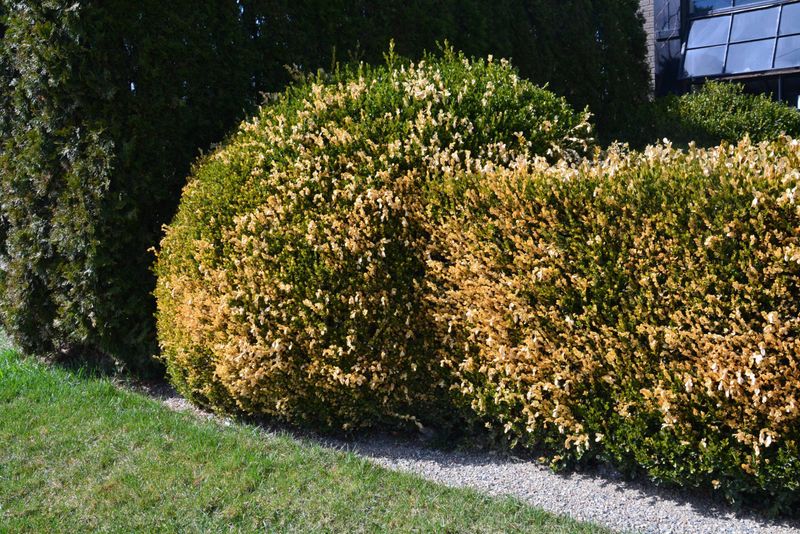
Fair warning on this one. Boxwood blight has turned up in many North Carolina counties, and infected cuttings can carry it into your yard.
NC State Extension describes the signs clearly. Look for dark brown or tan spots on leaves, black streaks on green stems, and sudden leaf drop. The fungus spreads in warm, humid weather, and it can hitch a ride on tools, gloves, and plant debris.
Store-bought wreaths and garlands are the riskiest source. You often have no idea where that greenery came from. Clippings from your own healthy shrubs are a much safer bet.
If anything looks suspicious, do not compost it. Bag the material and put it in the trash instead. Then clean your pruners with rubbing alcohol or a diluted bleach solution.
Hollies face fewer serious threats, yet they are not trouble-free. Check for scale insects, which look like tiny bumps on stems and leaf undersides.
Your local county Extension office can help identify a strange spot or streak. Many offices accept plant samples for the NC State Plant Disease and Insect Clinic. That small step can protect every shrub on your street.
Move Your Rooted Hollies And Boxwoods Into The Garden In Fall
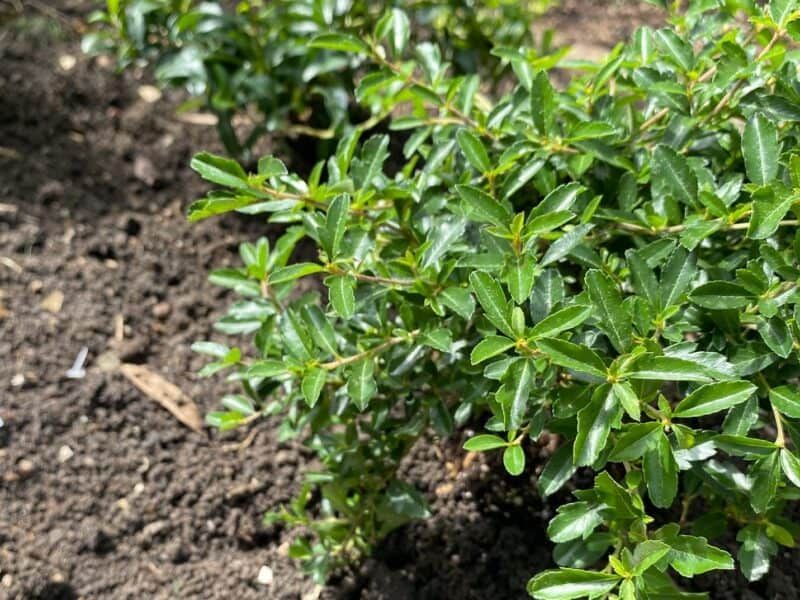
Few gardening moments beat spotting fresh roots on something you saved from the trash. Once that happens, the next steps are easy.
Pot each rooted cutting into its own container with regular potting mix. Keep the young plants in light shade at first. Over a couple of weeks, slowly give them more sun so leaves do not scorch.
Hold off on planting in the ground right away. Small plants usually benefit from growing in pots through summer, with regular watering and a light dose of slow-release fertilizer.
Fall is the sweet spot for planting in North Carolina. Extension experts recommend fall for trees and shrubs because cool air and warm soil help roots settle in before summer heat returns.
Pick a site with well-drained soil, since both shrubs dislike soggy feet. Boxwoods handle part shade nicely. Most hollies produce more berries with more sun.
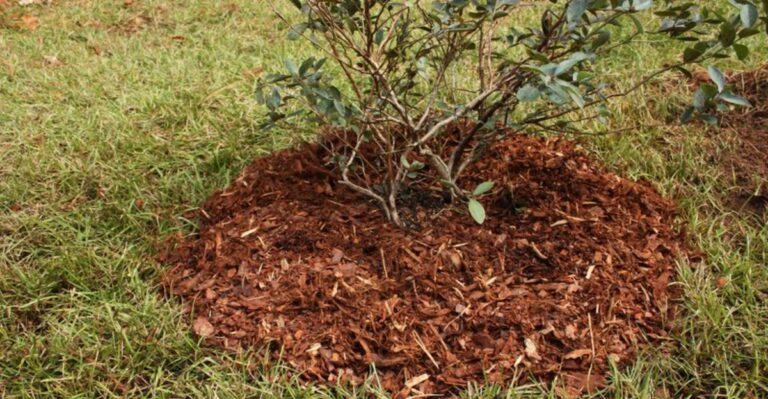
Spread two to three inches of mulch, keeping it away from the stems. Water deeply during dry spells for the first year.
Before long, your holiday leftovers turn into a hedge or a berry-filled holly that brightens future winters.