How To Find And Remove Snail Eggs From California Garden Soil Before They Hatch
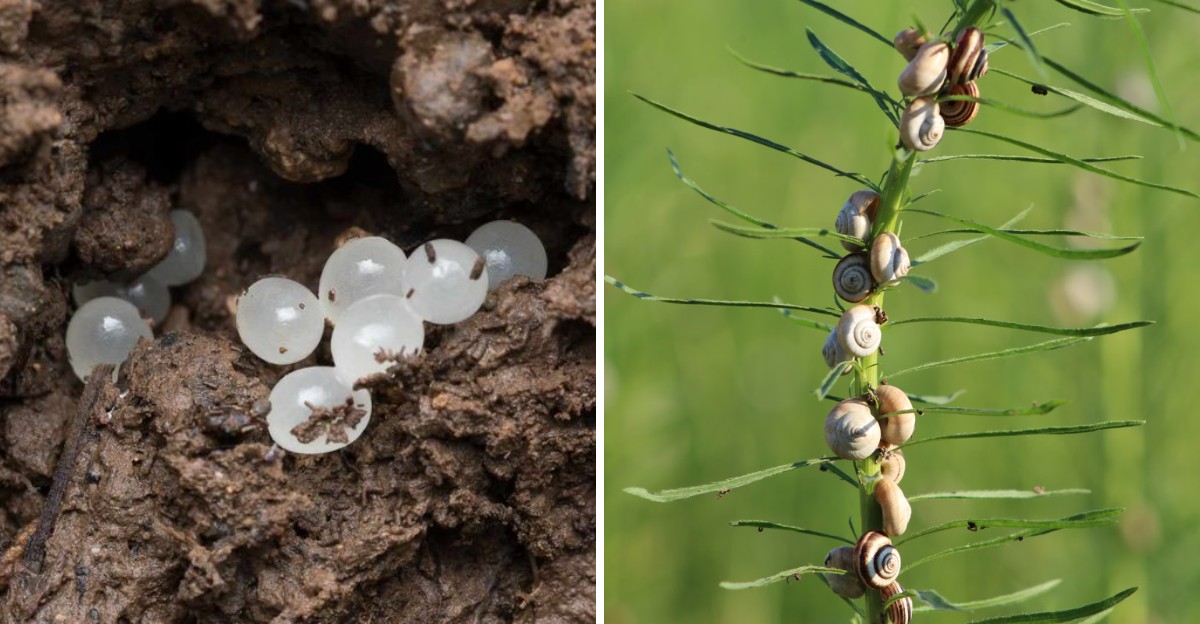
Pinched between two fingers, a tiny white bead from garden soil can feel hard like fertilizer or soft like tapioca. That squishy one could hatch into a hungry pest within a few weeks.
Blame a bit of 1850s fine dining for the soft ones. These slimy, shelled garden pests reached California as a hoped-for gourmet treat, then escaped into our yards. Each adult can tuck around 80 pearly eggs about an inch below damp soil, several batches a year.
Once the first real autumn rain soaks the ground, I head out to check under pots and saucers. I flip them like pancakes, muttering at every glistening cluster. My knees complain the whole time. Passersby probably think I lost an earring.
Those glossy little clusters rarely sit far from the plants you love most. How many could be tucked beneath your favorite flower pot this week?
Those Tiny White Beads Under Your Flower Pots Are Not Fertilizer
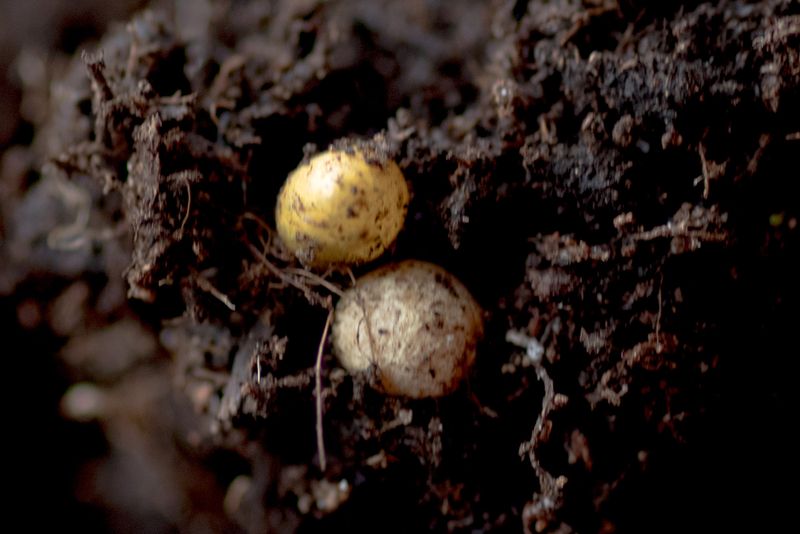
Plenty of gardeners scoop up a handful of soil, see round white specks, and shrug them off as slow-release fertilizer. I did the same thing for two seasons. Those specks may be the next wave of brown garden snails waiting to hatch.
Brown garden snail eggs are small spheres, usually about 3 to 5 millimeters across. Fresh ones look pearly or creamy white and sit together in a loose, slightly sticky clump. UC Integrated Pest Management notes that a single snail lays around 80 eggs at a time, and it can lay several batches a year.
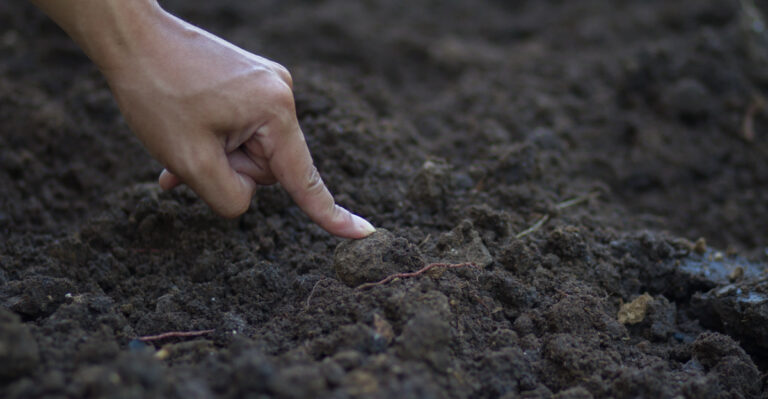
The squeeze test settles the question fast. Fertilizer prills feel hard and often crack or crunch under your fingernail. Snail eggs feel soft, a little squishy, and slightly slimy, much like tiny tapioca pearls.
Color offers another clue. Clusters that look grayer or darker are usually closer to hatching, so treat those as urgent.
Wear gloves for this job, since snails and their slime can carry parasites and bacteria. Wash your hands well afterward, even with gloves on.
Once you can tell eggs from fertilizer with a quick pinch, the rest of the hunt gets much easier.
Dig Into Damp, Shady Pockets Where Snails Bury Their Clutches
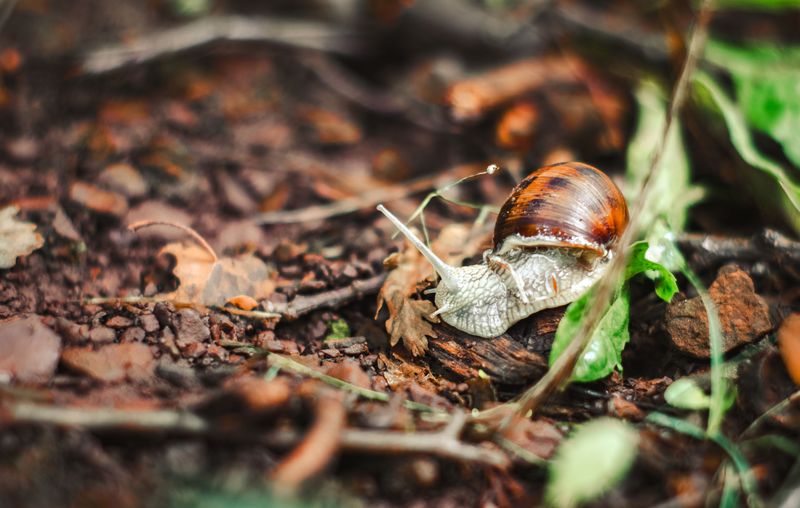
Snails are picky parents. They want soil that stays cool, moist, and hidden from the sun, so their eggs avoid drying out. If you search where you would hide from a hot afternoon, you will find most clutches.
According to UC IPM, brown garden snails dig shallow holes and lay eggs about an inch below the surface. Look for small, loose depressions in soft soil near plants they like to munch.
Here are the hot spots I check first:
Under flower pots, saucers, and seed trays. Beneath boards, pavers, stones, and garden ornaments. Inside thick mulch, leaf litter, and dense ground covers like ivy or agapanthus clumps.
Do not skip the edges of drip lines and the base of raised bed walls. Moisture collects there and the soil stays loose, which makes digging easy for a snail.
A hand trowel works well for gently scraping back the top inch of soil. Move slowly so you do not scatter a cluster into tiny pieces.
Personally, I keep a small bucket with me and work bed by bed. It turns a chore into a calm little treasure hunt, and you rarely miss a hiding spot.
Bag Up Snail Egg Clusters Instead Of Tossing Them In Compost
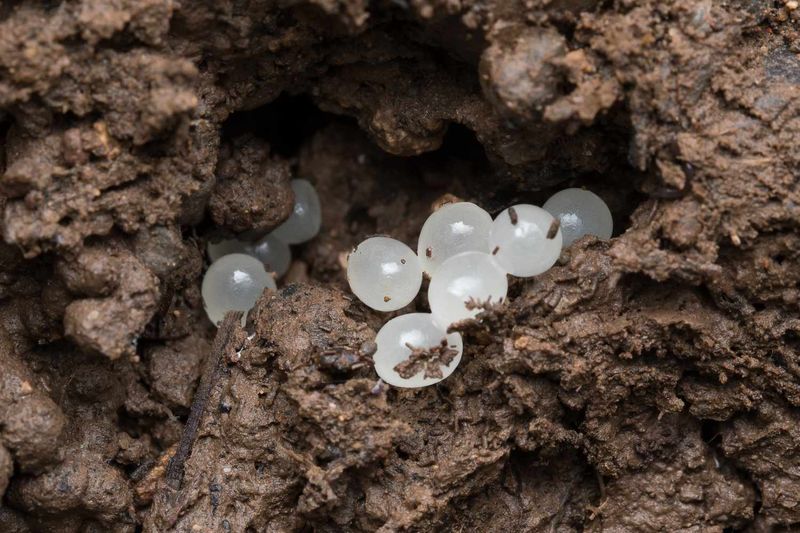
Finding the eggs feels like a win, but the job is only half done. Where they go next matters just as much as spotting them.
Use a trowel, spoon, or gloved fingers to lift the whole clump along with a little soil around it. Try to keep the cluster together, since stray eggs that roll away can still hatch.
Drop everything into a sealable plastic bag, squeeze out the air, and close it tight. Then put the bag straight into your household trash bin.
Skip the compost pile for this one. A warm, damp heap is basically a five-star nursery for snail eggs, and you could end up spreading young snails across every bed when you use that compost later.
Some gardeners prefer to crush the eggs or spread them on a sunny paved surface to dry out. Both methods work, since the eggs struggle quickly once exposed to dry air and sun.
Check the same spot again a few days later. Adults tend to return to favorite laying areas, and you may find a fresh batch sitting right where the old one was.
A little repetition goes a long way here.
Rainy Season Is Prime Time For Brown Garden Snail Eggs
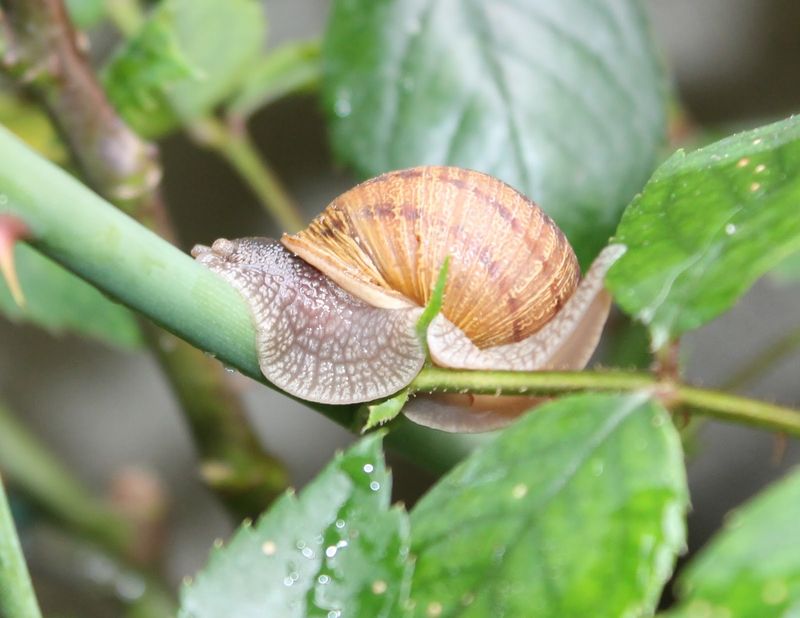
Here is a calendar trick that changed my whole approach. In much of California, snail egg-laying peaks during the cool, wet months, when the soil stays soft and damp.
UC IPM explains that brown garden snails lay eggs when moisture is plentiful, mainly from late winter into spring. In Southern California and along the coast, mild weather can keep them active almost year-round, especially in watered gardens.
Inland valleys play by slightly different rules. Hot, dry summers in places like the Central Valley push snails into hiding, where they seal themselves up and wait for cooler, wetter days.
Eggs typically hatch in about two to four weeks, depending on temperature and moisture. That window is your opportunity.
I like to do a full egg sweep after the first big autumn rain and then repeat it every couple of weeks through spring. Mark it on a calendar so it does not slip your mind.
Watch your irrigated beds closely in summer, too. A sprinkler running every evening can create a little rainy season of its own, inviting snails to lay eggs long after the clouds disappear.
Turn The Topsoil And Let California Sunshine Dry Out Hidden Eggs
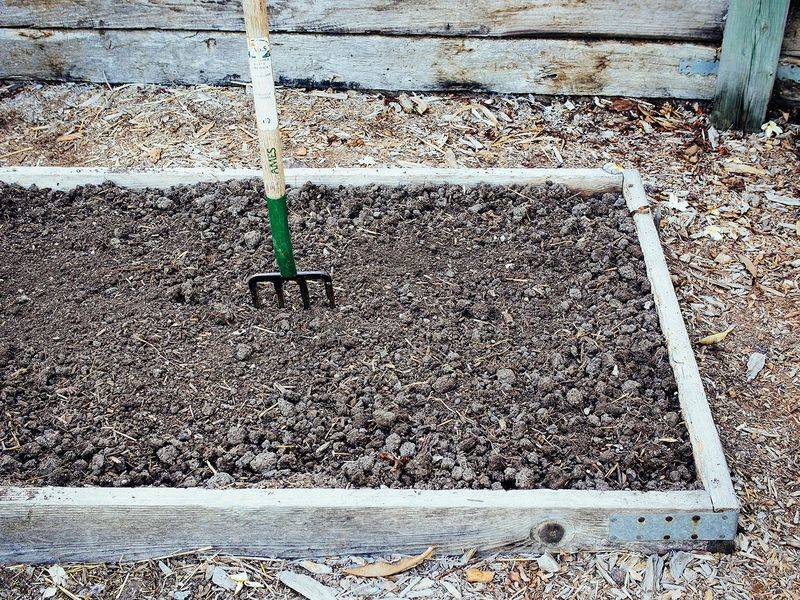
Sunlight is one of the cheapest snail control tools you own. Snail eggs need steady moisture, and they shrivel quickly once they dry out.
Shallow cultivation brings hidden clutches up where sun and air can reach them. A hand cultivator or garden fork worked through the top inch or two of soil does the trick.
Pick a warm, dry, sunny morning for this task. You get the full day of heat working on any eggs you uncover, and you can scoop up the ones you spot along the way.
Stay gentle around plant roots. Shallow-rooted crops like lettuce and strawberries do not appreciate deep digging, so just loosen the surface near them.
Bare areas between rows and fresh beds before planting are perfect spots to turn more thoroughly. Clearing those zones before seedlings go in gives young plants a calmer start.
I enjoy this job more than I expected. The soil smells earthy, the sun feels great, and every exposed cluster feels like a small victory.
Repeat the light cultivation every few weeks during the busy wet season, and you will notice fewer surprise hatchlings nibbling your greens.
Switching To Morning Drip Irrigation Makes Your Soil Less Snail-Friendly
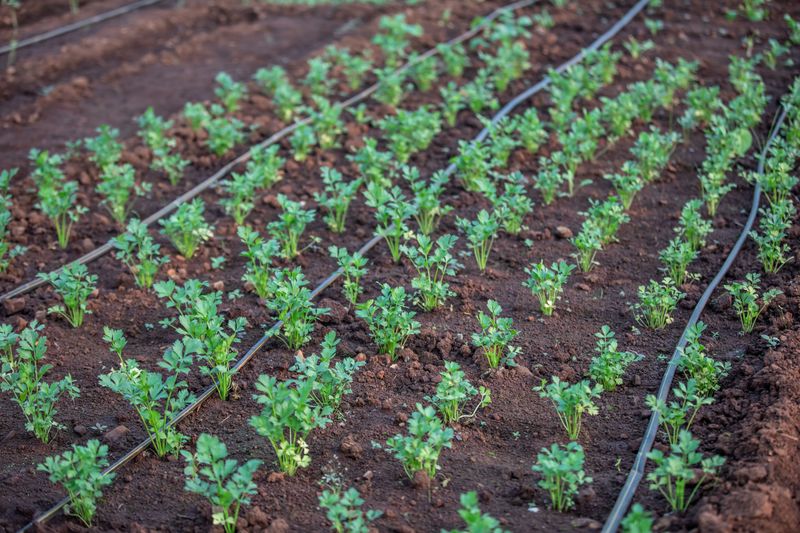
Evening watering feels relaxing, but it rolls out a welcome mat for snails. They do most of their feeding and egg-laying at night, when soil and leaves stay damp.
Move your watering to early morning. The soil surface has time to dry during the day, so it feels less inviting by sunset.
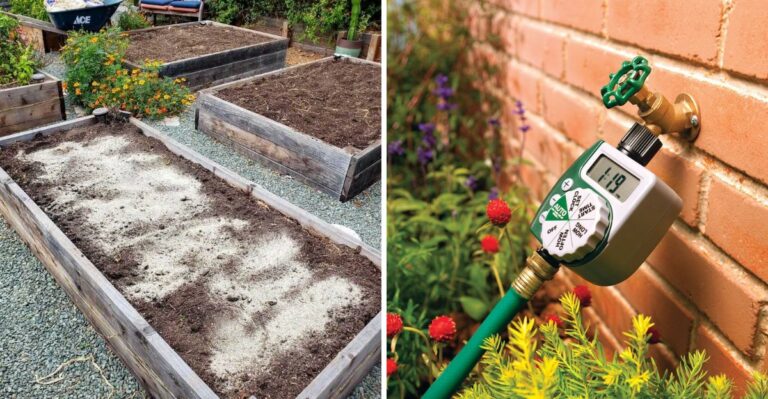
Drip irrigation helps even more. UC IPM recommends it because water goes straight to the roots, and the surrounding soil stays drier.
Sprinklers wet everything, including paths, mulch, and leaves. That widespread moisture creates the perfect nursery for snail clutches.
Converting a sprinkler bed to drip does not have to be expensive. Simple kits with tubing and emitters are sold at most garden centers, and they also save water, which matters in California’s drought cycles.
Check for leaky spigots, dripping hoses, and puddles near the house. Those small wet spots can attract snails year after year without you noticing.
You need to watch for one tradeoff. Emitter lines create damp strips along the soil, so give those zones a quick look when you search for eggs.
Small watering changes add up to a garden that snails find a lot less cozy.
Clear Out Boards, Leaf Litter, And Dense Ivy Where Snails Shelter
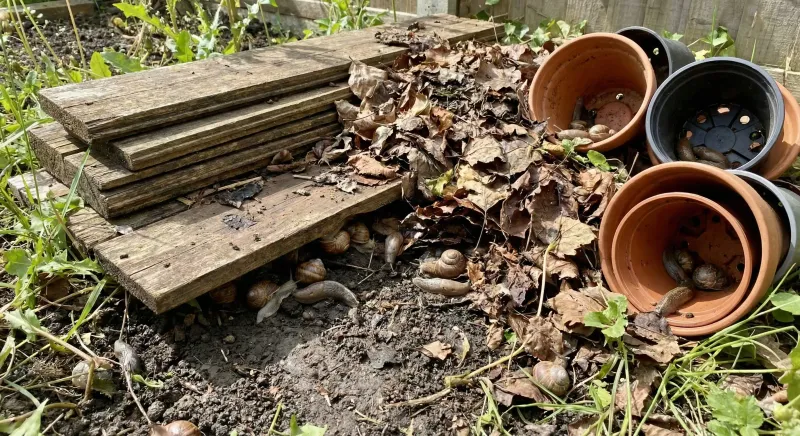
Every garden has a junk corner. Mine used to be a stack of old boards and empty pots behind the tomato bed, and it was crawling with snails.
Clutter gives adults a cool daytime shelter right next to good egg-laying soil. Take it away, and snails have to travel farther and work harder to find safe spots.
Start by picking up loose boards, bricks, and unused containers. Rake out thick piles of fallen leaves and pull weeds that form dense, damp mats.
Ground covers deserve special attention. UC IPM points out that ivy, agapanthus, and similar thick plantings are classic snail hideouts, especially along walls and fences.
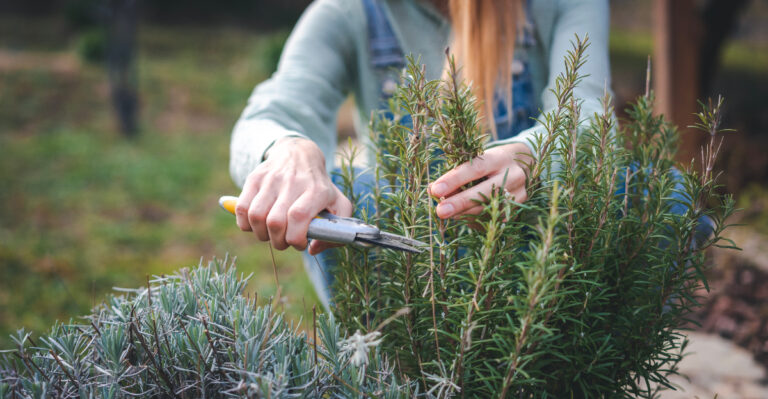
Thinning those plants or trimming the lower leaves lets in sunlight and airflow. Brighter, drier soil makes egg-laying far less appealing.
You do not need a bare, sterile yard. Keep mulch layers moderate and pull them back a few inches from plant stems, where snails love to gather.
Fun fact: brown garden snails are not native here. They were brought to California in the 1850s as a possible food source, and they spread through gardens from there.
Copper Bands And Nightly Snail Patrols Keep New Egg Layers Away
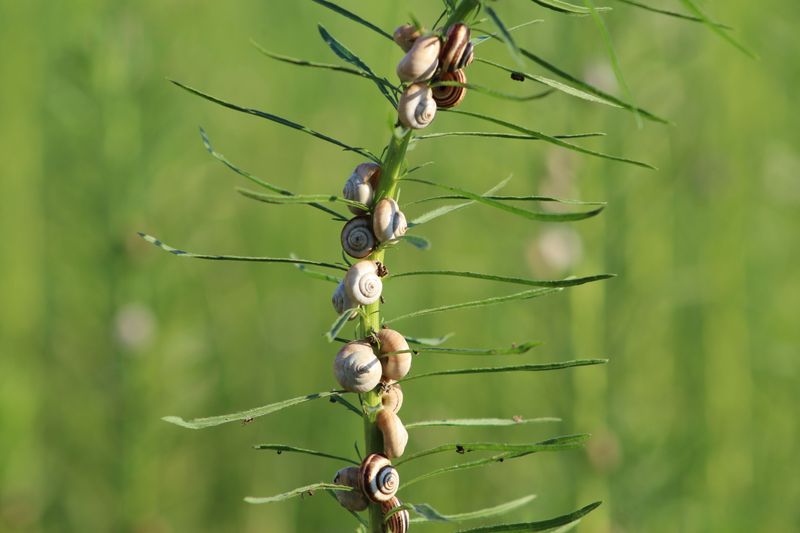
Removing eggs works best when you also cut down the number of adults laying them. Fewer parents mean fewer surprise clutches next month.
Copper bands wrapped around raised beds and planter boxes are a long-lasting barrier recommended by UC IPM. Snails react to the copper and usually turn back. Keep plants from hanging over the band, or snails will use them as a bridge.
Handpicking still ranks as one of the most effective methods. Head out with a flashlight about two hours after dark, especially after watering or rain, and collect every snail you see.
Simple traps help too. A board raised an inch off the soil collects snails overnight, and you can scrape them off each morning.
Iron phosphate baits are a lower-toxicity option for home gardens when used as labeled. Scatter them lightly rather than in piles.
In Southern California, some citrus growers use predatory decollate snails. Rules on releasing them vary by county, so check with your local agricultural commissioner first.
I believe consistency wins this game. A quick weekly egg check plus a few nighttime patrols will keep your seedlings safe and your garden thriving season after season.