8 California Orchid Care Tips For Blooms Through The Holidays
Tiny green mittens poking out between the lower leaves are cause for celebration on a certain tropical houseplant. Each one is a brand-new flower spike, flatter than a root and usually aimed toward the light.
Its wake-up call is wonderfully simple. Several weeks of noticeably cooler nights tell the plant that flowering season has arrived. Once the buds open, those blooms can last two or three months, which beats every bouquet I’ve ever bought.
Many coastal California homes serve up that chilly dip for free. I once spent an entire fall whispering encouragement to mine on the kitchen counter. Turns out it wanted a cooler room, not a pep talk. Yours might be craving the same thing.
Fancy gadgets and pricey plant sprays can wait. The best bloom booster in your house might be that chilly spare bedroom nobody wants to sleep in.
1. Give Moth Orchids Cool Autumn Nights
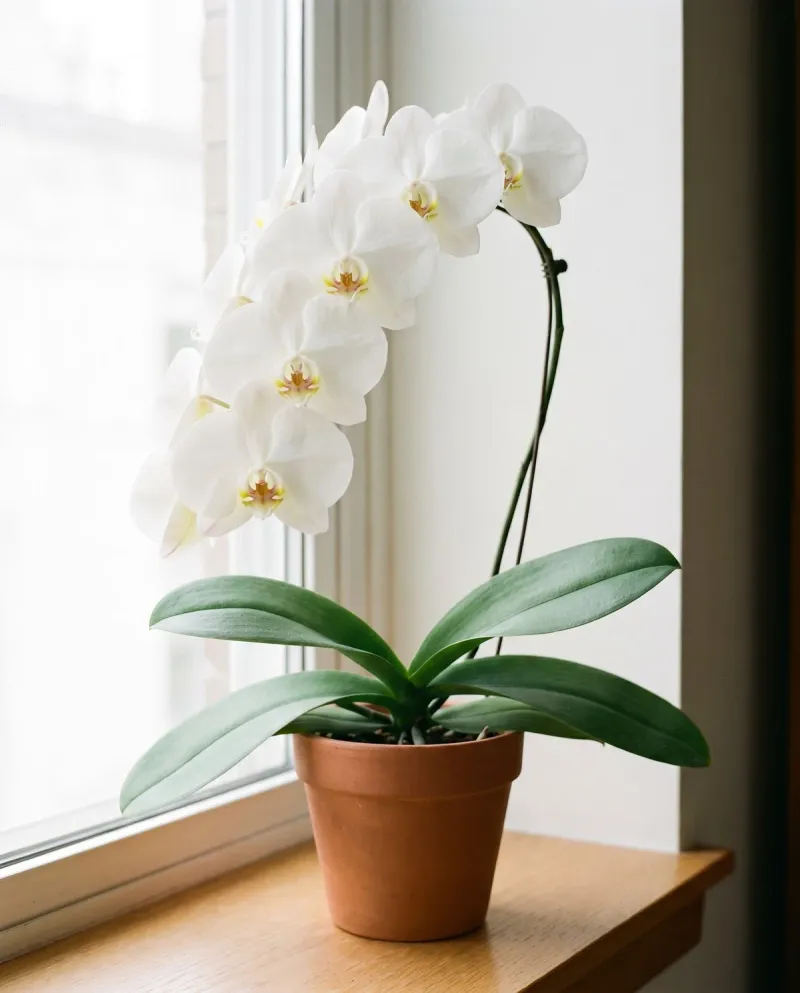
Moth orchids come from Southeast Asian forests, where slightly cooler autumn nights tell them flowering season has finally arrived. I love how such a simple temperature trick can coax a lazy plant into sending up fresh spikes.
Aim for nighttime temperatures around 55 to 60 degrees Fahrenheit for roughly three to four weeks in early fall. Daytime readings should stay warmer, around the low seventies, creating a clear swing of roughly fifteen degrees.
A spare bedroom with the heat turned down often works nicely, as long as the window still lets in light. Some growers simply slide their pots closer to a cool windowpane at night, then move them back each morning.
Watch the leaves carefully, because foliage pressed against cold glass can develop damage that looks like soft, sunken patches. Keep a few inches between the plant and the window, and skip spots near drafty doors or heater vents.
A new spike usually looks like a small, mitten-shaped tip emerging from between the lower leaves, not the roots. Roots tend to be rounder and silvery green, while spikes look flatter and point upward toward the light source.
Once you spot that spike, you can return the plant to normal room temperatures without losing your progress. Buds typically take two or three months to develop, so an autumn chill sets up December color.
Personally, I mark the calendar when cool nights begin, because it makes the waiting game feel far more exciting. You might be surprised how quickly that little spike climbs once the plant decides the season is right.
2. Bring Cymbidium Orchids Outdoors In Coastal Gardens
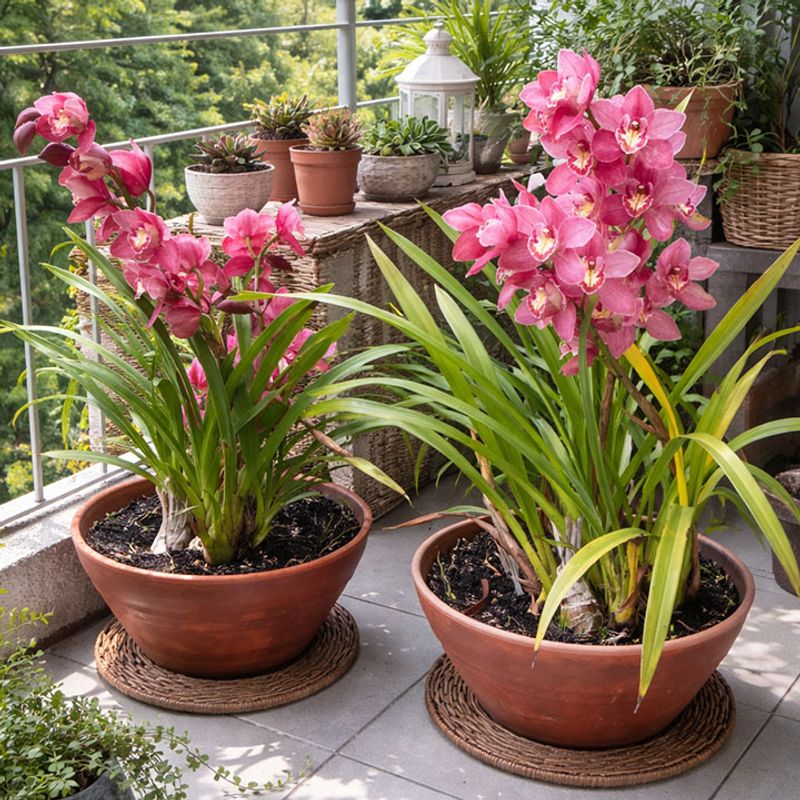
Cymbidiums are the tough, grassy-leaved orchids you often spot blooming on porches along the coast in late winter. Unlike fussy indoor types, they actually crave cool autumn air to set their tall, waxy flower spikes.
Many coastal California gardens offer ideal conditions, with mild days and nights dipping into the forties and fifties in fall. Leaving pots outside through autumn gives them the temperature drop they need, so resist rushing them indoors too early.
Bright light matters just as much, and these plants usually prefer morning sun with some afternoon shade inland. Leaves should look light yellowish green, since very dark foliage often means the plant is not getting enough light.
Frost is the main worry, because cymbidiums generally handle brief dips near freezing but struggle with a hard freeze. Keep an eye on local forecasts and move pots under an overhang or into a garage on frosty nights.
I can’t imagine a cheerier sight than those arching spikes opening in shades of green, pink, or butter yellow. Flowers often last six to eight weeks, and many varieties begin blooming around the holidays or shortly afterward.
Snails and slugs love tender new spikes, so check pots after dark with a flashlight during damp weather. Staking spikes early with a thin bamboo stick keeps them straight and helps prevent snapping in gusty winds.
Gardeners in hot desert regions can still grow these, though shade cloth and careful watering make a huge difference there. Ask your local nursery or orchid society which varieties perform best in your particular neighborhood microclimate.
3. Set Your Orchid In A Bright East Facing Window
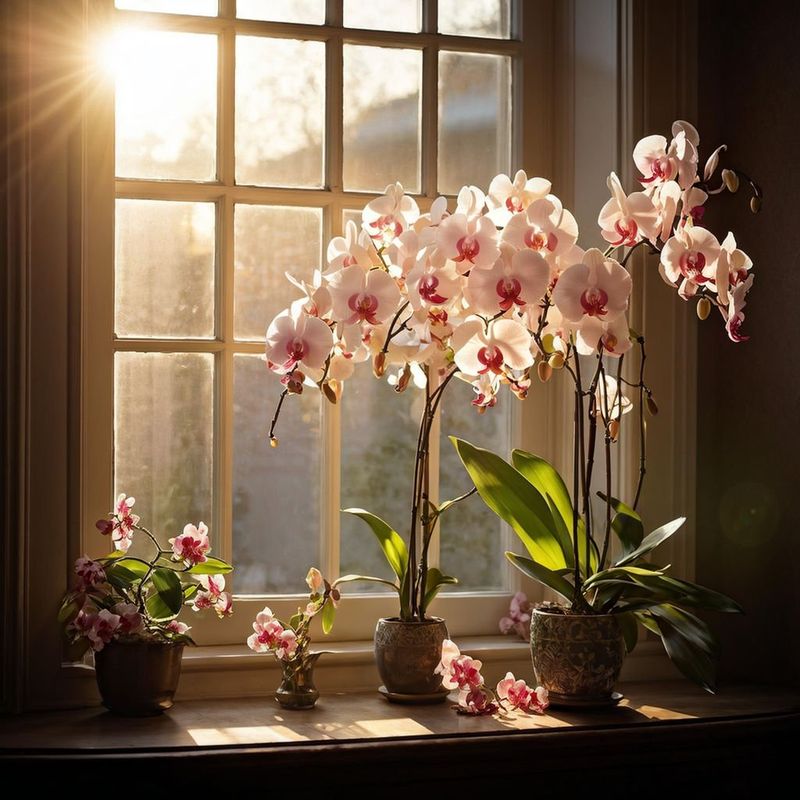
Sunlight through a window can feel gentle to us, yet it can scorch an orchid leaf in a single afternoon. On the flip side, a gloomy corner leaves plants green and healthy-looking but stubbornly refusing to bloom.
An east-facing window is often the sweet spot, giving soft morning sun without the harsh heat of late afternoon. A south or west window can work too, especially with a sheer curtain softening the direct rays.
Shorter winter days mean less light overall, so a window that felt too strong in summer may now be perfect. You might notice leaves leaning toward the glass, which is a clear clue the plant wants more brightness.
Leaf color gives you an easy report card, so learn to read it every week or two. Healthy moth orchid leaves are usually medium olive green, while very dark green suggests the light is too low.
Yellowish or reddish tinted leaves, on the other hand, often mean the plant is getting a bit too much sun. Bleached or brown patches are sunburn, and those damaged spots will not turn green again, so act quickly.
I like to use the hand shadow test, holding my hand a foot above the leaves at midday. A soft, blurry shadow means the light is about right, while a crisp shadow warns that rays are too intense.
Grow lights help a lot in darker homes, and simple full-spectrum LED bulbs work well for most orchids. Keep them several inches above the leaves and run them around twelve hours daily during the shortest months of winter.
4. Water Orchid Roots Only When They Turn Silvery
Overwatering harms more potted orchids than almost any other mistake, and the culprit is usually a kind, overeager owner. Honestly, I learned this the hard way after drowning a gorgeous plant I received as a birthday gift.
Most orchids grow on tree branches in nature, where their roots soak up rain and then dry quickly in moving air. Roots sitting in soggy bark for days can rot, turning brown and mushy instead of firm and healthy.
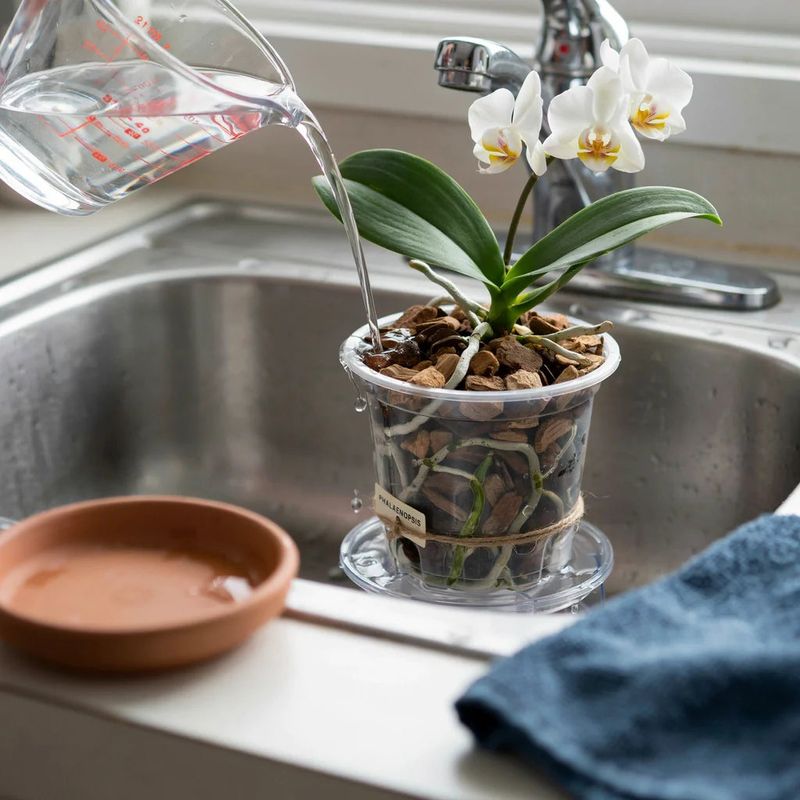
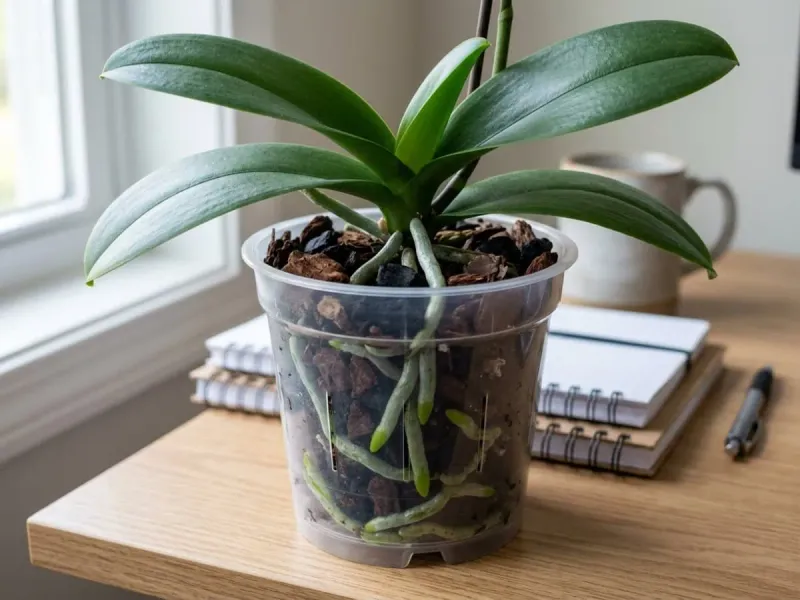
Root color is your best guide, especially if your plant lives in a clear plastic pot. Silvery or grayish roots mean the plant is thirsty, while bright green roots show there is still moisture inside.
Most moth orchids in bark need water about once a week, though moss holds moisture much longer. Lifting the pot also helps, since a light pot usually means dry media and a heavy one means wait.
When it is time, run room-temperature water through the pot for about a minute and let it drain fully. Avoid leaving the pot sitting in a saucer of water, because soggy roots quickly lose their ability to breathe.
Water in the morning so any drops caught between leaves can dry before cooler evening temperatures arrive. Water trapped in the crown, where leaves meet, can cause rot, so dab it out with a paper towel.
Indoor heating dries potting mix faster in winter, so check your plant a little more often once the furnace kicks on. Flowering plants also drink a bit more, and steady moisture helps buds open fully instead of dropping early.
5. Boost Humidity Around Orchids With A Pebble Tray
Santa Ana winds can drop humidity in Southern California to single digits, leaving orchids parched almost overnight. Add a running heater indoors, and your plant may feel like it moved from a rainforest into a desert.
Most popular orchids are happiest with humidity somewhere around 40 to 70 percent, which many winter homes struggle to reach. A cheap digital hygrometer tells you exactly where you stand, and I keep one tucked beside my plants.
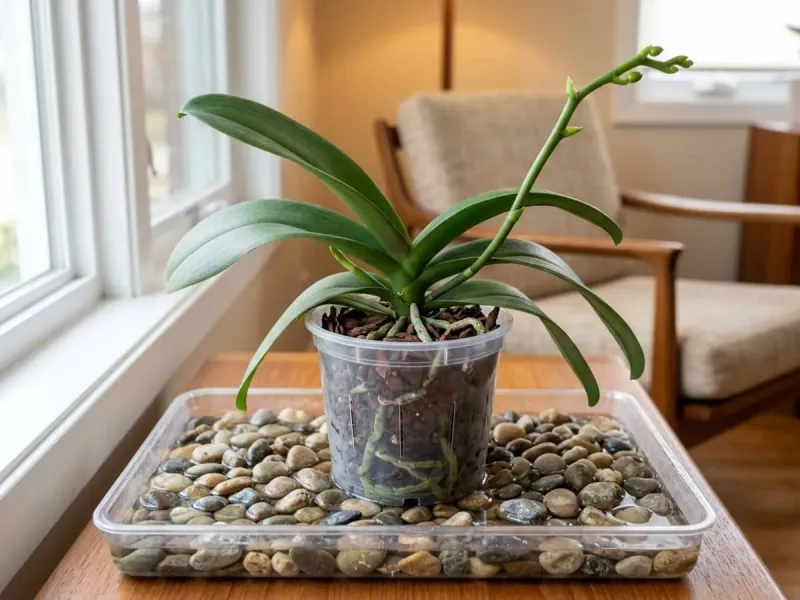
Pebble trays are a classic fix, and they take only a few minutes to set up at home. Fill a shallow tray with gravel, add water just below the top, and set the pot on the stones.
The pot should sit above the waterline, since roots resting in standing water can rot fairly quickly. As water evaporates, it creates a little pocket of moist air right where your orchid needs it most.
Grouping several houseplants together also raises humidity, because their leaves release moisture that close neighbors can share. A small room humidifier is another option, especially in bedrooms or offices where heaters run for hours each day.
Misting looks helpful, but the effect fades within minutes and wet leaves can invite fungal spots overnight. I would rather spend that energy refilling a tray, which works quietly around the clock without any fuss.
Shriveled, leathery leaves and buds that yellow before opening are common signs that the air is far too dry. Fixing humidity early in the season gives those developing buds their best chance to open fully for holiday gatherings.
6. Feed Your Orchid A Diluted Fertilizer Every Week Or Two
Gardeners love the old orchid motto weakly, weekly, and it captures the feeding secret better than any label. Strong doses can burn delicate roots, while gentle, regular meals build steady strength for future flowers.
Choose a balanced, water-soluble orchid fertilizer and mix it at roughly one quarter to one half label strength. Feed every one to two weeks while your plant is actively growing new leaves or roots.
Water the pot first, then fertilize, because dry roots soak up salts quickly and can scorch at the tips. Once a month, flush the pot with plain water to rinse away mineral buildup from fertilizer and tap water.
Many hobbyists switch to a higher phosphorus bloom formula in late summer, hoping for more spikes by winter. Research on its benefits is mixed, so I treat it as optional rather than a magic flower button.
Once buds appear, you can ease back to lighter or less frequent feeding while the plant focuses on blooming. Some growers pause fertilizer during flowering, and many plants still perform beautifully through the holidays.
Hard tap water is common in many areas, and white crust on bark or pots signals salt buildup. Rainwater or filtered water helps here, especially if leaf tips start browning despite careful feeding and watering habits.
Personally, I mark feeding days on my phone, because forgetting for a month is easier than you might think. A steady routine matters far more than any fancy product, and your orchid will reward that consistency with better blooms.
7. Wait Until Orchid Flowers Fade Before Repotting
Fresh bark and a roomy new pot sound like a lovely holiday present, but timing changes everything here. Repotting a plant covered in buds often triggers stress, and those precious flowers may drop within days.
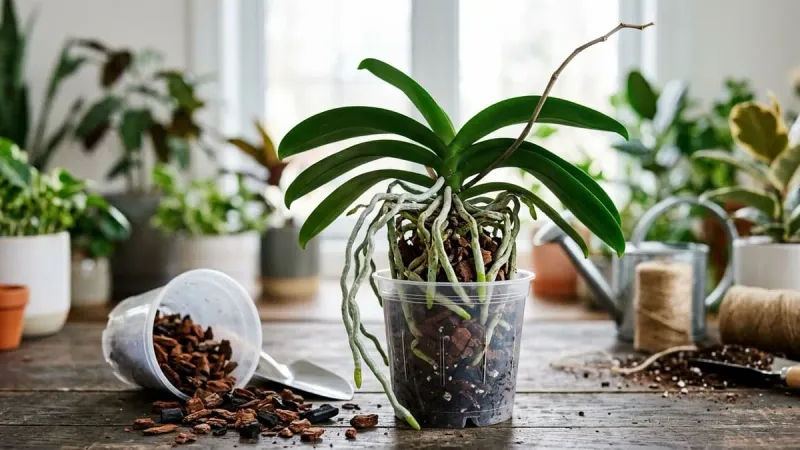
Most orchids need repotting every one to three years, as bark slowly breaks down and starts holding too much water. Crumbly, soggy media or roots spilling everywhere are clear signs your plant is ready for a fresh home.
The best moment usually comes after blooms fade and you spot new roots or leaves beginning to emerge. For many moth orchids, that means late winter or spring, well after the holiday decorations are packed away.
If you notice problems now, simply note them and plan ahead rather than disturbing a plant preparing to flower. Emergencies are different, since mushy rotting roots may need attention even if it costs you a few buds.
When the time comes, trim off soft or hollow roots with clean, sterilized scissors before settling the plant into fresh media. Choose a pot only slightly larger than the root ball, since orchids prefer snug quarters over oversized containers.
Fine bark suits moth orchids well, while medium bark often works better for cymbidiums and other larger types. Clear plastic pots with drainage holes let you watch root color, which makes future watering decisions much easier.
I have to admit that repotting day feels like a little spa treatment for both gardener and plant. Patience now protects this year’s flowers, and a fresh start later sets up even stronger blooms next season.
8. Keep Air Moving Around Orchid Leaves With A Small Fan
A gentle breeze sounds like a minor detail, yet orchids in the wild rarely sit in perfectly still air. Treetop homes keep their leaves and roots constantly brushed by moving air, which helps them dry and breathe.
Stagnant air paired with humidity creates a cozy home for fungal and bacterial spots on leaves and flowers. Botrytis, a common gray mold, can leave small brown freckles on petals, especially during cool, damp winter weather.
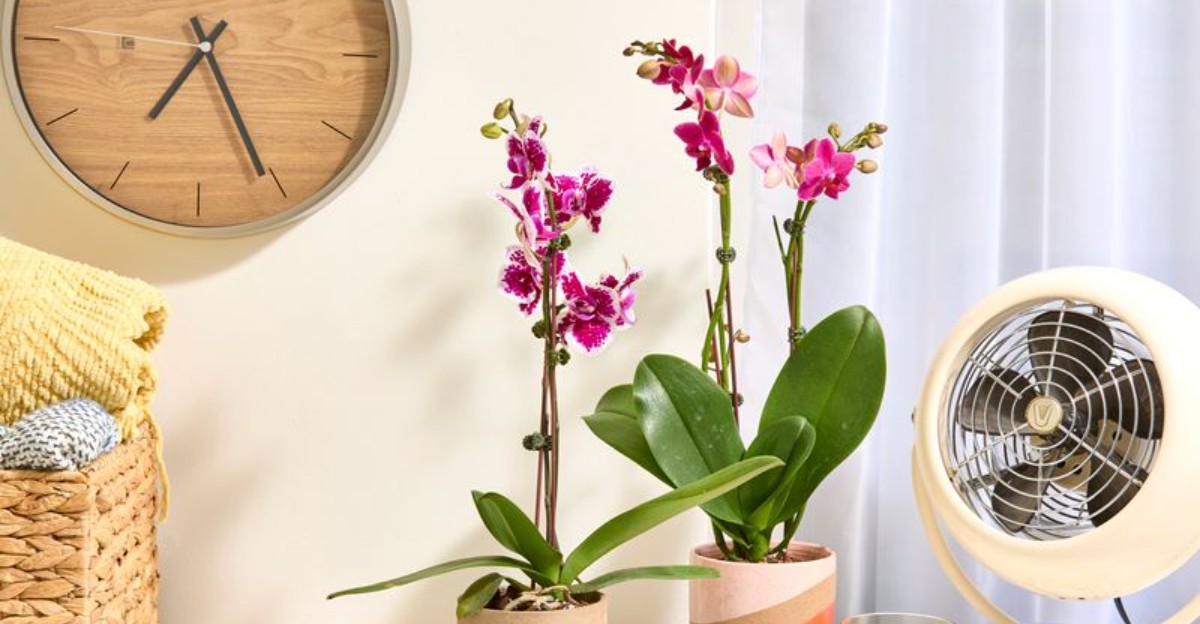
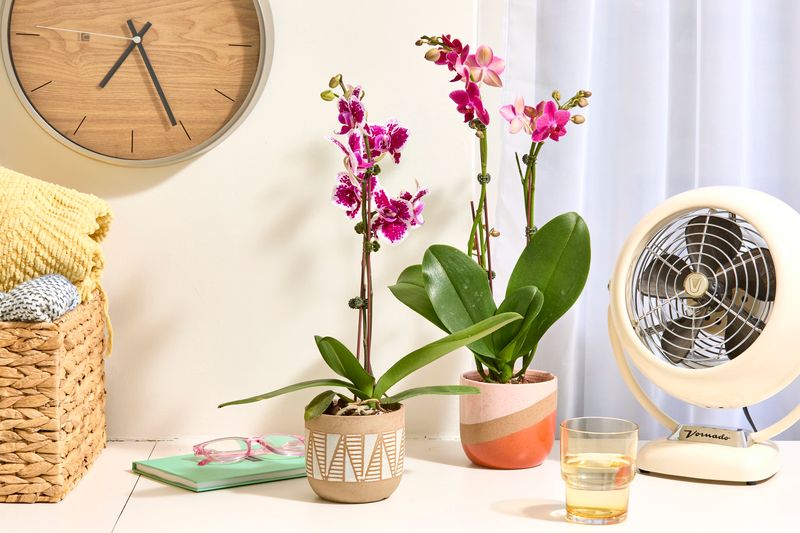
A small oscillating fan on its lowest setting provides plenty of movement without drying the plants too quickly. Point it so leaves barely flutter, rather than aiming a strong blast directly at the buds or flowers.
Even cracking a window a little on mild days can refresh a stuffy room in many California homes. Just watch for chilly drafts, since sudden cold blasts can cause buds to yellow and fall before opening.
Spacing still matters, so leave a little breathing room between pots even when grouping plants for humidity. Remove faded flowers and fallen leaves promptly, because decaying plant material can become a starting point for disease.
I love the soft hum of a fan in my plant corner, and it reminds me of an island breeze. Good airflow also discourages pests like spider mites and mealybugs, which tend to thrive in still, dry corners.
Check leaves weekly with a flashlight, looking under them for cottony clusters or fine webbing near the stems. Catching problems early keeps your plant healthy, so those holiday blooms can shine for many weeks into the new year.