How to Wrap Boxwoods Before Winter Burn Sets In in Virginia
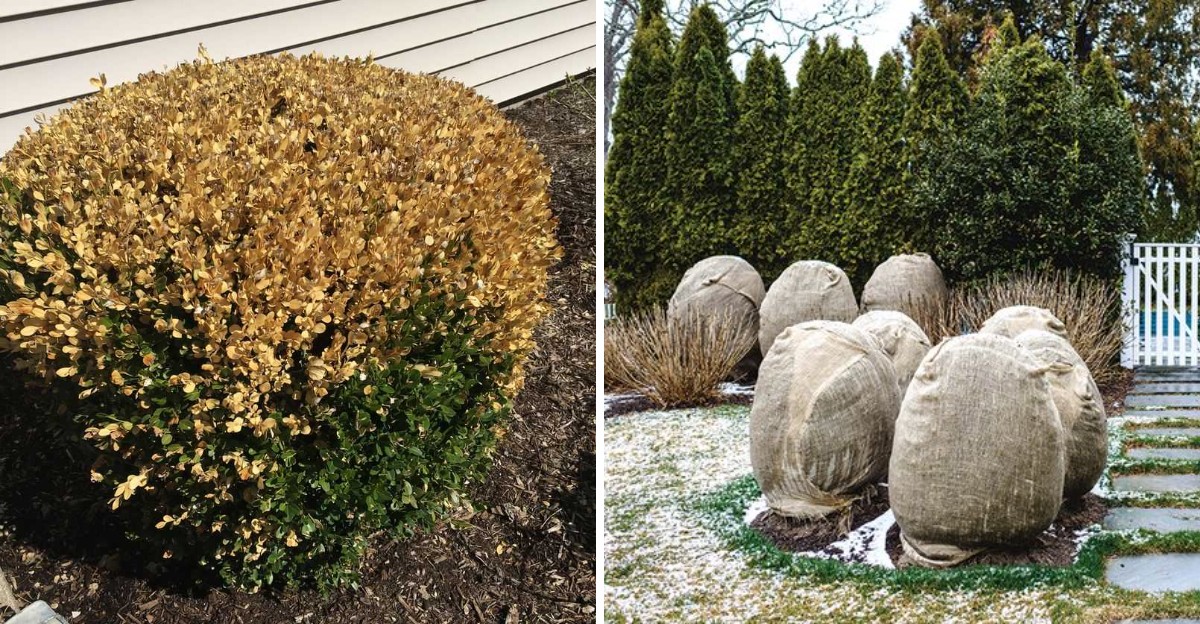
Evergreen shrubs can lose water on a sunny January afternoon while their roots sit locked in frozen soil. The leaves keep breathing out moisture, and nothing comes back up to replace it.
By late winter, the damage shows up as bronze, tan, or straw-colored leaves on the windy side. I still remember the first time I saw it on a hedge I adored.
My heart sank faster than the thermometer.
Here in Virginia, our winters swing from mild to bitter in a single week. Those wild swings, plus open sun and gusty wind, set the stage for trouble.
You might blame the cold alone, but dry air plays a bigger role.
A little fabric, some twine, and good timing can change the whole story. Knowing when to protect your shrubs and what mistakes to avoid could spare you an unpleasant surprise by spring.
1. Those Bronze Boxwood Leaves Are Sending You a Message
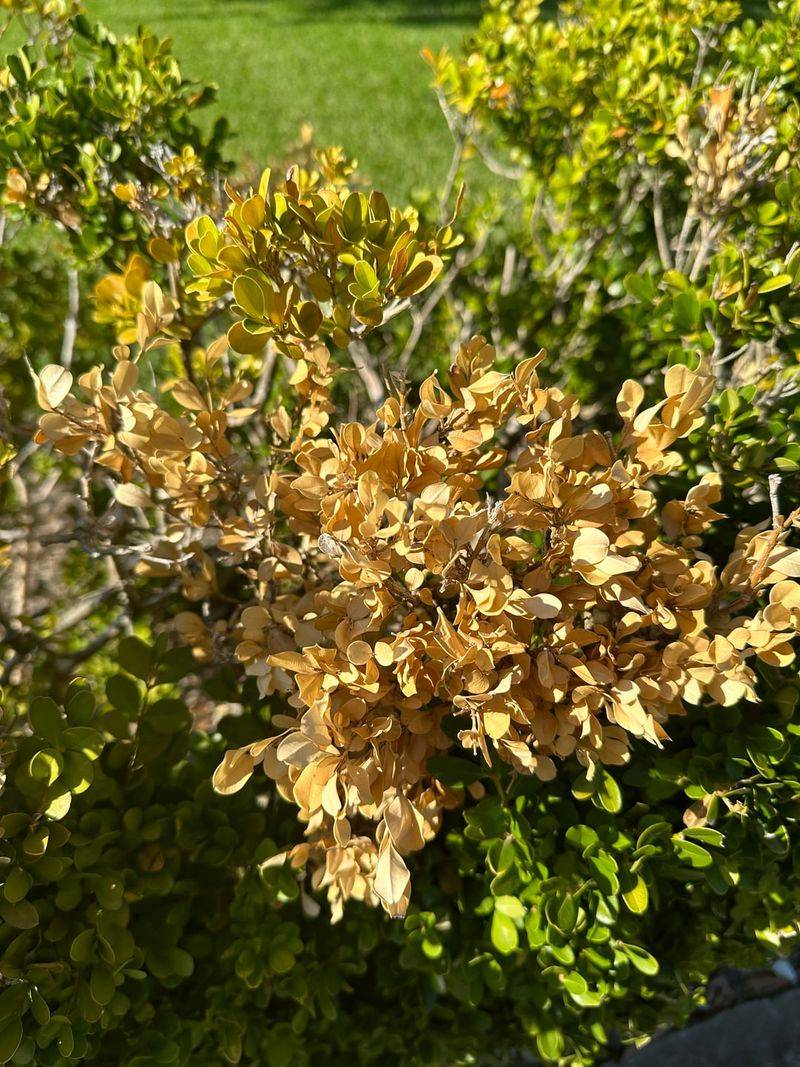
My first brush with winter burn came on a bright February morning. The south side of my boxwood hedge looked toasted, while the north side stayed perfectly green.
That lopsided look is a classic clue. Boxwoods are broadleaf evergreens, so their leaves keep releasing water all winter through a process called transpiration.
Wind and sunshine speed that water loss up.
Meanwhile, frozen or very dry soil keeps roots from pulling up a fresh supply. The leaves dry out faster than the plant can refill them, and the tissue turns bronze, orange, tan, or even yellowish.
Virginia Cooperative Extension points to this drying as the main cause of winter injury on boxwoods. Sudden temperature drops after warm spells can add stress too, especially on plants that never fully hardened off in fall.
Damage tends to show up on exposed spots. Look for browning on the windward side, the sunniest face, or the top of the shrub where snow cover offered no shelter.
Spotting the pattern matters because it tells you where protection will help most. Once you know which side of your shrub takes the beating, you can plan a wrap or screen that blocks the culprit.
2. A Burlap Screen Beats Plastic Wrap Every Time
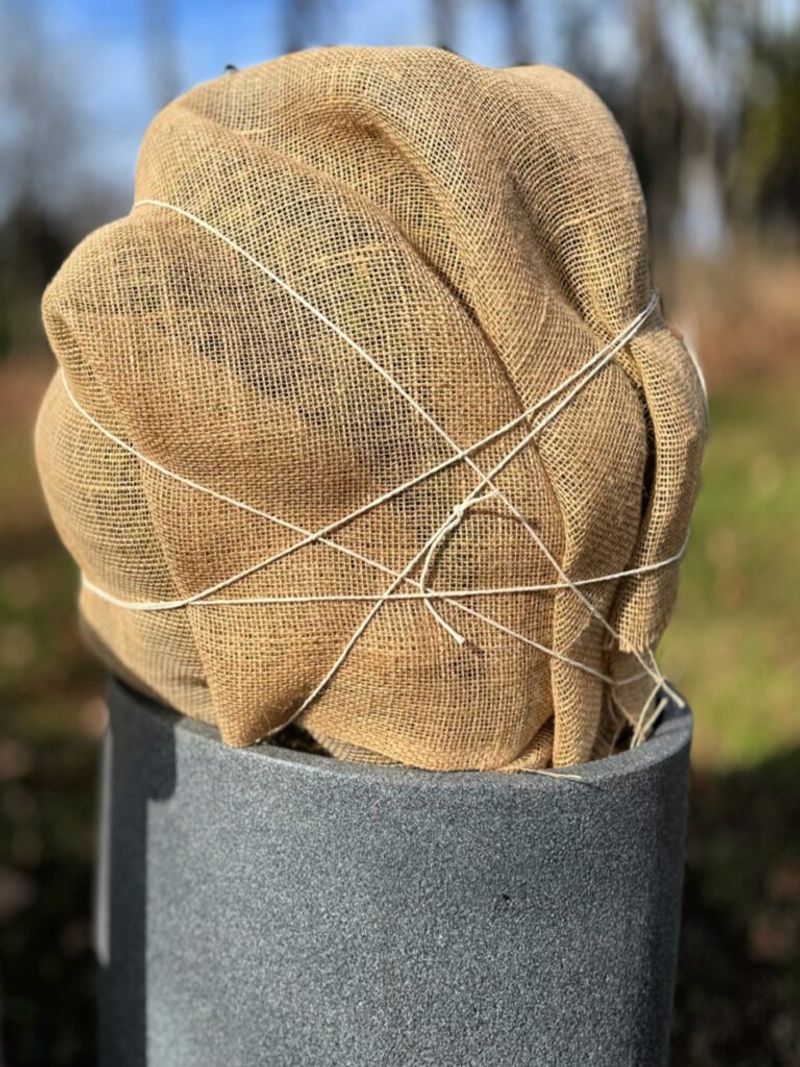
Burlap is the hero of this story, and plastic is the villain hiding in your garage. Woven jute fabric lets air and moisture pass through while it softens wind and blocks harsh sun.
Plastic sheeting does the opposite. It traps heat on sunny days and holds in moisture, which can cook leaves or invite fungal trouble.
Skip it, even if it looks handy.
Many extension experts actually prefer a burlap screen over a tight wrap. You drive three or four wooden stakes into the ground around the shrub, leaving a few inches of space.
Then staple or tie burlap to the stakes.
This approach keeps fabric off the foliage, so air still moves freely. It also stops snow and ice from pressing burlap into the branches.
For shrubs facing one main wind direction, a single panel on the windward side may be enough. Full enclosures work better for exposed plants near open lawns or corners of the house.
Leave the top open if you can. That gap lets light and rain in and lets warm air escape.
Personally, I find screens easier to set up and much easier to remove come spring.
3. Wrapping Boxwoods After the First Hard Frost Works Best
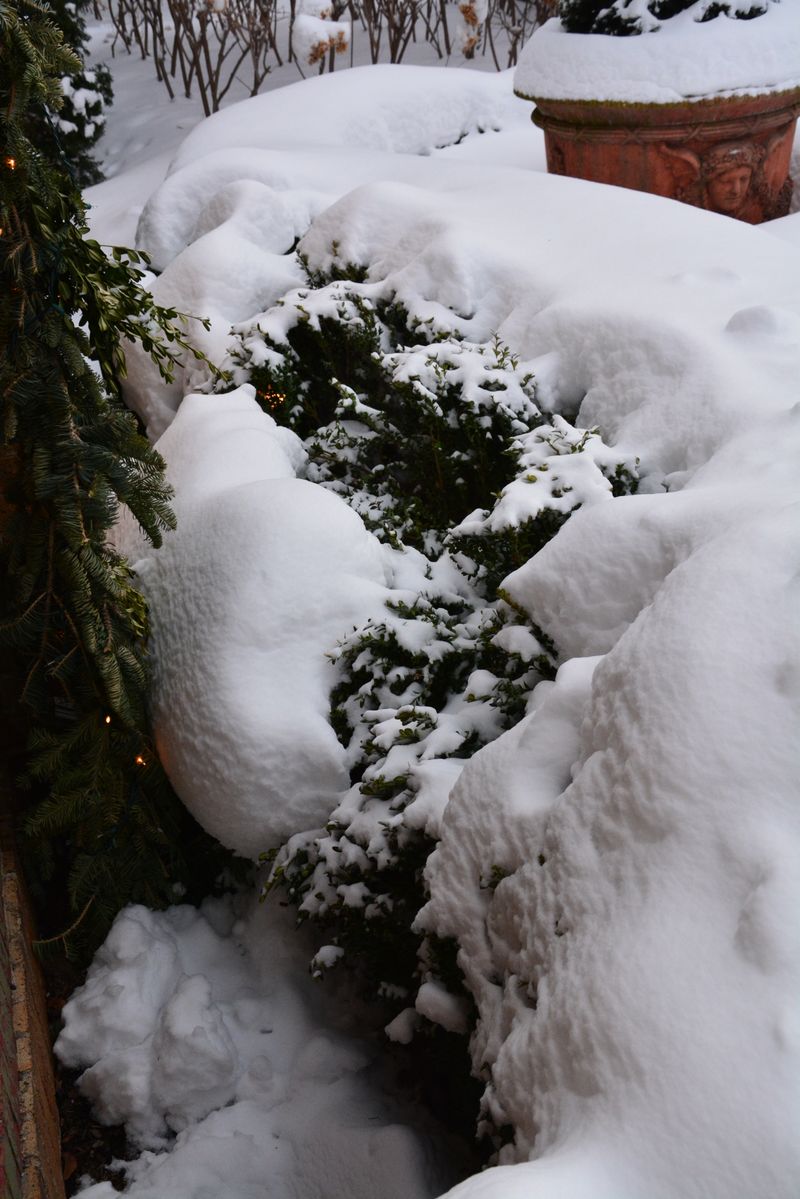
Timing is the secret most people miss. Wrap too early, and your boxwood may stay too warm and soft to toughen up for winter.
Wait until after the first hard frost, once nighttime temperatures stay below about 40 degrees. The plant needs those chilly fall nights to harden off naturally before you cover it.
In Virginia, that window shifts across the state. Mountain gardens in the west may be ready by mid to late November.
Piedmont yards often hit the mark in late November or early December, and coastal areas around Hampton Roads may run later still.
Try to finish before the ground freezes hard. Driving stakes into frozen soil is a frustrating workout, trust me.
Removal matters just as much. Take the burlap off in late winter or early spring, once the threat of severe cold has passed but before new growth starts.
Cloudy days are ideal, since shaded leaves adjust more gently to sunlight.
Leaving wraps on too long can trap warmth and humidity around fresh shoots. Set a reminder on your phone for March, and you will thank yourself later.
4. Burlap, Twine, and Stakes Make a Snug Boxwood Wrap
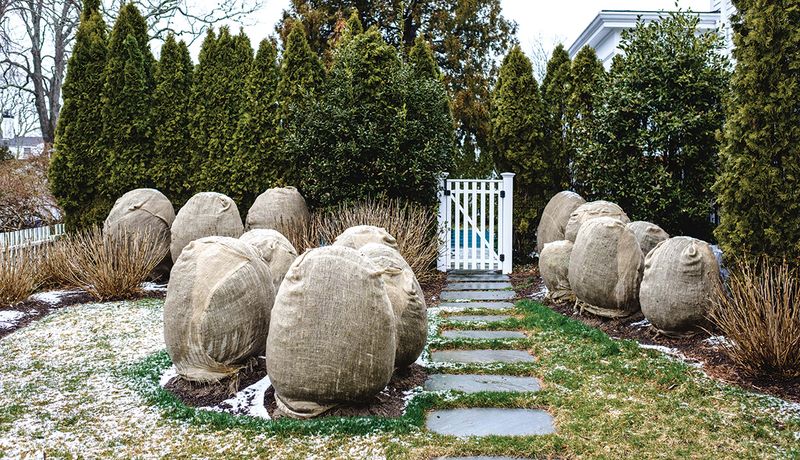
Gathering supplies takes about ten minutes, and the list is short. You need natural burlap, sturdy jute twine or soft cord, wooden stakes, scissors, and a staple gun if you plan to build a screen.
Start by gently gathering the branches upward toward the center of the shrub. A loose loop of twine around the middle helps hold them together and lowers the risk of snow splitting the plant.
Next, wrap a single layer of burlap around the shrub. A helper makes this far easier, holding one edge while you walk the fabric around.
Secure the burlap with twine in an upward spiral, starting near the base. Keep it snug enough to stay put in a gusty storm, yet loose enough that branches keep their natural shape.
Avoid wrapping so tightly that leaves get crushed against each other. Squeezed foliage can bend, break, or hold extra moisture.
Pinning the bottom edge with a few landscape staples stops wind from flapping the fabric loose. For small boxwoods, a burlap shrub cover with a drawstring works nicely too.
My tip is to buy a little extra burlap, since patches always come in handy.
5. Deep Fall Watering Gives Boxwood Roots a Head Start
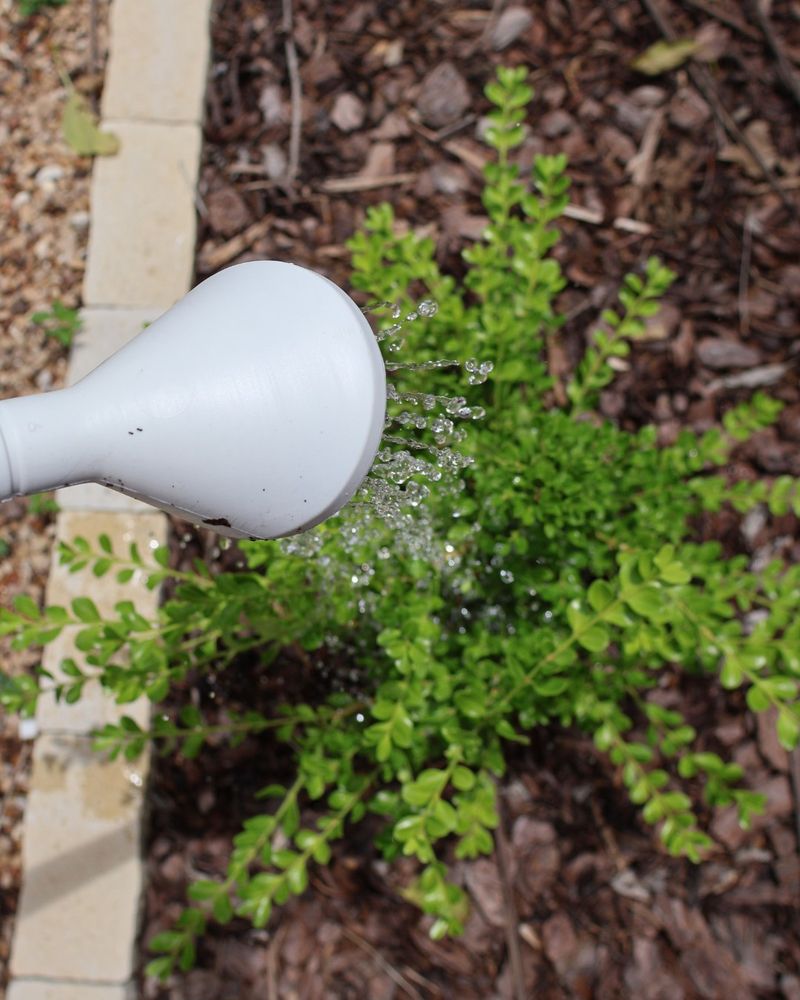
Burlap only does half the job. A well-watered boxwood heads into winter with full reserves, and that might be the most powerful protection you can give it.
Fall can be surprisingly dry in parts of Virginia. Give your shrubs a deep soak every week or two through autumn if rain falls short, right up until the ground freezes.
Boxwoods have shallow roots, so slow watering works better than a quick spray. A soaker hose or a gently trickling garden hose lets moisture sink in without running off.
Winter watering helps too. On a mild day above about 40 degrees, when the soil is not frozen, offer a drink to newly planted or exposed shrubs.
Here is a fun detail I love. Boxwoods have been grown in Virginia gardens since colonial times, and Mount Vernon still features historic boxwood plantings.
Those old hedges have weathered plenty of dry winters with good care.
Watch for soggy soil, though. Boxwoods dislike wet feet, and waterlogged roots can lead to root rot.
Aim for evenly moist, never swampy, ground before the cold settles in for good.
6. A Light Mulch Blanket Keeps Boxwood Soil Steady
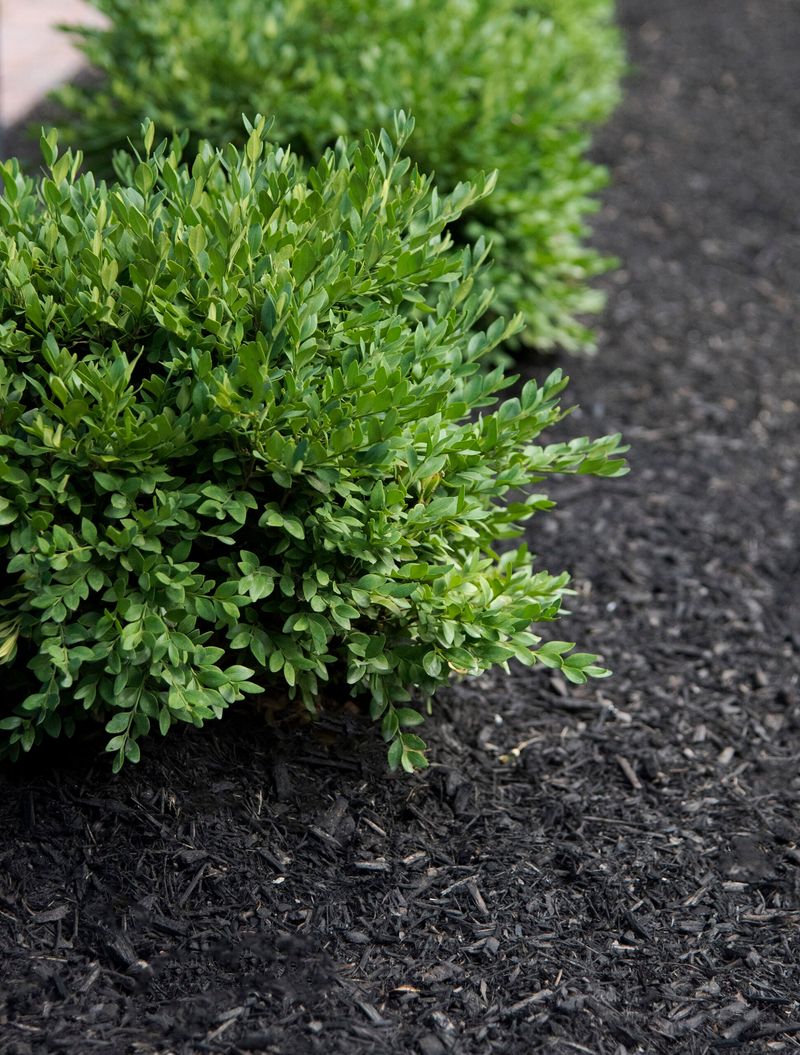
Think of mulch as a cozy quilt for shallow roots. It holds in soil moisture and evens out temperature swings during those freeze and thaw cycles Virginia loves so much.
Spread about one to two inches of shredded hardwood bark or pine bark around the base. Boxwood experts often suggest keeping it thinner than for other shrubs, because these plants root close to the surface.
Pull the mulch back a few inches from the main stems. Piling it against the trunk can hold moisture there and invite rot or hungry voles.
Extend the mulch ring out to the edge of the branches if possible. That is where many of the feeder roots spread.
Steer clear of heavy layers of fresh grass clippings or thick leaf piles. They can mat down, block air, and create a damp mess by February.
Personally, I refresh mulch in late fall after watering deeply. The timing locks in moisture right before winter arrives.
A tidy mulch ring also makes the garden look finished, which feels nice when everything else in the yard has gone brown and quiet.
7. Brown Boxwood Patches Might Point to Boxwood Blight Instead
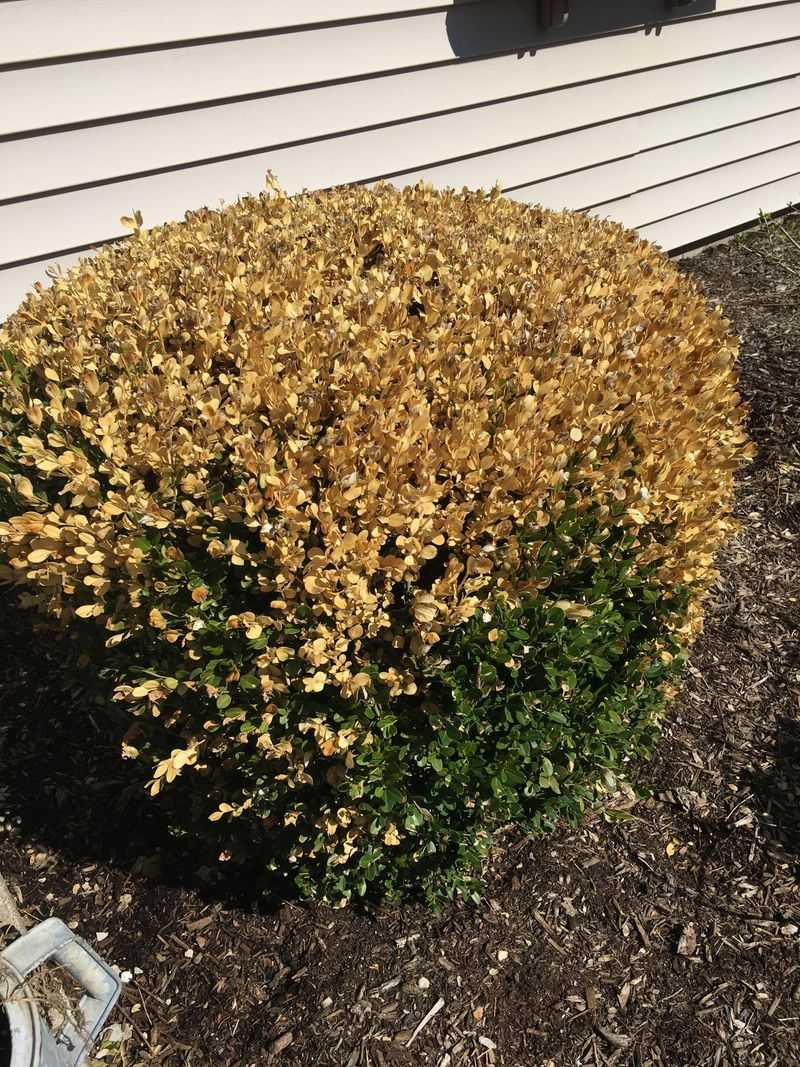
Not every brown boxwood has winter burn. Sometimes the culprit is boxwood blight, a fungal disease that has been found in Virginia since 2011.
The patterns look different once you know what to watch for. Winter burn usually affects exposed sides or tops evenly.
Blight often shows dark brown leaf spots, black streaks on green stems, and sudden heavy leaf drop that leaves bare patches.
Blight spreads in warm, humid weather, and it moves through splashing water, tools, and infected plants. That makes it a very different problem from a dry winter wind.
Other troubles can mimic burn as well. Root rot, boxwood leafminer, and Volutella canker each leave their own clues, so a careful look pays off.
If something seems off, snap clear photos and contact your local Virginia Cooperative Extension office. Many offices can help identify samples or direct you to the plant disease clinic at Virginia Tech.
Bag and trash suspected blighted leaves rather than composting them. Clean pruners between plants too.
A correct diagnosis saves you from wrapping a shrub that actually needs a totally different plan.
8. Spring Pruning Helps Burned Boxwoods Bounce Back
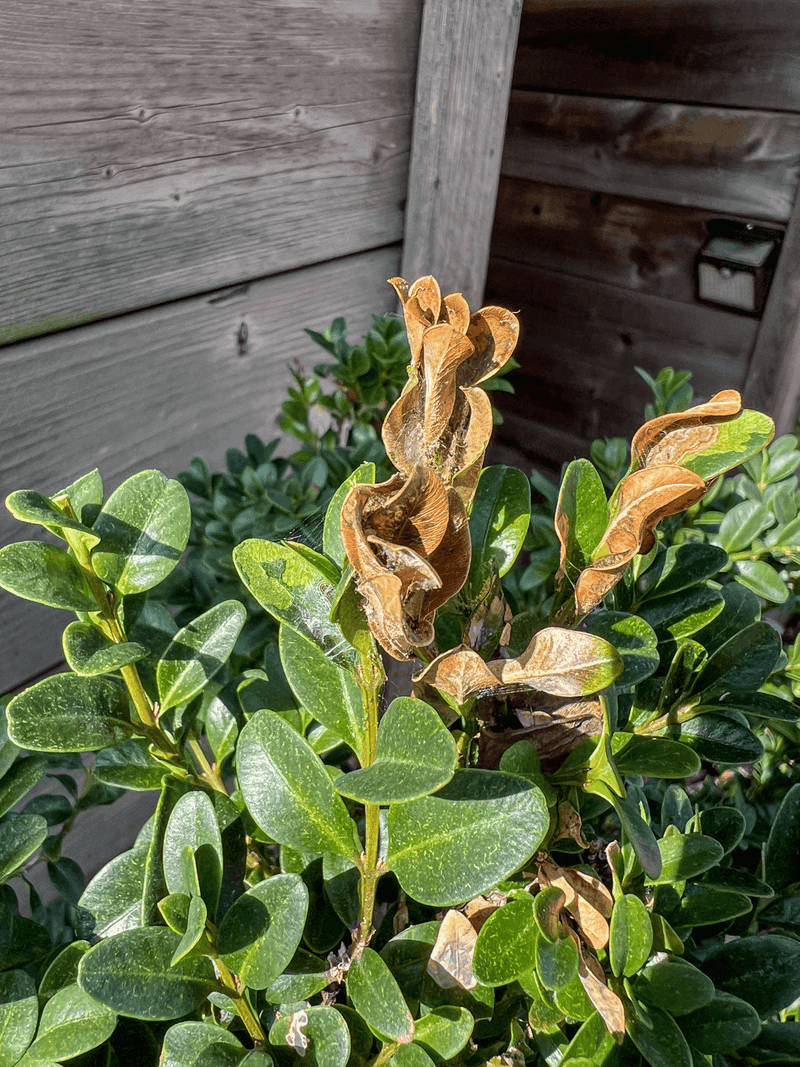
Patience is your best friend in March. Those crispy-looking branches may still be alive, even if the leaves have faded to tan.
Wait until new growth starts in spring before picking up the pruners. Fresh shoots will show you exactly which stems survived and which ones did not.
Scratch a stem lightly with your thumbnail. Green tissue underneath means that branch is still healthy, while brown and brittle wood can come off.
Cut damaged twigs back to a healthy bud or side branch. Thinning a few interior stems also lets more light and air into the shrub, which helps it fill in and resist disease.
Hold off on heavy fertilizer right away. A light feeding based on a soil test from Virginia Cooperative Extension makes more sense than guessing.
Then make a note for next fall. Which side burned?
Did wind sweep in from the west? That record becomes your roadmap for where to place burlap, how much water to give, and whether a more sheltered spot might suit a struggling plant.
A little planning now keeps your boxwoods glossy and green for many winters ahead.