Cut Back or Leave Them Alone? How Pennsylvania Gardeners Handle Faded Mums
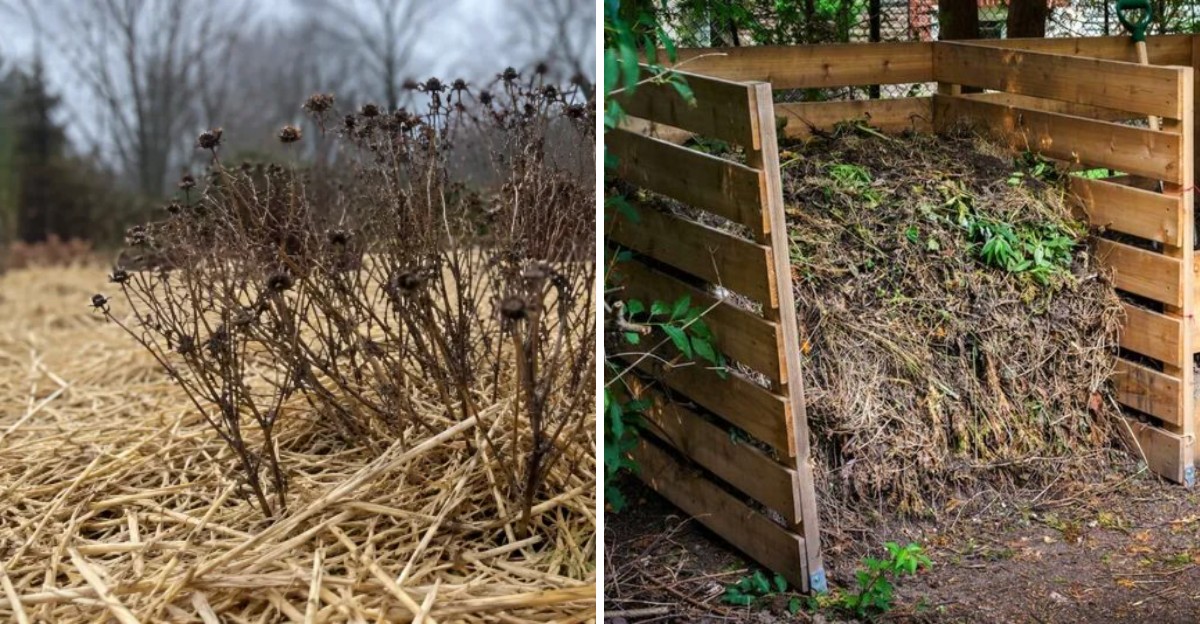
Plant roots can get shoved right out of frozen ground, even during a winter that feels fairly mild. Repeated freezing and thawing slowly lifts shallow crowns upward, leaving them exposed to biting Pennsylvania winter air.
Gardeners call this sneaky problem frost heaving, and it hits plants with shallow, spreading roots the hardest. Our favorite autumn bloomers sit right at the top of that list, which surprised me the first time.
I skipped fall cleanup one year out of pure laziness, and my plants came back stronger than ever. You might notice the same mixed results in your own beds, with tidy neighbors and messy neighbors alike.
Pennsylvania gardeners have argued about scissors versus patience for generations, and both camps have some pretty decent points.
So which approach actually brings those cheerful blooms back next autumn, and which one quietly backfires on you?
1. Leave Mum Stems Standing Until Spring
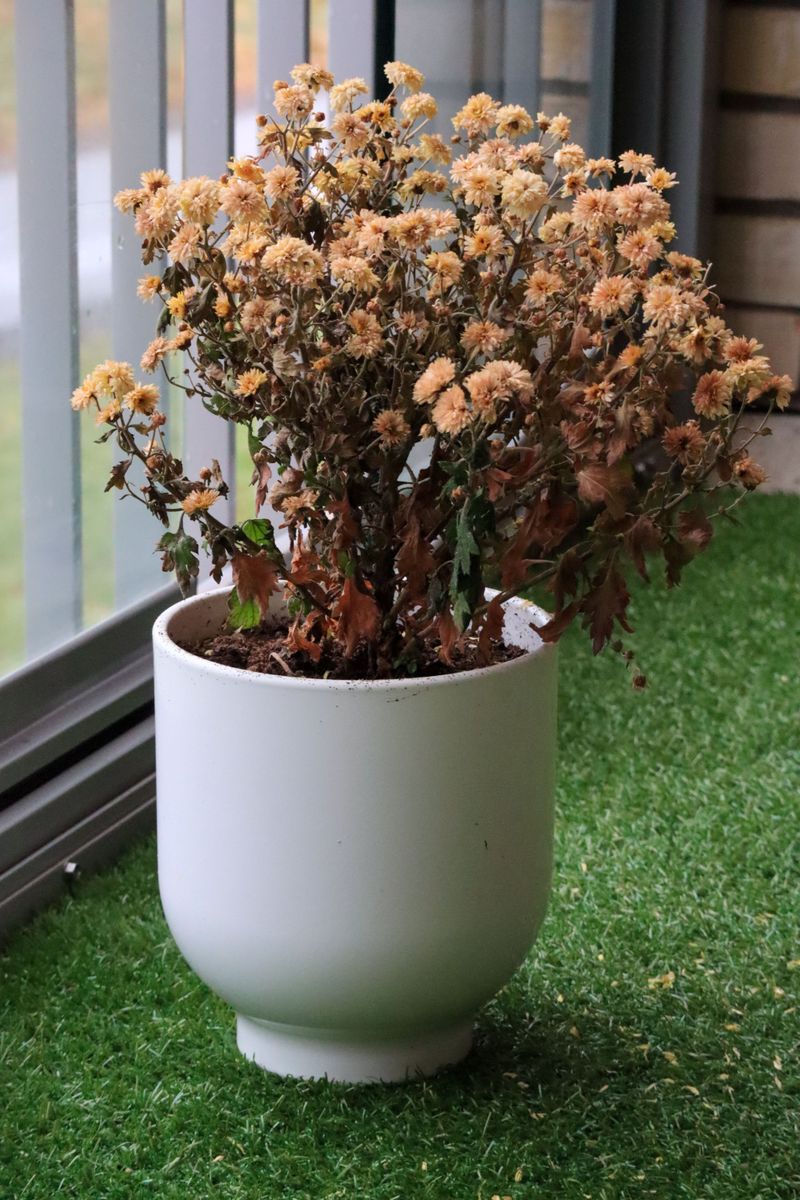
Those brown, crispy mum stems look a bit sad in November, yet they quietly work like a winter coat. Penn State Extension notes that leaving old stems in place can noticeably improve the odds of winter survival.
I resisted this advice for years because the bed looked messy, but my standing clumps returned more reliably. Those stiff stalks catch blowing leaves and drifting snow, which both act as free insulation around the crown.
Snow is a surprisingly good blanket, since air trapped between the flakes slows down heat loss from soil. Steadier soil temperatures mean fewer freeze and thaw swings, so shallow roots stay tucked safely in place.
Old stems also help you remember exactly where each plant sits, which matters when spring cleanup begins. Without them, it is remarkably easy to stab a hidden crown with a shovel while planting something new.
Wait until fresh green shoots appear near the base, usually sometime in early to mid spring here. Then snip the old stalks down close to the ground, taking care to leave those new sprouts untouched.
Sharp bypass pruners make clean cuts, and they spare you from tearing stems that refuse to snap. Wear gloves too, because some people get itchy skin after handling chrysanthemum leaves and stems for a while.
Honestly, this lazy approach feels like cheating, but plenty of seasoned growers swear it works best for them. Your only real job is ignoring the brown stalks until the robins start singing loudly again.
2. Trim Frost-Blackened Mum Stems Down Low
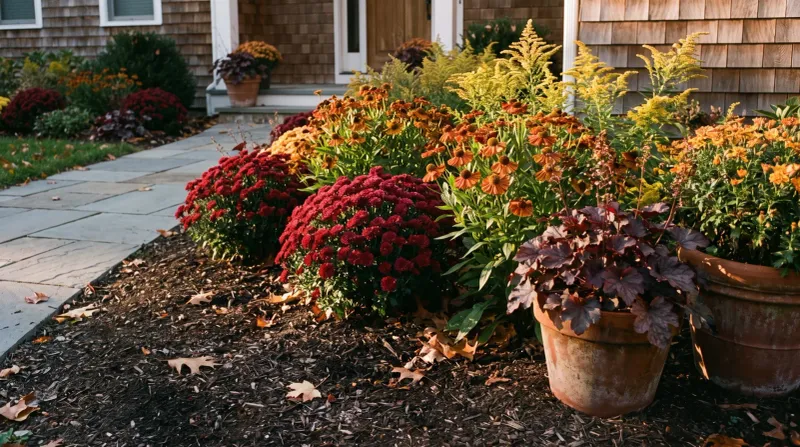
A single hard frost can turn glowing orange mums into droopy brown mops in your yard almost overnight. Some tidy gardeners take that as their cue to grab the pruners and clean things up right away.
A hard frost usually means temperatures dipping to around 28 degrees, which ends top growth for the season. Across much of Pennsylvania, that first hard freeze often arrives sometime between October and early November.
Cut the stems back to roughly four to six inches tall instead of shaving them flat. Those short stubs still trap some leaves and snow, giving the crown a little bit of extra shelter.
I like this method for front yard beds where neighbors walk by and notice every floppy stem. It also removes soggy leaves that might otherwise hold moisture and invite fungal leaf spots next year, a real concern in humid Pennsylvania summers.
Keep a close eye out for leaves covered in white powder or dark blotches while you work. Bag that troubled material for the trash instead of leaving it lying around near the garden bed.
Trimming does give up some natural insulation, so follow up with a cozy layer of loose mulch afterward. Skipping that step leaves the crown exposed, which can mean disappointing results when spring finally rolls around.
My compromise for Pennsylvania winters is trimming only the plants near the walkway while leaving backyard clumps standing all winter. You get a neat entryway for guests and better protection for the plants nobody really sees.
3. Pile Straw Mulch Around Mum Crowns
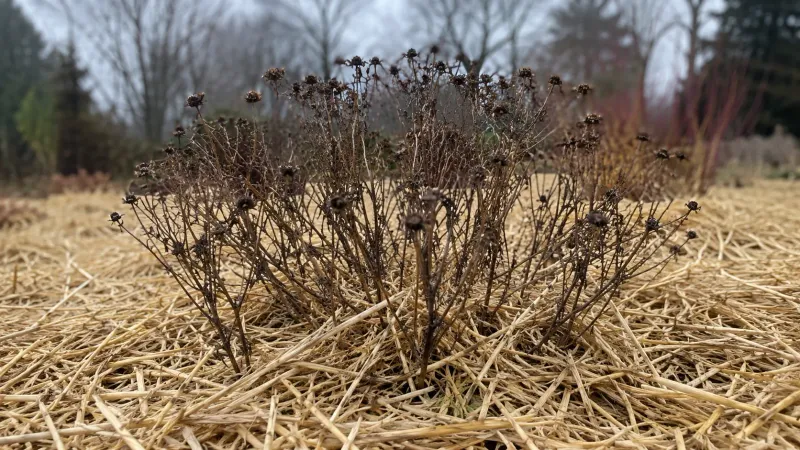
Fluffy straw might be the cheapest winter insurance you can buy for a clump of garden mums. One bale stretches across several beds, and it smells faintly sweet when you shake it loose over a bed.
Timing matters more than most new gardeners expect, because mulching too early can backfire in a mild autumn. Wait until the top inch or so of soil has frozen, often around late November or December.
The goal is keeping the ground cold and steady, not warm, so roots stay put all winter. Mulch acts like a shade umbrella for frozen soil, blocking those sunny afternoons that trigger sudden thawing.
Spread about three to four inches of straw or shredded leaves loosely around and over each plant. Whole leaves tend to mat down into a soggy pancake, so run them over with the mower first.
Pine needles work nicely too, and I collect mine from under a big white pine every fall. Their loose texture lets air move freely, which keeps the crowns from staying wet and mushy for weeks.
Avoid heavy, dense materials like wet grass clippings, since they can smother plants and encourage rot. Soggy soil over winter often causes as many mum losses as cold itself, extension specialists warn.
Pull the mulch back gradually in early spring once those first green shoots start poking through. Leaving it piled too long can produce pale, weak stems that flop over before summer even really begins.
4. Move Potted Mums Into a Cool Garage

Those gorgeous grocery store mums are often florist types, bred for one dazzling show rather than long life outdoors. Their roots also sit in a crowded pot, which freezes much faster than soil in the ground.
An unheated garage or chilly basement gives these plants a quiet place to rest until spring. Aim for temperatures that hover just above freezing, roughly between 32 and 45 degrees most of the time.
Cut the stems back to a few inches first, which makes the pots easier to move around. Darkness is fine during this resting stage, since the plants are not actively growing or making food.
Water lightly every few weeks so the soil stays barely damp, like a wrung out kitchen sponge. Too much water invites rot, while bone dry soil can leave roots shriveled by the time spring arrives.
Hold off on fertilizer during storage, because feeding a resting plant only encourages weak, stretchy growth. I learned that lesson after a well meaning feeding produced spindly pale shoots by late February one year.
Bring the pots back outside once spring frost danger passes, usually around mid May in many areas. Ease them into full sun over a week or so, starting with a few hours each morning.
Florist mums may not bounce back reliably, so treat any survivors as a happy bonus rather than a guarantee. Still, watching a cheap grocery store plant bloom again next fall feels pretty satisfying to me.
5. Bury Container Mums in a Garden Bed
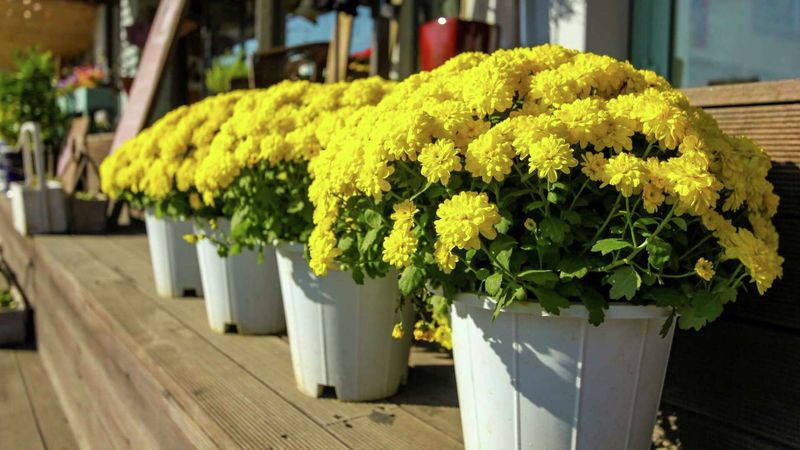
Soil turns out to be one of the best winter blankets around, and it costs you nothing at all. Sinking a potted mum into the ground lets the earth surround those roots with steadier temperatures.
I tried this trick with a leftover porch mum, and it surprised me by flowering again the next autumn. Plastic nursery pots work best here, because terra cotta can crack when wet soil freezes and expands.
Pick a sheltered spot with good drainage, ideally near a wall or fence that blocks harsh wind. Avoid low corners where rainwater puddles, since soggy winter soil can rot a resting crown fairly quickly.
Dig a hole just deep enough that the pot’s rim sits level with the surrounding garden soil. Backfill around the sides, then water once so the soil settles snugly against the container walls.
After the ground freezes, toss a few loose inches of shredded maple leaves or straw over the top. That extra layer keeps sunny winter days from thawing the pot and heaving the roots upward.
Some gardeners prefer pulling plants out of their pots before burying them, which also works quite well. Keeping the pot in place simply makes it easier to lift and move the plant come spring.
Mark each spot with a sturdy stake, because in-ground pots disappear under snow and leaves surprisingly fast. Future you will be grateful when April rolls around and the big hunt for those hidden plants begins.
6. Divide Overgrown Mum Clumps in Spring
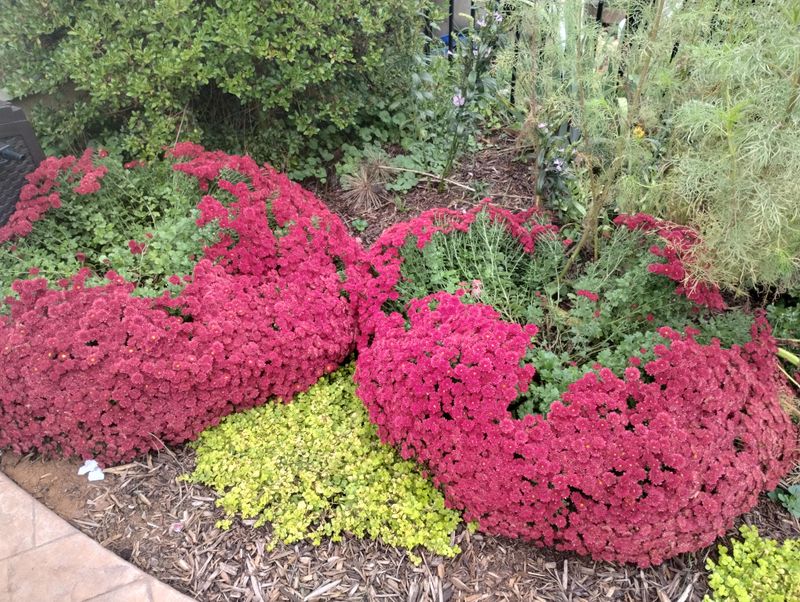
Ever notice a mum with a bald, woody middle and a ring of leafy growth around the edge? That doughnut shape is the plant’s way of telling you it badly needs splitting up soon.
Garden mums usually benefit from division every two or three years, according to many university extension guides. The best timing in this region is early spring, once new shoots reach a few inches tall.
Dividing in fall is risky, since the young pieces have little time to root before the ground freezes. So this one is really a promise you make now and keep after the snow melts.
Lift the whole clump with a garden fork, then shake off loose soil so you can see the roots. Pull or slice apart the healthy outer sections, making sure each piece has several shoots and roots.
Toss the tired woody center onto the compost pile, because it rarely produces many flowers anymore at all. I felt guilty the first time, but the vigorous divisions bloomed far better than the old clump.
Replant each piece at the same depth it grew before, spacing them about eighteen inches to two feet apart. Mix some compost into the planting holes, and water well until the new divisions settle in nicely.
Extra pieces make wonderful gifts, and I have handed out more mum divisions than I can count. Your friends get free fall color, and your own bed looks fuller and healthier next season.
7. Toss Healthy Mum Clippings on the Compost Pile
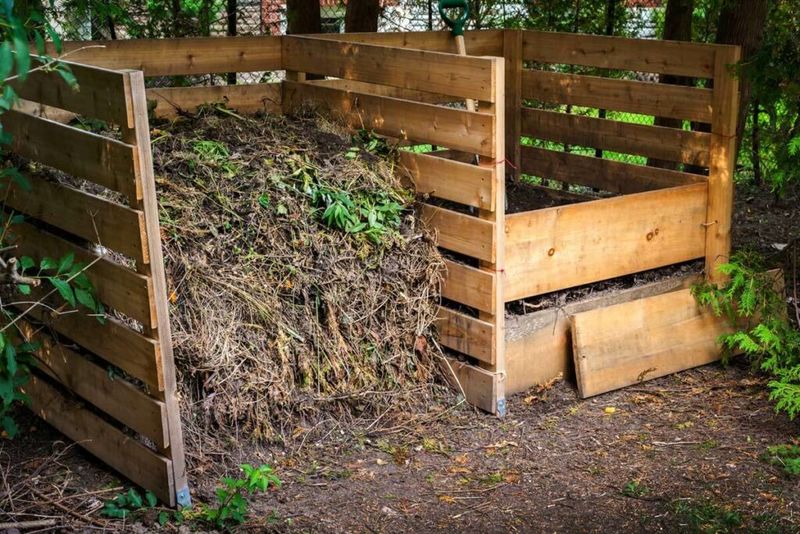
Every armload of crunchy mum stems you clip is basically free soil food just waiting to happen. I love hearing that satisfying crackle as brittle stalks hit the pile on a crisp November afternoon.
Dried mum stems count as brown material, which supplies carbon and balances out wet kitchen scraps nicely. Green leaves still clinging to the stems add a bit of nitrogen, so almost nothing goes to waste.
Chop the stalks into pieces about six inches long, since smaller bits break down much faster. Running them over with a mower works too, and it turns a chore into a quick, noisy job.
Leave out any stems showing powdery mildew or rusty spots, along with leaves hosting clusters of aphids. Most backyard piles fail to get hot enough to reliably destroy plant diseases, according to extension experts.
Bag those questionable clippings for trash pickup instead, and keep your compost clean for next year’s beds. Many Pennsylvania towns also offer yard waste collection, where large municipal piles reach higher temperatures than backyard heaps.
Turn the pile every few weeks if you can, mixing those mum stems with grass clippings or coffee grounds. Winter slows decomposition way down, but things pick back up quickly once the spring warmth finally returns.
By next fall, that crumbly dark compost can go right back around your mum beds as nourishment. Old flowers feeding new ones feels wonderfully poetic to me, and my garden seems happy to agree.
8. Pinch Spring Mum Shoots for Bushy Fall Blooms
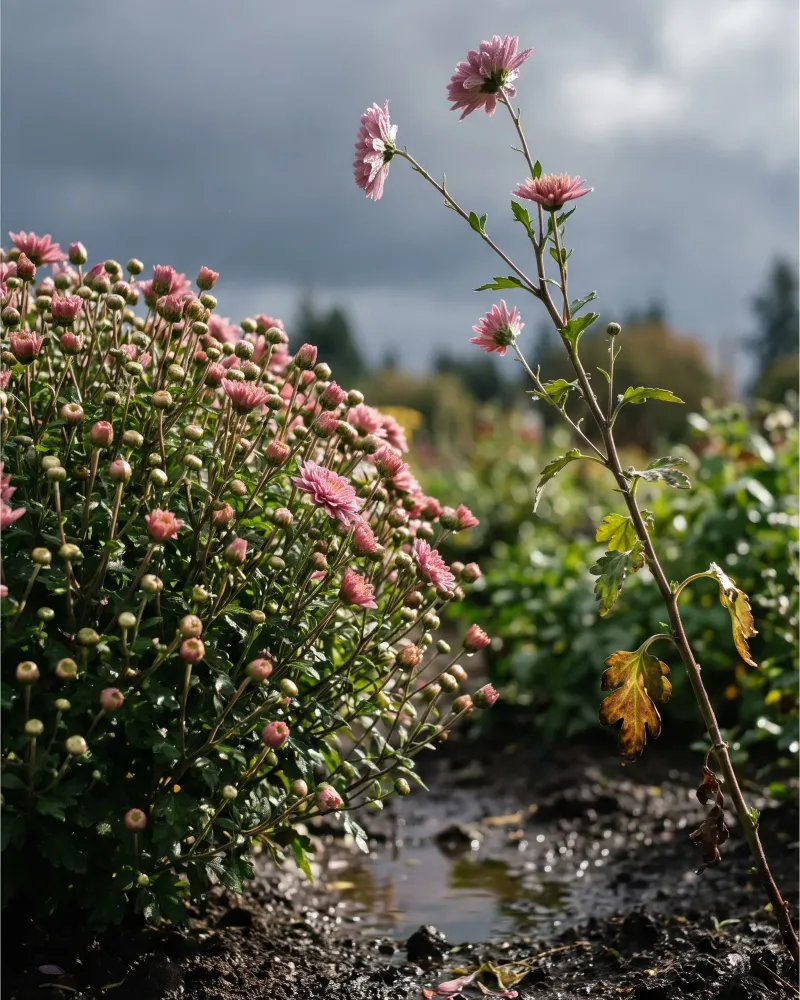
Those tall, floppy mums that split open in September usually skipped one simple habit back in early summer. Pinching sounds fussy, but it takes seconds and turns a gangly plant into a tidy dome of buds.
Since your faded mums are resting now, this step belongs on next year’s calendar rather than today’s list. Start once the new shoots reach about six inches tall, usually sometime in late spring around here.
Pinch off the top inch or so of each stem using your fingers or a small pair of snips. Each pinched tip sends out two or more side branches, and every branch eventually carries more flowers.
Repeat the process every few weeks as fresh growth stretches out another five or six inches. Stop pinching around early July, because later trims can delay buds until frost catches them first.
Many gardeners use the Fourth of July as an easy reminder, which makes the cutoff hard to forget. In colder northern counties, some growers stop a week or two earlier to give blooms extra time.
I used to skip pinching because it felt cruel to snap off healthy growth on purpose. One season of side by side testing changed my mind, since the pinched plants looked twice as full.
Pair this habit with whichever winter method you chose, and those faded clumps can return looking spectacular. Pennsylvania autumns deserve a big burst of color, and your patient planning helps deliver exactly that.