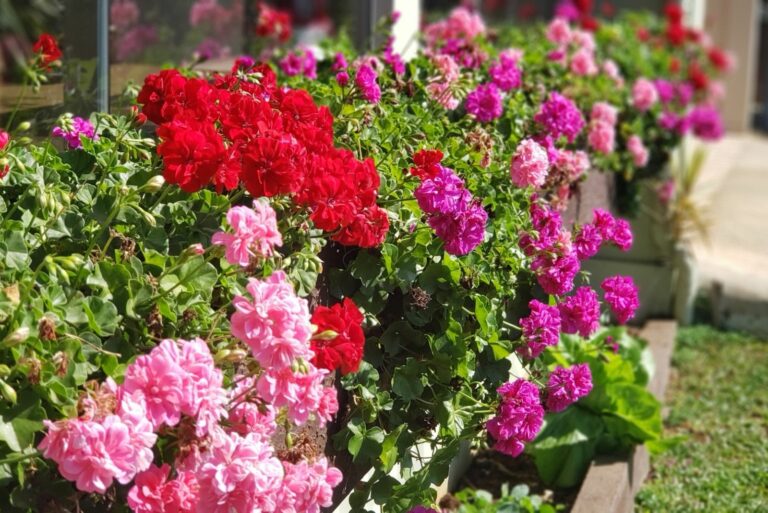
Geranium Cuttings You Can Take Now For Free Plants Next Spring
The flowers sitting on your patio right now can be cloned with nothing more than a clean knife. Each snip that roots grows into a plant that is a genetic copy of its parent, the same color and the same leaf pattern.
I used to toss my potted bloomers onto the compost pile every October. Then a friend handed me a tray of rooted snippets she had taken from her own pots, and I felt a little foolish about all that waste.
Truth is, these sun lovers come from South Africa and are perennials in their home climate. Most of us treat them like annuals only because frost stops them cold.
Why pay for new flats every May? A handful of stems taken before the first freeze could fill your window boxes next year for free, and the timing is better now than you might expect.
Those Summer Geranium Stems Are Hiding Next Year’s Window Boxes
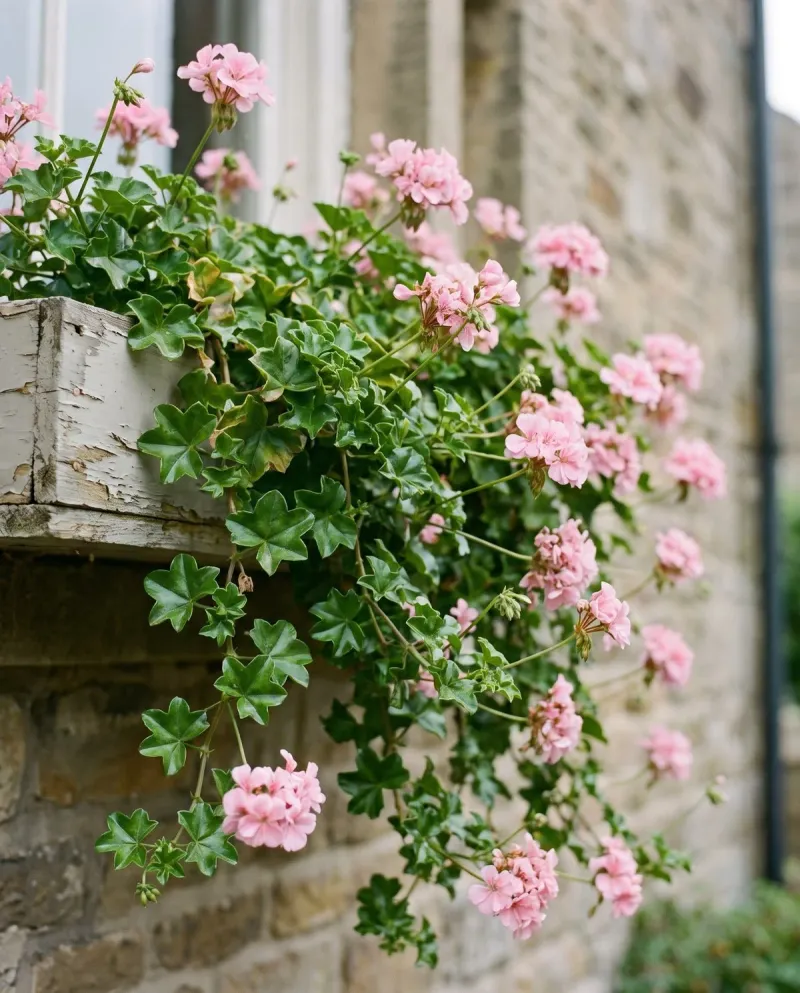
Funny thing about the plants we call geraniums. Most of the bright ones in pots are really Pelargoniums, tender cousins of the hardy cranesbill geraniums that live in perennial beds.
That difference matters. Zonal, ivy, and scented Pelargoniums root eagerly from stem cuttings, which is why growers have cloned them for well over a century. A favorite red one from your porch can be copied exactly, while seed-grown plants may look different from the parent.
Late summer through early fall is the sweet spot for most of the country. Stems are still green and active, yet days are cooling off, so cuttings suffer less stress. Aim to finish before your first expected frost, which may be late September in Minnesota but December or later along the Gulf Coast.
Look over your plants with fresh eyes. A pot that seems tired and leggy is often the best donor, since trimming it gives you material and tidies it up at the same time.
One healthy mother plant can easily supply five to ten cuttings. Multiply that across a few pots, and you could have a full spring display waiting on a sunny windowsill without spending a dime at the garden center.
Snip Just Below a Leaf Node on a Non-Flowering Geranium Stem
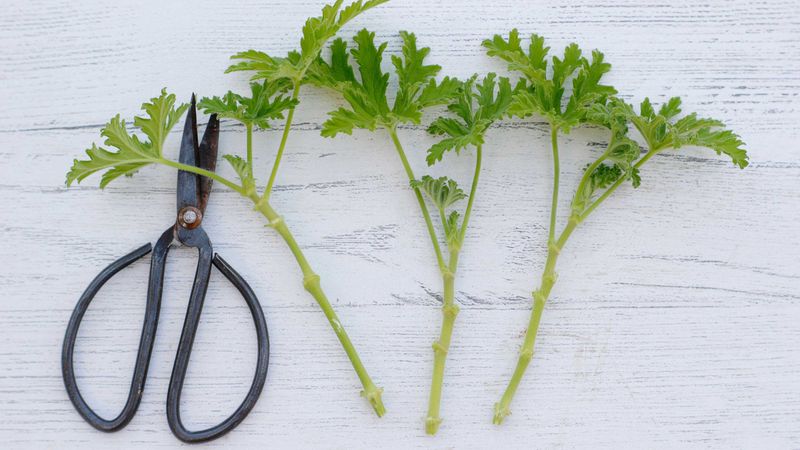
A good cutting starts with a good choice. Pick a firm, green stem that has no flower buds, since a stem busy making blooms has less energy for roots.
Grab a sharp, clean knife or pruners. Wiping blades with rubbing alcohol between plants helps keep diseases from hitching a ride.
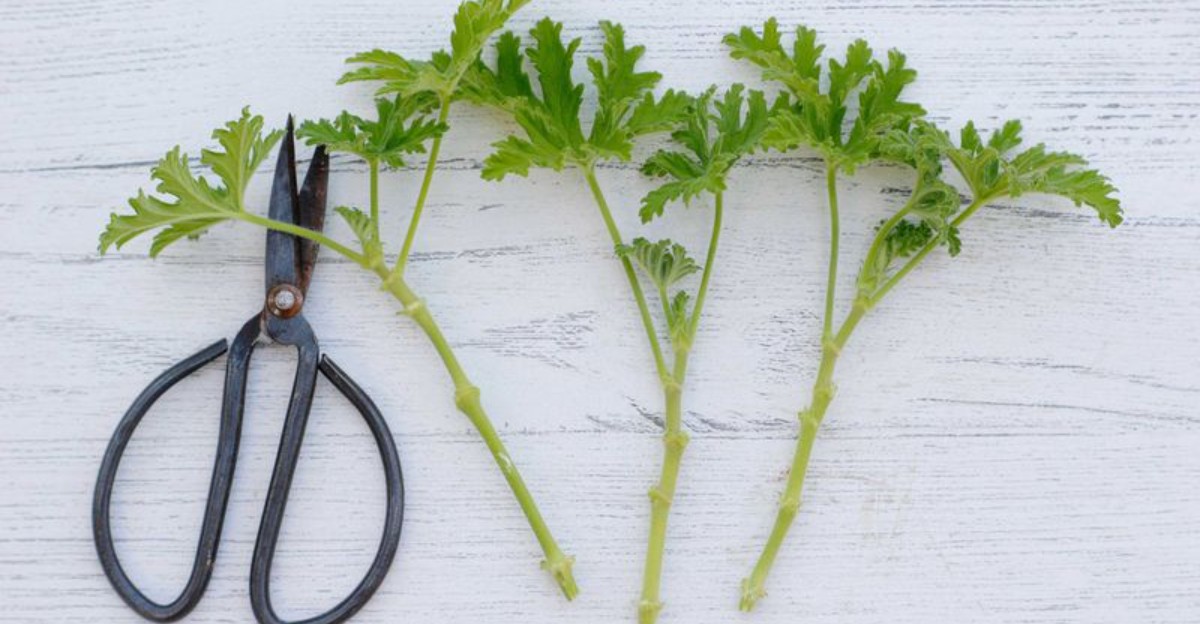
Measure about 3 to 5 inches from the tip. Then make a straight cut just below a leaf node, the small bump where a leaf joins the stem. Colorado State University Extension notes that roots form most readily near these nodes, so cutting there gives your snippet a head start.
Now strip the lower leaves, keeping only two or three at the top. Pull off any stipules, those little papery flaps at the base of leaf stems, along with buds or flowers. Leaving too much foliage makes the cutting lose water faster than it can handle.
Skip the very soft, floppy tips and the old woody bases. Stems in the middle range, flexible but sturdy, root best.
Take a few extra cuttings from each plant. Some may not make it, and spares give you a cushion so your favorite variety still comes through.
Let Those Fresh Geranium Cuttings Rest Before Potting
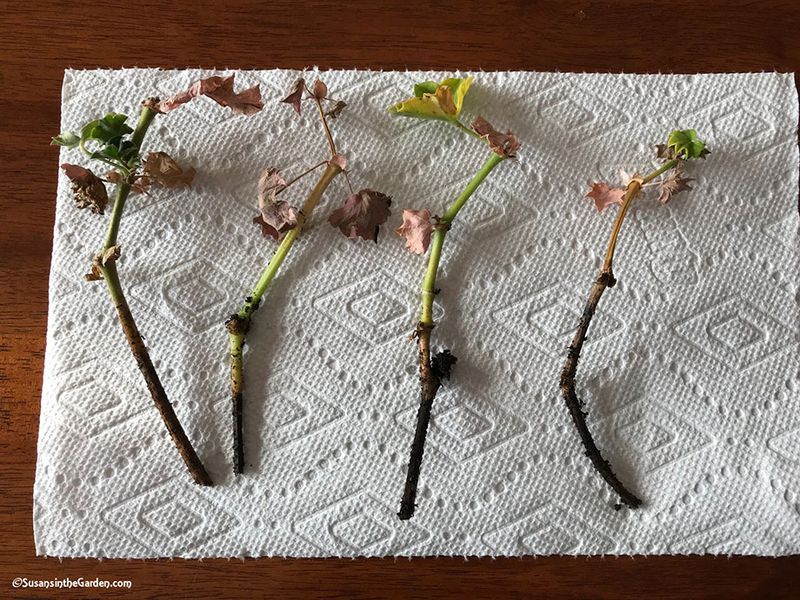
Patience pays off with these succulent-stemmed plants. Their thick stems hold a lot of moisture, and a raw cut tucked straight into damp soil can turn mushy.
Many experienced growers set their cuttings on a paper towel in a shady, airy spot for a few hours. Some leave them overnight. During that rest, the cut end dries slightly and forms a thin protective layer, sometimes called a callus.
Not every expert agrees this step is required, and plenty of cuttings root fine without it. Still, it is an easy, low-risk habit that may reduce rot, the main reason Pelargonium cuttings fail.
What about rooting hormone? It is optional here. Geraniums root readily on their own, though a light dusting can speed things up for slower varieties like some regal types. If you use it, tap off the extra powder, because a thick coating does not help more.
Fair warning, the cuttings may look a bit limp while they sit. That is normal and usually perks up once they settle into soil.
Use this waiting time to fill your pots and label each variety. Future you will thank present you when everything looks alike in March.
Gritty Potting Mix Keeps Geranium Cuttings From Rotting
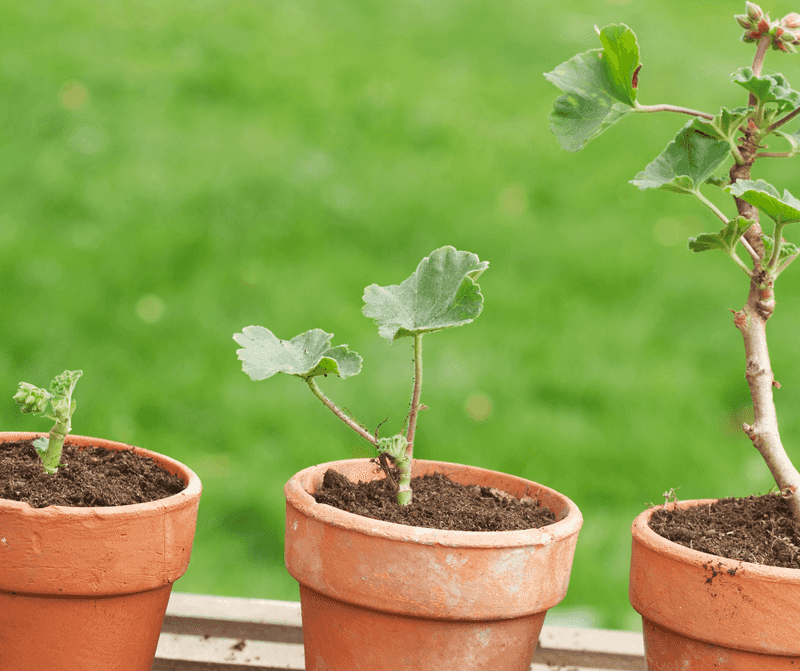
Soggy soil is the number one enemy here. Geranium cuttings want a loose, airy mix that holds a little moisture and lets the rest drain away.
A simple recipe works well. Combine equal parts seed-starting mix and perlite, or use a sterile mix blended with coarse sand or vermiculite. Skip garden soil, which packs down and can carry fungus problems.
Small containers, 3 to 4 inches across, are ideal. Every pot needs drainage holes. You can tuck one cutting per pot or set several around the edge of a slightly larger container.
Poke a hole with a pencil before inserting each stem. That keeps the cut end from scraping and gives you a clean channel. Bury the stem so at least one or two bare nodes sit under the surface, then press the mix gently around it.
Water once, lightly, and let the pot drain fully. After that, wait until the top of the mix feels dry before watering again.
I learned this the hard way after drowning an entire tray. Cuttings without roots cannot drink much yet, so a little dryness is far safer than a puddle.
A Bright Windowsill Gives Geranium Cuttings Their Best Shot
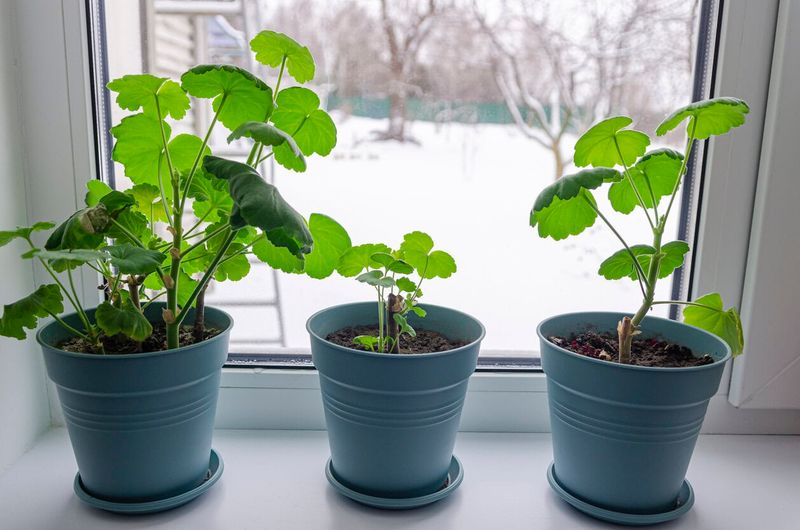
Light and warmth do most of the heavy lifting now. Set your pots where they get bright, indirect light, such as an east window or a spot a few feet back from a sunny south window.
Harsh afternoon sun can scorch rootless stems. Low light, though, leads to weak, stretched growth, so aim for that happy middle.
Room temperatures in the mid 60s to mid 70s Fahrenheit suit them nicely. Avoid cold drafty sills and spots right above heating vents.
Here is a twist that surprises people. Unlike many cuttings, geraniums usually do not want a sealed plastic bag over them. Their fuzzy, fleshy leaves can rot in trapped humidity, so open air is generally better.
Short on window space? A basic LED shop light hung a few inches above the pots for 12 to 14 hours a day works great.
Check them every couple of days. Pinch off any yellowing leaf promptly, since decaying leaves can spread gray mold, a common problem called botrytis.
Keep fertilizer away for now. Feeding before roots form does not help, and it can stress tender stems.
New Leaves on Your Geranium Cuttings Mean Roots Are Forming
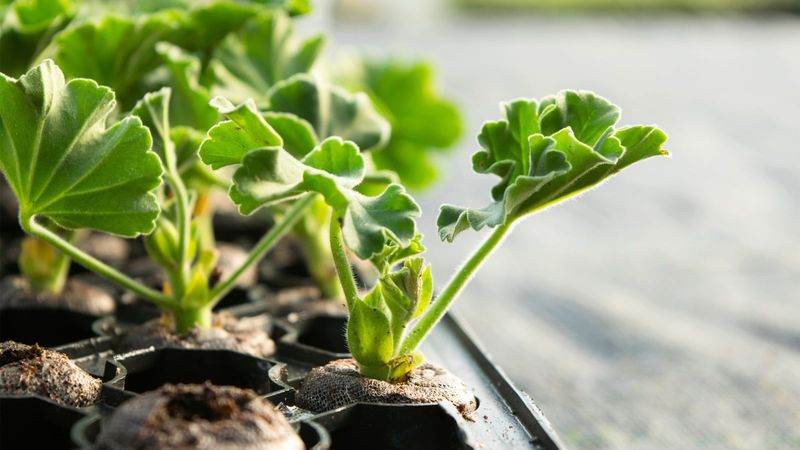
Waiting is the hardest part, I get it. Most geranium cuttings form roots in about three to four weeks, though cooler rooms can stretch that to six weeks or more.
Fresh leaves at the tip are the most reliable clue. A plant only pushes new growth once it has roots to support it.
A very gentle tug can confirm things. Light resistance means roots are gripping the mix. If you can, peek at the drainage holes, where white root tips sometimes poke out.
Some cuttings will fail, and that is fine. A stem that turns black and soft at the base has rotted, so remove it quickly to protect its neighbors.
Once roots fill the small pot, move each young plant into a 4 to 6 inch container with regular potting mix. Now is the time to start a weak dose of balanced fertilizer every few weeks.
Pinch the growing tips when plants reach about 6 inches tall. That simple squeeze encourages branching, turning a single spindly stem into a bushy plant loaded with flower buds by late spring.
Your Young Geraniums Need Hardening Off Before Moving Outdoors
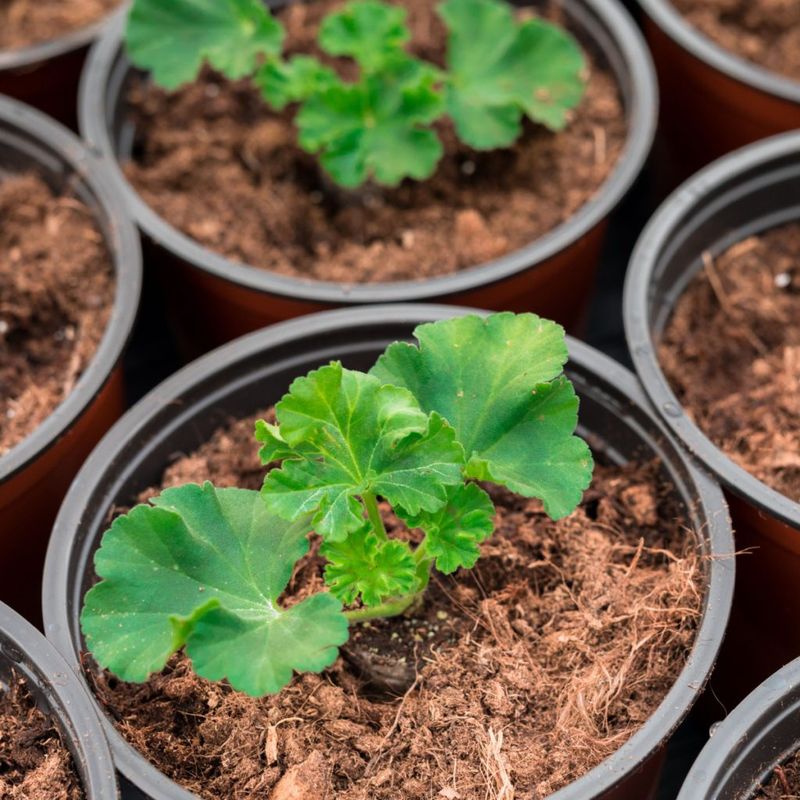
Winter is the quiet stretch. Keep your young plants in bright light with slightly cooler nights, around 55 to 60 degrees Fahrenheit, which helps keep growth compact.
Water less often during these short days. Let the top inch of soil dry out between drinks, and ease up on feeding until late winter, when days lengthen and growth picks up again.
Spring timing depends on where you live. Wait until frost danger has passed and nights stay above about 50 degrees. In southern Texas or Florida that could be early spring, while northern states may need to hold off until mid to late May.
Before planting, harden them off over 7 to 10 days. Start with an hour or two outside in shade, then gradually add more sun and time. Bring them in if a cold snap shows up.
Skipping this step can leave leaves bleached or scorched. A slow introduction builds tougher plants.
Then comes the fun part. Fill your boxes, share extras with friends, and save a favorite to repeat the cycle next fall. One summer pot can quietly become a lifelong supply of blooms.