North Georgia Gardeners Should Dig Up Dahlia Tubers After Frost To Protect Them This Winter
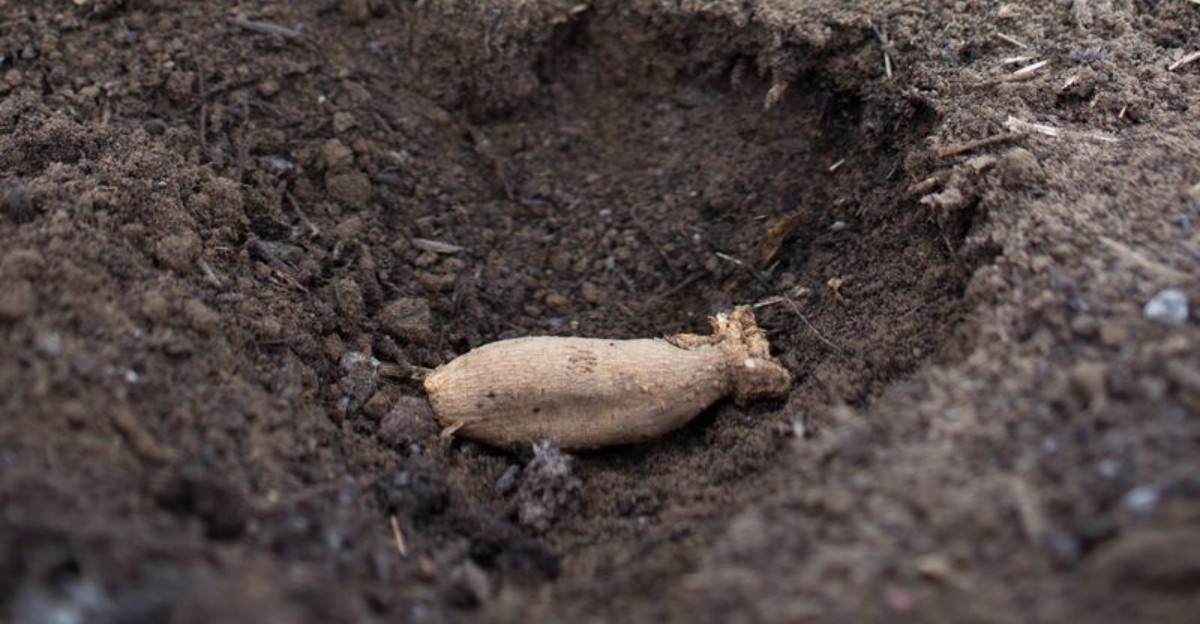
Long before gardeners admired its enormous flowers, this plant was grown for its edible roots. Those same roots have an unusual history that goes far beyond ornamental gardens.
Today those same lumpy roots are the reason your fall garden sparkled with dinner plate blooms. I still remember pulling my first clump and thinking it looked like a bundle of muddy sweet potatoes.
Here in North Georgia, winter can be sneaky. A mild December can turn into a soggy, frozen January, and cold wet clay is rough on anything resting underground.
I lost a whole row once by trusting the weather a little too much.
You do not need fancy gear to save them. A garden fork, a cardboard box, and a cool corner of the house will do most of the work.
One afternoon of digging could be all it takes to protect your favorite flowers and bring them back next summer.
1. Those Blackened Dahlia Stalks Are Sending You A Message
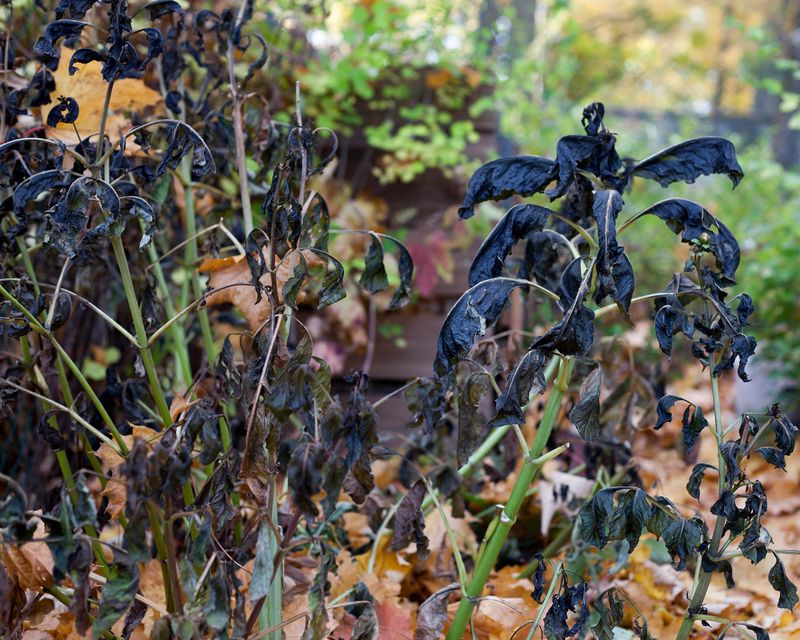
One cold morning, the whole dahlia bed looks like someone dipped it in ink. Those slumped, black leaves are not a disaster.
They are your cue that the growing season has officially wrapped up.
Dahlias come from the mountains of Mexico and Central America, where winters stay fairly mild. That makes them tender perennials.
The tops collapse at the first hard frost, but the tubers below are still alive and full of stored energy for next year.
Across North Georgia, gardeners sit in USDA zones 7a through 8a, with colder pockets in the mountains. Tubers can sometimes survive in the ground in warmer spots with sharp drainage and thick mulch.
The trouble is our heavy red clay, which holds water like a sponge all winter.
Cold plus constant wetness is a rough mix. Tubers sitting in soggy clay often rot, and a hard freeze that reaches them can turn them to mush.
Voles also love a free winter snack.
So when you see that blackened foliage, do not panic or pull everything out in sadness. Take it as a friendly reminder that your tubers are ready for a cozy indoor rest instead.
2. Wait A Week Or Two Before Your Garden Fork Hits The Dahlia Bed
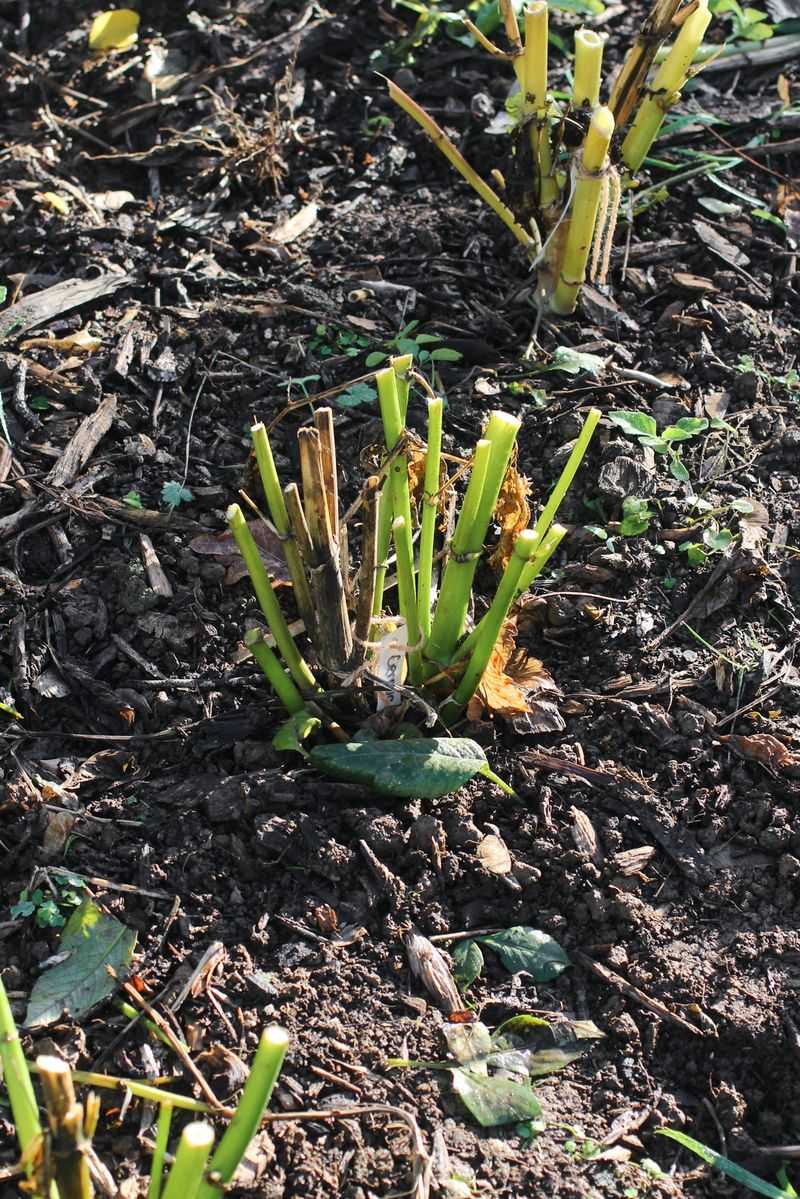
Patience pays off here more than almost anywhere else in the garden. After a hard frost darkens the plants, most growers suggest leaving the tubers in the soil for about one to two weeks.
That short wait lets the tuber skins thicken and toughen up. Tougher skin holds moisture better in storage and resists bruising when you dig.
The eyes, which are the tiny buds that become next year’s sprouts, also tend to become easier to spot.
In North Georgia, that first frost usually shows up somewhere between mid-October and mid-November. Mountain towns like Blairsville often see it earlier, while spots closer to Atlanta may wait a bit longer.
Your local extension office or the National Weather Service can give you average dates for your area.
During the waiting period, cut the stems back to about 4 to 6 inches tall. Some gardeners cover the cut tops with foil or a small cup so rain does not funnel down the hollow stems.
One firm rule applies, though. Get those tubers out before the ground freezes hard or a long cold, rainy spell sets in.
A dry day after the waiting window is your golden moment.
3. Lifting A Dahlia Clump Takes A Wide Circle And A Light Touch
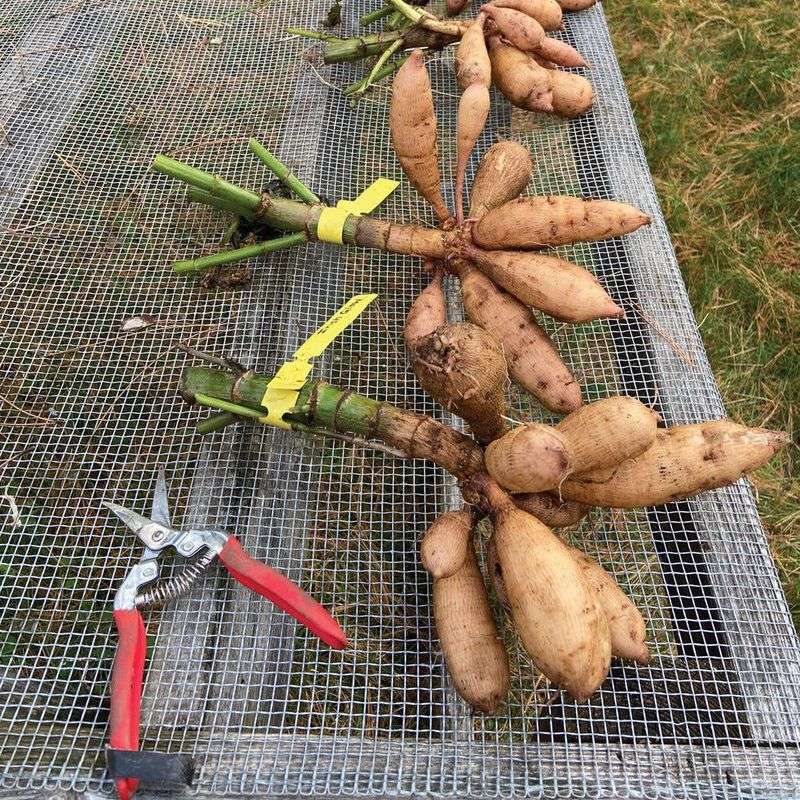
My first dig went wrong in about ten seconds. I stabbed the fork right next to the stem and speared a perfect tuber.
Lesson learned, and now I start much farther out.
Begin by working a garden fork into the soil in a circle about 12 inches from the stem. Push down, then rock the handle back gently to loosen the soil all the way around.
A fork is kinder than a spade because it slides between roots instead of slicing them.
Once the circle is loose, slip the fork under the clump and lift slowly. Resist the urge to yank the plant up by its stem.
The narrow necks that connect each tuber to the crown snap easily, and a tuber without a neck and eye will not sprout.
Clay soil can cling like glue, especially after rain. If the clump feels heavy, loosen a little more soil instead of pulling harder.
Shake off loose dirt with your hands.
Label each clump right away with a plant marker or tag. Trust me, every brown tuber looks the same by February, and you will want to know which one grew those giant peach blooms.
4. Rinse And Dry Those Muddy Dahlia Tubers Before Storage
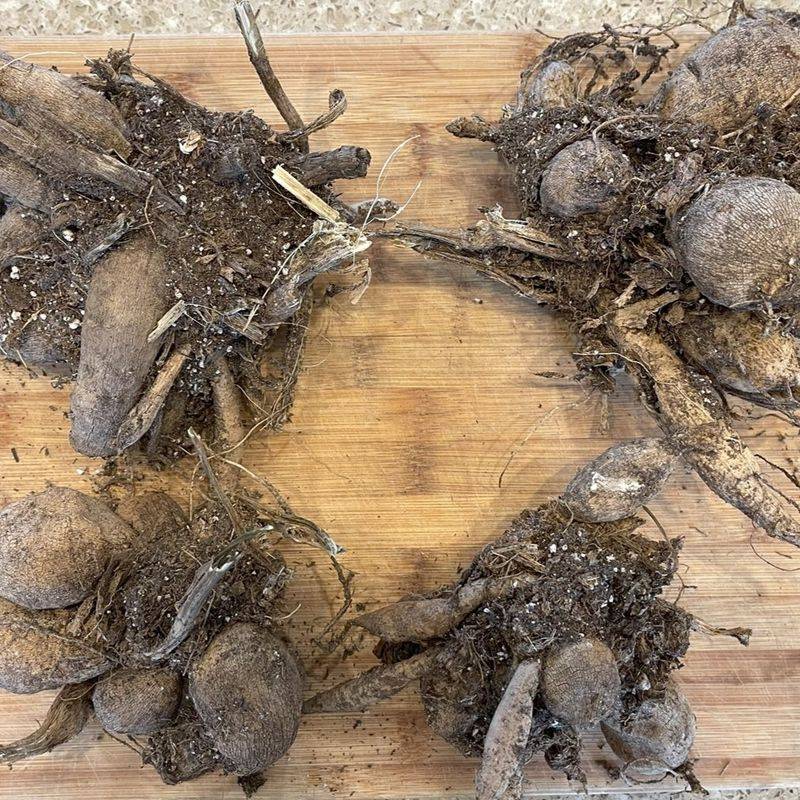
A muddy tuber hides problems. Washing reveals soft spots, rot, or damage you would otherwise pack away and regret later.
Use a gentle spray from your hose to wash off the soil. A hard blast can scrape the thin skin, so keep the pressure low.
Turn the clump upside down so water drains out of the hollow stem.
Look over each tuber as you go. Trim off any mushy or broken pieces with clean pruners, and toss tubers that feel squishy.
Firm, plump tubers are the keepers.
Next comes curing, which simply means letting the skin dry. Spread the tubers on a screen, rack, or flattened cardboard in a garage, shed, or covered porch.
Keep them out of direct sun and away from freezing temperatures.
Drying time usually runs from one day to several days, depending on humidity. You want the surface dry to the touch, not wrinkled.
Overdrying causes shriveling, which is just as unhelpful as storing them wet.
Fun fact for your next garden chat: dahlia tubers are technically tuberous roots, not true tubers like potatoes. Each one needs a piece of the old stem crown with an eye to grow again.
5. Dividing Dahlia Clumps Gives You Free Plants For Spring
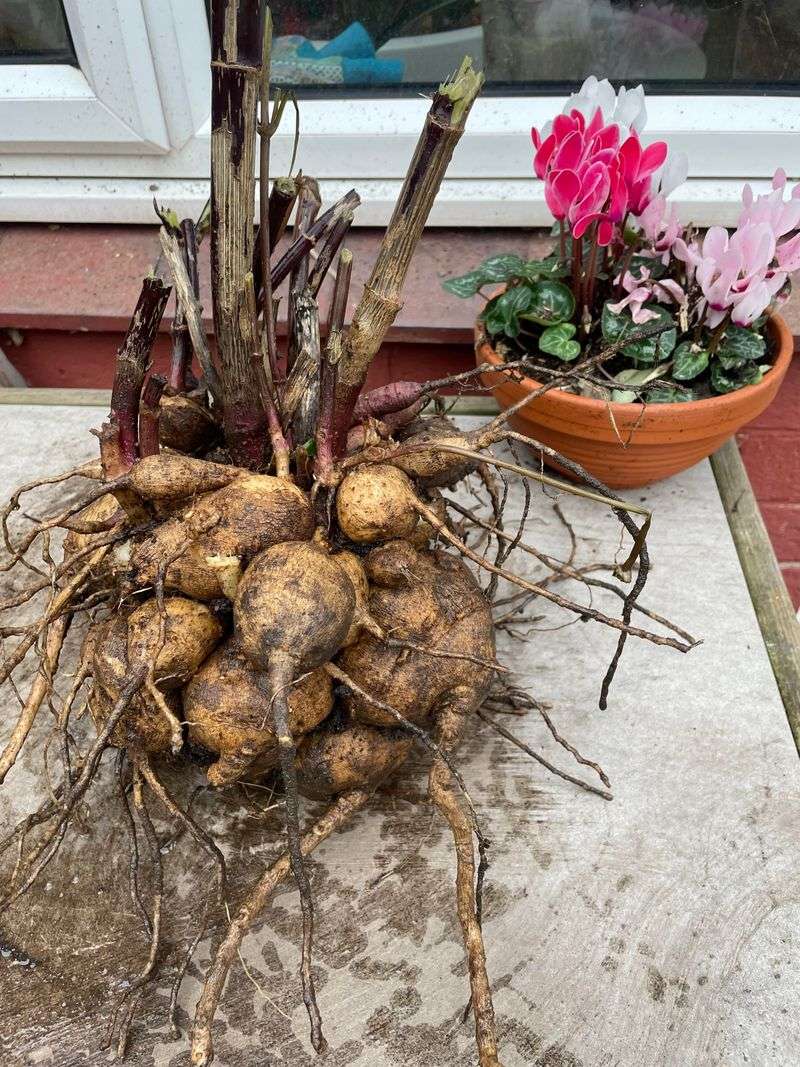
A single dahlia tuber planted in spring can turn into a clump of five, ten, or even more by fall. That is a pretty sweet return on one purchase.
You can divide clumps in fall right after digging, or wait until spring when the eyes swell and are easier to see. Many beginners prefer spring for that reason.
Fall dividing saves storage space, though, and fresh tubers are often softer and easier to cut.
Each division needs three parts. Look for a plump tuber body, an unbroken neck, and a piece of the crown with at least one eye.
Without that eye, the tuber may look healthy but will not send up a shoot.
Use sharp, clean pruners or a knife. Wiping blades with a disinfecting wipe between clumps helps limit the spread of disease.
Cut away the old mother tuber from last spring, since it often turns woody or hollow.
Extra divisions make great gifts for gardening friends and neighbors. I like to tuck a few into paper bags with handwritten labels.
Sharing tubers is one of the friendliest traditions in the flower world.
6. A Box Of Vermiculite Or Wood Shavings Keeps Dahlia Tubers Snug
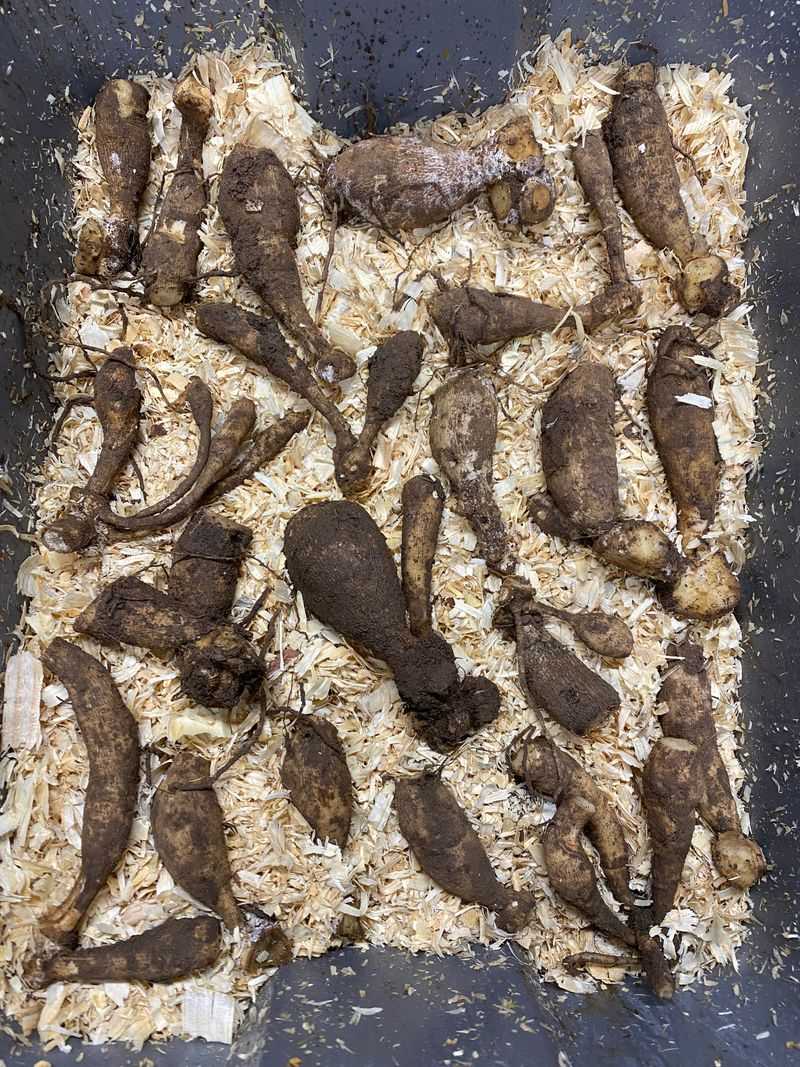
Stored tubers have two enemies. Too much moisture brings rot, and too little brings shriveling.
The right packing material balances both.
Popular choices include coarse vermiculite, peat moss, coconut coir, and pine wood shavings. Shavings sold as pet bedding work well and cost little.
Some growers also wrap individual tubers in plastic wrap, which holds in moisture nicely.
Layer the material in a cardboard box, plastic tub with a cracked lid, or paper bag. Set tubers in so they do not touch each other, then cover with more material.
If one tuber starts to rot, spacing keeps the trouble from spreading.
When using peat or coir, a slightly damp feel works best, like a wrung out sponge. Bone dry material can pull moisture from the tubers in our heated indoor spaces.
Storage temperature matters too. Aim for roughly 40 to 50 degrees Fahrenheit.
Below about 35 degrees, tubers can freeze, and above 55 degrees they may sprout early.
In North Georgia homes, unheated basements, crawl spaces, and insulated garages often hit that range. Tuck a cheap thermometer nearby so you know for sure.
7. Monthly Peeks At Stored Dahlia Tubers Catch Trouble Early
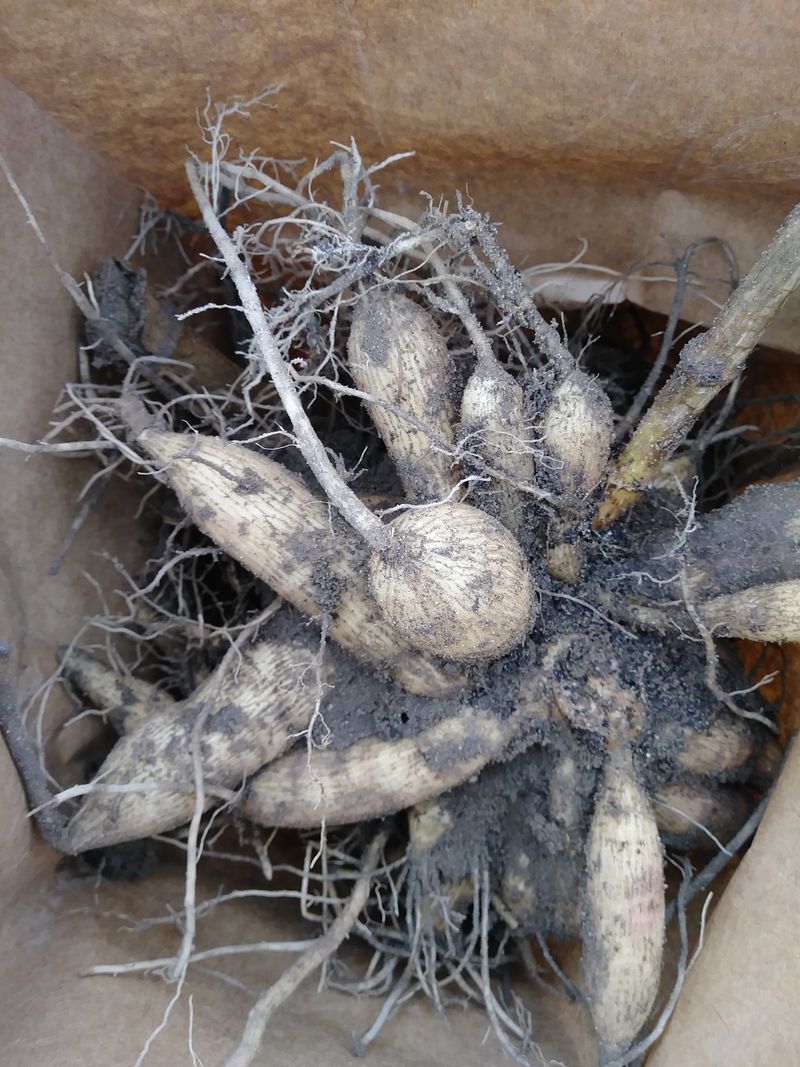
Out of sight should not mean out of mind. A quick check once a month takes five minutes and can save a whole box of tubers.
Open the container and gently squeeze a few tubers. Healthy ones feel firm, a bit like a fresh carrot.
Soft, slimy, or moldy tubers need to come out right away.
Small spots of mold can sometimes be trimmed off, with the cut allowed to dry before returning to storage. Anything mushy throughout belongs in the trash, not the compost, to keep disease out of your garden.
Wrinkled tubers are telling you the air is too dry. Lightly mist the packing material, not the tubers directly, and check again in a week.
A little moisture usually plumps them back up.
Watch the temperature as well. Georgia winters swing wildly, with a 70 degree afternoon followed by a hard freeze.
Garages can heat up or chill fast during those swings.
Early sprouts in late winter mean things are a bit warm. Move the box to a cooler spot if you can.
Keeping a simple notebook of what you see helps you fine tune storage next year.
8. Spring Planting Brings Your Saved Dahlia Tubers Back To The Garden
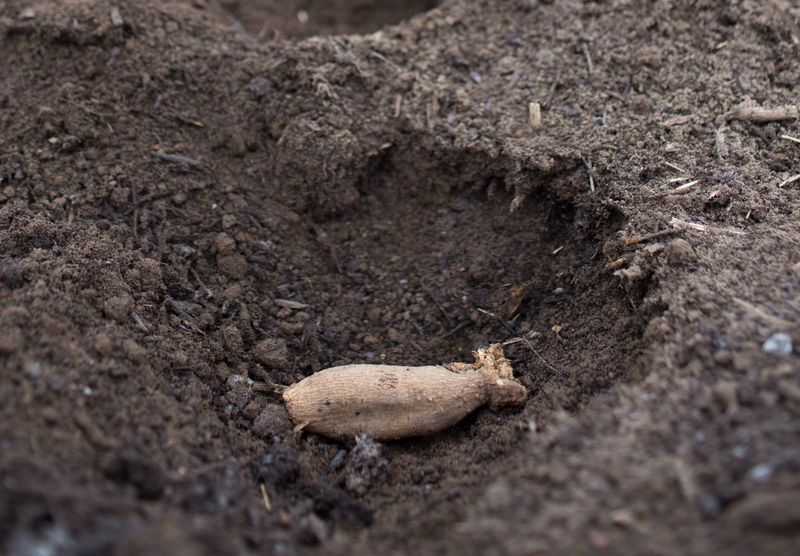
All that fall work pays off the moment you see a green shoot poking through the soil. Few garden moments feel quite as satisfying.
Plant tubers outside once frost danger has passed and the soil warms to about 60 degrees. In much of North Georgia, that lands around mid to late April.
Mountain gardeners may need to wait until early May.
Choose a spot with at least six to eight hours of sun. Dahlias dislike soggy feet, so work compost into heavy clay or use raised beds for better drainage.
That same drainage helps if you ever try leaving a few tubers in the ground.
Lay each tuber on its side about 4 to 6 inches deep, with the eye pointing up. Hold off on watering until shoots appear, since cool wet soil can rot an unsprouted tuber.
Want a head start? Many growers pot tubers indoors in March and move them outside later.
You will get earlier blooms that way.
Every clump you lift this fall becomes next summer’s bouquet. A little digging now means a garden full of color and plenty of tubers to share.