Do These 8 Things When Your Tennessee Daylilies Start Blooming
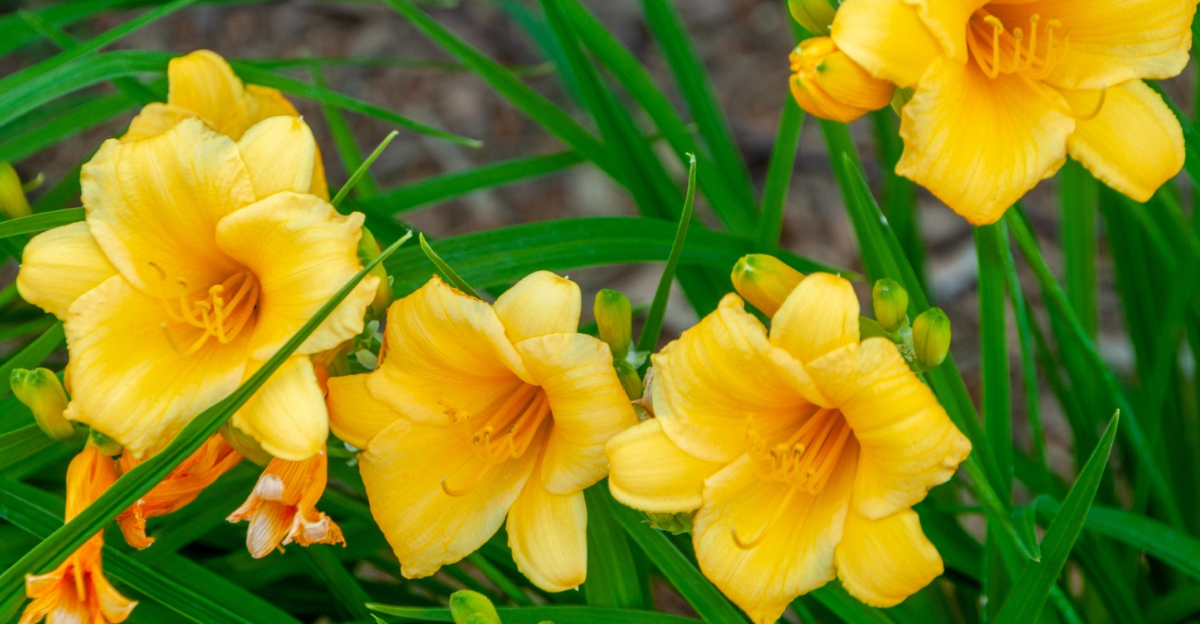
Suddenly, your Tennessee daylilies are wide open and the whole yard feels alive. Have you ever watched a bloom this vivid demand your full attention?
Smart care starts right now, the moment those first petals unfold. Most gardeners wait, and waiting costs more than they realize.
Tennessee summers are relentless, and your daylilies feel every degree of that heat. Your window to act opens fast and closes even faster.
Real results come to the gardener who moves with intention, not the one who hesitates. Nothing complicated stands between you and a season of color that turns heads.
Mastery arrives quickly when the right moves happen at the right moment. Every bloom you see right now is a signal worth answering. Will your daylilies get the care they deserve, or will this season slip away?
1. Remove Finished Scapes After All Buds Have Opened

Snap, clip, done. Once every bud on a scape has opened and faded, that stem has finished its job.
Leaving old scapes standing is one of the most common garden mistakes. They pull energy away from the plant and make your beds look messy fast.
Cut each finished scape as close to the base as possible. A clean cut helps the plant focus on new growth instead of wasted stems.
Some gardeners wait too long, thinking more buds might appear. For most varieties, once the last flower fades, the scape is done for the season.
Reblooming cultivars may surprise you with a second flush, so watch before cutting. Use sharp bypass pruners or even your hands for smaller stems. A clean removal prevents disease from sneaking in through ragged cuts.
This simple habit keeps your beds looking sharp all summer. It also signals the plant to redirect energy toward roots and future blooms.
Repeat this task every few days during peak bloom season. Your daylilies will reward you with stronger, healthier growth by late summer.
Think of removing scapes as a quick garden win. Five minutes of effort makes a noticeable difference in how your whole yard looks and feels.
2. Water Deeply At The Base, Not Overhead

Wet foliage raises the risk of fungal problems significantly. Tennessee humidity already puts your daylilies at risk, so overhead watering makes things worse.
Direct the hose or drip line right at the soil level. Keeping leaves dry is one of the easiest ways to prevent leaf streak and rust.
Daylilies prefer a deep soak over frequent shallow watering. A good deep drink encourages roots to grow downward and anchor the plant firmly.
Aim for about one inch of water per week during the blooming period. Hot spells may push that need closer to two inches without rain.
Water in the morning if possible, so any accidental splash on leaves dries quickly. Evening watering leaves moisture sitting on foliage overnight, which invites trouble.
Soaker hoses are a smart investment for established daylily beds. They deliver moisture directly to the root zone without wasting a drop.
Your Tennessee Garden Changes Every Week. Your Plan Should Too.
Gardening in Tennessee changes quickly throughout the season. Every Friday you’ll receive a simple weekly plan showing exactly what to plant, prune, fertilize, harvest, and protect so you never miss the right timing.
Check the soil before watering by pressing a finger two inches deep. If it feels dry at that depth, it is time to water thoroughly.
Consistent moisture during bloom season directly affects flower size and color. Skip a watering during a heat wave and you will notice smaller, shorter-lived blooms right away.
3. Apply A Light Midsummer Fertilizer

Blooming takes a lot out of a plant. A light fertilizer boost during peak season helps daylilies keep their energy up through the long summer stretch.
Choose a balanced, slow-release granular fertilizer with equal nitrogen, phosphorus, and potassium. Something like a 10-10-10 formula works well for most established clumps.
Avoid heavy nitrogen applications during bloom season. Too much nitrogen pushes leafy green growth instead of encouraging more flower production.
Sprinkle the granules around the base of each clump, staying a few inches away from the crown. Water the area well after applying so nutrients soak into the root zone.
For most established Tennessee gardens, one application in early to mid-July is sufficient. Sandy soils or younger plants may benefit from a second light feeding later in the season.
Over-fertilizing can actually stress the plant during the hottest weeks of the year. Liquid fertilizers are another solid option for a quick mid-season boost.
Dilute them to half strength to avoid burning roots in the summer heat.
Always fertilize on a day when the soil is already moist. Applying fertilizer to dry soil around stressed plants can cause root damage quickly.
A well-fed daylily produces more scapes and longer bloom periods. That extra care in July pays off with a stronger, more colorful finish to the season.
4. Replenish Mulch Around Clumps

Mulch is like sunscreen for your soil. It keeps moisture locked in, roots cool, and weeds from taking over during the hottest months of the year.
Tennessee summers can push soil temperatures to extremes that stress shallow-rooted plants. A fresh layer of mulch acts as a buffer between the blazing sun and your daylily roots.
Pull back any old mulch that has compacted or started to mold. Fresh material breathes better and does a much more effective job of regulating soil temperature.
Apply two to three inches of organic mulch around each clump. Shredded bark, wood chips, or straw all work well for summer garden beds.
Keep mulch a few inches away from the crown of each plant. Piling it directly against the base can trap moisture and encourage rot right at the most vulnerable spot.
Fresh mulch also reduces the time you spend weeding during bloom season. Fewer weeds mean less competition for water and nutrients your daylilies need most.
As organic mulch breaks down, it feeds the soil with natural nutrients. That slow release of goodness improves soil structure over time without any extra effort from you.
Replenishing mulch mid-season is a small task with a big payoff. Your Tennessee daylilies will stay healthier and bloom more consistently when their roots stay cool and protected.
5. Scout For Daylily Rust And Leaf Streak

Something looks off on those leaves. Orange powdery spots or brown streaking on daylily foliage are warning signs you should never ignore during bloom season.
Daylily rust is a fungal disease that spreads fast in warm, humid conditions. Tennessee summers create the perfect environment for it to move from plant to plant.
Check the undersides of leaves for tiny orange pustules, which are the telltale sign of rust. Leaf streak shows up as brown or yellow streaks running along the length of the leaf blade.
Remove and bag any infected foliage immediately. Do not compost it, because the spores can survive and spread to healthy plants in your yard.
Mancozeb is your most reliable option for preventing daylily rust when applied early on a 14-day schedule.
Chlorothalonil-based products such as Daconil are also available at most garden centers and offer broad-spectrum protection. Always follow label directions and apply in the cooler part of the morning.
Space your daylily clumps with good airflow in mind. Crowded plants hold moisture longer and give diseases a much easier path to spread.
Some cultivars show more resistance to rust than others. Noting which varieties stay cleaner through the season helps you make smarter choices at planting time next year.
Catching these issues early keeps your Tennessee daylilies looking their best. A quick daily walk through the garden during bloom season can save a lot of heartache later.
6. Check For Thrips And Aphids On Buds

Tiny bugs, real impact. Thrips and aphids are small enough to miss at first glance, but they can ruin buds before they even get a chance to open.
Thrips are slender, nearly invisible insects that rasp and scrape flower tissue. They leave behind streaked, distorted petals and buds that look like they were crumpled before opening.
Aphids cluster on tender new growth and developing buds, sucking out plant sap. A significant aphid population can affect bud development and reduce flowering noticeably.
Check buds closely every few days during peak bloom season. Look for sticky residue, distorted growth, or tiny moving specks near the base of the bud.
A strong spray of water from the hose knocks aphids off quickly. Repeat every couple of days to keep their population from bouncing back fast.
Insecticidal soap sprays work well for both pests without harming beneficial insects much. Spray directly on the bugs early in the morning for best results.
Encouraging natural predators like ladybugs and lacewings helps keep populations in check. Planting nectar-rich flowers nearby draws these helpful insects into your garden naturally.
Staying on top of pest scouting during bloom season protects your investment. Your Tennessee daylilies deserve to show off every single blossom without a pest ruining the show.
7. Note Which Varieties Perform Best In The Heat

Not every daylily handles Tennessee heat the same way. Some varieties shrug off the humidity and keep blooming, while others sulk and fade by mid-July.
Keeping a simple garden journal during bloom season is one of the smartest habits you can build. A few quick notes now save you a lot of guessing next spring.
Write down the variety name, bloom date, color, and how it looked during the hottest weeks. Even a basic phone photo with a label makes a useful reference later.
Pay attention to which plants hold their color without fading in full afternoon sun. Varieties that stay vibrant and produce multiple scapes are the ones worth expanding in your beds.
Some extended-blooming and reblooming cultivars perform especially well in southern heat. Varieties like Stella de Oro, Happy Returns, and Chicago Apache have strong track records in warm climates.
Also note which plants looked stressed, dropped buds, or had poor foliage. Those are candidates to replace with better-suited varieties next planting season.
Talking to local nursery staff or daylily society members gives you region-specific insight. Other gardeners in your area have already done years of heat testing for you.
Your own observations are the most valuable data you have. Tracking Tennessee daylily performance builds a personalized roadmap to a more beautiful, resilient garden every single year.
8. Plan Divisions For After Bloom Season Ends

Crowded clumps gradually reduce blooming performance. Daylilies that have not been divided in three to five years start producing fewer blooms and smaller flowers each season.
Bloom season is the perfect time to identify which clumps need dividing. You can clearly see which plants are dense, struggling, or producing fewer scapes than they should.
Mark those crowded clumps with a small stake or flag now so you remember them later. Trying to recall which ones needed work after the foliage fades is frustrating.
Plan to divide in late summer or early fall, after blooming is completely finished. That timing gives newly divided plants enough time to establish roots before cold weather arrives.
Division is simple: dig up the entire clump and gently pull or cut apart individual fans. Each division should have healthy roots and at least two or three leaf fans attached.
Replant divisions at the same depth they were growing before. Setting them too deep is one of the most common reasons newly divided plants fail to bloom the following year.
Share extras with neighbors, swap at plant sales, or pot them up as gifts. Daylilies multiply generously, and spreading them around is one of gardening’s quiet pleasures.
Planning now makes the actual work much easier in September. Your Tennessee daylilies will come back next spring looking fuller, fresher, and ready to put on their best show yet.