Do This To Your Oregon Garden Path Before Fall Rain Turns It Muddy Again
Fall in Oregon has a very specific rhythm, and gardeners who have been here long enough know exactly what is coming.
One week the garden path is dry and perfectly walkable, and then the rain arrives and suddenly the whole thing turns into a muddy, slippery situation that tracks itself into the house with every single trip outside.
It happens fast and it is deeply annoying. The good news is that getting your path sorted before the wet season really takes hold is genuinely manageable without professional help or a significant budget.
A little focused prep work now saves a lot of frustration once the storms start rolling in regularly.
Oregon falls can be seriously wet, and a path that handles heavy rain well is one of those small upgrades that makes outdoor life dramatically more pleasant all season long.
1. Digging Out The Muddy Top Layer First
Before you add anything new to your path, you have to deal with what’s already there. Mud that sits on top of a garden path gets packed down over time.
It holds water instead of letting it drain, and that’s exactly what causes the slippery mess you’re trying to avoid. Oregon’s heavy fall rainfall makes this problem worse than in many other parts of the country, so starting with a clean base is especially important here.
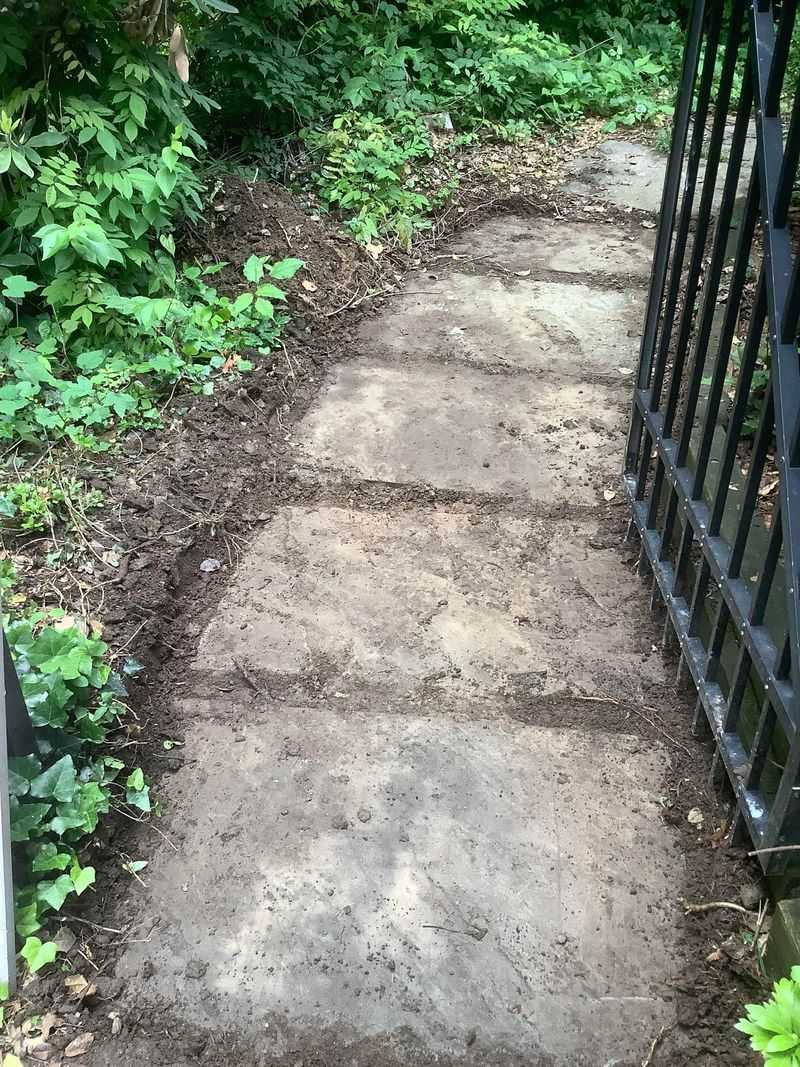
Grab a flat spade or a square-edged shovel and start removing the top two to four inches of muddy soil. You’ll probably notice that the ground underneath is soft and wet too.
That’s normal, and it’s a sign that your path needs better drainage from the ground up.
Try to dig out an even, flat layer across the whole path. Don’t just spot-fix the worst areas.
When you skip sections, water still finds its way into those low spots and the mud comes right back. Remove the wet soil completely and toss it into a wheelbarrow.
Once the top layer is gone, let the base dry out for a day or two if the weather allows. A drier base gives you a much better surface to work with.
Press your foot into the ground after digging. If it still feels very squishy, consider adding a layer of coarse sand before moving on to the next step.
Oregon garden paths that start with a properly cleared base tend to hold up significantly better through the wet season, so starting clean makes every other step work better and last longer.
2. Laying Landscape Fabric Before The Gravel Goes Down
Landscape fabric is one of the most underrated tools in path-building. A lot of people skip it because they don’t think it matters.
But without it, the gravel you add on top slowly sinks into the soil below, and within a season or two, your path is muddy again. In Oregon’s wet climate, skipping this step almost guarantees you’ll be rebuilding the path sooner than you planned.
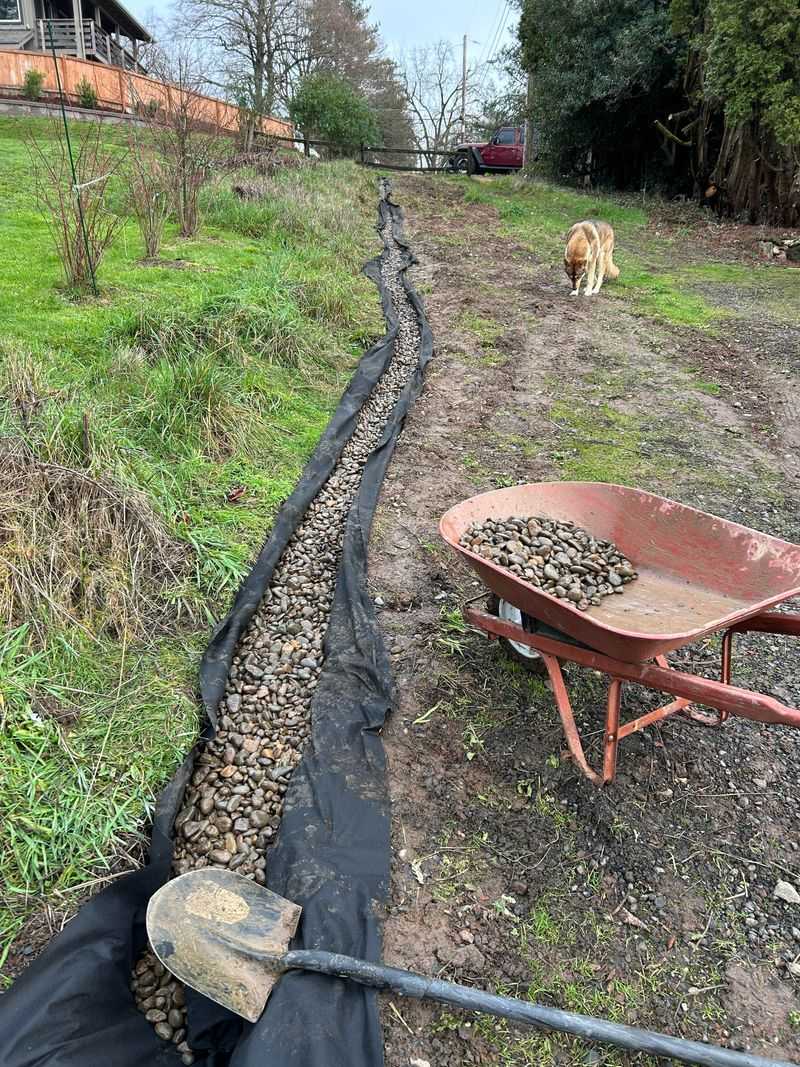
Roll the fabric out along the full length of your path after you’ve dug out the muddy layer. Cut it to fit with scissors or a utility knife.
Your Oregon Garden Changes Every Week. Your Plan Should Too.
Gardening in Oregon changes quickly throughout the season. Every Friday you’ll receive a simple weekly plan showing exactly what to plant, prune, fertilize, harvest, and protect so you never miss the right timing.
Overlap the edges by at least six inches if you need to use more than one piece. That overlap keeps soil from pushing up through the seam.
Use landscape staples to pin the fabric down every foot or so along both edges. This keeps it from shifting when you walk on it or when heavy rain hits.
Fabric that bunches up or moves around won’t do its job properly.
Choose a woven fabric rather than a solid plastic sheet. Woven fabric lets water pass through while blocking weeds and keeping gravel from mixing into the soil.
Solid plastic actually traps water underneath, which makes drainage worse. Look for fabric rated for heavy-duty outdoor use.
Cheaper options break down faster and let weeds push through more easily. Oregon garden centers typically carry several options, and staff can point you toward fabric suited for the level of rainfall your area receives.
Spending a little more on quality fabric now means you won’t have to redo the whole path next year. It’s a small cost for a big payoff.
3. Building A Gravel Base That Actually Drains
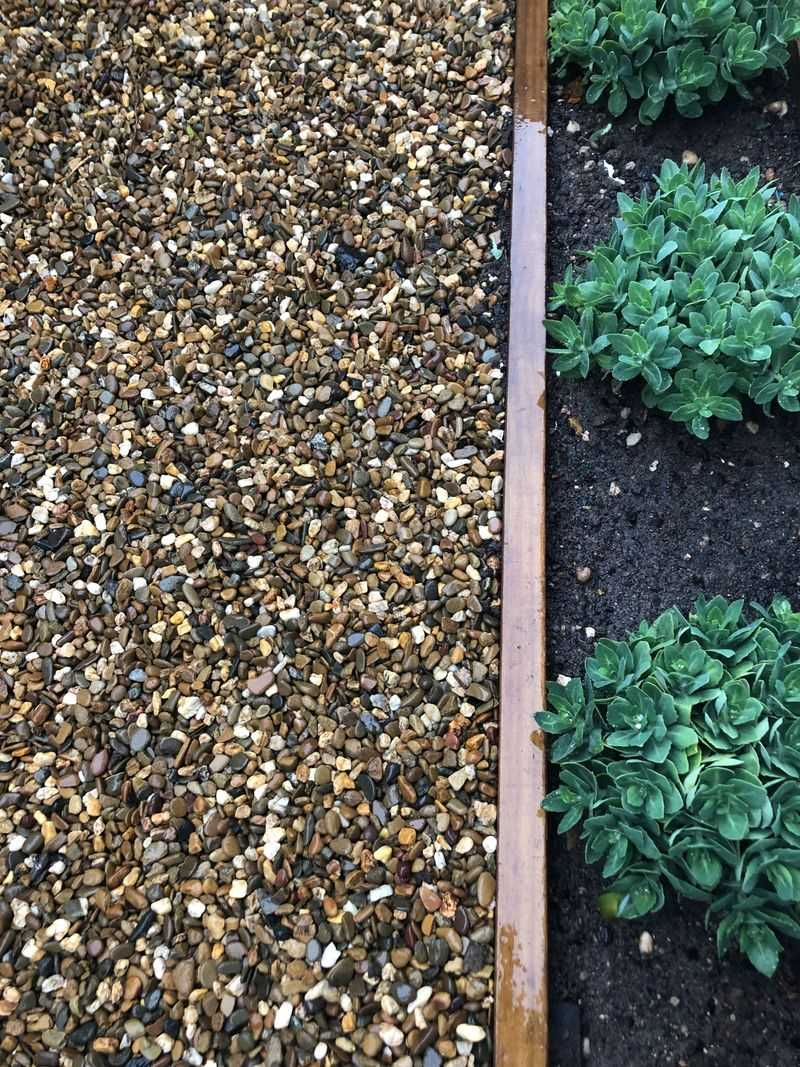
Not all gravel is created equal, and choosing the wrong kind is one of the most common mistakes people make when fixing a garden path. Round, smooth pea gravel looks pretty, but it rolls around under your feet and doesn’t lock together.
You want crushed gravel or crushed stone instead.
Crushed gravel has jagged, angular edges that fit together when compacted. It creates a stable surface that doesn’t shift when you step on it.
A size of three-eighths inch to three-quarter inch works well for most Oregon garden paths. Ask for it at your local landscape supply store by name.
Pour the gravel in layers rather than dumping it all at once. Start with a two-inch layer and spread it evenly with a rake.
Then add another two inches on top. Working in layers gives you better control and helps the gravel settle more evenly across the path.
Aim for a total depth of three to four inches of gravel above the landscape fabric. That depth is thick enough to support foot traffic and heavy rain without washing away.
If your path gets a lot of use, go up to five inches. More depth means more stability and better long-term drainage.
Good drainage is the whole point here. Water should move through the gravel quickly and away from the walking surface, keeping your path dry even during the heaviest Oregon fall storms when rainfall can be both intense and persistent for days at a time.
4. Compacting The Gravel So The Path Stays Put
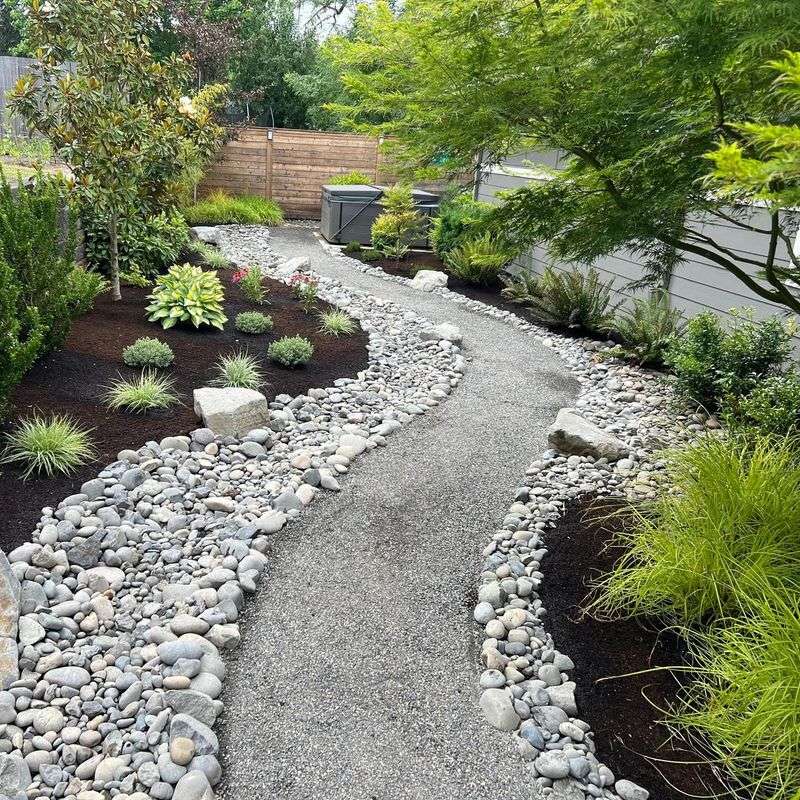
Loose gravel is almost as bad as mud when it comes to walking comfort and safety. If you just pour gravel down and leave it, it shifts every time someone walks on it.
The edges crumble, the middle gets uneven, and before long, you’re back to a messy path.
Compacting the gravel presses it down and locks the pieces together. You can rent a plate compactor from a hardware store for bigger paths.
For smaller Oregon garden paths, a hand tamper works just fine. A hand tamper is basically a heavy metal plate on a handle, and you press it firmly down across the whole surface.
Work in sections. Tamp one area, then move to the next.
Overlap each section slightly so you don’t leave any loose spots. After you finish the whole path, walk across it and feel for any soft or uneven areas.
Go back and tamp those spots again.
After compacting, add a thin top layer of gravel, about half an inch, and tamp it once more. This final layer fills in any gaps and creates a smoother walking surface.
Some people also lightly wet the gravel with a hose before tamping. The moisture helps the pieces settle into each other more tightly.
It’s a simple trick that makes a real difference. A well-compacted path feels solid underfoot and holds its shape through rain, foot traffic, and all the wet weather Oregon fall seasons are known for delivering consistently and without much warning.
5. Adding Big Stepping Stones Above The Wet Ground
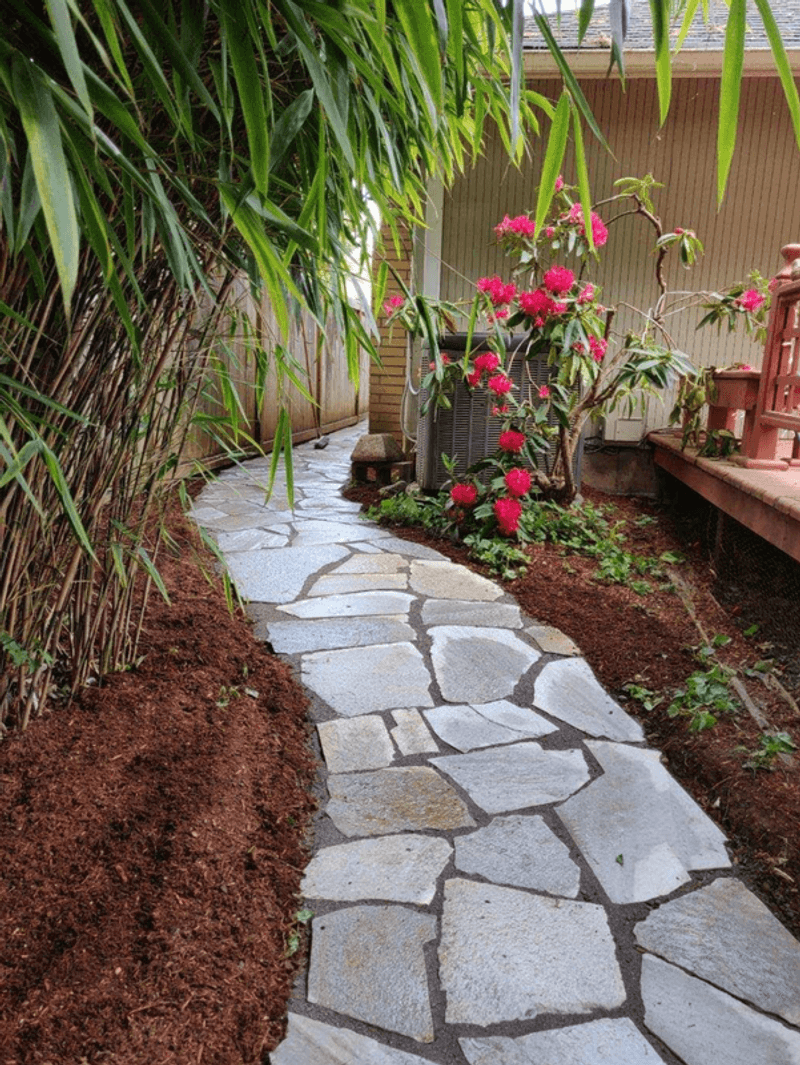
Even a well-built gravel path can feel slippery or uncomfortable during heavy rain. Adding large stepping stones on top gives you a solid, dry surface to land on with every step.
It also gives the path a polished, intentional look that gravel alone can’t match. Oregon gardeners who add this finishing touch often find it makes the biggest difference in how the path actually feels to use day to day.
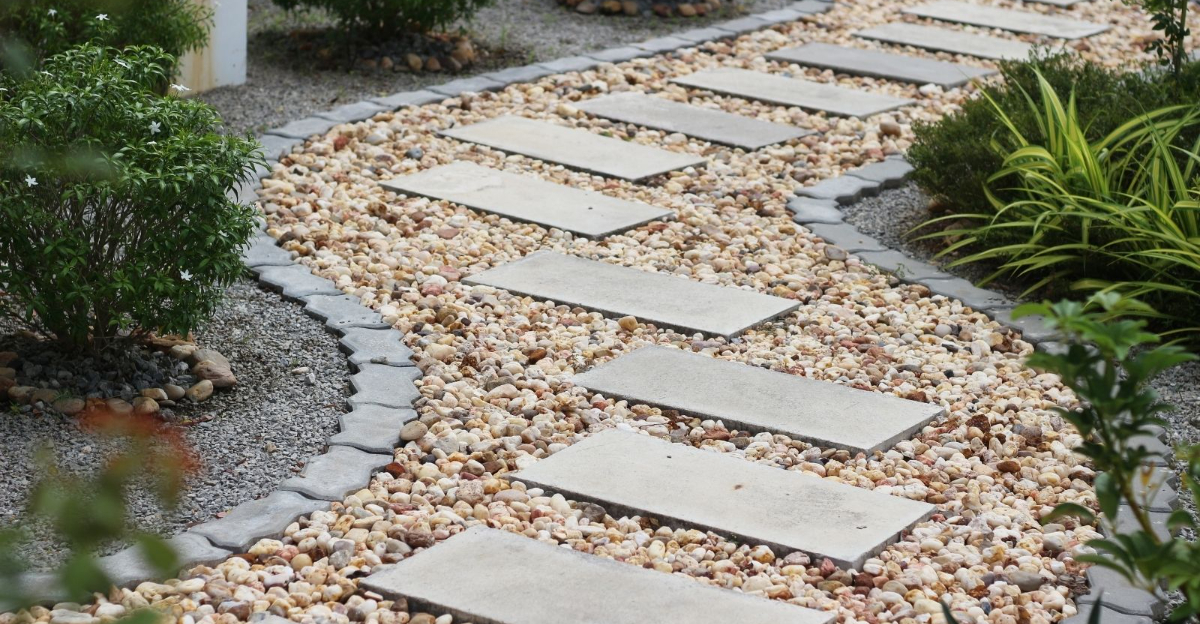
Choose flat stones that are at least 18 inches wide. Flagstone, bluestone, and concrete pavers all work well.
Avoid stones that are too thin or rough on the underside. You want them to sit flat and stable without rocking when you step on them.
Place the stones on top of the compacted gravel rather than burying them in the soil. This keeps them above the wet ground and lets water drain around and under them freely.
Space them about 18 to 24 inches apart, which is a comfortable stride for most adults.
Press each stone firmly into the gravel so it doesn’t wobble. If a stone rocks when you step on it, add a little extra gravel underneath to level it out.
Check each one before moving on. A wobbly stepping stone is a tripping hazard, especially when the path is wet.
Larger stones also hold up better over time than small ones. They’re harder to knock out of place by foot traffic or by rain washing the gravel around.
Once they’re set, they require very little maintenance and make your path feel sturdy and dependable through the long wet months that define an Oregon fall and winter season.
6. Leaving Small Gaps So Rain Has Somewhere To Go
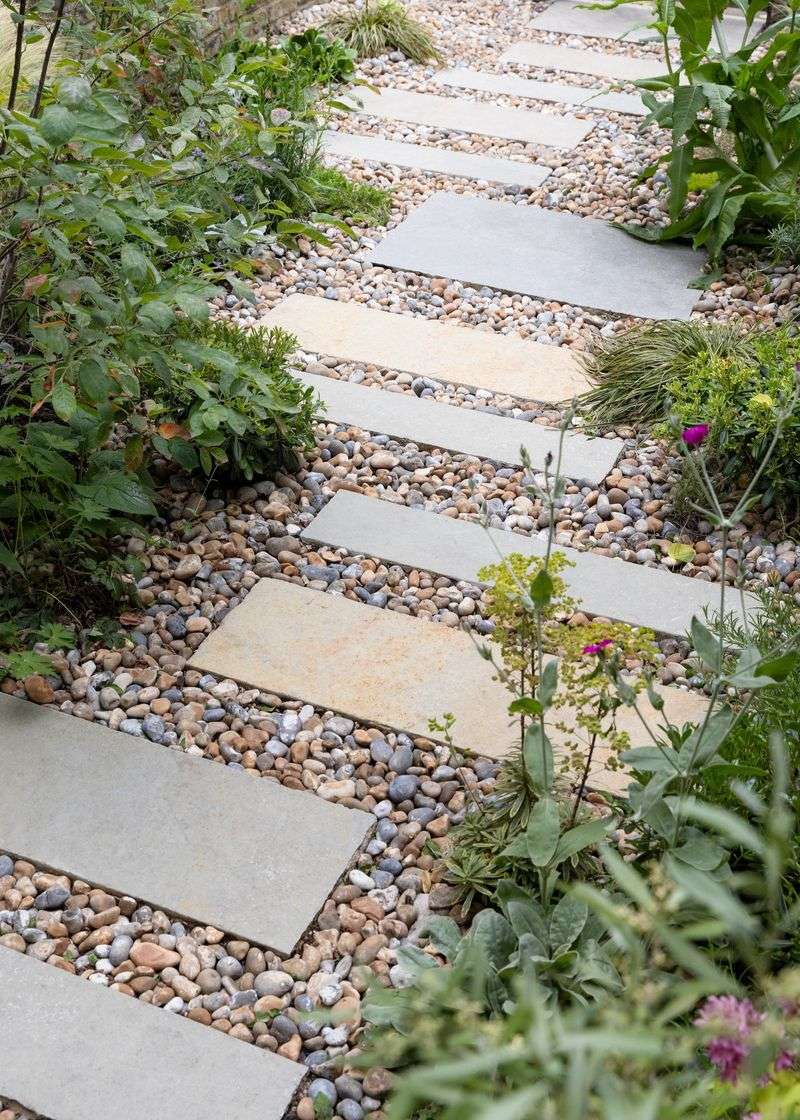
Here’s something a lot of people get wrong when building a garden path. They try to fill every single gap and make the surface completely solid.
That might sound like a good idea, but it actually causes water to pool on top instead of draining away.
Small gaps between stepping stones and at the edges of your path are actually a feature, not a flaw. They give rainwater a place to go.
When water has an escape route, it moves through the path quickly instead of sitting on the surface and turning into a puddle.
Leave about an inch of space between each stepping stone. Don’t pack the gravel so tightly between them that water can’t pass through.
The gravel acts as a filter, letting water drain down through the landscape fabric and into the soil below at a controlled pace.
Along the sides of the path, avoid piling soil or mulch right up against the edge. That blocks the drainage and forces water to travel along the path instead of off it.
Keep the edges slightly open so water can spread outward into the garden beds.
In Oregon, where fall rain can be relentless, drainage gaps make a huge difference. A path that drains fast stays cleaner and dries out much quicker between storms.
You’ll spend less time cleaning up mud and more time actually enjoying your outdoor space. Small gaps do big work when the rain really starts to fall.
7. Keeping The Path Slightly Higher Than The Garden Beds
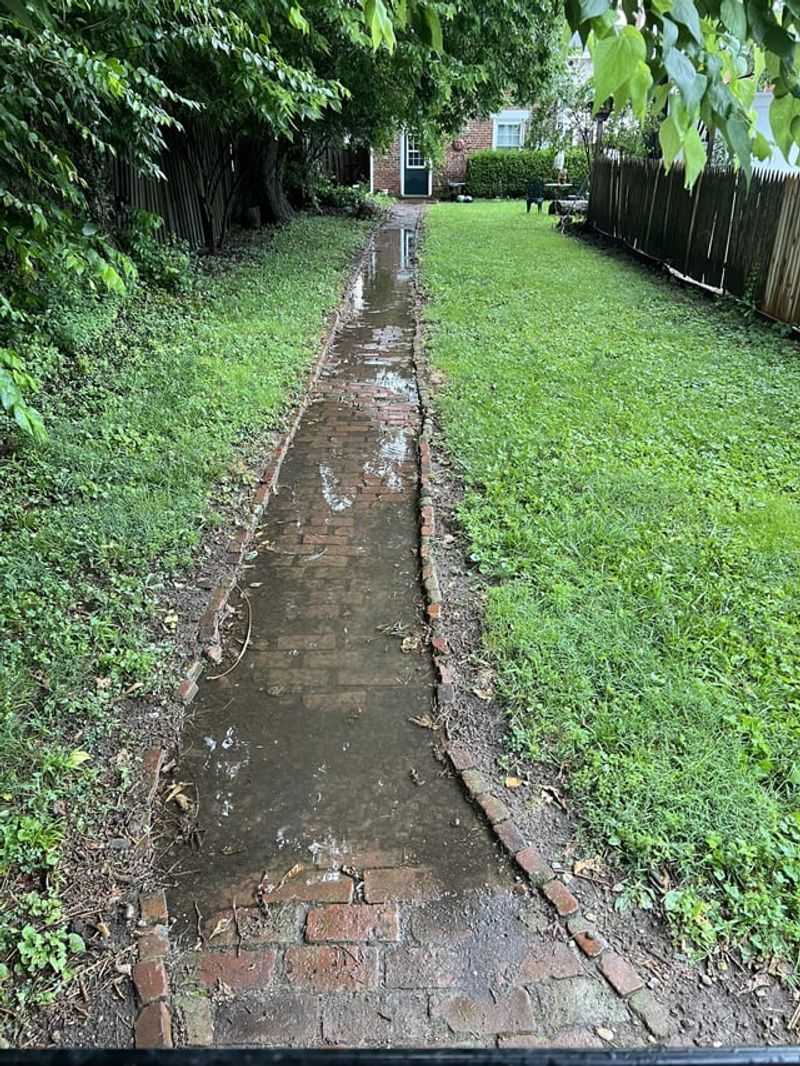
Water flows downhill. That’s basic physics, and it’s also your best friend when it comes to keeping a garden path dry.
If your path sits at the same level as your garden beds, or lower, water from the beds will drain onto the path and make it muddy.
Raising your path just one to two inches above the surrounding beds makes a big difference. When rain hits, water naturally flows away from the path and into the beds, where it soaks into the soil instead of sitting on your walking surface.
In Oregon’s rainy fall season, getting this detail right can be the difference between a path that stays walkable and one that turns into a soggy mess within days of the first storm.
When you’re building or rebuilding your path, check the level as you go. Use a long level tool or even a straight board with a small level on top.
Adjust the gravel base as needed to get a slight crown or rise across the path surface.
A slight crown means the center of the path is a tiny bit higher than the edges. This shape sheds water to both sides at once, which is even more effective than just raising the whole path flat.
It’s the same reason roads are built with a crown in the middle.
You don’t need a big height difference to make this work. Even half an inch of rise is enough to change how water moves.
Oregon gardeners who take the time to get the grade right before adding the top layer of gravel or stepping stones consistently report better results through the wet season. It’s one of those small details that pays off every single rainy day.
8. Using Edging To Stop Gravel Spreading Everywhere
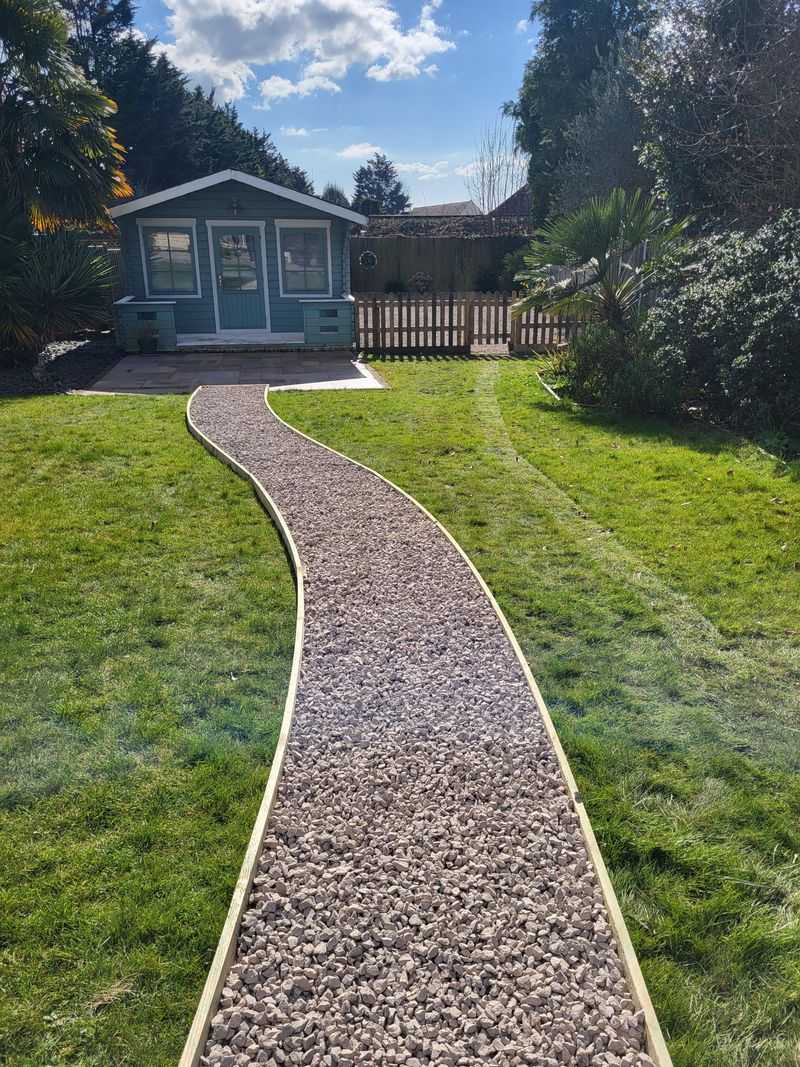
Gravel has one annoying habit. It spreads.
Every time someone walks on it, a few pieces get kicked to the sides. Rain pushes it around too.
Without something to hold it in place, your carefully built path slowly disappears into the garden beds over time.
Edging is the solution. It acts as a border that holds the gravel inside the path and keeps it from mixing with the surrounding soil.
There are several good options to choose from depending on your style and budget.
Metal landscape edging is strong, long-lasting, and barely visible once it’s installed. It bends easily to follow curved paths and holds up well through Oregon’s wet fall and winter seasons.
Plastic edging is cheaper and works fine for straight paths. Brick or stone edging looks great and adds a decorative touch, though it takes a bit more time to set up.
Whatever material you choose, push the edging at least three to four inches into the ground. Edging that’s only sitting on the surface will tip over or get pushed out of place.
Secure metal edging with stakes that come with the product. Tap them in with a rubber mallet for a firm hold.
Once your edging is in place, you’ll notice your path looks much neater and more intentional. It also means less cleanup after every storm.
Gravel stays where it belongs, your garden beds stay clean, and your path keeps its shape all through the rainy season without constant maintenance.
Oregon gardeners who add proper edging as a final step consistently find it one of the most worthwhile parts of the whole project.