Don’t Cut Your Virginia Hostas Yet: Wait For This Fall Sign
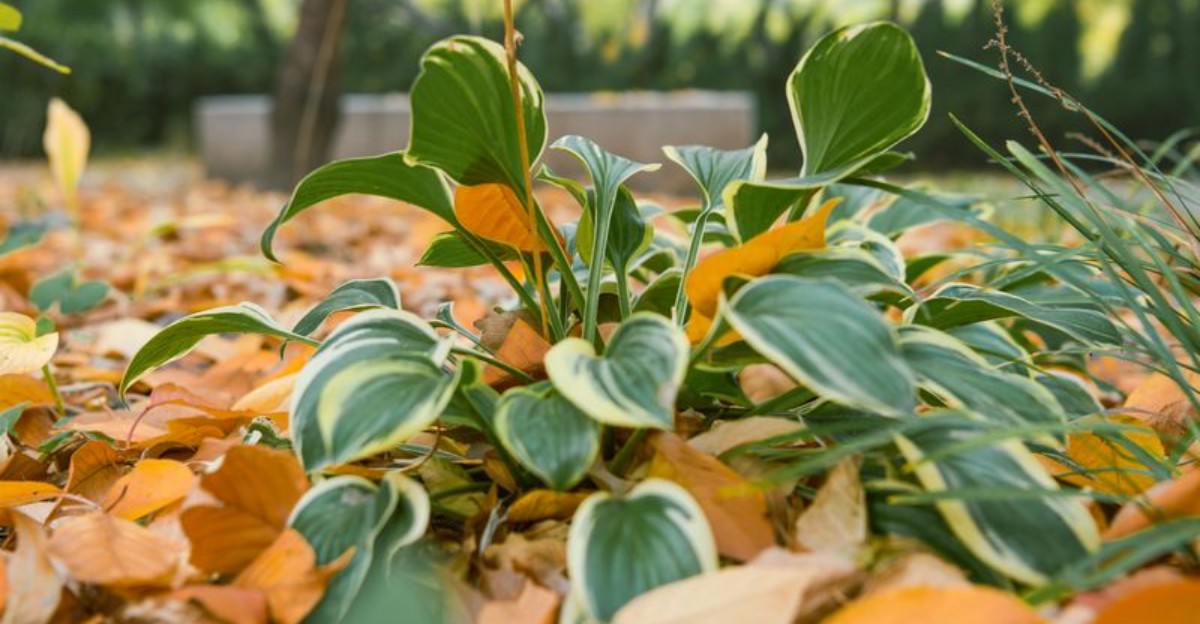
Put down those pruners and step away from the hosta bed. Those floppy, fading leaves in your Virginia garden look tired, but they’re still doing quiet, important work.
As October air turns crisp, hostas slowly shift from green to gold. It’s tempting to tidy everything up the moment their color fades.
Cutting too early, though, can leave your plants weaker when spring rolls around. Those yellowing leaves are still sending energy down to the roots.
Nature gives you a clear signal when the time is right. It’s easy to spot once you know what to look for.
The guide below covers that signal, the right tools, and a clever trick for spring. Wait for the cue, and your hostas will head into winter much stronger.
A Hard Frost That Flattens The Leaves Is The Sign
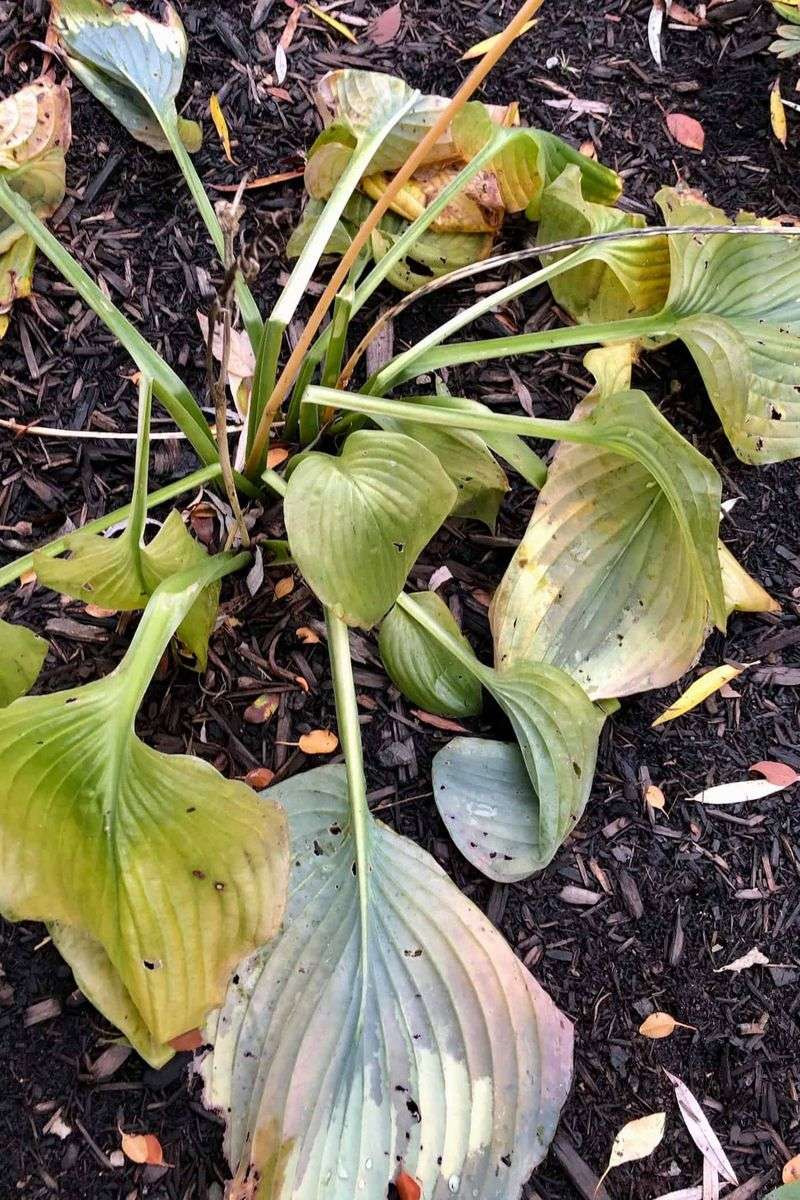
Picture waking up to a silver lawn and a hosta bed that looks like it melted overnight. That flattened, soggy scene is the green light you have been waiting for.
A hard frost usually means temperatures dropped to about 28 degrees or lower for several hours. Light frosts only nip the edges, but a hard one breaks down the leaf cells.
Across most of Virginia, the first hard frost tends to arrive between late October and mid-November. Mountain areas near Blacksburg often see it weeks before gardens near Norfolk or Virginia Beach.
Watch for leaves that turn see-through, dark, and limp within a day or two. Stems often fold over, and the whole plant slumps flat against the soil.
Once that happens, the plant has shifted into full winter rest. Its energy is safely stored below ground, tucked into the thick crown and roots.
A simple outdoor thermometer can help you track those chilly nights. You can also check local frost alerts from the National Weather Service for your county.
Here is a handy trick for busy gardeners. Snap a quick phone photo of your hostas each week in fall to compare changes.
Patience matters more than speed at this point in the season. Rushing ahead by even two weeks can rob the roots of stored food.
So let the weather do the heavy lifting for you. When the frost flattens those leaves, your hostas are basically saying they are ready.
Yellow Leaves Are Still Feeding The Roots
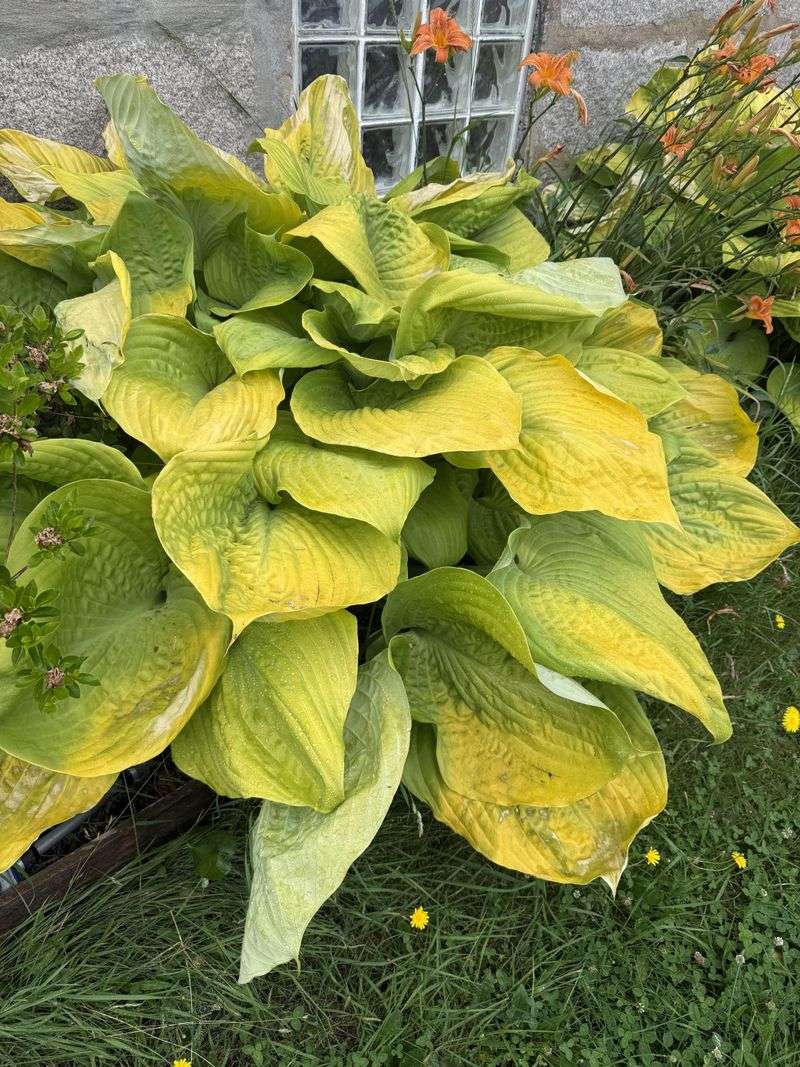
Think of golden hosta leaves like a phone plugged into a charger. They may look worn out, yet they are still sending power somewhere useful.
During early fall, hostas pull sugars and nutrients out of their leaves. All that goodness travels down into the crown and roots for winter storage.
Chlorophyll, the green pigment, breaks down during the process. As it fades, hidden yellow colors show through, which explains that buttery autumn glow.
Cutting at the yellow stage stops the transfer too soon. Your plant may then wake up in spring with smaller leaves and fewer shoots.
Some gardeners worry that yellow leaves mean trouble or disease. In most cases, the change is simply the plant getting ready for its long nap.
Your Virginia Garden Changes Every Week. Your Plan Should Too.
Gardening in Virginia changes quickly throughout the season. Every Friday you’ll receive a simple weekly plan showing exactly what to plant, prune, fertilize, harvest, and protect so you never miss the right timing.
A fun detail makes this even more interesting. Certain varieties like Sum and Substance can turn a bright gold that rivals fall maples.
If the look bothers you, try adding a few potted mums nearby. Their cheerful color can distract the eye while your hostas finish their work.
Another option is placing pumpkins or gourds along the bed edge. Visitors will notice the festive display rather than the fading foliage.
Give yellow leaves time to finish their job, even when they seem droopy. The roots are quietly filling their pantry for the months ahead.
Your reward comes next spring. Well-fed crowns usually push up thicker, stronger leaves that fill shady corners beautifully.
Mushy, Collapsed Foliage Means It’s Time
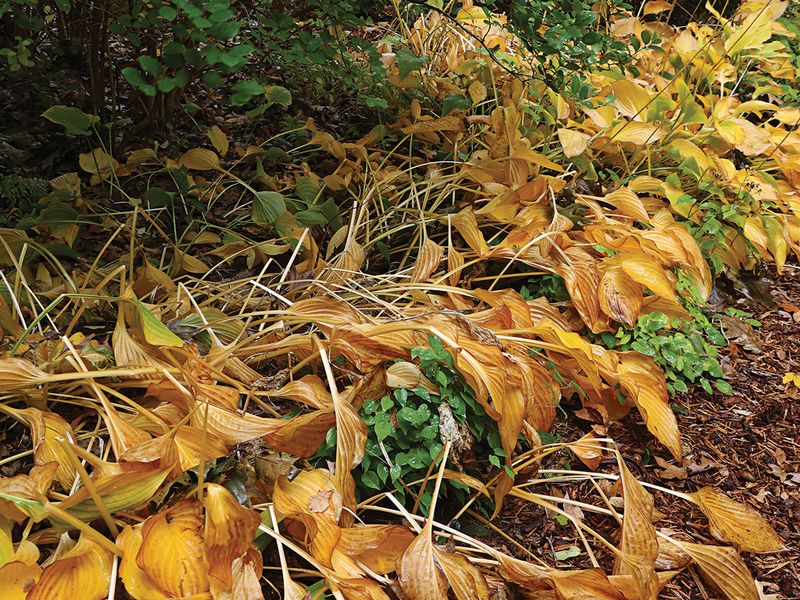
Honestly, nobody would call a pile of brown hosta mush pretty. Still, that soggy heap is one of the best signs a gardener can see in late fall.
Once leaves turn brown and slimy, the nutrient transfer is finished. Nothing useful remains in the foliage for the plant to reclaim.
Give a leaf a gentle tug to test it. If it slides away easily from the crown, you are ready to start cleanup.
Leaves that still cling tightly may need a few more days. Forcing them off can tear the crown and open a path for rot.
Timing also depends on your spot in Virginia. Hostas in cold hollows collapse earlier than ones sitting near a warm brick wall.
Wear gloves for this part, because the mush can feel slippery and cold. A pair of waterproof garden gloves keeps hands dry and comfortable.
Pick a dry afternoon if you can. Wet, heavy foliage is messier to handle and tends to stick to tools and boots.
Some folks rake the mushy leaves together first before cutting stems. The pile makes it easier to see what still needs trimming.
Remember, this stage is about readiness rather than looks. When foliage has fully slumped and softened, the plant has wrapped up its season.
After all that waiting, cleanup feels quick and satisfying. A tidy bed now sets up a fresh start for spring.
Cut Stems Close To The Ground
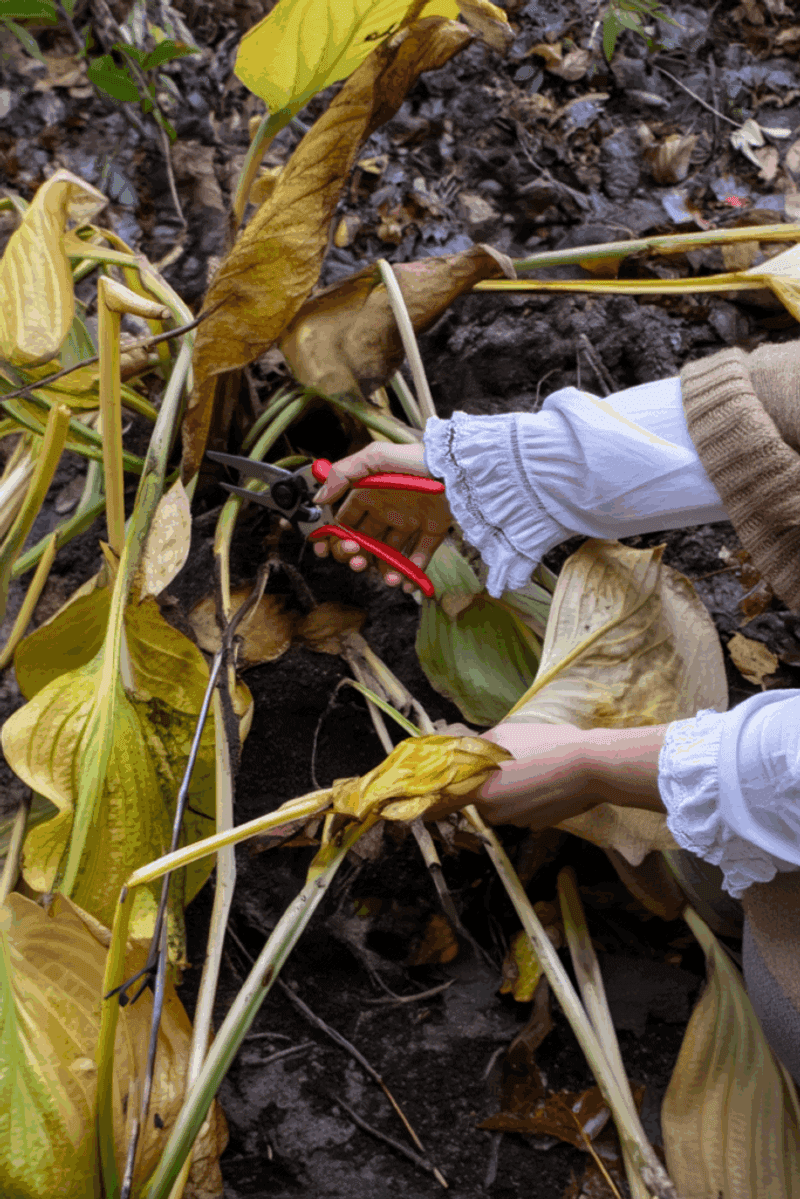
Here is where your trusty pruners finally get their moment. A few careful snips now make a real difference for the crown below.
Aim to cut each leaf stem about one to two inches above the soil. Those short stubs act like tiny flags that shield the crown.
Cutting flush with the dirt can nick the growing buds. Those buds are next year’s leaves, so treat them with care.
Bypass pruners work better than anvil types for this job. They slice cleanly like scissors rather than crushing soft stems.
Flower stalks, called scapes, deserve attention too. Trim them down to the same low height as the leaf stems.
A quick tip saves your back on bigger beds. Kneel on a foam pad and work around each clump in a circle.
Gardeners with dozens of hostas sometimes use hedge shears for speed. Just keep blades sharp and watch closely for emerging buds.
After cutting, look at the crown for any soft or smelly spots. Healthy crowns feel firm, like a raw potato.
Drop trimmed stems straight into a bucket or tarp. Keeping them off the ground makes the next cleanup step much easier.
With the stems gone, the bed may look bare and a little lonely. Rest assured, plenty of life is waiting just below the surface.
Clear Away Debris Where Slugs Lay Eggs
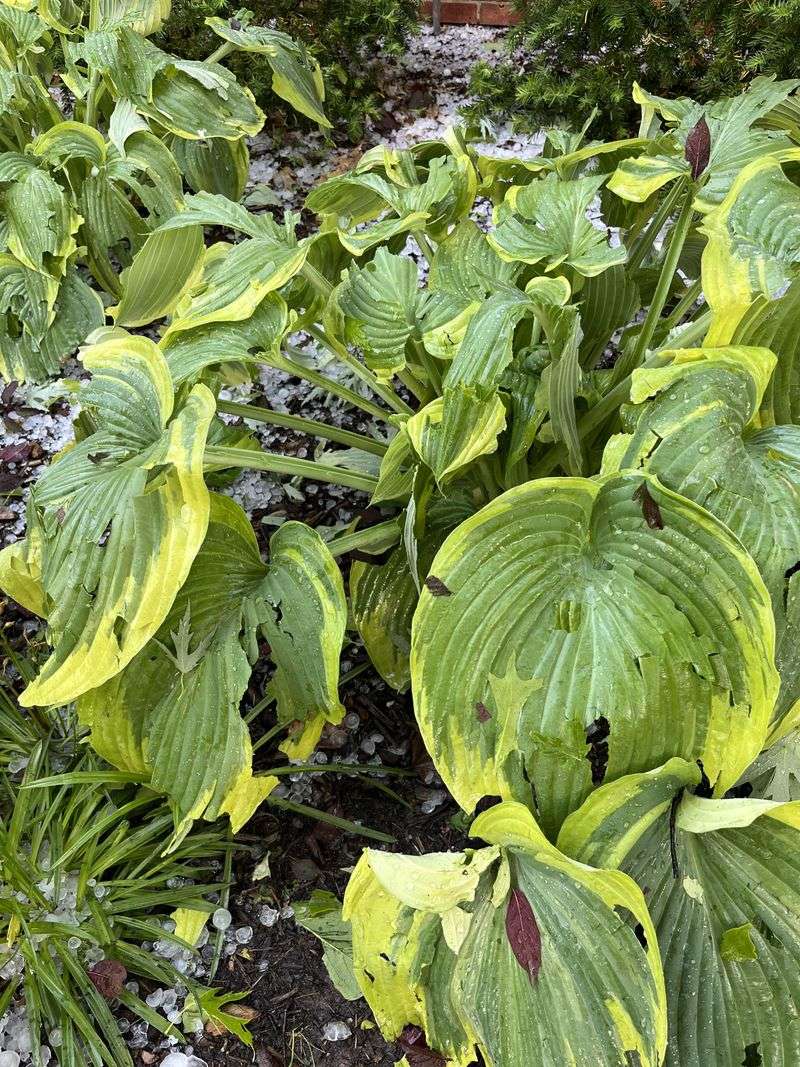
Slugs may be slow, but they are clever planners. Many of them lay eggs in cozy, damp leaf piles right beside your hostas.
Those tiny eggs look like clear or pearly beads, often in small clusters. Each cluster can hold dozens of future leaf munchers.
Virginia winters are often mild enough for eggs to survive under debris. Come spring, baby slugs hatch just as fresh hosta shoots appear.
Clearing old foliage removes their favorite hiding and nesting spots. Fewer eggs now means fewer holes in your leaves later.
Rake gently around each crown to pull out soggy leaves. A small hand rake reaches tight spaces without harming buried buds.
While you work, flip over nearby stones or boards. Slugs love hiding under flat objects in cool, moist shade.
Here is a quirky fact to share with friends. A single garden slug can lay several hundred eggs in one season.
If you find egg clusters, scoop them into a sealed bag. Tossing them in the trash stops the next generation early.
Birds, toads, and ground beetles also help keep slug numbers down. Leaving a nearby log pile away from hostas can welcome these helpers.
A clean bed in fall feels like hitting the reset button. Your spring hostas will thank you with smoother, fuller leaves.
Bag Any Leaves With Odd Streaks Or Mottling
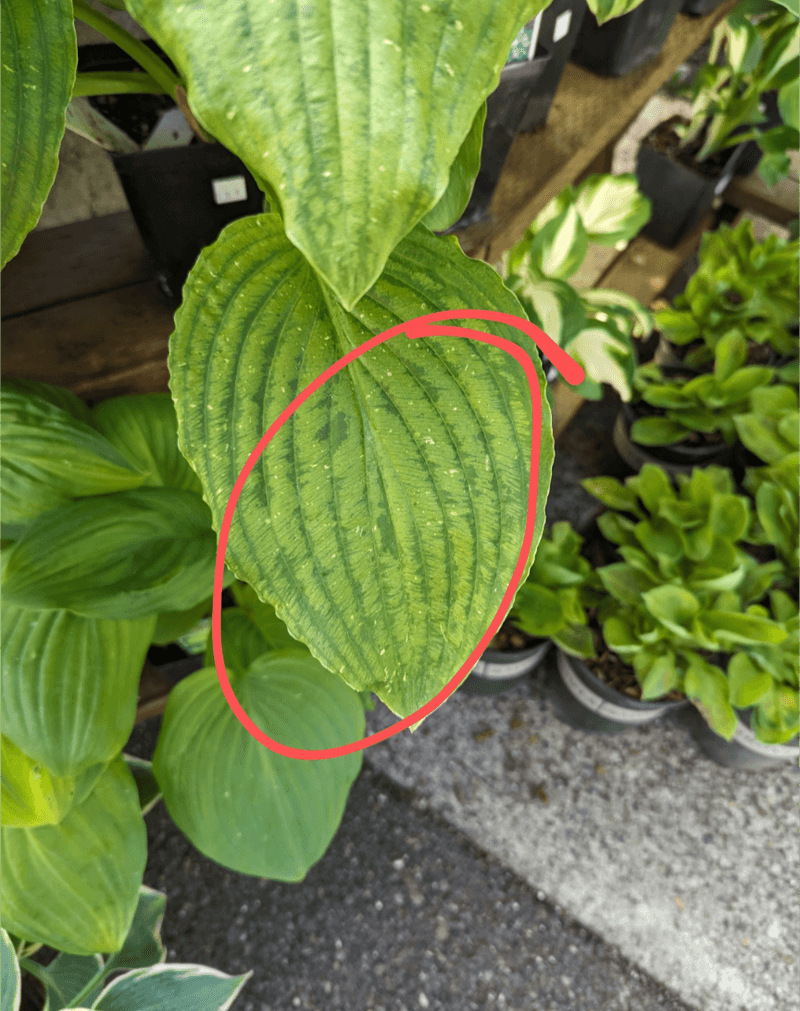
Most fading hosta leaves are harmless, but a few can carry hidden trouble. Taking a closer look before tossing them is worth the extra minute.
Look for streaks, blotches, or strange mottled patterns. Some leaves show a pattern that looks like ink bleeding along the veins.
Those odd markings can point to Hosta Virus X, a common problem in gardens. Fungal diseases like anthracnose can also leave spotted, torn leaves behind.
Suspicious leaves should go straight into a sealed trash bag. Please keep them out of your compost pile, where problems can spread.
Home compost piles often stay too cool to destroy viruses. Adding sick leaves could spread trouble across your whole garden.
Healthy brown leaves, on the other hand, can go into compost. Only the questionable ones need special handling.
A quick photo can help if you feel unsure. Share it with your local Virginia Cooperative Extension office for expert advice.
Plants showing strong virus signs may need removal entirely. Hosta Virus X has no cure, and it can spread through sap.
Keep a small notebook listing any plants that looked unusual. Next summer, you can watch those clumps more closely for changes.
Being a little picky now protects every hosta you own. A few bagged leaves beats losing a favorite variety down the road.
Wipe Your Pruners Between Plants
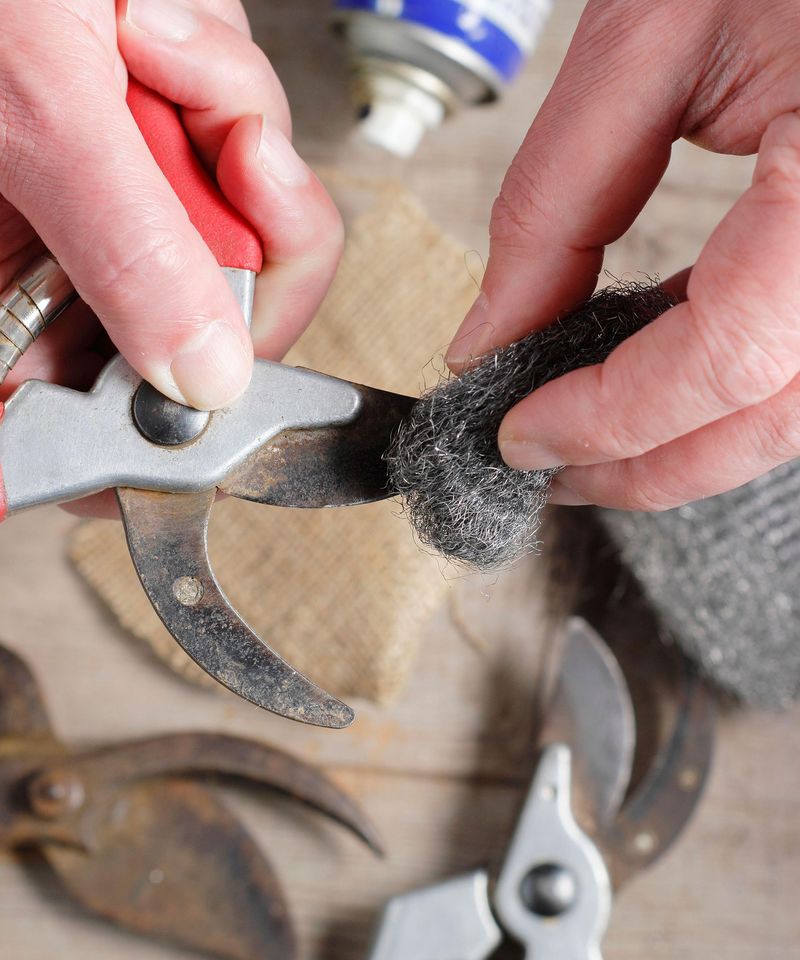
Think of pruner blades like a shared spoon at a picnic. Whatever touches one plant can easily hitch a ride to the next.
Plant viruses, especially Hosta Virus X, spread through sap on tools. One infected clump can quietly pass problems to an entire bed.
A quick wipe with rubbing alcohol cleans blades in seconds. Use 70 percent isopropyl alcohol for the best results.
Keep a small spray bottle and a rag in your tool bucket. You can also carry a pack of disinfecting wipes in your pocket.
Wipe blades between every hosta clump you cut. If a plant looks sick, clean the blades after each individual snip.
Diluted bleach works too, but it can rust metal over time. Rinse and dry tools well if you choose that route.
Here is a helpful habit for the end of the day. Oil your blades lightly after cleaning to prevent rust through winter.
Many gardeners store pruners in the garage or shed. A light coat of oil keeps them smooth and ready for spring.
Sharp, clean tools also make healthier cuts. Clean slices heal faster than ragged tears from dull blades.
Such a tiny task takes barely any time at all. Yet it might be the smartest move you make in the whole garden this fall.
Skip The Fertilizer Until Spring
Feeding your plants feels kind, but fall fertilizer can backfire on hostas. Sometimes the most loving choice is simply to wait.
Fertilizer, especially nitrogen, encourages fresh leafy growth. Tender new shoots in fall have no time to toughen up before cold weather.
A sudden freeze can easily damage that soft growth. The plant then wastes stored energy it needed for spring.
Hostas are heading into rest mode right now. Waking them up with food is a bit like serving breakfast at midnight.
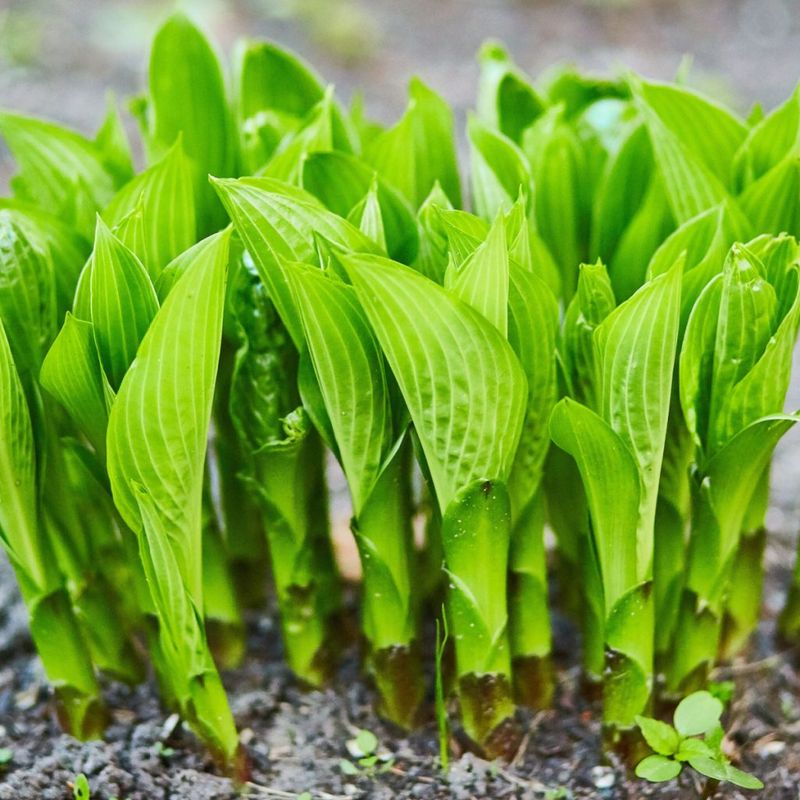
So when should you feed them instead? Wait until green shoots, often called pips, poke through the soil in spring.
Across much of the state, pips usually appear in March or April. A balanced slow-release fertilizer works nicely at that point.
Compost is a gentler option if you want to enrich the soil. Spread it lightly in spring around, but not over, the crowns.
A soil test can help you know what your bed actually needs. Virginia Tech offers affordable soil testing through local extension offices.
Test kits often come with clear results and simple feeding suggestions. You might discover your soil needs less than you thought.
Store that fertilizer bag somewhere dry for now. A sticky note saying spring on the bag makes a handy reminder.
Add A Light Mulch Once Cleanup Is Done
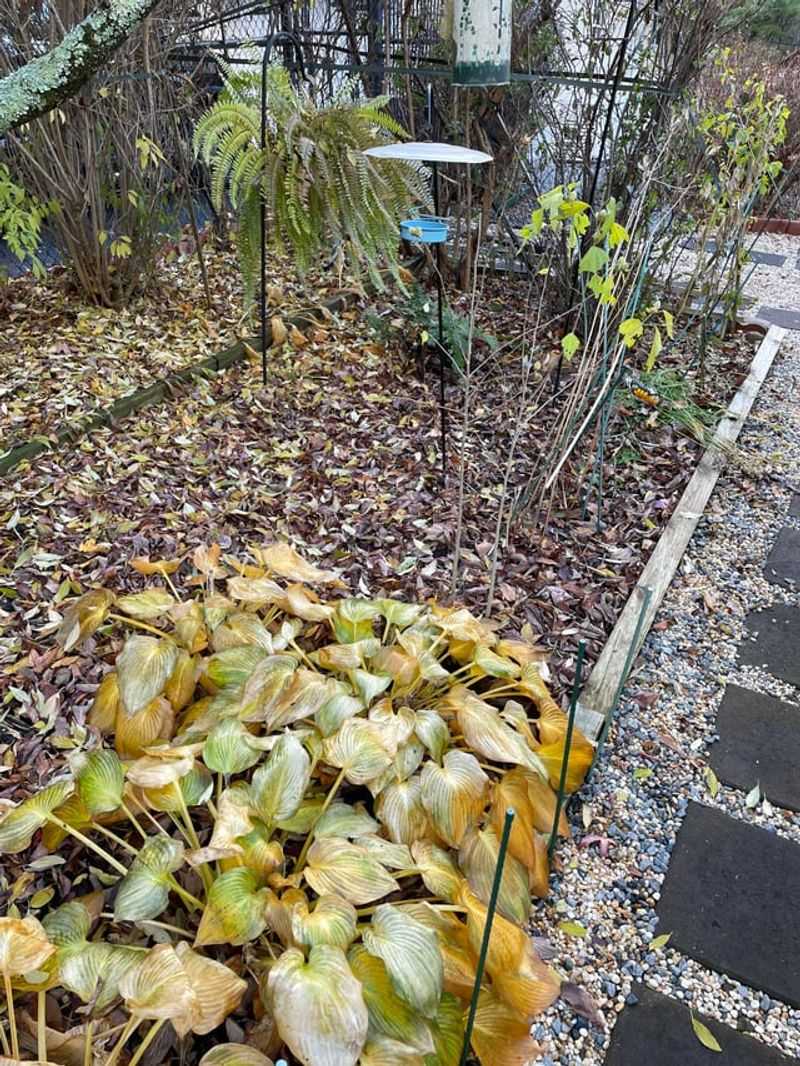
Picture a cozy blanket tucked loosely over a sleeping pet. A light mulch does the same job for hosta crowns through winter.
Virginia winters often swing between freezing nights and mild afternoons. Those ups and downs can push roots upward, a problem called frost heaving.
Mulch helps steady soil temperature during those wild swings. It also holds moisture, which roots appreciate during dry winter spells.
Shredded leaves, pine needles, or fine bark all work well. Aim for a layer about two inches deep around each clump.
Keep mulch from piling directly on top of the crown. Heavy, wet layers can trap moisture and cause crown rot.
Shredded leaves are practically free for most homeowners. Run fallen leaves over with a lawn mower to chop them quickly.
Whole leaves tend to mat down into a soggy crust. Chopped pieces let air and water move through more easily.
Fun fact for curious readers: pine needles break down slowly. They can last through winter while barely shifting in strong winds.
Wait until after cleanup and the ground starts to chill before spreading mulch. Mulching too early can invite voles looking for warm shelter.
In spring, pull mulch back slightly as pips emerge. Fresh shoots will then get the sunlight and airflow they crave.
Mark Each Clump So Spring Digging Misses It
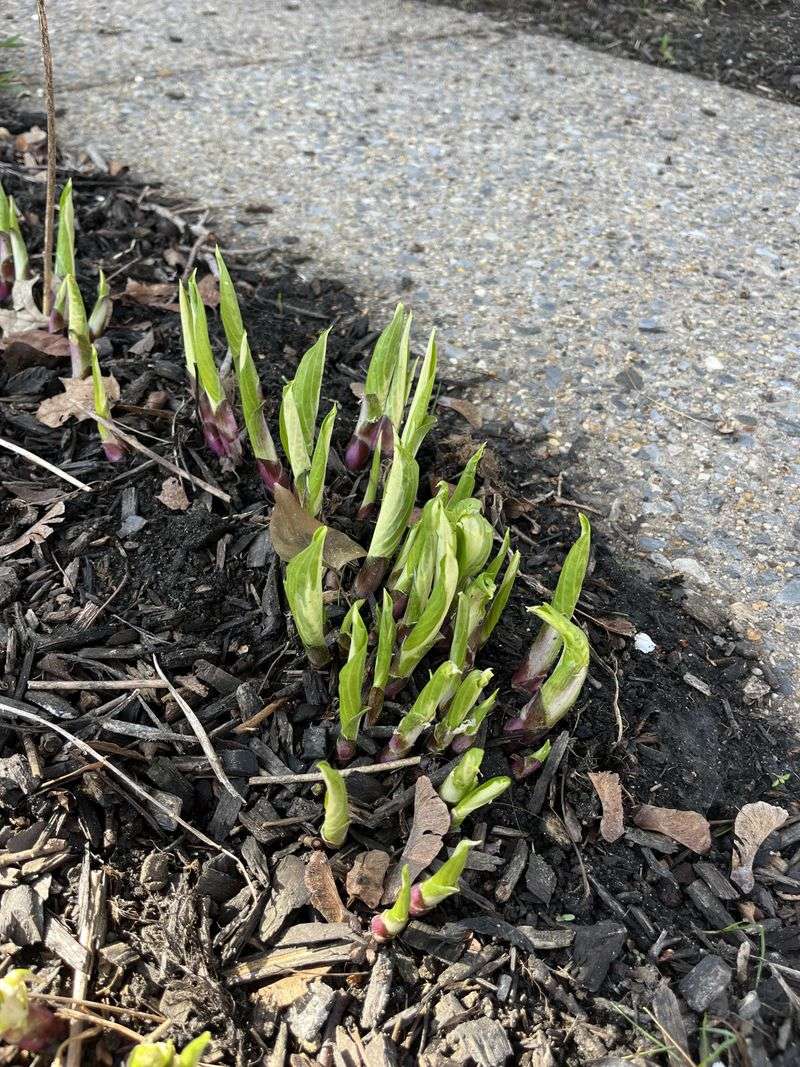
Every spring, somebody plunges a shovel into a bare patch and hears a sad crunch. Often, that crunch is a sleeping hosta crown.
Once cut back, hostas vanish almost entirely from view. By March, even a longtime gardener can forget exactly where each clump sits.
A simple marker solves the problem fast. Wooden stakes, plastic labels, or painted rocks all work nicely.
Write the variety name on each label if you know it. Weatherproof garden markers or paint pens hold up better than regular ink.
Here is a clever trick worth trying this year. Plant a few crocus or snowdrop bulbs beside each hosta as living markers.
Early bulbs bloom before hostas wake up. Their cheerful flowers show you exactly where to avoid digging.
Another smart idea involves your phone camera. Take a photo of the bed with markers in place and save it in an album.
Sketching a quick garden map also helps. Tape it inside your shed door for easy spring reference.
Late-emerging varieties benefit most from marking. Some hostas do not show pips until late April.
Wrapping up fall care with markers feels like leaving a note for your future self. Come spring, your hostas can rise safely, right where you left them.