Don’t Toss Your Mums In Pennsylvania, Follow These 11 Steps Instead

Japan’s imperial seal features a golden sixteen-petal flower that many of us toss out every November. That same bloom has been grown in China for more than two thousand years, and it deserves better treatment.
I skipped the trash bin last autumn and left my faded pots in a quiet corner of the yard. By late spring, fresh green shoots poked up from those tired stems like nothing had ever happened.
Plenty of Pennsylvania gardeners treat these fall favorites like a seasonal decoration, similar to pumpkins on the porch. You might notice that some types bounce back for years, while others fade after a single show.
Turns out the difference comes down to smart choices and a few simple habits across the seasons. So why buy new plants every year when your Pennsylvania garden could grow its own colorful comeback?
1. Pick Hardy Garden Mums Over Florist Mums
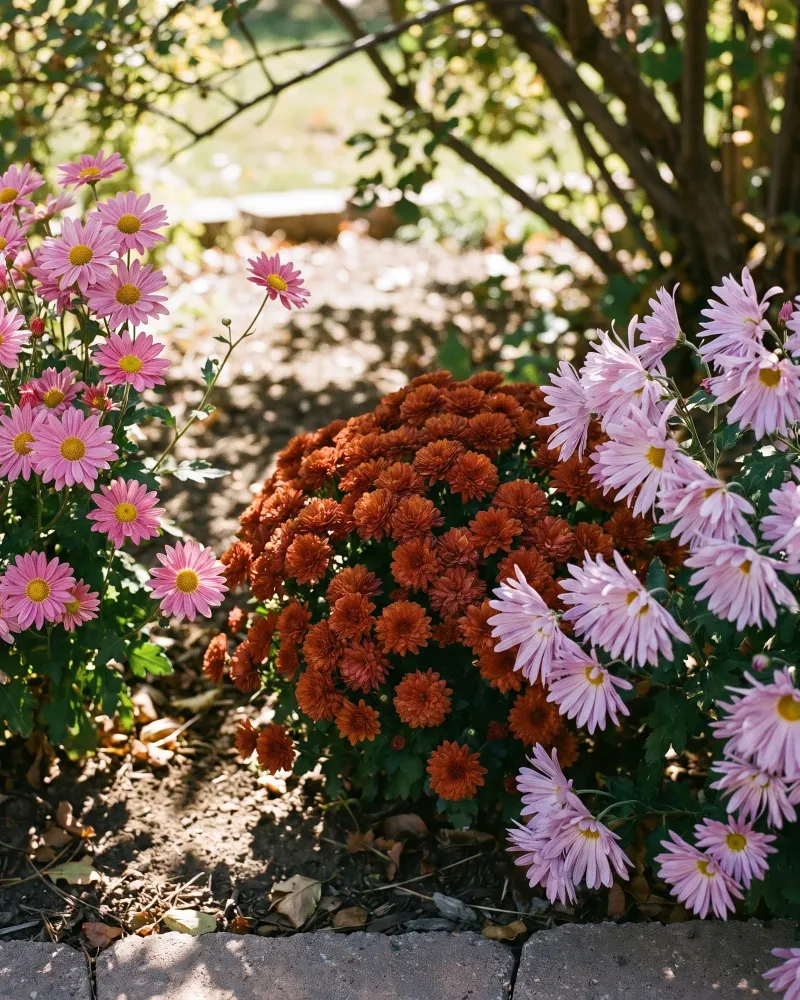
Grocery store mums can look like fluffy pom-poms, but many of them were bred for a single indoor show. I learned that lesson after my lovely supermarket pot disappeared by spring and left only brown twigs behind.
Both florist and garden types belong to Chrysanthemum x morifolium, yet breeders shaped them for very different jobs. Garden mums handle cold weather and spread underground, while florist mums often lack that tough, hardy winter spirit.
Most of the state sits in zones five and six, so cold tolerance matters a lot here in winter. Some southeastern spots near Philadelphia reach zone seven, but January cold can still surprise tender plants growing there.
Check the plant tag for words like garden mum or hardy mum before you head to the checkout line. Florist types often come wrapped in foil, sitting in small pots with oversized blooms and few side shoots.
Local garden centers usually carry tougher varieties than big box displays near the front doors of most supermarkets. Ask the staff directly, because a quick question now can save you a sad empty pot next spring.
2. Plant Garden Mums Early So Roots Can Settle In
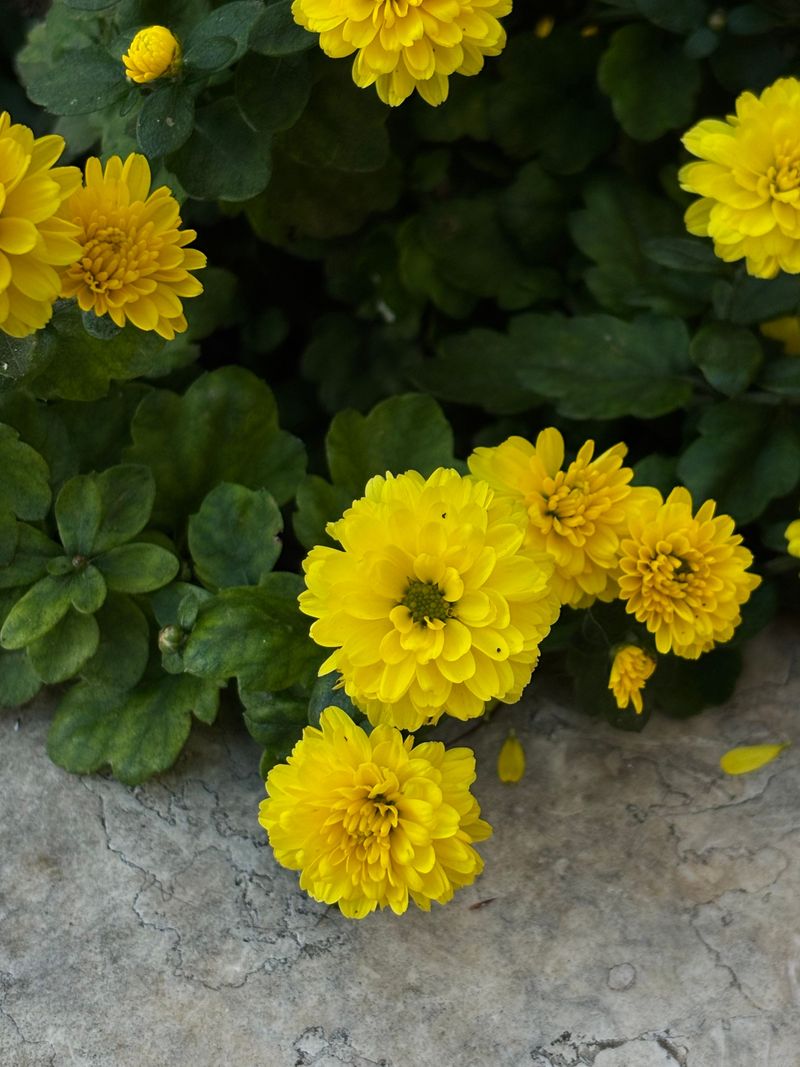
Spring planting gives mums a whole growing season to build roots, and that head start makes winter far easier. I think of it like packing a sturdy lunch before a long hike through chilly autumn woods.
The best window opens after your last spring frost, which usually lands between April and mid-May across the state. Mountain towns may wait a bit longer, so watch your local forecast before you set young plants outside.
Fall planting still works, but timing gets tighter once the cool nights roll in during late September. Aim to get plants in the ground at least six weeks before the soil starts to freeze hard.
Mums bought in full bloom pour most of their energy into flowers, leaving little left for root growth. Choose plants with plenty of tight buds instead, since they often settle in better than fully open ones.
Gently loosen circling roots when you remove the nursery pot, then plant at the same depth as before. Water deeply right away, and keep the soil evenly moist while those new roots reach outward into the garden.
3. Give Mums A Sunny Spot With Well Drained Soil

Mums adore sunshine, and they reward a bright spot with sturdy stems and loads of fat buds. My shady mum grew tall and floppy, leaning toward the light like a kid at a window.
Aim for at least six hours of direct sun each day, and more is usually better. Morning light helps dry dewy leaves quickly, which lowers the chance of fungal trouble later in summer.
Soggy winter soil often harms mums more than cold air does, which surprises many new growers. Water that sits around the crown can rot roots while the plant rests quietly underground all winter.
Heavy clay shows up in many Pennsylvania yards, and it holds water like a stubborn sponge. Mix in a few inches of compost before planting to loosen the soil and help water drain.
Skip low spots where puddles linger after storms, since those areas stay wet longer than slopes. A gentle rise or a raised bed gives your mums a dry place to rest their roots.
Spacing matters too, so leave about eighteen inches to two feet between plants for healthy airflow. Crowded mums stay damp after rain, while roomy ones dry off quickly and look happier all season.
4. Water Mums Deeply But Keep Their Roots From Getting Soggy
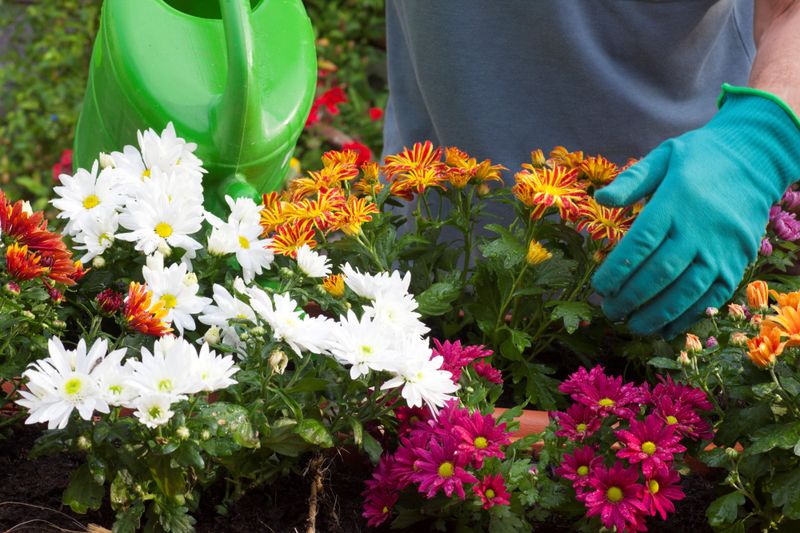
Shallow, fibrous roots make mums a little dramatic about thirst, and they droop fast on hot afternoons. I once found mine flopped over like a tired puppy, then perky again an hour after watering.
Push a finger into the soil before you grab the hose, because guessing often leads to trouble. Water deeply once the top two or three inches feel dry, soaking the root zone thoroughly.
Potted mums dry out faster than garden plants, especially in breezy weather or bright afternoon sun. During summer heat waves, containers may need a drink every day or even twice on scorching days.
Aim the water at the base of the plant instead of sprinkling the leaves from overhead. Dry foliage helps keep powdery mildew and leaf spot from moving in during humid summer stretches.
Cooler fall weather slows growth, so ease back on watering as the days get shorter and crisper. Soggy soil in cold months invites root rot, which can quietly ruin a plant before spring arrives.
A soaker hose or drip line makes the job easier and saves water at the same time. Morning watering works best, giving roots a full day to drink before cooler evening air settles in.
5. Spread Straw Mulch Around Mums After The Ground Freezes
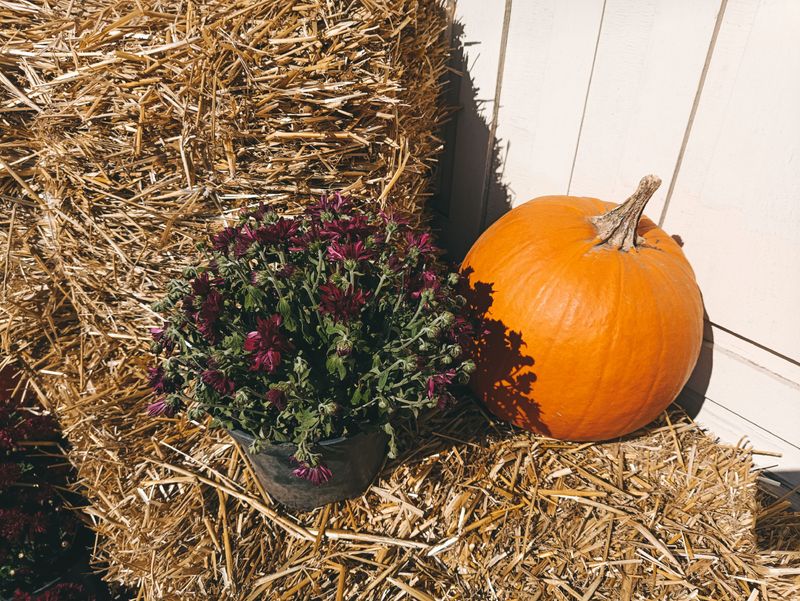
Frost heaving sounds like a weather report from the Arctic, yet it happens in our backyards each winter. Repeated freezing and thawing can push shallow mum roots out of the soil, leaving them exposed.
Mulch helps keep the soil temperature steady, so those swings between cold and mild days matter less. Pennsylvania winters love those swings, with a sunny thaw one week and a hard freeze the next.
Timing is tricky, because mulching too soon can hold warmth and keep plants from hardening off. Wait until the top of the ground freezes, which often happens in late November or December.
Loose straw or shredded leaves make fine covers, spread about three to four inches deep around each clump. After the holidays, I like tossing leftover evergreen boughs on top for an extra cozy blanket.
Avoid heavy, matted materials like wet leaves, since they can smother the crown and trap moisture. Keep the layer fluffy so air can still move around the plant during the coldest weeks.
Once spring growth starts showing at the base, pull the mulch back so sunlight reaches new shoots. Leftover straw can go into the compost pile or under tomato plants later in the season.
6. Leave Old Mum Stems Standing Through Winter
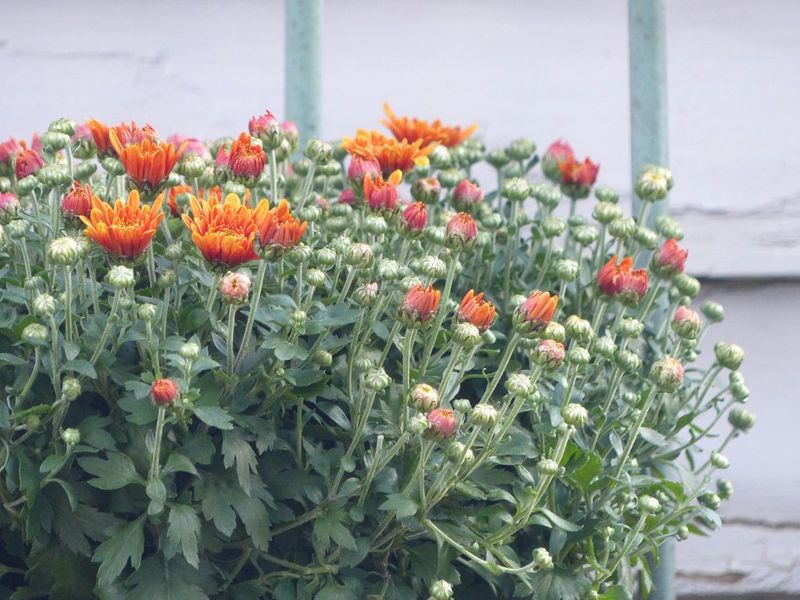
Brown, scraggly mum stems look messy in November, but they work like a winter coat for the crown. I used to grab my pruners every fall, and my mums paid for that tidy habit.
Old stems and leaves trap snow and fallen leaves, which adds a layer of insulation around the base. That shelter protects the growing point where next year’s shoots wait patiently below the soil line.
Many university extension experts suggest skipping fall pruning on garden mums for exactly this protective reason. Cutting stems down early can also trigger soft new growth that sudden cold snaps quickly damage.
Standing stems may also give some small beneficial insects a place to spend the chilly months. Your garden might look a bit wild, yet it stays busier and healthier than a bare patch.
Wait until early spring, when fresh green shoots appear at the base, before trimming anything back. Then cut the old stems down to just a few inches, taking care not to snip new growth.
Toss diseased stems in the trash instead of the compost if you spotted mildew or rust. Healthy clippings can go straight to the compost pile, where they will break down by summer.
7. Tuck Potted Mums Into A Cool Garage For Winter

Roots in a pot face winter with no blanket of earth, so they freeze harder than garden roots. My unheated garage became a quiet winter hotel for potted mums, and the results impressed me.
Move containers inside after a few light frosts, once the plants have slipped into dormancy naturally. An unheated garage or a chilly basement corner can work nicely during this long restful stretch.
Try to keep temperatures between 32 and 50 degrees Fahrenheit, which holds plants asleep without harsh freezing. A warm living room tricks mums into waking early, and weak spindly shoots soon follow indoors.
Light is not a big concern during dormancy, since the plants are resting rather than actively growing. Still, check on them now and then so you can spot mold or hungry mice early.
Water sparingly, roughly once a month, giving just enough to keep the soil from turning bone dry. Too much water in a cold, dark space can rot roots before they ever get a chance.
Bring pots outside in spring once hard frosts pass, starting in a shady spot for a few days. Add more sun each day, then plant them in the garden for a stronger second season.
8. Sink Hardy Mum Pots Into Garden Soil For Extra Warmth
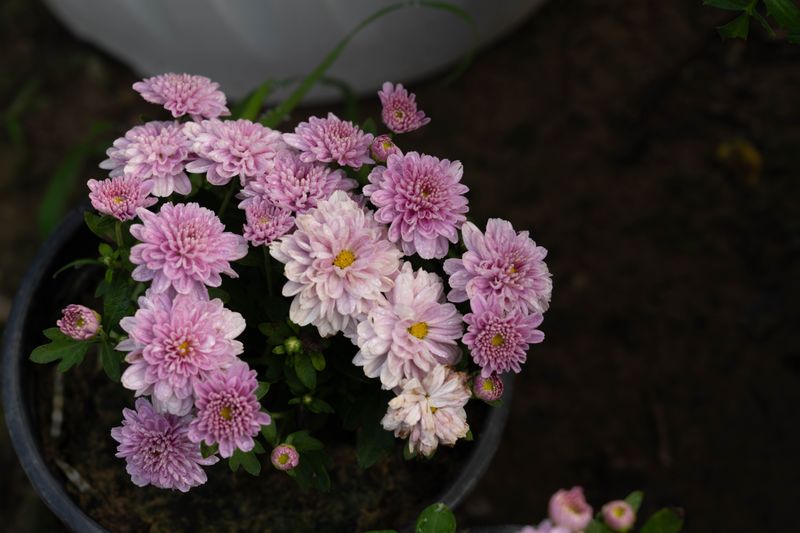
Burying a whole pot in the ground sounds silly, yet it wraps roots in cozy, steady earth. I tried it with three hardy mums last fall, and all of them sprouted again by April.
Dig a hole deep enough that the pot rim sits level with the surrounding soil surface. Choose a well drained spot, since a buried pot in soggy ground turns into a muddy bathtub.
Plastic pots work best for this trick, because clay or ceramic containers may crack during hard freezes. Add a layer of shredded leaves over the top once the ground freezes for bonus insulation.
If garden space is tight, cluster your pots together against a house wall that blocks harsh winter wind. Huddled containers shield each other, a bit like penguins crowding together during an icy Antarctic storm.
Wrapping the outside of pots in burlap or old blankets adds another helpful layer against bitter nights. Stuffing straw or leaves into the gaps between pots makes that huddle even warmer and tighter.
Dig the pots up in spring once new shoots appear, then move them to a sunny home. Planting them into the garden at that point gives roots more room to stretch and settle.
9. Divide Crowded Mum Clumps Every Few Springs

Mums have a funny habit of hollowing out, with a woody bald center surrounded by a ring of leafy shoots. When I first saw that donut shape, I assumed something was wrong, but the plant simply needed splitting.
Dividing every two to four years keeps clumps vigorous and gives you free plants to share with friends. Early spring works best, right as fresh shoots start poking through the soil around last year’s old stems.
Dig up the whole clump with a spade, then shake off loose soil so you can see the roots. Pull or cut outer sections apart, making sure each piece has roots and two or three shoots.
Toss the tired woody middle into the compost, since the young outer growth carries the most energy for blooming. Replant divisions right away in loosened, compost rich soil, spacing them about one to two feet apart.
Water each new piece well, and keep the soil lightly moist for the first few weeks after planting. Within a single season, those small divisions usually fill out into full, flower-packed mounds by early fall.
10. Pinch Mum Stem Tips Until Early July
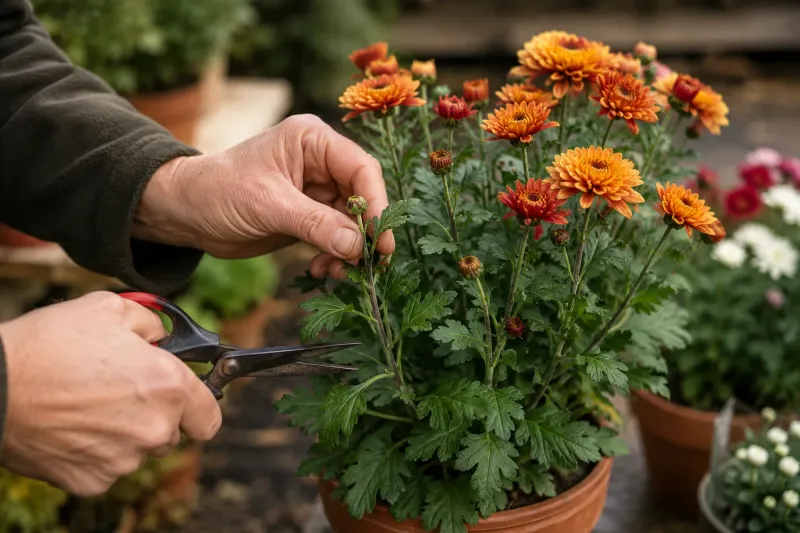
Those round mum domes at garden centers do not happen by luck, since growers pinch them repeatedly. Once I started pinching my own plants, they stopped flopping open in the middle every September.
Start when new spring growth reaches about six inches tall, using your fingers or clean snips. Remove the top inch or two from each stem, just above a set of healthy leaves.
Each pinch encourages two or more side branches, and every branch can carry its own cluster of buds. Repeat the process every few weeks as new shoots grow another five or six inches long.
Many gardeners use the Fourth of July as their stopping point, and that date works well in Pennsylvania. Mums set flower buds as nights grow longer, so late pinching can delay or reduce the fall show.
Fun fact: mums are short-day plants, meaning shrinking daylight in late summer tells them to start blooming. Streetlights or porch lamps shining on them at night can confuse that signal and delay flowers.
Drop the pinched tips into the compost, or try rooting a few in moist potting mix. Mum cuttings root fairly easily, which makes them a fun summer project for curious young gardeners.
11. Watch Mum Leaves For Aphids And Powdery Mildew

Tiny green aphids love tender mum tips, and they can multiply fast during warm spring weeks. I like flipping leaves during my morning coffee walk, since catching trouble early saves much work.
A strong spray of water from the hose knocks many aphids loose before they settle into colonies. Ladybugs and lacewing larvae also feast on them, so go easy on broad garden pesticide sprays.
Spider mites show up during hot, dry spells, leaving leaves speckled and sometimes wrapped in fine webbing. Thrips and leaf miners can also visit, so check both sides of the foliage every week.
Powdery mildew looks like someone dusted your leaves with flour, and it loves crowded plants in humid air. Rust and leaf spot appear in damp summers, showing up as rusty brown bumps or dark blotches.
Roomy spacing and morning watering prevent many of these problems before they ever get a foothold. Pull off spotted leaves promptly, and clean up fallen foliage so fungal spores have fewer hiding places.
Penn State Extension offers helpful fact sheets and diagnostic services when a strange problem stumps you. A healthy, well cared for mum shrugs off most pests and rewards you with color year after year.