Don’t Ignore Your Ohio Peace Lily in November – Do These 7 Things for Healthy Growth
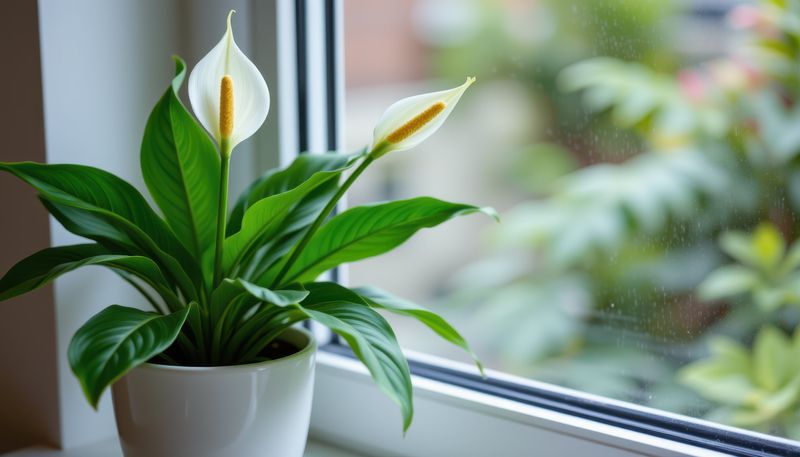
That snowy white bloom on one popular houseplant is not a flower at all, but a cleverly disguised leaf. The real flowers are tiny dots packed along a little spike, and most people walk right past them.
This tropical charmer grows wild on shady forest floors in Central and South America, where humidity stays high. Late fall in Ohio feels like another planet to it, with furnace air and days barely ten hours long.
I have to admit, my own plant sulked last year until I figured out what it was missing.
You might notice crispy brown tips or droopy leaves right now, and those are signals worth reading.
A few small changes can keep this leafy friend glossy and green through the gray Ohio months ahead. Which of these simple November habits is your houseplant quietly begging you to start this week?
1. Move Your Peace Lily Closer to a Bright East Window
Sunset in Columbus arrives around five o’clock by late November, which cuts the daylight your plant depends on. I swear my peace lily leans toward the window like a kid pressing its nose against glass.
A spot that felt bright in July can turn surprisingly dim once the sun hangs low all day. Weak light slows new leaves and often stops those famous white spathes from showing up at all.
An east-facing window works beautifully because the morning sun stays gentle enough for these shade-loving forest plants. A spot a few feet back from a south or west window can also work well.
Winter sun is much softer, so a south window that scorched leaves in summer may feel just right now. Watch for pale or bleached patches, though, since those tell you the light has become too strong.
Keep leaves from touching the cold glass, because chilled foliage can turn dark and mushy within a night. I leave about a hand’s width of space between my pot and the windowpane for safety.
Homes in Ohio with few windows can still grow happy peace lilies by adding a small LED grow light. Running it for about ten to twelve hours daily gives your plant a steady, reliable dose of brightness.
Give the pot a quarter turn every week or two so every side gets its fair share. Your reward is a fuller, more balanced plant instead of one stretching awkwardly toward the brightest corner.
2. Let the Peace Lily Soil Dry Before You Water
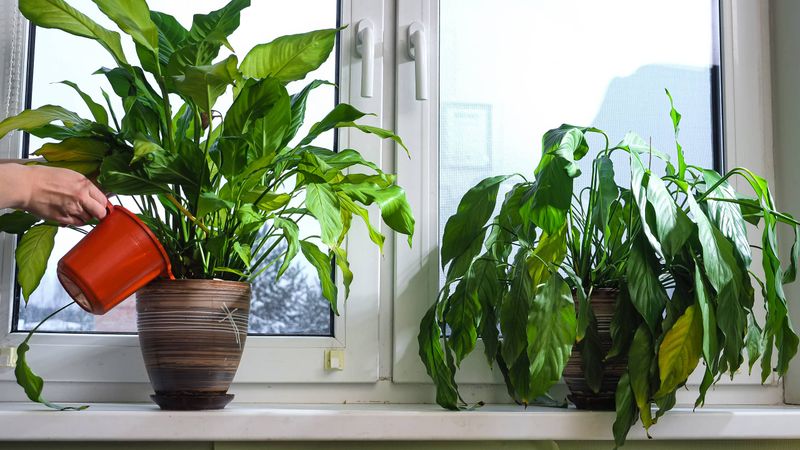
Overwatering, not thirst, ranks as the most common way people harm their peace lilies once cooler weather arrives. Slower growth means roots drink less, so soil stays soggy much longer than it did all summer.
Your old summer schedule might feel comforting, but sticking with it now can invite root rot quickly. Honestly, I learned this the hard way with a gorgeous plant that turned mushy at the base.
Push a finger about an inch into the soil before you even pick up the watering can. If it still feels damp, walk away and check again in two or three more days.
Once the top inch feels dry, water slowly until extra moisture trickles out of the drainage holes. Empty the saucer within a few minutes, since roots sitting in standing water struggle to get oxygen.
Drooping leaves usually mean thirst, and peace lilies perk up remarkably fast after a good drink. Wet soil plus droopy leaves points to overwatered roots instead, so feel the soil before reacting.
Room-temperature water is kinder than an icy splash straight from a chilly kitchen faucet in midwinter. Brown leaf tips may also come from minerals in tap water, so filtered or rainwater can help.
Many growers find watering roughly every week or two works in winter, though every home is different. Let the soil, not the calendar, tell you when your plant is truly ready for another drink.
3. Raise Humidity Around Those Glossy Green Leaves
Furnace air can pull indoor humidity down below twenty percent, and tropical leaves notice that change fast. Peace lilies come from steamy rainforest floors, so crispy brown edges are their way of complaining.
I keep a cheap humidity gauge on my bookshelf, and the winter numbers honestly shocked me. Most experts suggest aiming for roughly forty to sixty percent humidity to keep these plants comfortable.
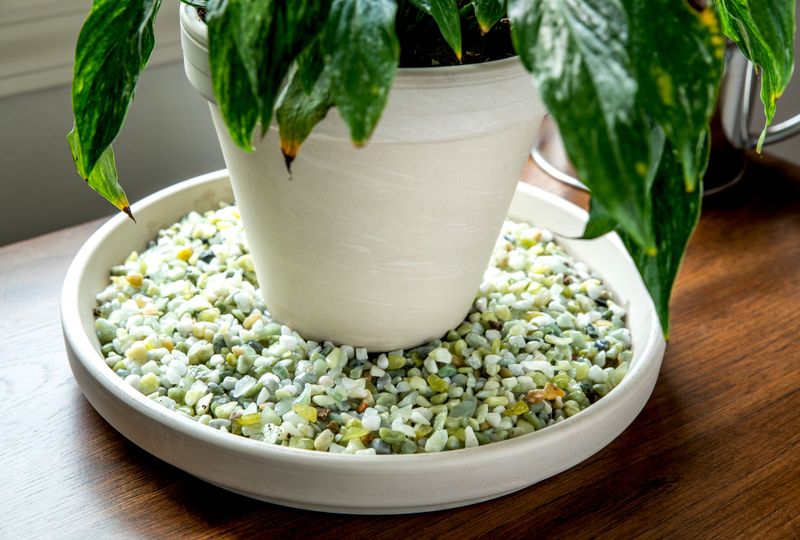
A pebble tray is one of my favorite easy fixes for dry air around a single plant. Fill a shallow tray with pebbles and water, then set the pot on top above the waterline.
As the water slowly evaporates, it creates a small pocket of moist air right around the leaves. Make sure the pot bottom stays dry, because soggy roots cause far bigger trouble than crispy tips.
A cool-mist humidifier works even better, especially if you have several tropical plants sharing one sunny room. Grouping plants together helps a little too, since leaves release moisture into the air as they breathe.
Misting feels helpful, but the boost fades within minutes and wet leaves overnight can invite fungal spots. If you love misting anyway, do it in the morning so foliage dries well before evening.
A bright bathroom can become a cozy winter retreat, thanks to steam drifting up from daily showers. Just check that the light there is strong enough, because humidity alone will not keep leaves happy.
4. Keep Your Peace Lily Away From Cold Windows and Heat Vents
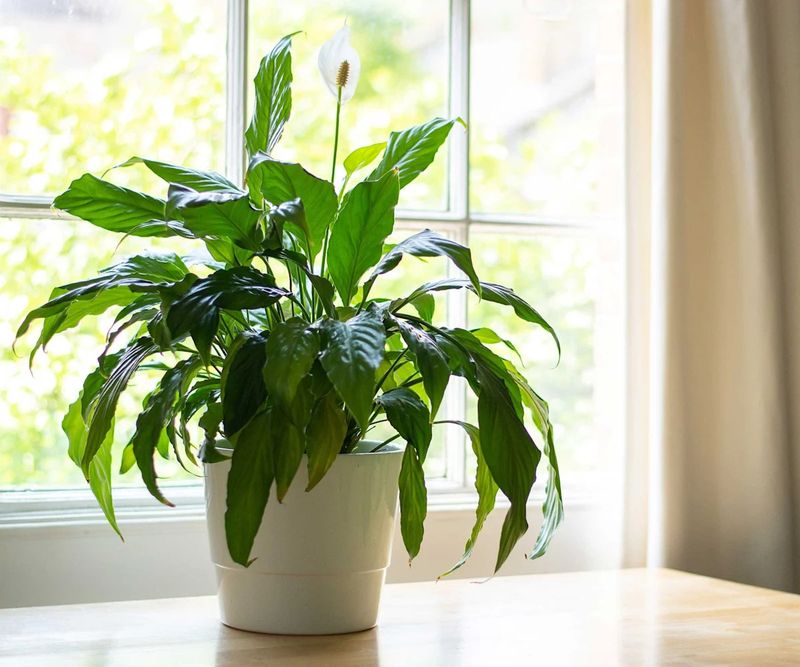
A single frosty gust from the front door can leave peace lily leaves looking scorched by morning. These tropical plants enjoy steady warmth, roughly sixty-five to eighty degrees, much like most of us do.
Below about fifty degrees, leaves may darken and wilt, and that kind of damage rarely reverses itself. Even without visible harm, growth slows noticeably once temperatures stay under sixty degrees for long stretches.
Drafty entryways and single-pane windows are the sneaky troublemakers in many older homes I have visited. Move your plant a few feet away from doors that open often during chilly November afternoons.
Heat can cause just as much trouble, especially from floor vents blowing dry air straight upward. A space heater nearby may quickly dry the soil and leave leaf edges crisp and curled.
I like to hold my hand where the plant sits and feel for any breeze or blast. If you notice moving air, warm or cold, your peace lily feels it too and will react.
Interior rooms away from outside walls usually offer the steadiest temperatures in houses across the state. A hallway table with decent light or a spot near an inside wall can work nicely.
Wrap any new peace lily in paper for the car ride home, since even brief cold exposure stings. That small habit saved my latest store find from blackened leaves on a bitter late fall afternoon.
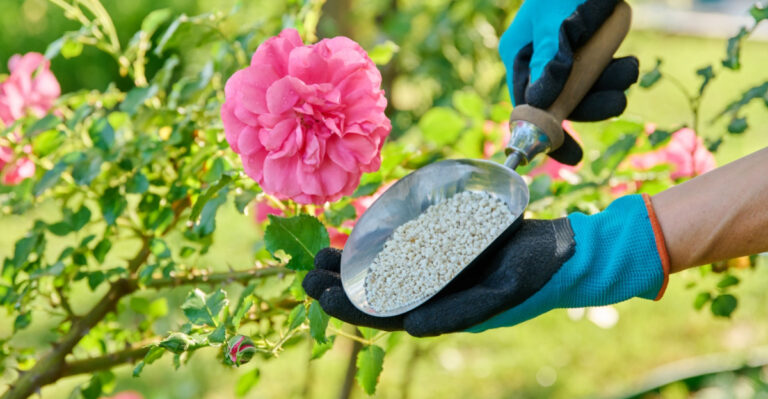
5. Put the Peace Lily Fertilizer Away Until Spring
Feeding a resting plant is a bit like serving a huge dinner to someone who already fell asleep. Peace lilies slow way down in winter, so they simply cannot use much extra fertilizer right now.
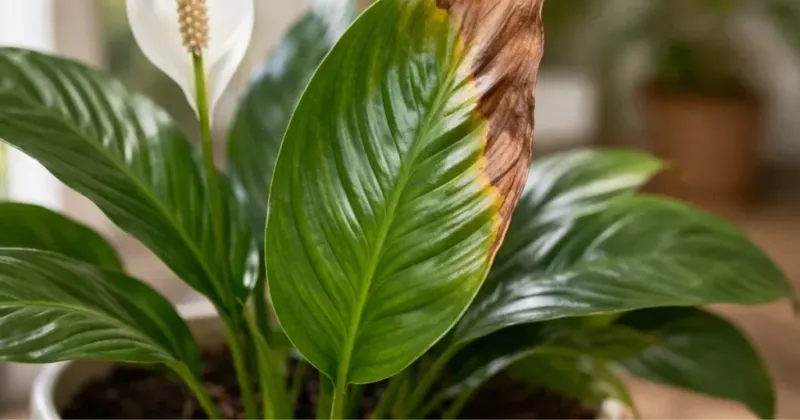
Unused fertilizer leaves salts behind in the soil, and those salts can burn tender roots over time. Brown leaf tips and a crusty white film on the soil surface are common warning signs.
I used to feed year-round out of pure enthusiasm, and my plant paid the price with crispy edges. Now I tuck the fertilizer bottle into a cupboard around Halloween and mostly forget about it.
Most houseplant experts in Ohio recommend pausing or sharply reducing feeding from late fall until new growth appears in spring. Lengthening days in March usually wake the plant up, and fresh shoots tell you it is hungry again.
A plant growing strongly under a grow light may still enjoy a gentle snack once a month. Choose a balanced liquid fertilizer and dilute it to about half strength or even weaker for winter use.
Water the soil first, because adding fertilizer to bone-dry roots raises the risk of burning them. If white crust has built up, flush the pot with plain water until it drains freely.
Rest is part of a healthy rhythm for many houseplants, not a sign that something is wrong. Letting your peace lily take this quiet break helps it return in spring with fresh leaves and blooms.
6. Wipe Dusty Peace Lily Leaves With a Soft Cloth
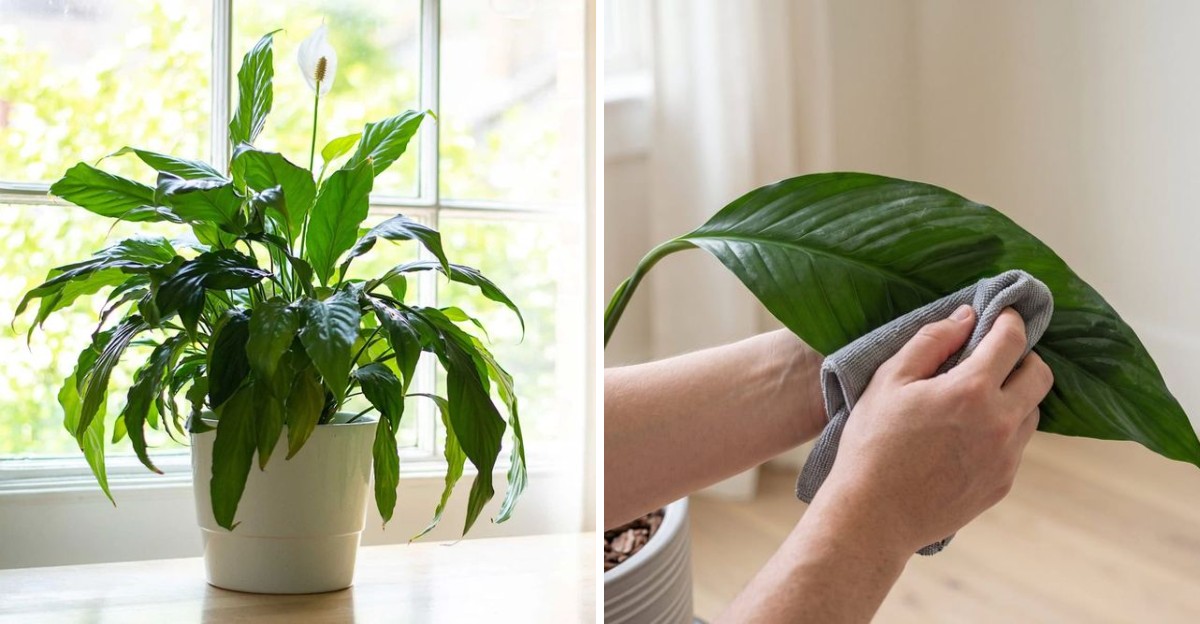
Run a finger across a peace lily leaf in November, and you might be shocked by the gray fuzz. Those broad, glossy leaves act like little shelves that catch dust from furnace air all season long.
Dust blocks some of the light a leaf needs for photosynthesis, which matters more during short days. When sunlight is already scarce, every bit of clean leaf surface helps your plant make its food.
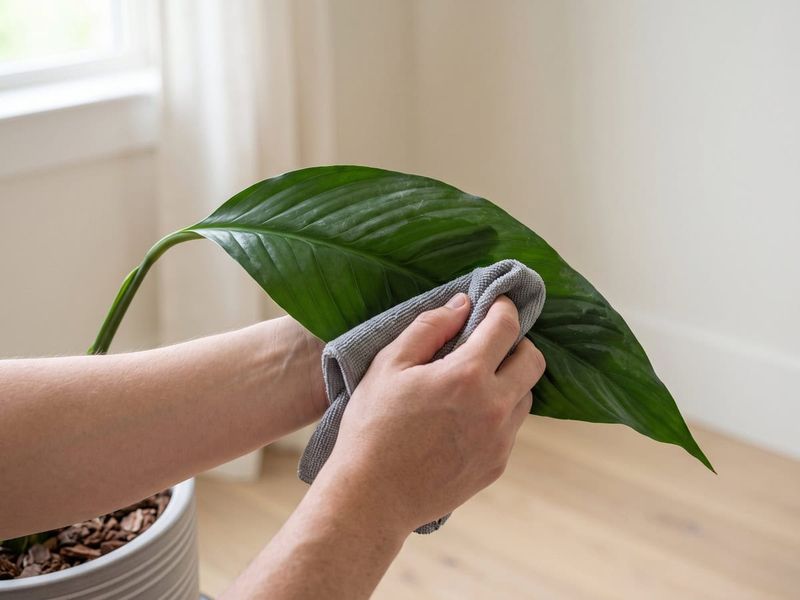
My favorite tool is a soft cloth dampened with lukewarm water, nothing fancy or expensive at all. Support each leaf with one hand underneath, then gently wipe the top from stem toward the tip.
Skip leaf shine products, since many can clog the tiny pores leaves use to exchange air. A quick lukewarm shower in the sink or tub also works well for really dusty plants.
Cleaning time doubles as a checkup, so look for yellow leaves or faded flower stalks while you work. A yellowed leaf will not turn green again, so trimming it keeps the plant tidy and healthy.
Use clean, sharp scissors and cut the stem down near the base where it emerges from the soil. Spent spathes that turned green or brown can come off the same way, right at their base.
Peace lilies contain calcium oxalate crystals, so keep the trimmings away from curious pets and small children. I like finishing with a step back to admire how much brighter those freshly wiped leaves look.
7. Check Peace Lily Leaf Undersides for Spider Mites and Mealybugs
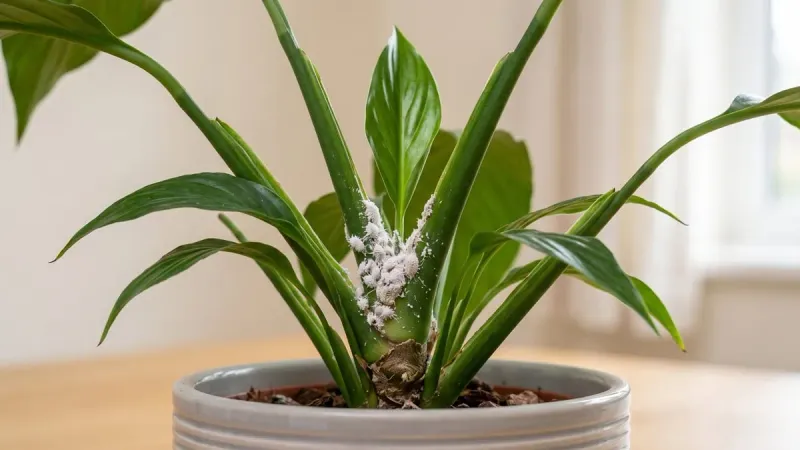
Spider mites are so tiny that most people spot their fine webbing long before seeing the actual bugs. Dry winter air in heated homes gives these pests ideal conditions, and stressed plants make easy targets.
Peace lilies are fairly tough, yet mealybugs and spider mites still show up on indoor plants every Ohio winter. Mealybugs look like tiny cottony blobs tucked into leaf joints, and they suck sap from the plant.
I make pest checks part of my weekly watering routine, flipping a few leaves over each time. Look closely at the undersides and where stems meet, because these hiding spots attract trouble first.
Stippled, speckled leaves or sticky residue are clues that something small is feeding on your plant. A magnifying glass or your phone camera zoomed in can help you confirm what you are seeing.
For small outbreaks, wipe pests away with a damp cloth or spray the plant with insecticidal soap. Repeat treatments every week or so, since new pests often hatch after the first round is gone.
Move an infested plant away from your other houseplants until the problem is under control again. Raising humidity helps too, because spider mites strongly prefer the dry air that furnaces create indoors.
While you are checking, peek at the drainage holes to make sure water flows out freely. Healthy roots and clean leaves go hand in hand, setting your peace lily up for a strong spring.