Georgia Pumpkins Need To Reach This Stage Before Fall Harvest
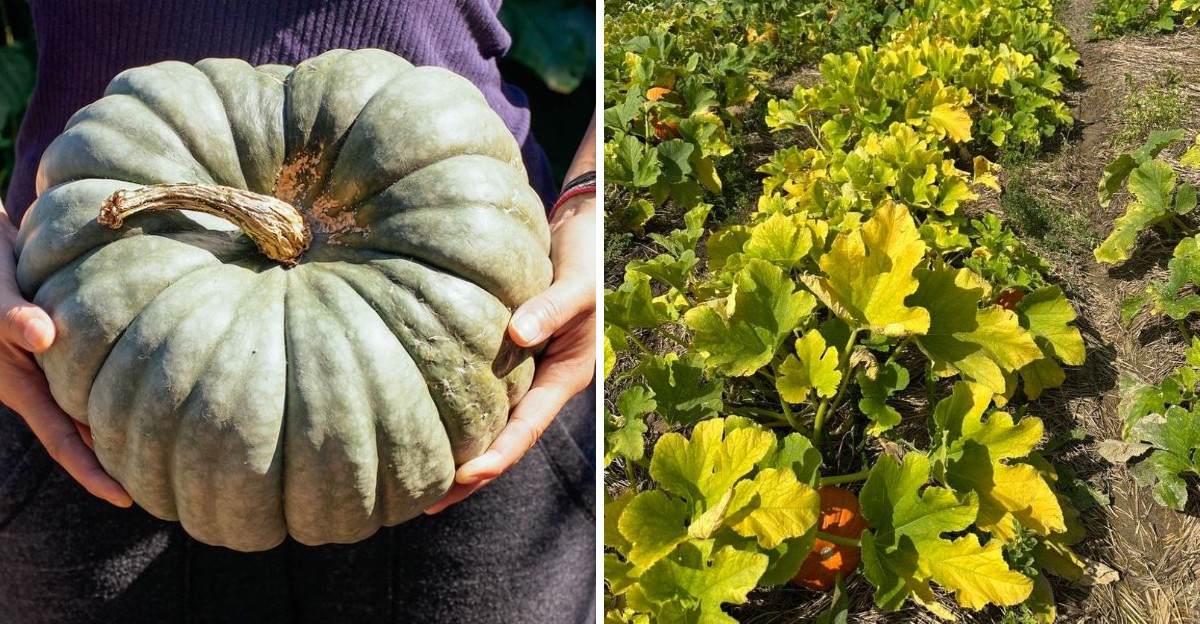
There is something deeply satisfying about standing in a pumpkin patch on a cool Georgia morning with a thermos of something warm and a very serious mission.
The orange globes are glowing, the vines are sprawling everywhere, and every single one of those pumpkins is calling your name.
Before you grab the biggest one and haul it to the car though, pump the brakes for just a second. Size is not the whole story here, and a pumpkin pulled from the vine too early has a way of making that clear pretty quickly.
Shriveled skin, soft spots, a porch display that peaks on October third and looks sad by the tenth, none of that is what you signed up for.
The good news is that pumpkins give off some very clear signals when they are genuinely ready, and once you know what to look for, spotting a ripe one feels almost effortless.
1. Full Color Change Across Georgia Pumpkin Patches
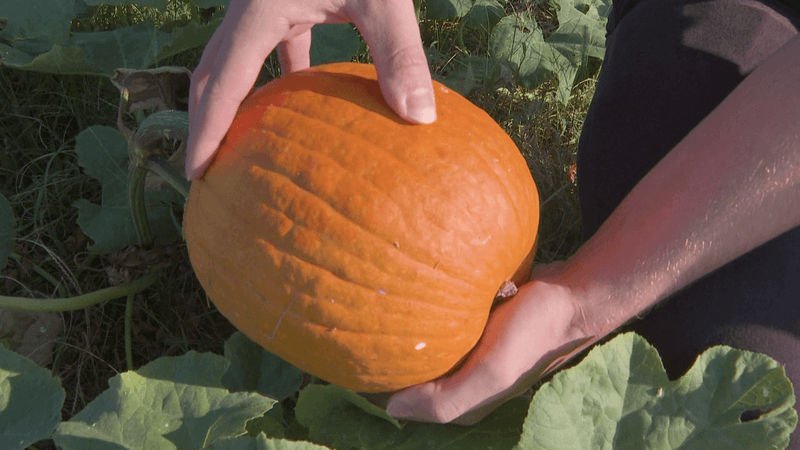
Walk through any patch near Macon in late September, and you will see a sea of shades. Some fruits glow like sunset, while others still wear streaks of green.
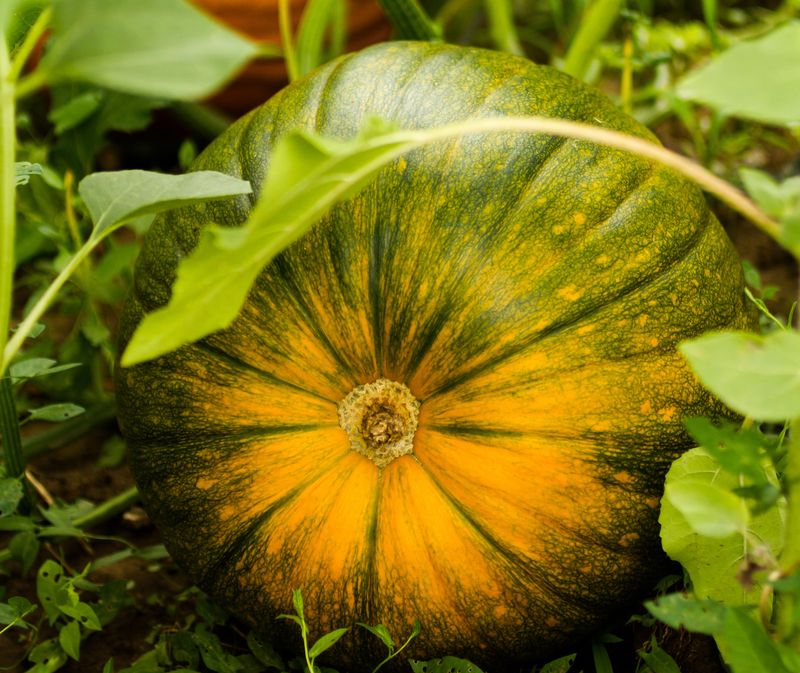
Uniform color is the first big sign of maturity. For classic carving types, that means a deep, even orange from top to bottom with no pale patches.
Green spots on an orange variety usually mean the inside is still developing. The flesh may be watery, and the seeds may not be fully formed yet.
Keep in mind that not every pumpkin is meant to be orange. White, blue, and tan heirlooms each have their own finished hue, so check the seed packet for the target color.
A handy trick is to look at the side resting on the ground. That spot often lags behind, so once it shifts from pale yellow to a creamy orange, the fruit is close.
Hot southern sun can bleach exposed tops, which sometimes fools new growers. Compare several fruits in the same row instead of judging one alone.
Snap a quick photo each week to track progress. Seeing the colors shift side by side makes it much easier to tell when your crop has truly arrived.
Patience here pays off in storage life. Fully colored pumpkins tend to last for weeks longer on the porch than ones picked in a hurry.
2. A Hard Rind Growers Can Trust
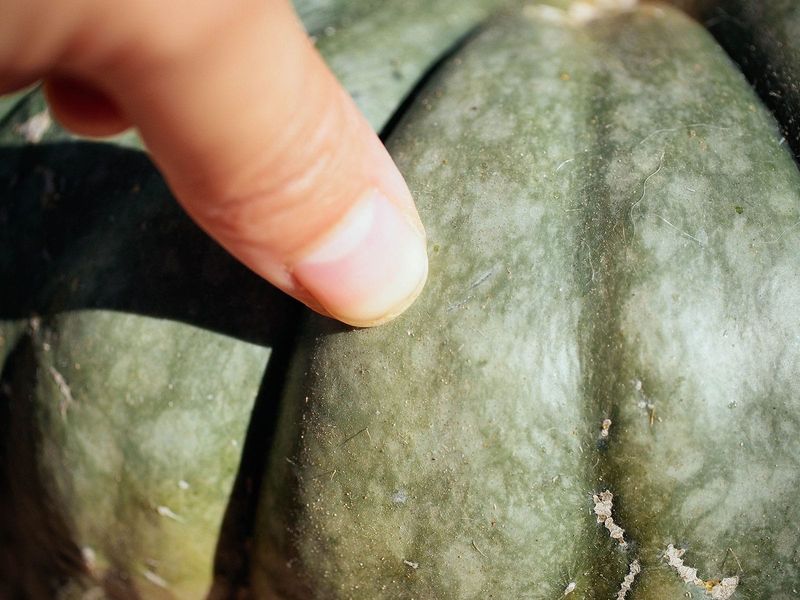
Try the thumbnail test, and you will feel like a real farmer. Press your nail gently into the skin, and pay attention to what happens next.
A ready pumpkin resists your nail and barely shows a mark. If your nail sinks in easily or leaves a dent, the rind still needs more time to harden.
Why does this matter so much? That tough shell acts like armor, keeping moisture in and germs out during months of storage.
Georgia humidity is rough on soft skins. Mold and rot find their way into thin rinds quickly, especially after a rainy week.
Test in a spot you will not mind showing, like the back or bottom. There is no need to leave scratches across the pretty front side.
Your Georgia Garden Changes Every Week. Your Plan Should Too.
Gardening in Georgia changes quickly throughout the season. Every Friday you’ll receive a simple weekly plan showing exactly what to plant, prune, fertilize, harvest, and protect so you never miss the right timing.
Many experienced growers test pumpkins in the cool of the morning when the fruit is easier to handle and assess. It is a simple habit that makes the whole process feel more deliberate and satisfying.
If you are unsure, wait three or four more days and try again. The rind firms up steadily as the season goes on.
Gentle handling helps, too. Even a hard shell can bruise if tossed into a wheelbarrow, so carry each one like a basket of eggs.
Once the rind passes this test, you are well on your way to a long-lasting harvest.
3. The Hollow Thump Test In A Georgia Garden
Knock, knock. Who is there?
If the answer sounds deep and hollow, your pumpkin might be ready to come home.
Thumping is one of the oldest ripeness checks around. Rap your knuckles firmly on the side, and listen closely for the tone.
A mature fruit gives off a low, drum-like sound. An unripe one tends to sound dull, flat, or a little squishy, almost like knocking on a wet sponge.
Kids love this part of the job, so bring them along. It turns harvest day into a game, and young ears often pick up sound changes faster than adults.
Practice helps your ear learn the difference. Tap a pumpkin you know is ripe, then tap a greener one, and compare the two sounds.
The thump works best when used with other clues. Pair it with color and rind checks for a more reliable answer.
Georgia families often visit pick-your-own farms in October, and many farmers are happy to show visitors how to thump. Ask for a quick lesson on your next trip.
Large field pumpkins give clearer sounds than tiny decorative ones. For minis, lean more on color and stem condition instead.
Soon enough, you will hear that satisfying hollow note and grin. That sound means the inside has matured and dried just right.
4. Dry, Woody Stems On Georgia Vines
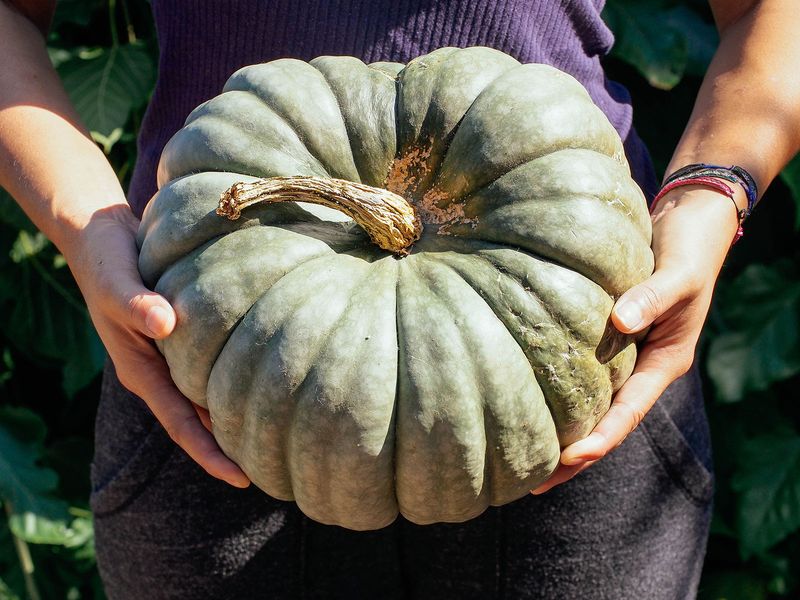
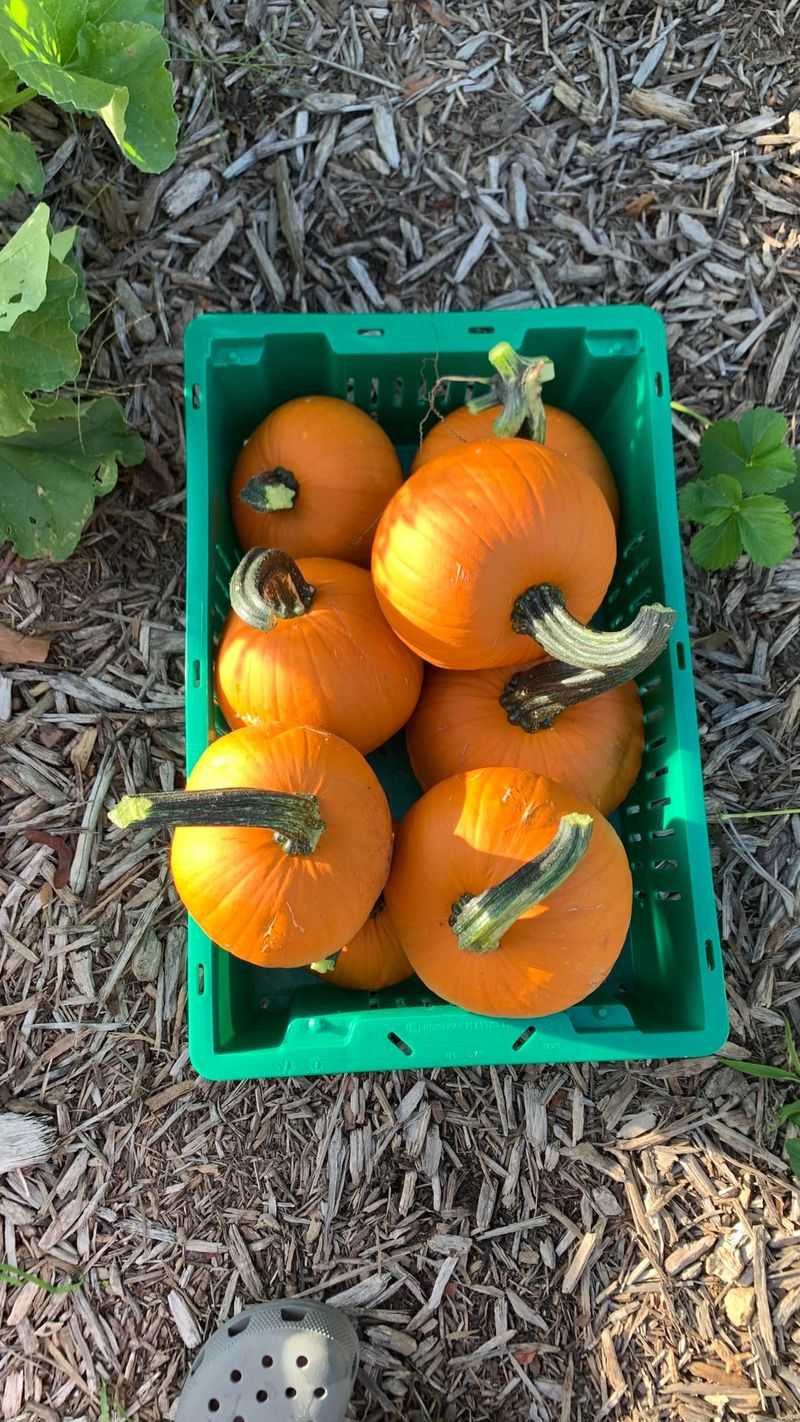
Stems tell stories if you know how to read them. A fresh green stem shouts youth, while a brown, corky one whispers that the fruit is grown up.
As a pumpkin matures, its stem hardens and dries. It often develops ridges and a rough, woody feel, almost like tree bark.
Look closely where the stem meets the vine. When that section starts turning tan and firm, the plant has finished sending food to the fruit.
A soft, bendy stem is a sign to wait. Cutting too soon can leave a moist wound that invites rot during storage.
When you do harvest, leave three to four inches of stem attached. That little handle helps seal the fruit and keeps it looking great.
Here is a mistake plenty of beginners make. Never carry a pumpkin by its stem.
A snapped handle creates an open wound that invites decay and can ruin an otherwise perfect fruit within days.
Use sharp pruners or a clean knife for the cut. Tearing the stem by twisting can damage both the fruit and the rest of the vine.
Many growers wipe their blades with rubbing alcohol between plants. That quick step cuts down on spreading plant germs around the patch.
A sturdy, dry stem is like a green light on the road to harvest. When you see it, grab your tools and get ready.
5. Fading Foliage Signals Georgia Harvest Time
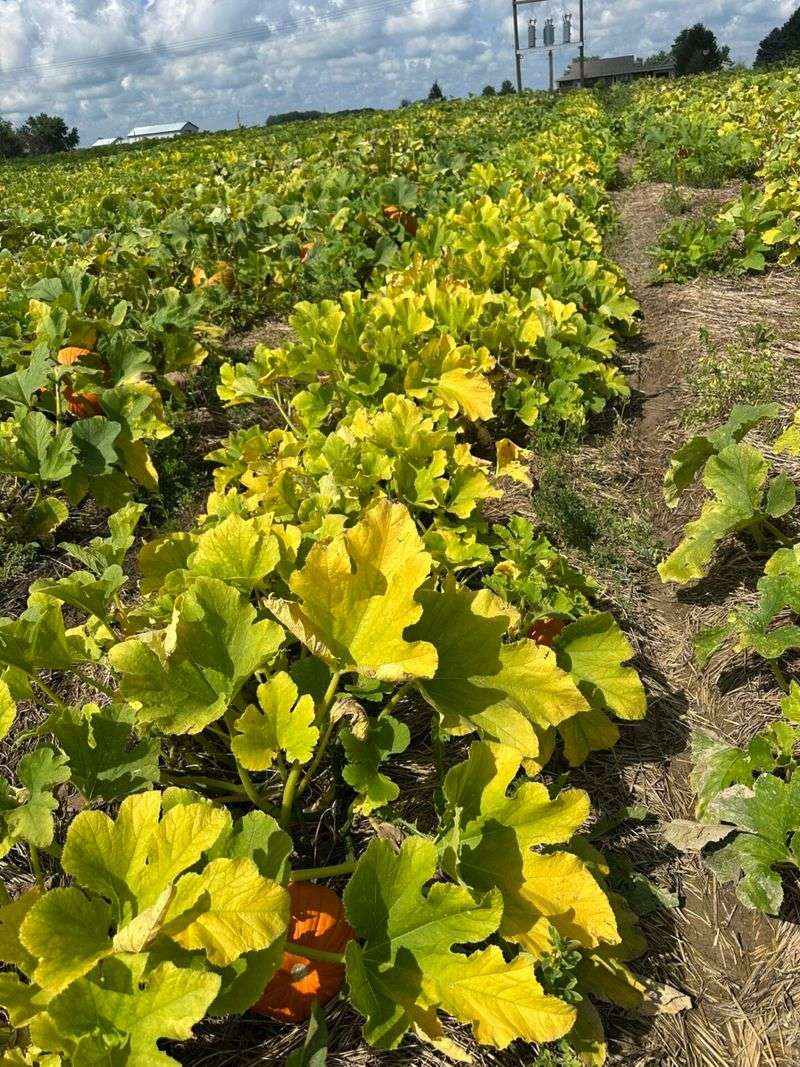
Remember those huge, umbrella-like leaves from July? By early fall, they start looking tired, and that is actually good news.
Vines naturally yellow and wither as the season winds down. The plant has poured its energy into the fruit, and the leaves are simply retiring.
When most of the foliage turns brown and crispy, pumpkins are usually close to done. It also makes them much easier to spot and reach.
Still, be a bit of a detective here. Sometimes leaves fade early because of powdery mildew or vine borers, not maturity.
Check the underside of leaves for white dust or holes along the stems. If pests are the cause, look closely at the fruit clues before picking.
Georgia summers can be brutal, and heat stress sometimes makes vines droop in August. That early slump does not mean the fruit is ready.
Think of fading foliage as a helpful hint rather than a final answer. Combine it with rind hardness and stem condition for the full picture.
Once vines are mostly spent, pumpkins sitting in the open sun may need protection. A light cover of straw can shield them from sunscald.
Watching the leaves change is a quiet reminder that the seasons are turning. Before long, sweater weather and harvest day will arrive together.
6. Counting Days To Maturity For Georgia Planting
Math class meets the garden in this step. Every pumpkin variety comes with a number printed on the seed packet called days to maturity.
That number tells you roughly how long the plant needs from planting to ripe fruit. Most carving types take between 90 and 120 days.
For a Halloween harvest, count backward from early October. In middle Georgia, that often means planting seeds in late June or early July.
Plant too early, and pumpkins may ripen in August and soften before the holiday. Plant too late, and cooler nights may slow them down.
Keep a simple garden journal to track your dates. Jot down when seeds went in, when flowers opened, and when the first fruit set.
Here is a neat tip from seasoned growers. Once a fruit forms, it usually needs about 45 to 55 more days to fully mature.
Weather can shift these numbers a bit. A hot, sunny stretch may speed things along, while cloudy weeks can add a few extra days.
Treat the calendar as a guide, not a strict rule. Your eyes, hands, and ears still give the final verdict in the field.
Planning ahead takes the guesswork out of fall. With good timing, your patch will be full of ready fruit right when neighbors start shopping for jack-o-lanterns.
7. Beating The First Georgia Frost
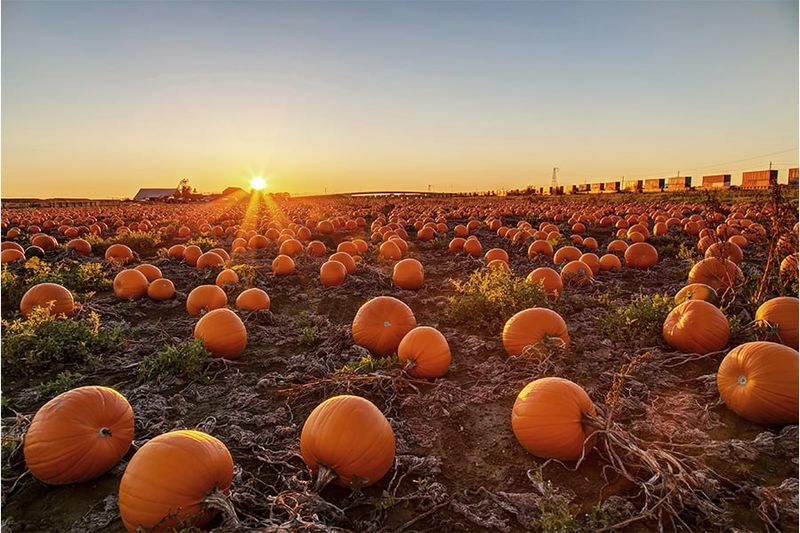
Up in the north mountains, a chilly surprise can sneak in by mid-October. One frosty night is all it takes to change your harvest plans.
Frost damages the rind and leaves soft spots that spoil quickly. A hard freeze can harm the flesh underneath, too.
Watch the local forecast closely as fall arrives. When lows are expected to drop near 32 degrees, it is time to act.
Harvest any mature fruit before the cold snap hits. Even pumpkins that are mostly ripe usually handle picking better than a freezing night.
For fruit that is not quite ready, try covering it. Old bedsheets, burlap, or frost cloth can hold in warmth from the soil overnight.
South Georgia growers rarely face early frost. Down there, the bigger worry is often heavy fall rain and lingering heat.
Interestingly, cold temperatures can increase sugar content in certain varieties of winter squash, but pumpkins tend to respond differently. Their thick skins are more likely to suffer damage from frost than to benefit from it, so protecting your crop from cold is always the smarter move.
Keep a stack of covers near the garden once October begins. Scrambling in the dark for blankets is no fun for anyone.
Staying one step ahead of the weather protects all your hard work. A little planning keeps your pumpkins firm, bright, and ready for display.
8. Proper Curing After Harvest
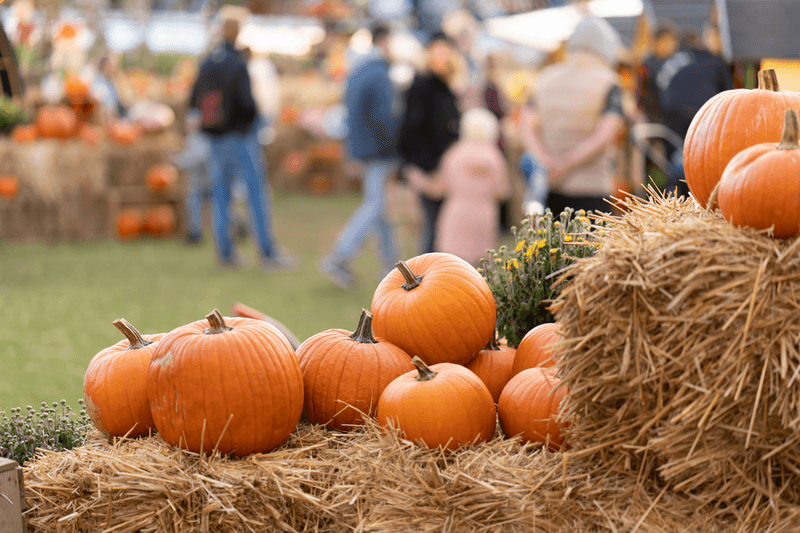
Picking the pumpkin is only half the story. Curing is the secret finishing school that helps your crop last well into winter.
Curing simply means letting fresh pumpkins sit somewhere warm and dry. This step toughens the skin and heals tiny scratches from harvest.
Aim for temperatures around 80 to 85 degrees for about ten days. A sunny porch, a barn, or a greenhouse can work nicely.
Good airflow makes a big difference. Space pumpkins apart so they do not touch, and turn them now and then.
Georgia fall days are often warm enough for outdoor curing. Just bring the fruit inside if heavy rain rolls in.
Before curing, many growers give pumpkins a gentle bath. A mix of one part bleach to ten parts water wipes away surface germs.
After curing, move them to a cooler spot around 50 to 55 degrees. A garage or basement often fits the bill.
Well-cured pumpkins can stay fresh for two to three months. Some sturdy varieties hold up even longer.
Think of curing like letting fresh paint dry before hanging a picture. It is a small wait that brings big rewards for your autumn decorations and pies.
9. Seed Maturity Inside Pumpkins
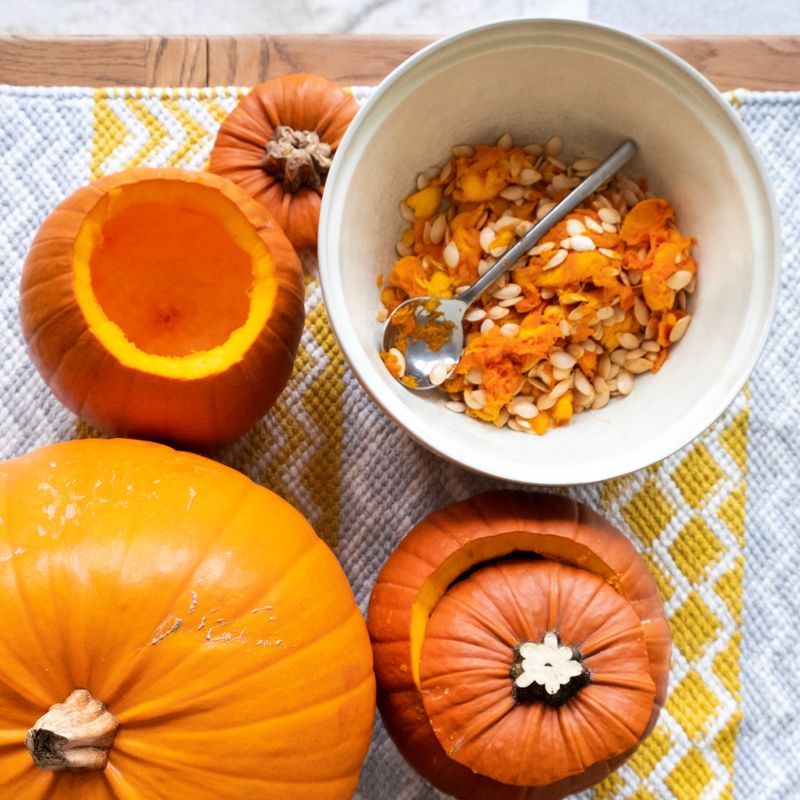
Scoop open a truly ripe pumpkin, and the inside looks like a treasure chest. Plump, creamy seeds nestle in stringy orange pulp.
Seed development is one of the best hidden signs of maturity. Fully formed seeds are thick, firm, and hard to squish between your fingers.
Thin, flat, or white seeds usually mean the fruit came off the vine early. Those seeds rarely sprout and taste bland when roasted.
If you save seeds for next year, this stage really matters. Only mature seeds carry the energy needed to grow healthy plants.
Rinse the seeds, spread them on a paper towel, and let them dry for a week. Store them in a labeled envelope in a cool, dry place.
Roasting is another tasty reward. Toss clean seeds with a little oil and salt, then bake at 300 degrees until golden.
Here is a fun history bit. Native peoples across North America grew squash and pumpkins for centuries, carefully saving the best seeds each season to improve future crops.
That tradition of seed saving is one of the most important agricultural practices in human history.
Many gardeners keep that tradition alive today. Passing seeds between neighbors creates a special link from one season to the next.
Checking seeds closes the loop on the whole growing journey. When they look plump and ready, you know you timed your harvest just right.