8 Tips To Grow Watermelons + Tricks That Reveal Ripeness
The summer is all about fruit, and watermelons are on everyone’s list! Now imagine the feeling of heading to your vegetable garden, picking the sweet, watery fruit, and slicing it on your patio. Priceless!
But just like everything in this world, they don’t come for free. Watermelon vines are demanding and can quickly shrivel up and die if you don’t know what you’re doing. Or worse, they’ll be filled with fruit that simply won’t ripen!
And even if everything goes well, there’s that never-ending dilemma of their ripeness.
But don’t worry! Here are some tips and tricks that can help you grow the tastiest watermelons yet (and they’ll tell you the right time for picking)!
They’re A Challenge
If you’ve tried to grow watermelons in the past and failed, then you know what a challenge they are for a novice gardener.
That’s why I always advise to start with something fairly easy to grow, such as carrots, leafy greens, onions, etc. Once you get the gist of it, you can move onto more demanding veggies, such as watermelons.
I mean, this fruit needs it all; plenty of water, fertilizer, and space to grow properly. You have to set up a watering and feeding routine that has to be just right if you want to maximize your yield and get delicious fruit in the end.
Watermelons also require plenty of sunlight, so if you don’t live in a warm climate with a long growing season, they won’t be able to reach their full potential.
Of course, this doesn’t mean you can’t do it. It’s a challenge, but once you grow your first batch, you’ll see how fulfilling the job actually is.
Learn from your past mistakes and make improvements the following year. These tips can help you, too!
1. Choosing The Best Location
Watermelons take about 3 months to mature, or rather between 70-100 days. And to get them as sweet as possible, you need to live in a climate which lasts long enough for these plants to reach their final stage.
This fruit requires warm conditions, so if you live in a region with cool nights, your watermelons probably aren’t going to make it.
They grow best in temperatures between 70-90°F. If the nighttime temperatures drop below 50°F, the fruit will lose its sweet flavor. And if the daytime temperature goes over 90°F, the flowers will fall off and you’ll have no fruit whatsoever.
Also, watermelons need full sun conditions in order to thrive. They can get along with some shade, especially in hotter regions, but too much of it will reduce the number and size of its fruits.
2. Amend The Soil
Let’s face it, you simply have to improve your garden soil in order to grow these divas! They can’t just grow in any substrate; they need sandy loam medium with a slightly acidic pH level.
That’s why you’ll need to mix sand, well-rotted manure, and compost into your existing soil in order to make it just right for your watermelons.
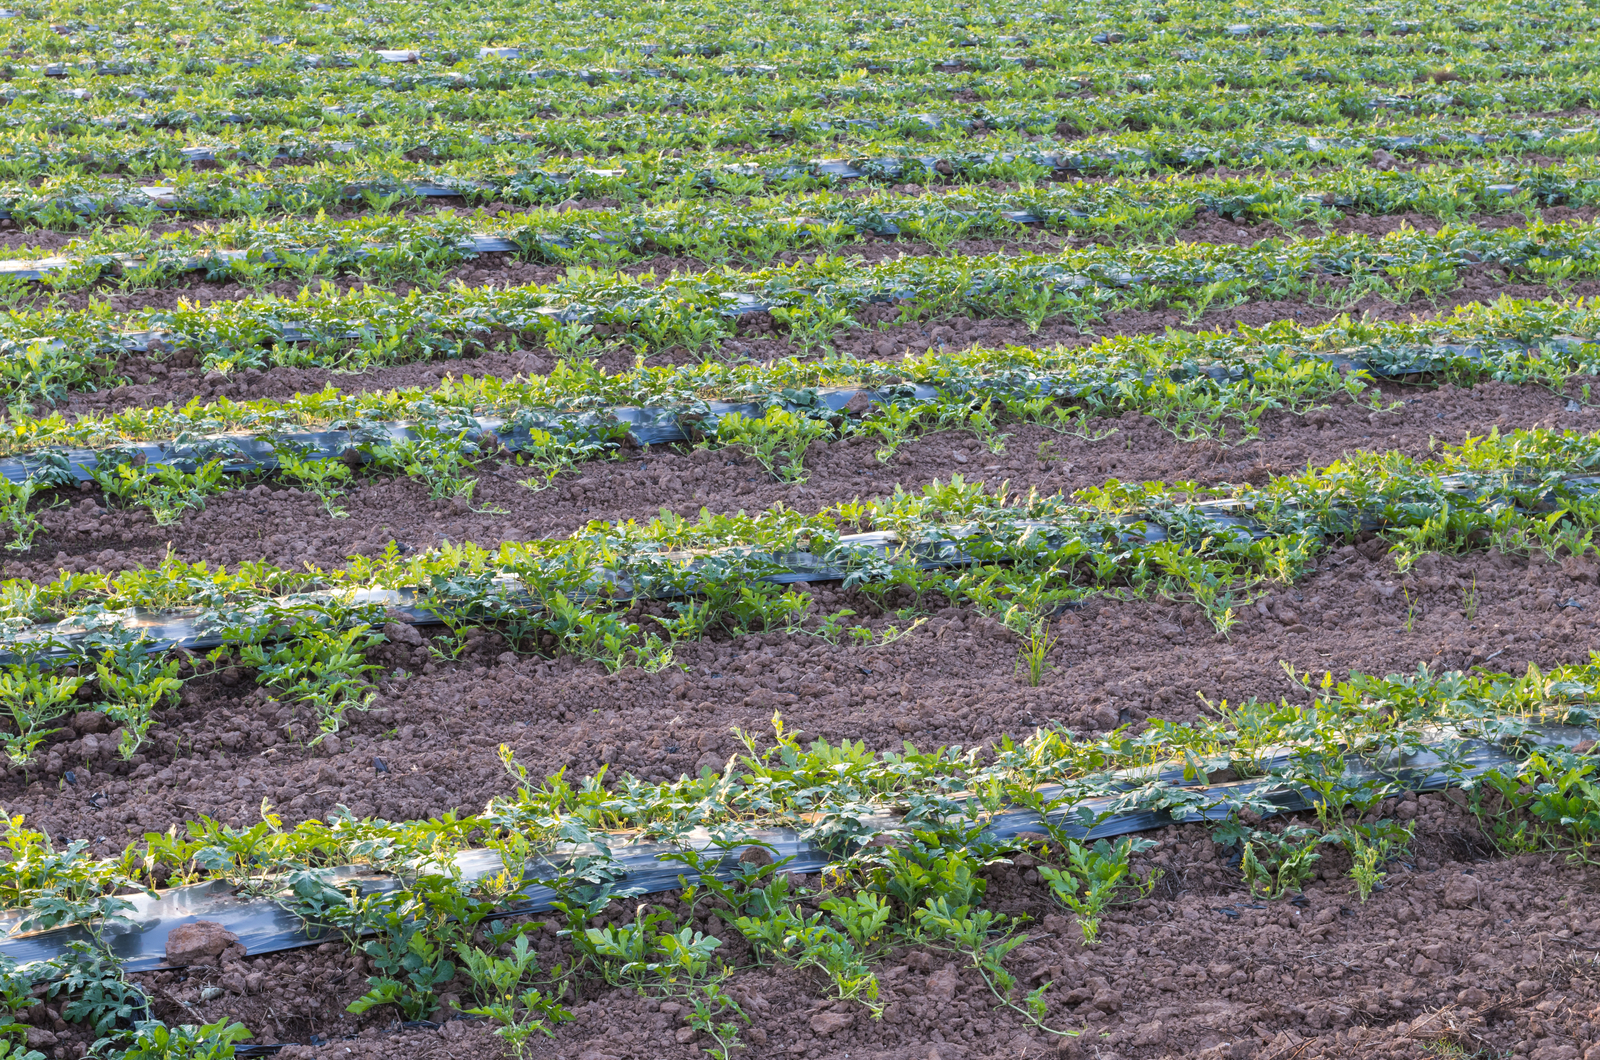
Mix the ingredients well and form a trench (or make raised beds) to give your watermelons proper drainage.
Lay the weed barrier afterwards to protect your watermelons from weeds that can choke your plants. Poke some holes in it and plant your watermelon seeds.
Here are some more tips for amending your soil for watermelons:
3. Incorporating Crop Rotation
Perhaps the reason why your watermelons seem unable to take off is because you don’t rotate your crops.
If possible, try not to grow watermelons for the next five years in the same spot where you’ve grown other plants from the same family (cucumbers, melons, squash, etc.)
That’s because all these fruits and vegetables share diseases which can infect your watermelons. (1)
4. Spacing Guidelines
Another thing to pay attention to when growing watermelons is plant spacing. These vines require ample room to sprawl.
If you cram them in one small space, the plants will fight for moisture and nutrients. Perhaps none of them will thrive or only one of them. In either case, your yield will be significantly diminished.
But if you space each plant 5-6 feet apart and plant them in rows 6-8 feet apart, your watermelons will flourish.
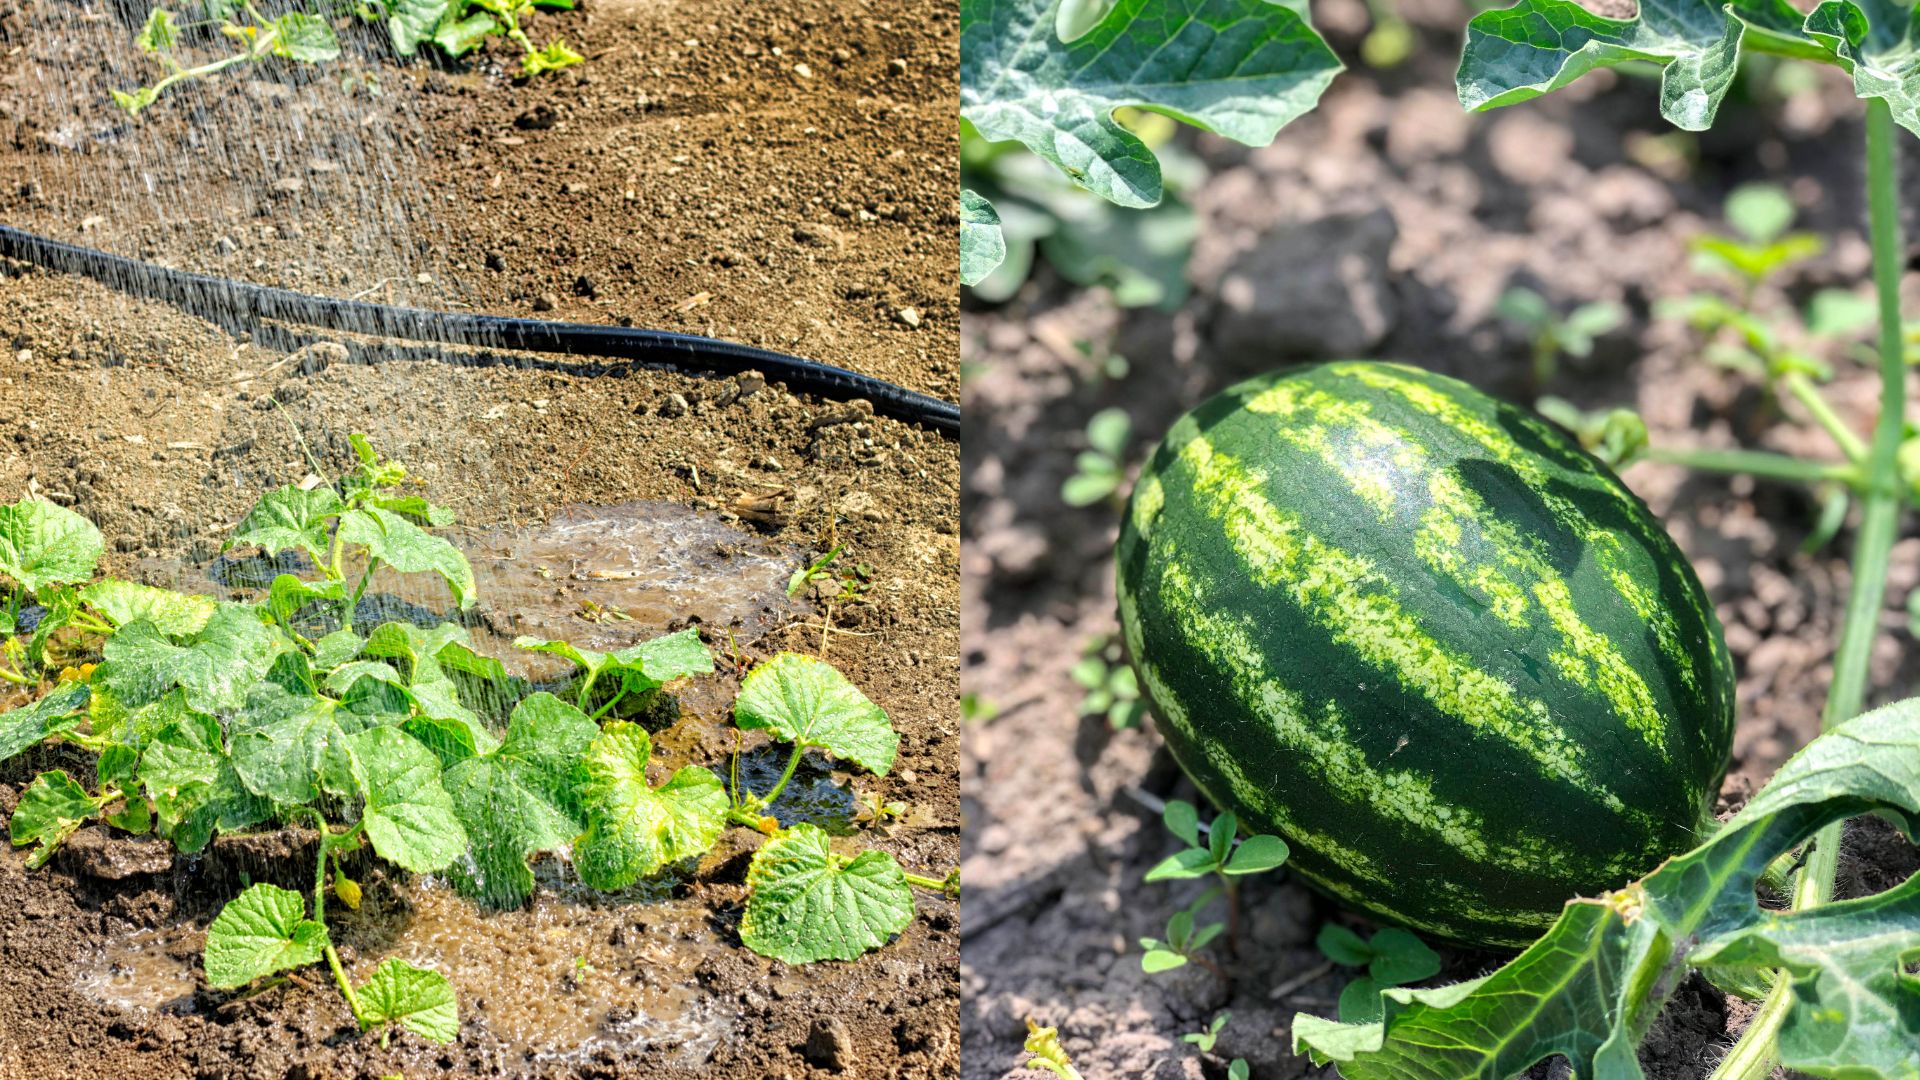
5. Watering Tips
Watermelon vines need plenty of water in order to grow their delicious fruit. But their watering requirements differ from stage to stage.
Give these plants about two inches of water per week before they set any fruit. After you notice tiny fruits appearing, reduce the moisture to about an inch per week.
And once you notice the fruit has stopped growing, you should start watering your plants only after the top few inches dry out.
Luckily, you don’t have to water these plants every day. Irrigate them deeply 1-2 times per week as long as the temperatures stay below the 90s. If they exceed this, you need to increase watering to once a day to keep the soil sufficiently moist.
Drip irrigation and soaker hose systems are perfect for watering watermelons because they deliver moisture right to the plants’ roots without wetting the leaves and vines.
But if you don’t have those, you can use a regular hose and water each plant slowly for about half an hour or until the soil around its base is dark and moist.
6. Feed Them Properly
These plants are heavy feeders, but you have to understand a thing or two about the watermelon growing stages before you feed them just about anything.
During their early stages, feed them organic fertilizers rich in nitrogen, such as manure tea and blood meal.
Then switch to a phosphorus fertilizer such as bone meal once the plant starts to flower (or just before). The vines need this nutrient to flower abundantly and set fruit afterwards.
Finally, apply some potassium-rich plant food once the fruit starts to set to ensure it grows large and tasty. You can use kelp, seaweed, or banana fertilizer at this stage.
7. Deadhead Some Flowers
The thing about watermelons is that they don’t care if they taste good or are large enough for our needs. They’ll simply produce as many fruits as there are pollinated flowers.
This can drain the plant’s energy quickly and leave you with small and usually unripe fruit. That’s why you should deadhead the vines, or rather remove the flowers until there are 2 per vine.
That way, the vines will be able to absorb enough moisture and nutrients to have energy for producing quality fruit.
P.S. If you have a small watermelon variety, you can leave up to 4 flowers per plant.
8. Provide Proper Pollination
There’s nothing worse than putting all that work into growing watermelons, seeing them flower for the first time, and ending up with one or no fruit at all.
The usual reason is poor pollination. You can get ahead of this issue by planting flowers and herbs that attract these helpful insects or you can take matters into your own hands – literally.
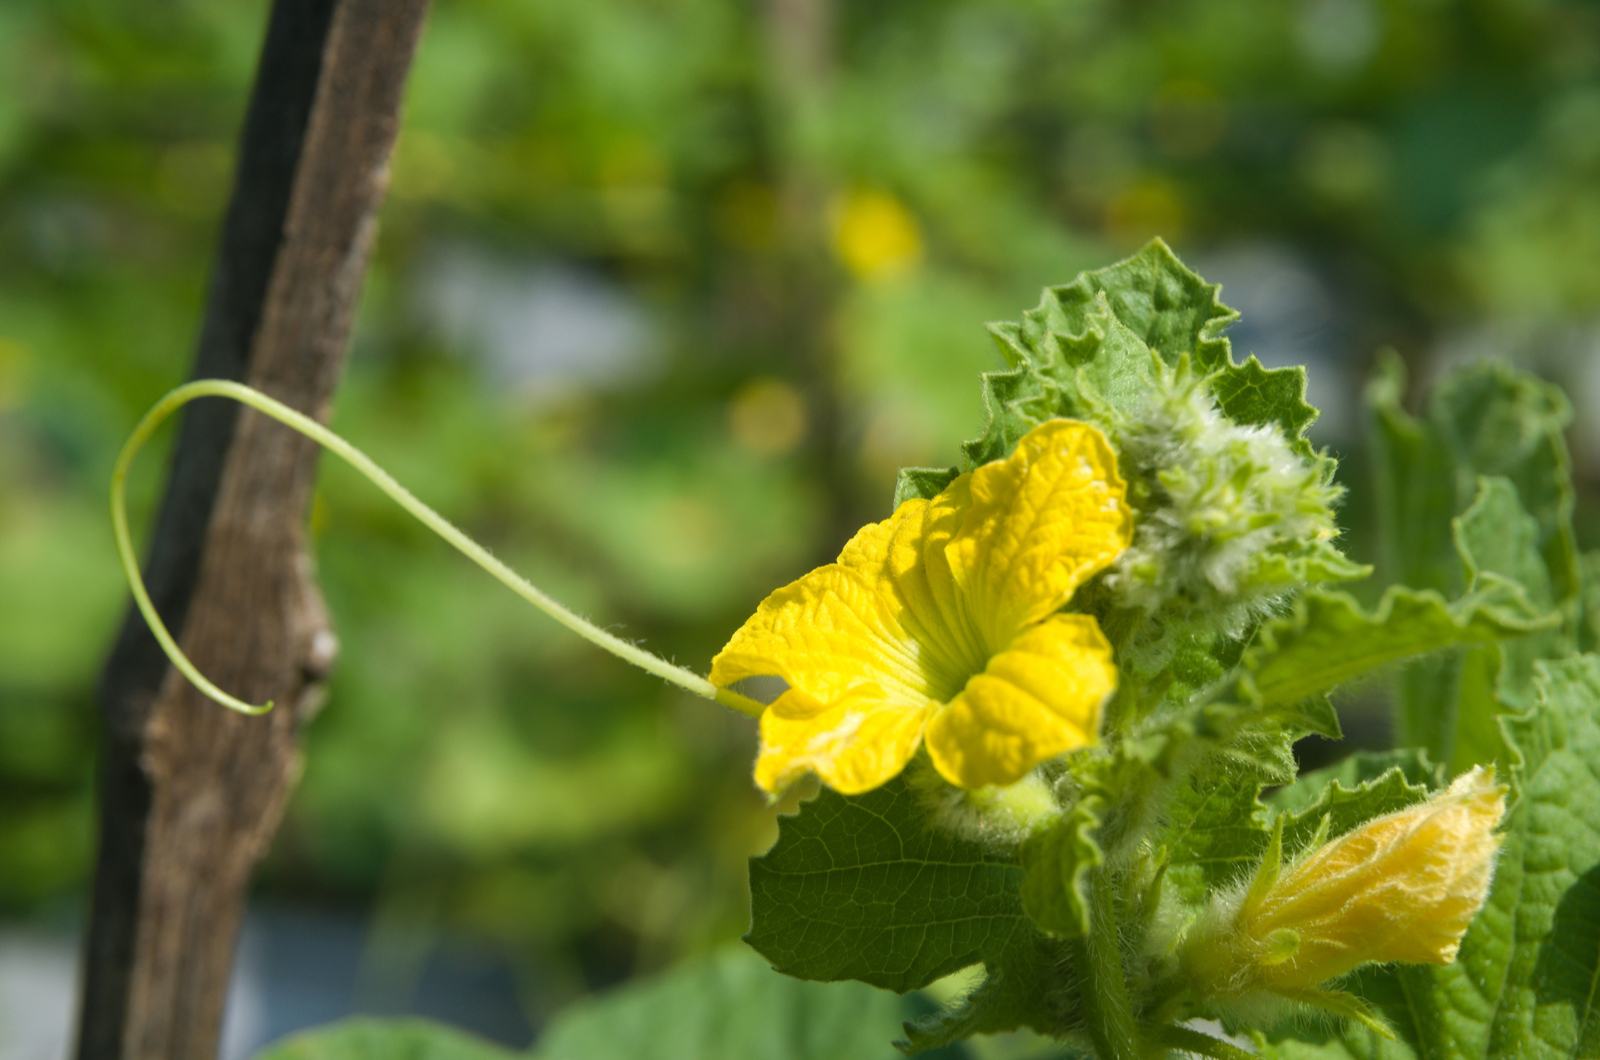
For instance, male and female watermelons don’t exist, but there are male and female flowers. That’s why you need to take a paintbrush or a Q-tip to transfer the pollen from the male flower onto the female one.
Or you can take the entire male flower and rub into the female one to transfer the pollen and ensure it sets fruit.
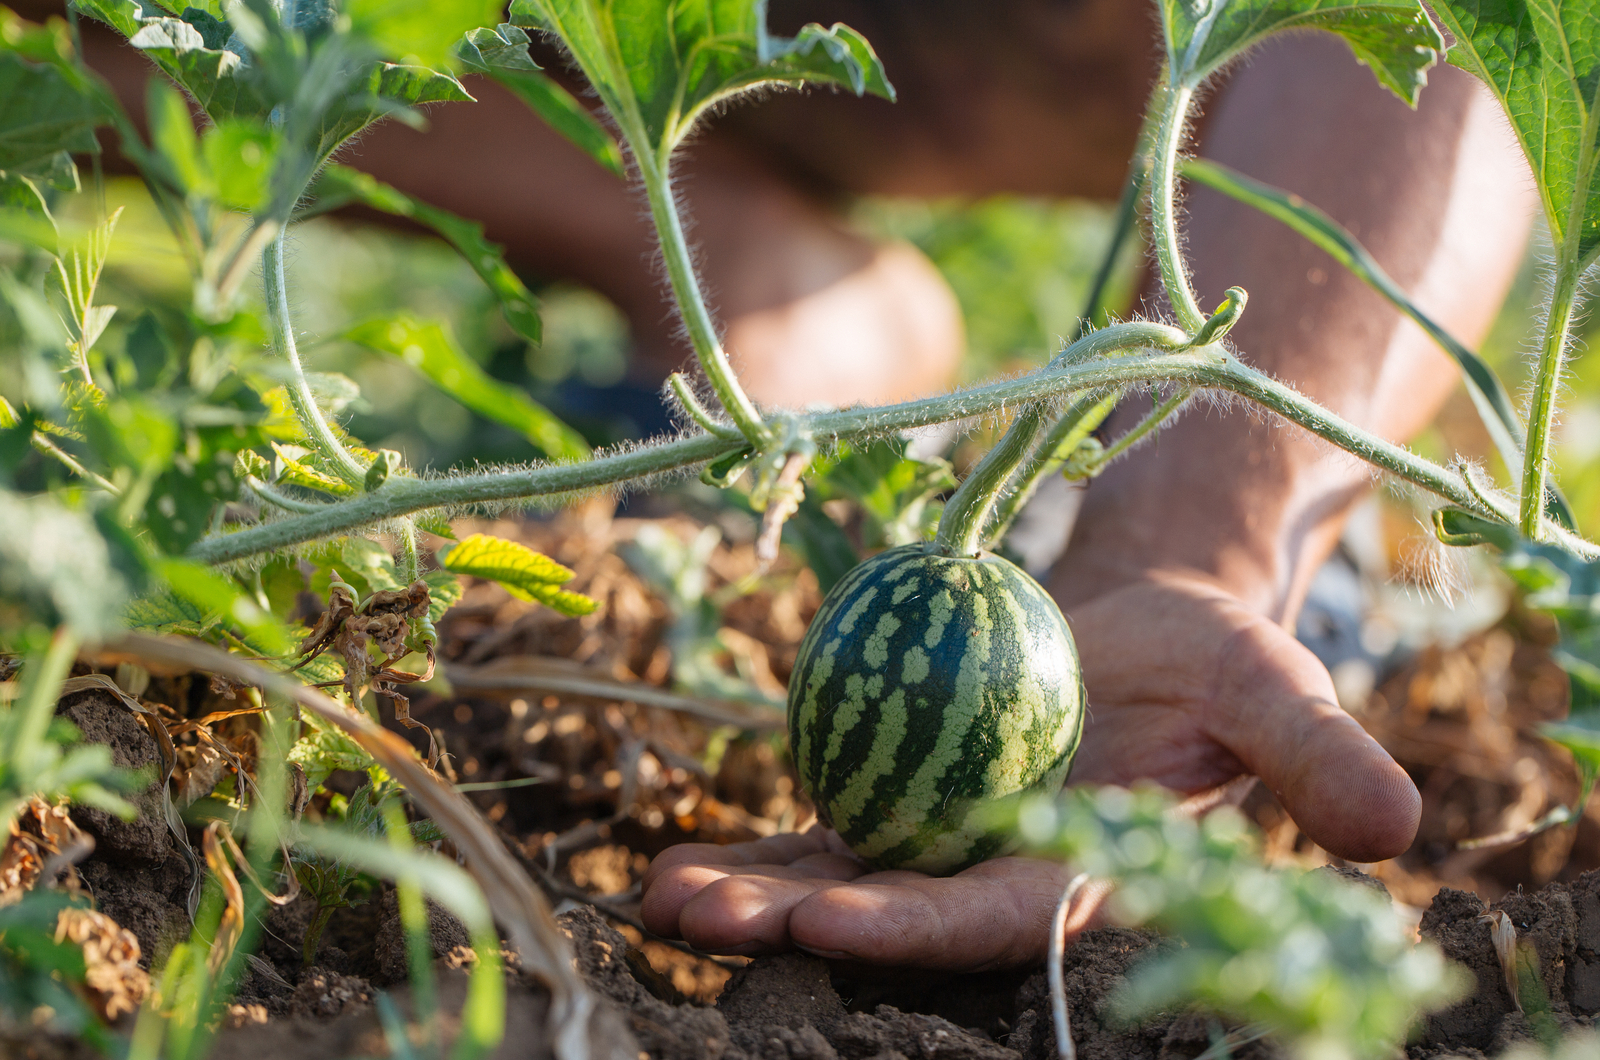
How To Tell That A Watermelon Is Ripe
One thing that scared me the most when I first started growing watermelons was picking them and finding out they’re still white or barely pink inside.
So how do you pick a ripe and sweet watermelon every time?
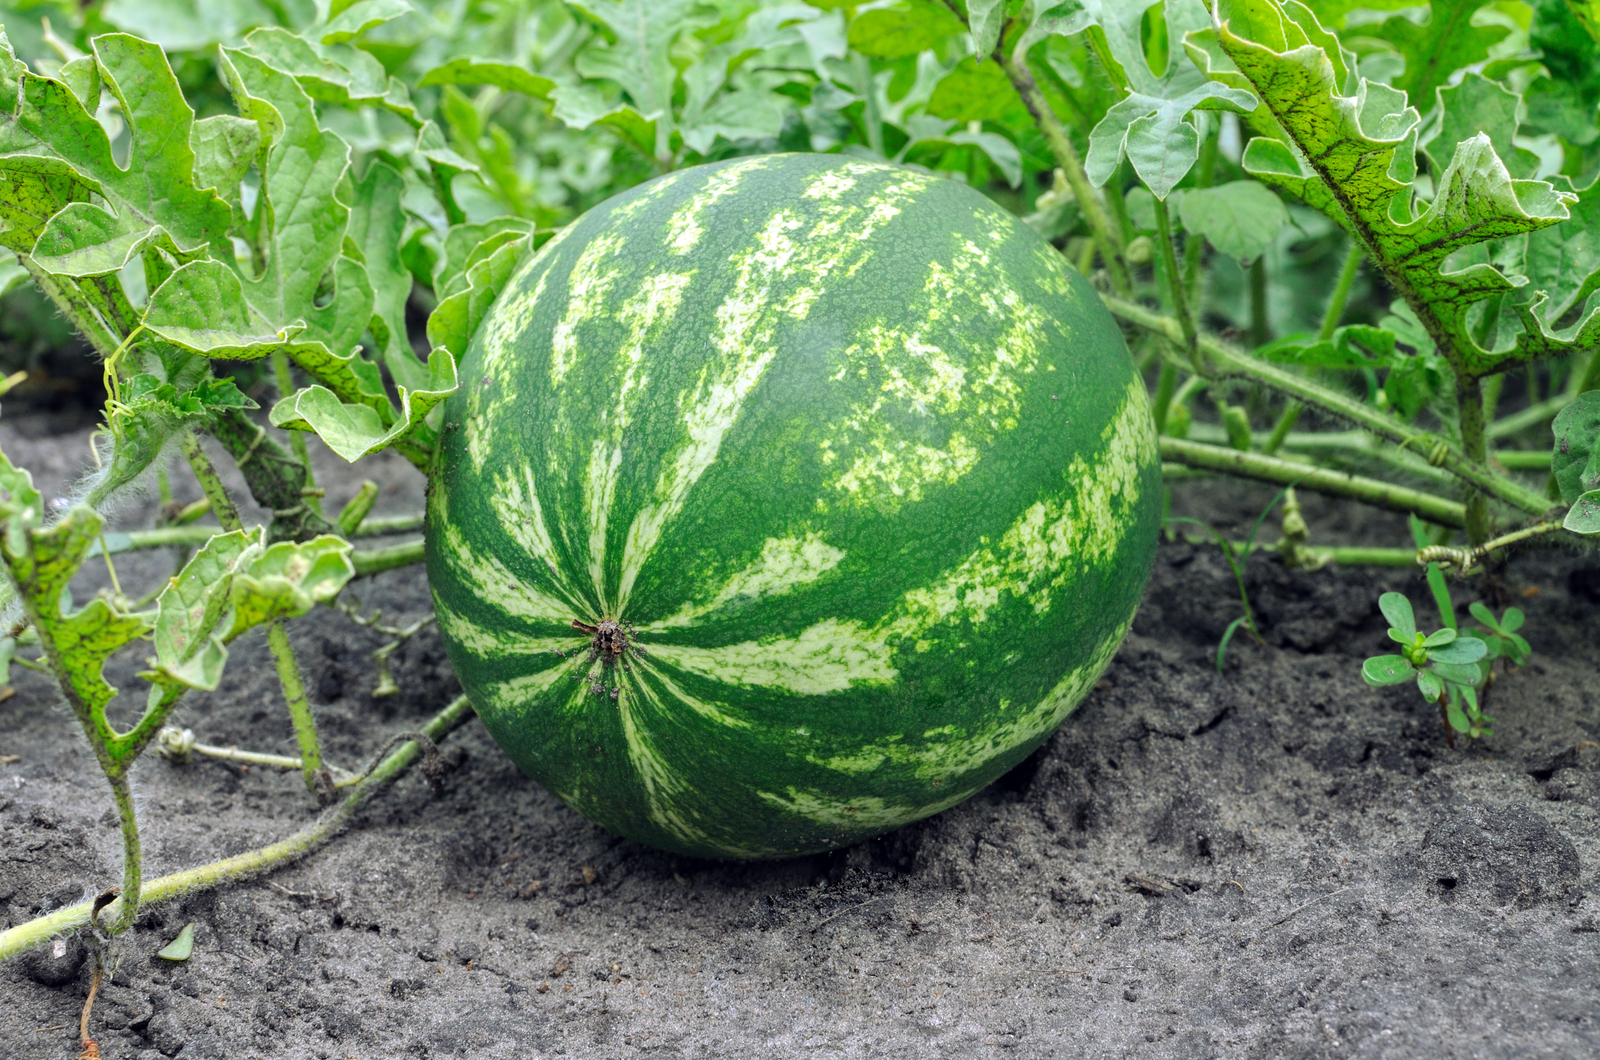
Thumping never really worked for me, but looking at its field spot – a mark that tells where it lay on the ground – did. If it’s creamy and pale yellow, that means your watermelon is ready to be harvested.
You can also look at its rind color. Ripe watermelons have matte and not shiny green skin.
Finally, the vine itself can let you know when it’s time to pick your watermelon. Look at the part where the fruit connects to it. You’ll find a short curly vine. Once it turns brown and withers, you can pick the fruit. If that vine is still firm and green, let your watermelon ripen.
References:1. East, C. (2022). Watermelon Production. Alabama Cooperative Extension System.