How Ohio Gardeners Build Deep Mulch Beds To Prevent Blossom End Rot
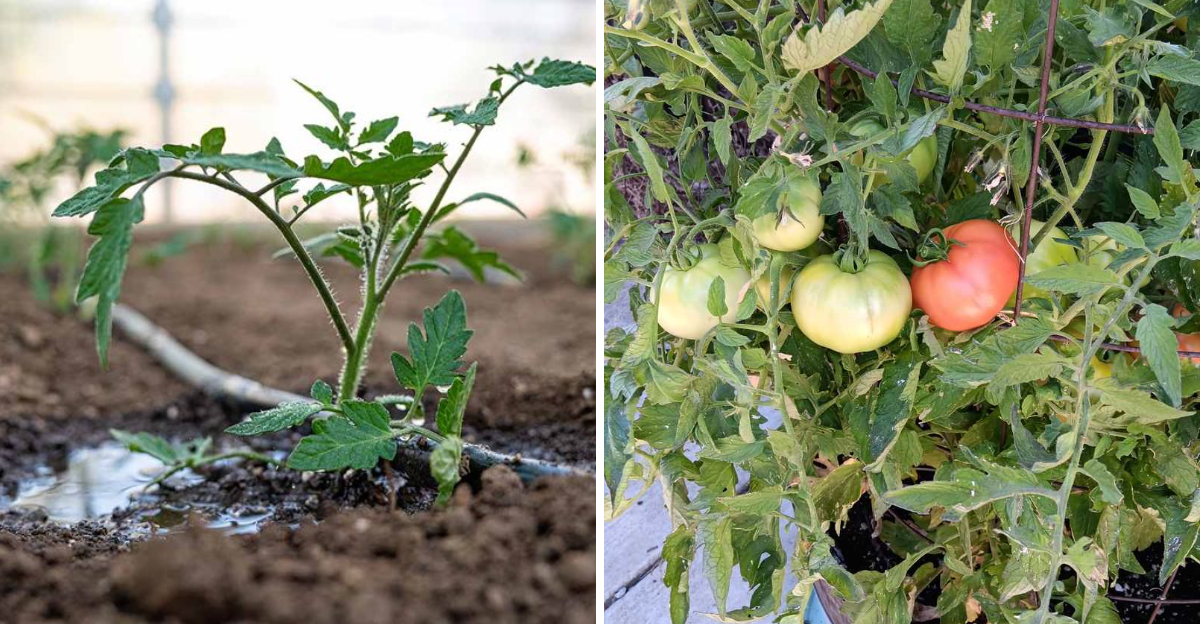
Blossom end rot is one of those garden moments that stings. The tomato was perfect.
Days away from harvest. Then that dark, sunken patch appears at the bottom and the whole thing goes in the compost.
It is not bad luck. It is not disease.
It is a moisture problem that a deep mulch bed quietly solves before the fruit even starts forming. Most Ohio vegetable gardens never build beds this way.
They mulch lightly, water on a schedule, and deal with blossom end rot as a seasonal frustration that comes with growing tomatoes here. It does not have to.
Deep mulch holds moisture at the root level through heat spikes and dry stretches that Ohio summers deliver without warning. Calcium keeps moving.
Fruit develops without interruption. One bed-building decision prevents a problem that shows up every season in gardens that never figured out why.
1. Two To Three Inches Of Mulch Is Deep Enough
Grabbing a ruler before you spread mulch might feel overly careful, but it is one of the most practical habits a vegetable gardener can develop.
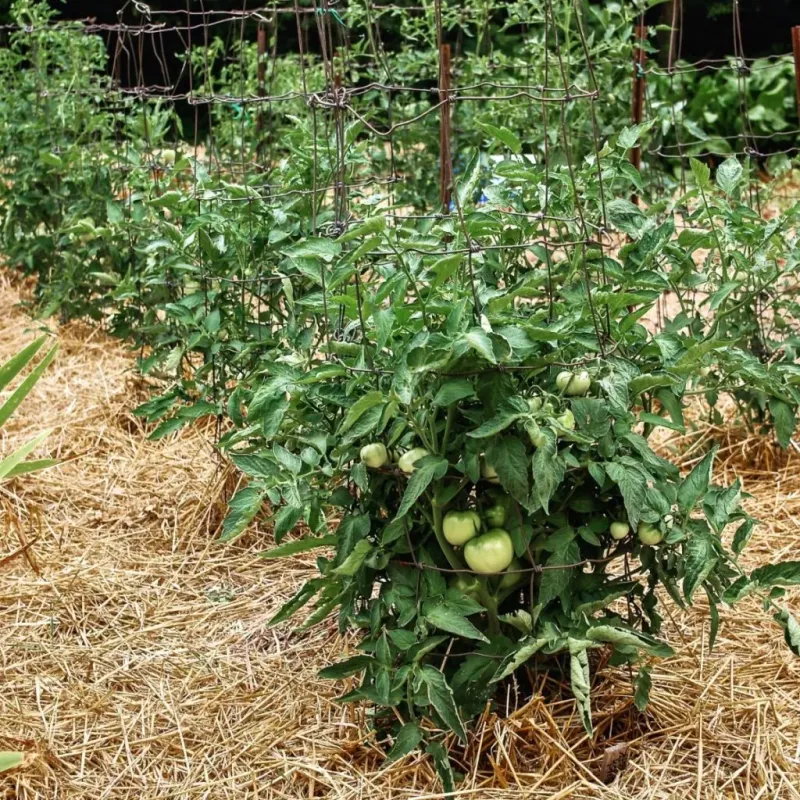
Ohio State University Extension guidance points to about two to three inches of organic mulch as the right depth for vegetable beds.
That range is enough to slow evaporation and moderate soil temperature without causing problems.
Piling on more material does not automatically improve results. A layer that is too thick can slow water movement, keep soil wetter than roots prefer, and create hiding spots for pests.
Check depth by pressing two fingers into the mulch. If your fingertips reach soil around the two-inch mark, the layer is working as intended.
Mulch naturally settles and compresses as the season moves along. A slight reduction in surface height is normal and does not mean you need to keep adding material on top.
Resist the urge to heap it up repeatedly. Vegetable-bed mulching is different from the deep wood-chip systems used around trees and shrubs.
Keep the layer spread evenly across the root zone and leave a small gap around each stem so the base of the plant stays dry and uncrowded.
2. Water The Root Zone Before Covering The Soil
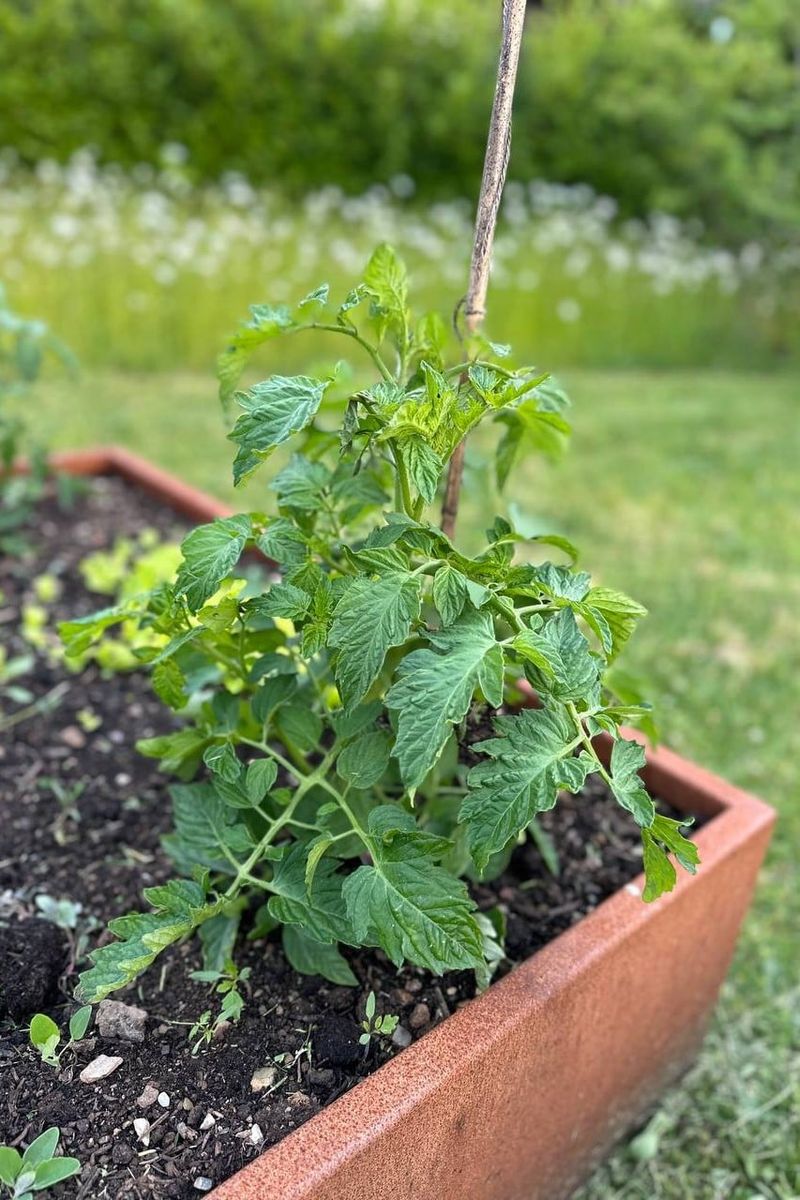
Dry soil hiding under a fresh layer of mulch is a setup for trouble. Mulch is excellent at holding moisture in place, but it cannot create moisture that was never there.
Before you lay down any material, check whether the root zone is actually moist by pressing a finger two to three inches into the soil.
If the soil feels dry, water it thoroughly before mulching. Focus on the area where roots are actively growing, not just the surface.
Sandy soils drain quickly and may need slower, longer watering to move moisture down to root depth. Clay-heavy soils absorb water more slowly, so avoid soaking them to the point of pooling.
Mulch applied over a well-moistened root zone will slow future evaporation and help keep that moisture available between waterings. It cannot replace irrigation, though.
Watering schedules should be based on actual soil moisture, Ohio rainfall amounts, current temperatures, plant size, and your specific soil type. Stick to a flexible approach rather than a rigid daily routine.
Your Ohio Garden Changes Every Week. Your Plan Should Too.
Gardening in Ohio changes quickly throughout the season. Every Friday you’ll receive a simple weekly plan showing exactly what to plant, prune, fertilize, harvest, and protect so you never miss the right timing.
Check the soil regularly and water when the root zone begins to dry out, rather than on a fixed calendar schedule.
3. Mulch Slows The Wet Dry Swings Behind The Problem
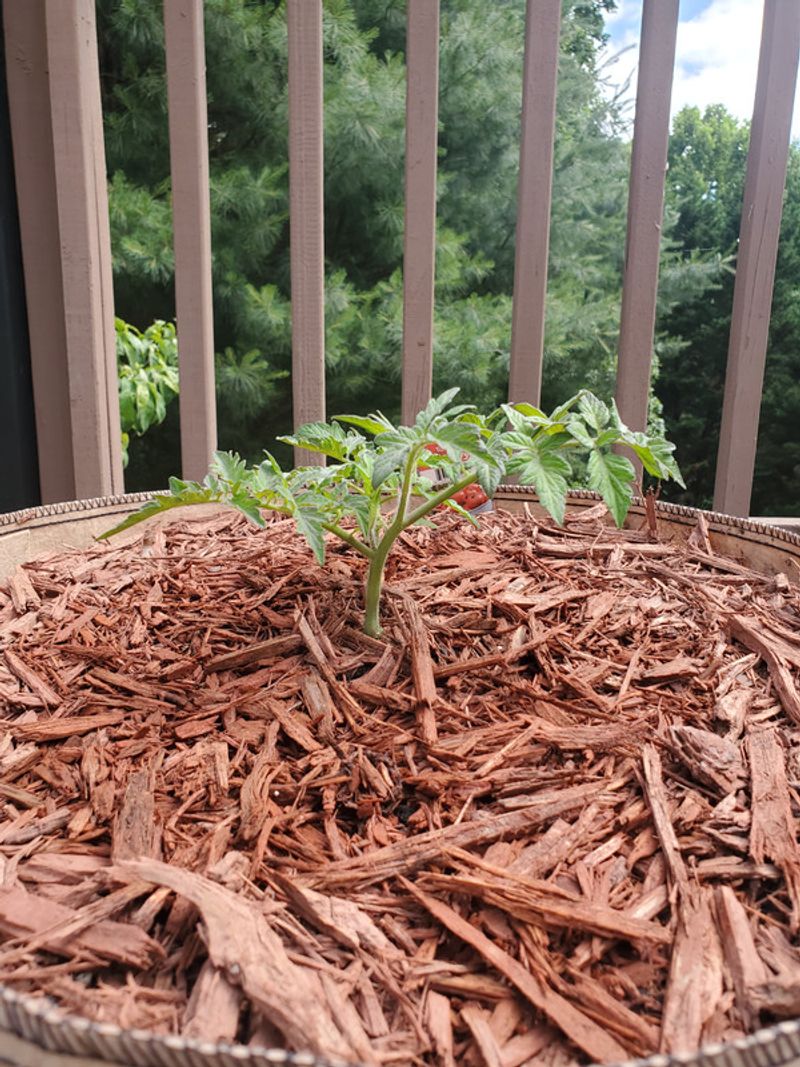
Blossom-end rot is a physiological disorder connected to calcium. It is not caused by a fungus, bacterium, or any infectious agent.
Calcium must move through the plant in water, traveling from roots up through stems and into developing fruit. When soil moisture drops sharply and then rises again with heavy watering, that movement gets disrupted.
Roots under stress from dry spells struggle to keep calcium flowing at the rate young fruit needs. The earliest tomatoes on the plant often show the most symptoms.
They form while root systems are still developing and moisture management is often least consistent. Rapid plant growth can also pull water and nutrients toward leaves and stems rather than fruit.
Mulch helps by slowing the rate at which surface soil loses moisture to sun and wind. Slower evaporation means the gap between wet and dry conditions narrows.
The goal is not to keep soil constantly saturated but to keep it more evenly moist between waterings. Steadier moisture gives roots a better chance to absorb and transport calcium into developing fruit.
Mulch alone does not add calcium to the plant, but it supports the conditions that help calcium move where it is needed.
4. Straw And Bark Help Hold Moisture Through Hot Spells
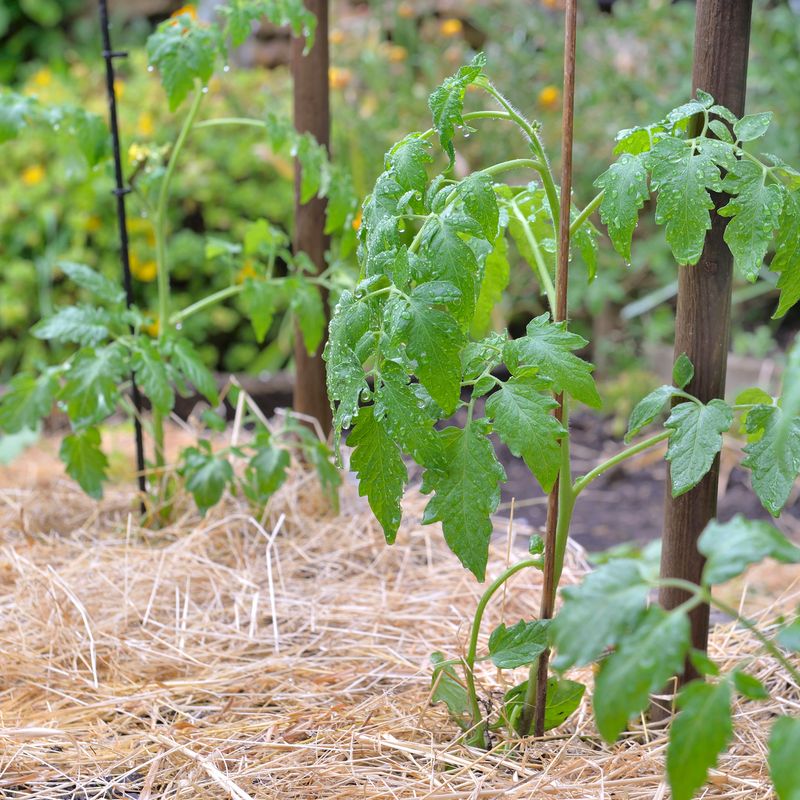
Clean wheat straw is one of the most popular mulch choices for Ohio vegetable gardens. It is lightweight, easy to spread, and breaks down gradually to feed soil life.
Shredded leaves are another solid option, especially in the fall when they are plentiful. Composted bark products work well too, though they tend to break down more slowly than straw or leaves.
Material choice affects more than just moisture retention. Some materials decompose faster and add organic matter to the soil sooner.
Others affect soil temperature differently. Lighter-colored straw reflects some heat, which can help during August heat waves when soil temperatures climb.
Bark products tend to be denser and may slow water penetration slightly if laid too thick.
Grass clippings can be used in thin layers, but they mat together when applied too thickly and can block water from reaching the soil below. Clippings from lawns treated with broadleaf herbicides should never go near vegetable beds.
Hay is often avoided because it carries weed seeds that will sprout throughout the season. Whichever material you choose, the layer should allow irrigation and rainfall to pass through easily and reach the root zone below.
Good water penetration is not optional.
5. Keep Mulch Pulled Back From Stems And Crowns
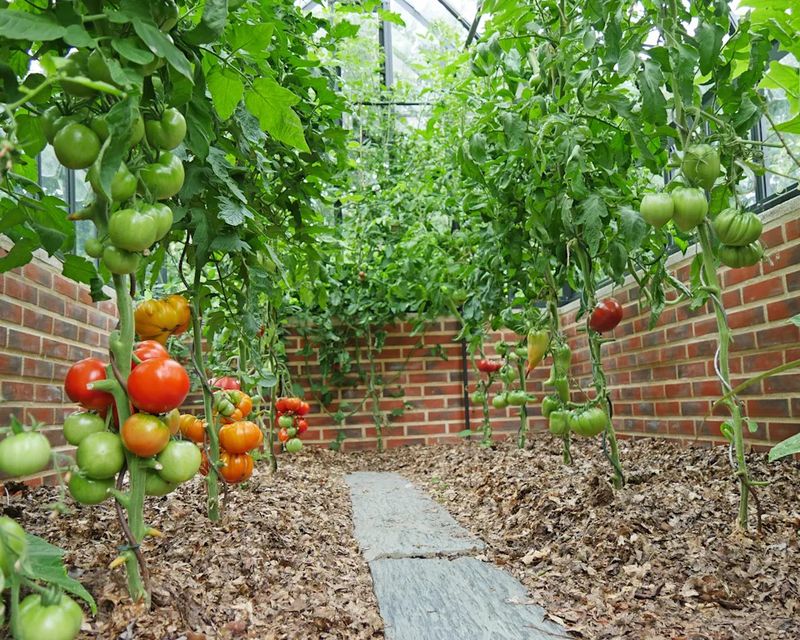
Mulch piled directly against a tomato stem creates a moist, sheltered environment that organic material and stem tissue do not handle well together. The stem base stays wet longer than it should, and that can lead to softening or decay over time.
Pests also find dense material pressed against stems to be convenient shelter.
Pull mulch back about two inches from the base of each plant. That small gap is enough to keep the crown area drier while still letting the surrounding root zone benefit from full mulch coverage.
The roots extend outward well beyond the stem, so the majority of the bed still receives the moisture-retention benefits you are working toward.
Ohio wind, rain, and regular garden activity tend to shift mulch back toward stems over time. Check the gap around each plant every week or two and gently reshape the material when needed.
Young seedlings need a bit of extra attention because they are smaller and easier to bury accidentally. Wait until transplants are established and standing upright before applying the full mulch layer around them.
Keeping stems clear is a small step, but it protects the base of the plant without sacrificing any of the benefit across the rest of the bed.
6. Drip Irrigation Under Mulch Keeps Moisture More Even
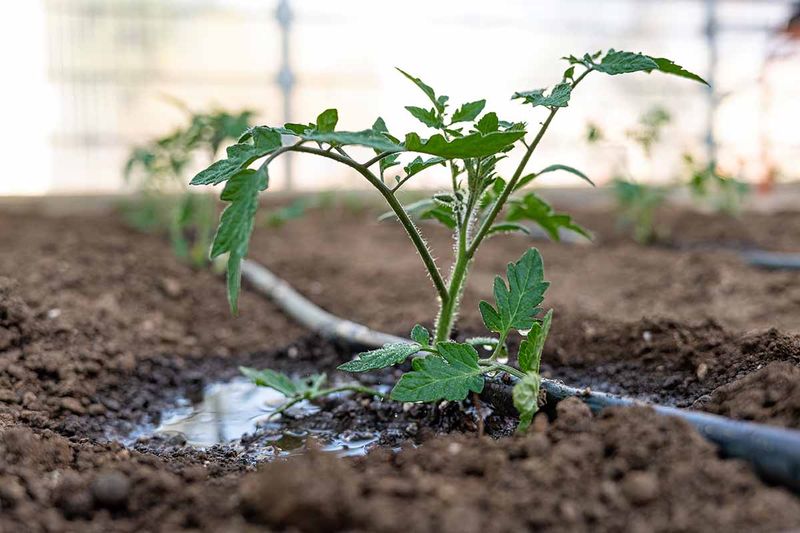
Placing drip tubing or soaker hose beneath the mulch layer is one of the most effective ways to deliver water directly to the root zone. Water moves slowly out of emitters and soaks into the soil where roots are actually growing.
The mulch layer above helps hold that moisture in place between irrigation cycles.
Brief bursts from a sprinkler overhead may wet the surface and the foliage without actually reaching the depth where roots are feeding. Overhead irrigation is not harmful by itself, but it often provides less consistent root-zone moisture than a well-placed drip or soaker system.
Wet foliage for extended periods can also create conditions that some foliar issues prefer.
Checking whether water is reaching beneath the mulch is straightforward. After an irrigation cycle, push a finger or a thin probe through the mulch and into the soil.
The soil should feel moist two to three inches down. If it still feels dry, the system may need longer run times or closer emitter spacing.
Run time recommendations vary widely based on emitter flow rate, soil type, spacing, plant size, and current weather conditions. Adjust based on what you observe in the soil rather than following a fixed schedule.
7. Eggshells Will Not Fix An Uneven Watering Problem
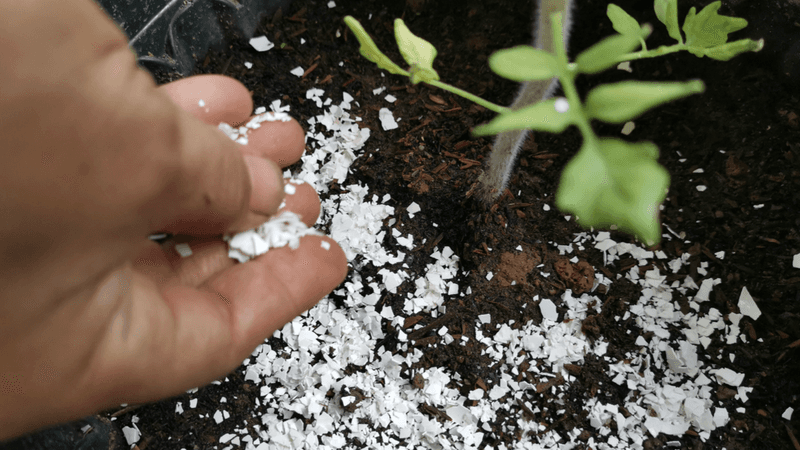
Carrying a bowl of crushed eggshells out to the tomato bed feels productive, but it addresses the wrong part of the problem. Many Ohio gardeners assume blossom-end rot means the soil is low in calcium.
That assumption leads to adding amendments that may not be needed and may not help the affected fruit at all.
Eggshells release calcium very slowly as they break down. They are not a fast-acting treatment for fruit that is already showing symptoms.
Damaged tissue will not recover regardless of what is added to the soil around the plant. The affected fruit stays affected.
A soil test is the right starting point before adding any calcium amendment. Adding lime or other calcium sources without evidence can shift soil chemistry in ways that create new problems or simply provide no useful benefit.
Excessive nitrogen is worth watching as well. Rapid, lush growth can sometimes redirect plant resources away from calcium transport into developing fruit.
Foliar calcium sprays are marketed for blossom-end rot, but current research on their effectiveness is mixed and they should not replace attention to moisture management. Shift focus toward keeping later fruit supplied with steady, consistent moisture.
That approach addresses the actual delivery problem rather than chasing a soil-calcium number that may already be adequate.
8. New Fruit Can Improve Even After Early Fruit Shows Damage
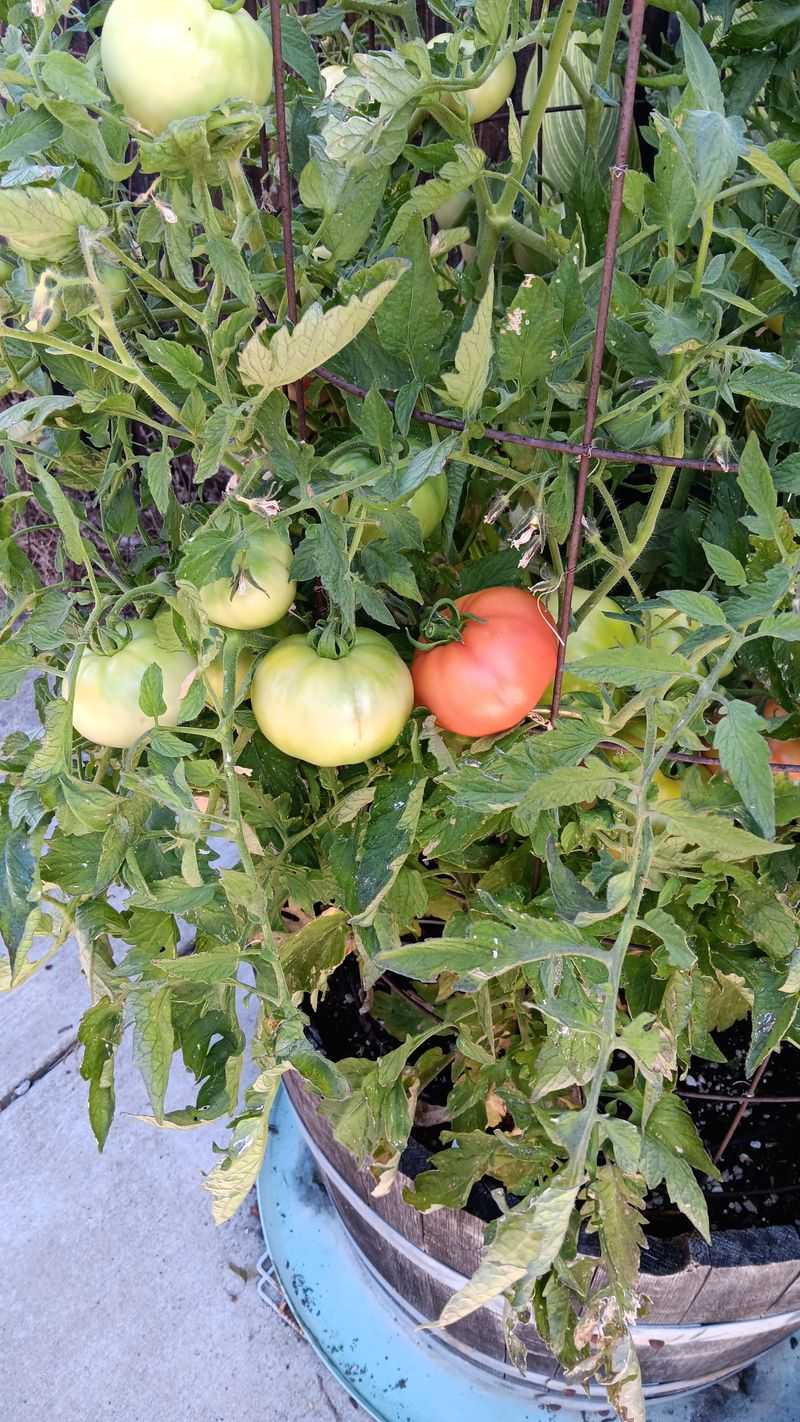
Healthy young tomatoes forming near the top of the plant while lower fruit shows dark, sunken patches is actually a common and encouraging sight. Early fruit tends to show the most blossom-end rot.
During the first weeks after transplanting, root systems are still developing and soil moisture management is often inconsistent. Removing affected fruit is a reasonable choice when the damage is severe.
It reduces the load the plant carries and keeps the garden tidy. Removing it does not cure the underlying issue, though.
The plant still needs corrected moisture conditions and protected roots to improve its chances with the next round of fruit.
Avoid cultivating deeply around established tomato plants. Root systems spread wide and shallow, and cutting through them with a hoe or tiller disrupts calcium transport and stresses the plant at exactly the wrong time.
Shallow surface weeding is fine, but keep tools away from the root zone. Once moisture conditions stabilize and roots are no longer stressed, new fruit forming higher on the plant often develops normally.
Consistent irrigation, well-placed mulch, good drainage, and careful root management all support healthier fruit. Together, they give the rest of the season’s harvest the best chance of coming in clean and healthy.