How Texas Gardeners Can Grow Basil From Cuttings
What if I told you that one single bunch of basil from the grocery store could actually stock your kitchen for the entire Texas summer?
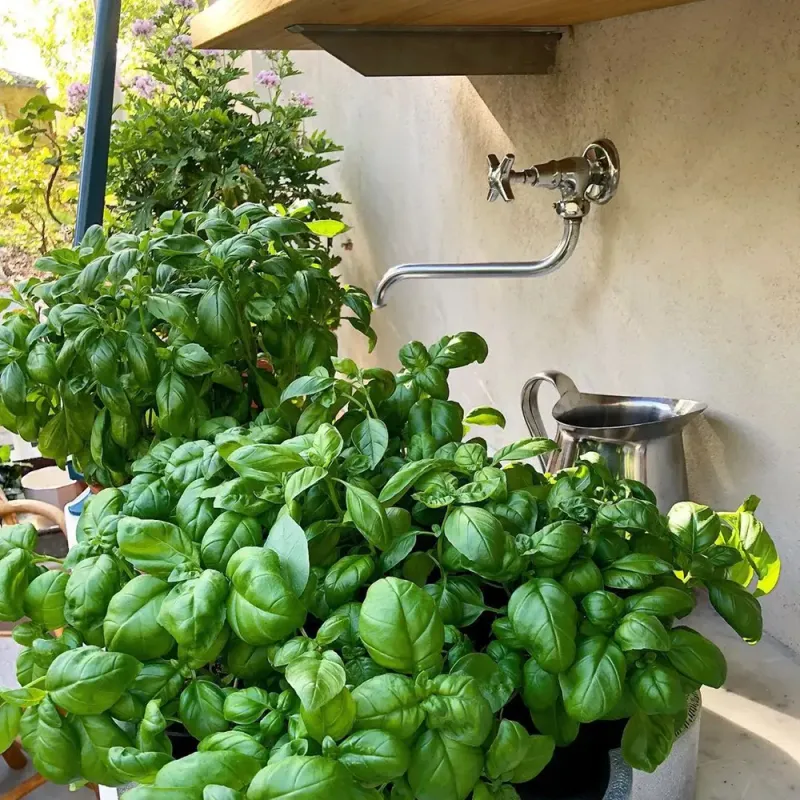
While the Lone Star heat can be brutal, it’s actually a superpower for basil propagation.
Forget the patience required for seeds; in just two weeks, a simple stem cutting can transform into a sturdy, rooted plant ready for your Dallas windowsill or Houston patio.
Propagating basil is the ultimate gardening “cheat code” to save money and multiply your harvest instantly.
Whether you’re a seasoned pro or a patio beginner, here is how to harness that Texas sun and keep the fresh pesto flowing all season long.
1. Choose A Healthy Basil Stem
Walking through a Texas garden in late spring, you’ll notice basil practically bursting with energy. That vigorous growth is exactly what you want to tap into when selecting a stem for propagation.
Not every stem will root with the same ease, so picking the right one from the start gives your cutting the best possible chance.
Look for a stem that is four to six inches long, bright green, and full of healthy leaves. The stem should feel firm rather than soft or hollow.
Avoid any stem that has begun flowering, since flowering stems tend to root more slowly and put their energy into producing seeds rather than growing new roots.
In Texas, basil grows fast during warm months, so you’ll likely have several strong candidates to choose from on a single plant.
Pinching a cutting from a well-established plant also encourages the mother plant to branch out and become bushier over time.
Choose a stem from the top portion of the plant where new growth is actively happening. That fresh, actively growing tissue tends to develop roots more readily than older, woodier stems lower on the plant.
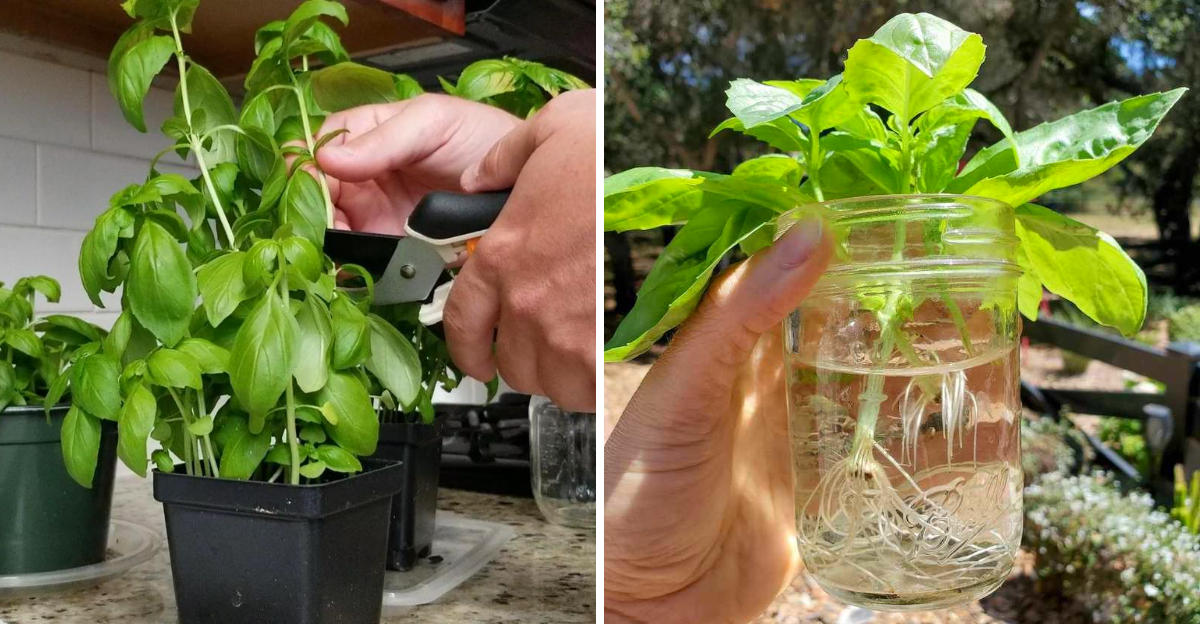
2. Make A Clean Cut Below A Node
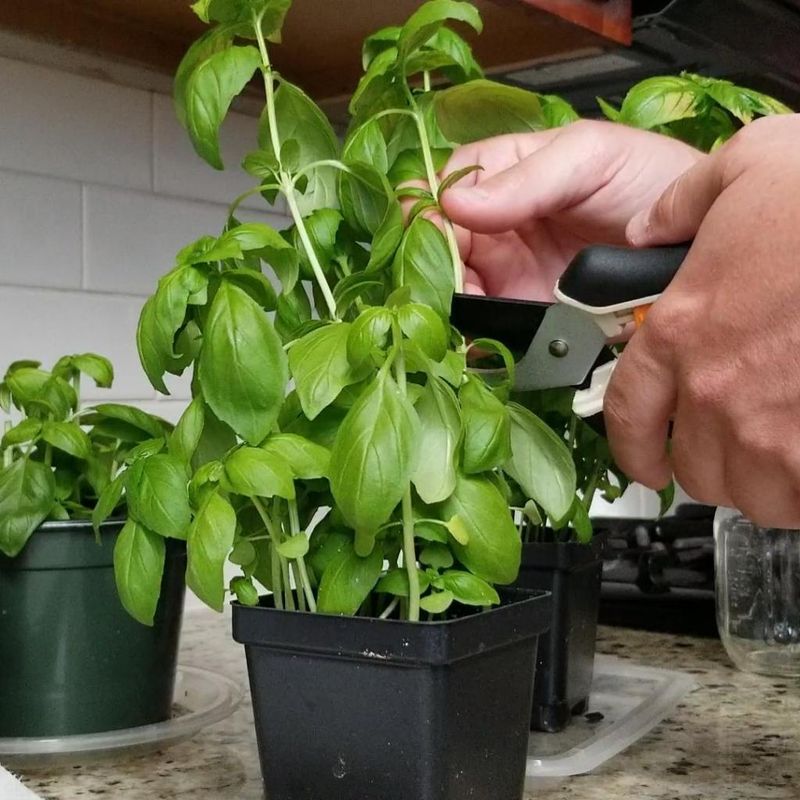
Sharpness matters more than most gardeners expect when it comes to taking a cutting. A clean, precise cut reduces the chance of stem damage and helps the cutting root more efficiently.
In Texas heat, a rough or torn cut can cause the stem to deteriorate before roots even begin to form.
Use a pair of clean scissors or pruning shears to make your cut just below a leaf node – the small bump or joint where a leaf meets the stem.
Cutting just below the node is important because nodes contain concentrated plant tissue that is especially capable of generating new roots.
Aim for a slight angle on the cut, roughly 45 degrees, which increases the surface area exposed to water or soil.
Before making your cut, wipe your scissors with rubbing alcohol or rinse them with clean water to reduce the risk of introducing bacteria or fungal issues to the fresh cut. A four to six inch stem with two or three sets of leaves above the cut is a solid target.
That length gives you enough stem to submerge in water while keeping healthy leaves above the waterline to support the cutting as it begins to root.
Your Texas Garden Changes Every Week. Your Plan Should Too.
Gardening in Texas changes quickly throughout the season. Every Friday you’ll receive a simple weekly plan showing exactly what to plant, prune, fertilize, harvest, and protect so you never miss the right timing.
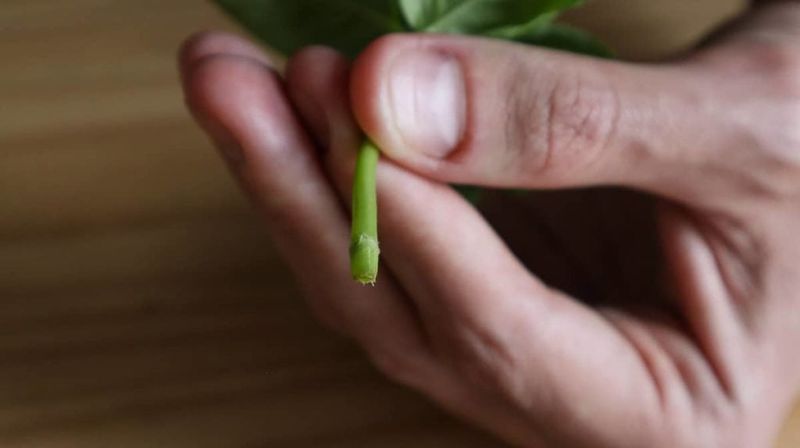
3. Remove Lower Leaves
Once you have your cutting trimmed to the right length, the next task is preparing the submerged portion of the stem. Leaves sitting in water will break down quickly and cloud the water, creating conditions that slow root development.
In Texas summers, warm indoor temperatures can speed up this process even more, making leaf removal an essential step rather than an optional one.
Strip away any leaves from the bottom two inches of the stem. Use your fingers to gently pinch and pull the leaves downward, or snip them off close to the stem with small scissors.
Be careful not to tear the stem itself, since the tissue around the nodes is what will eventually sprout roots.
Leave the top two or three sets of leaves intact. Those upper leaves will continue photosynthesizing and sending energy down into the stem, which supports root development.
Removing too many leaves can stress the cutting and slow the whole process. Think of it as a balance – bare enough at the bottom to sit cleanly in water, but leafy enough at the top to stay active and healthy while roots form over the coming days.
4. Place The Cutting In Water
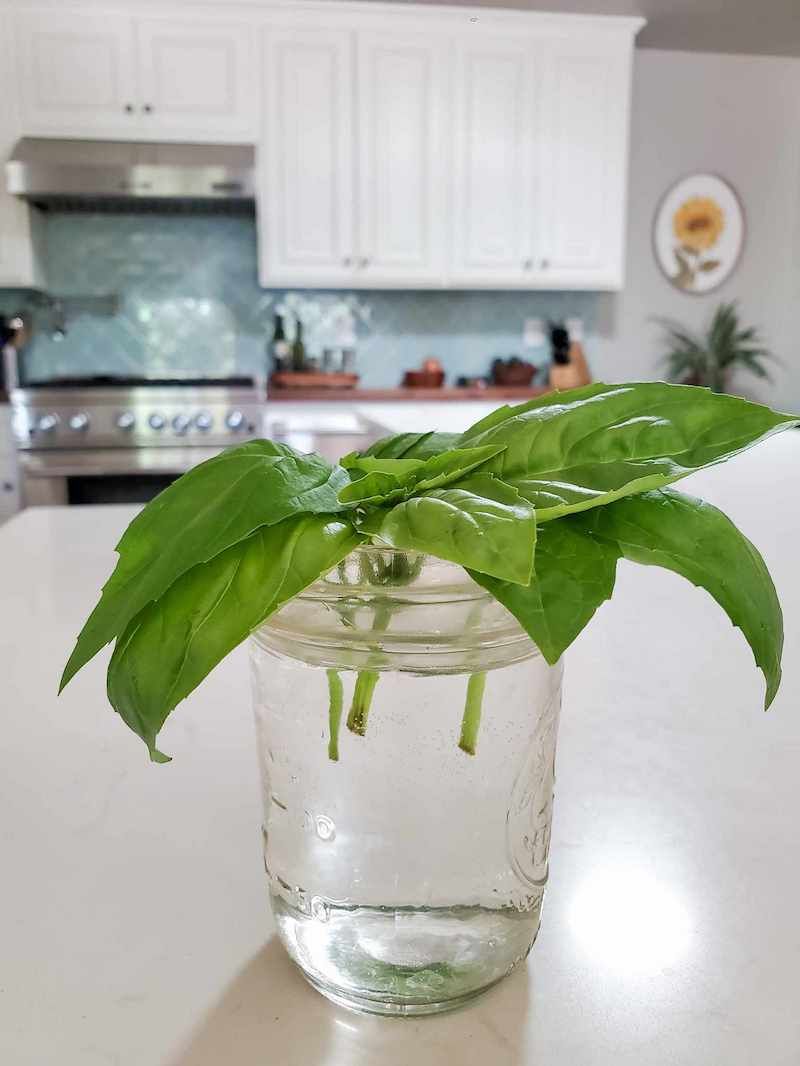
There’s something satisfying about dropping a fresh basil cutting into a glass of water and watching the whole process unfold.
Water propagation is one of the easiest and most visual ways to root basil, and it works beautifully in Texas homes where warm indoor temperatures keep the water from getting too cold.
Fill a small, clear glass or jar with clean, room-temperature water. Non-chlorinated water is a solid choice when available – you can leave tap water in an open container overnight to allow chlorine to dissipate before using it.
Place the cutting in the container so that the bottom two inches of bare stem are submerged, while the upper leaves remain above the waterline.
A clear container lets you monitor root development without disturbing the cutting.
Position the glass in a spot where it won’t tip over easily, and make sure the stem is standing upright rather than leaning against the side of the container for extended periods.
In Texas kitchens and windowsills, the naturally warm ambient temperature helps encourage rooting.
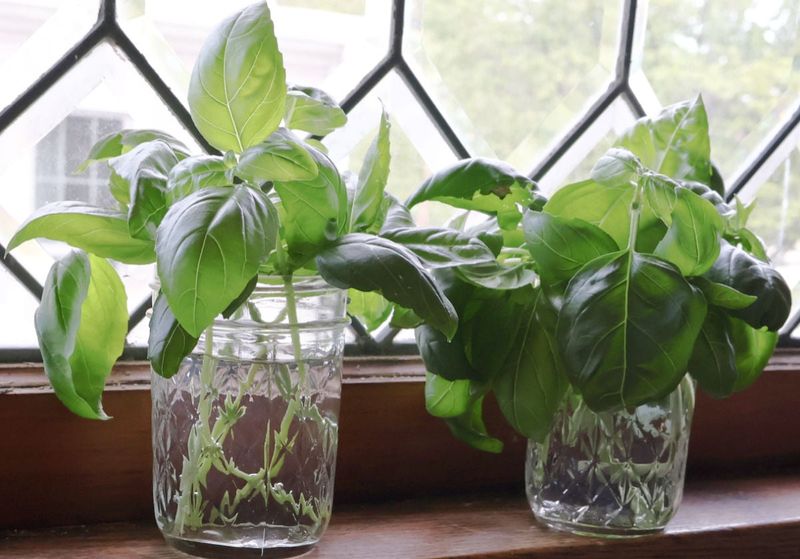
You should start to see small white root nubs forming along the submerged nodes within about one to two weeks under good conditions.
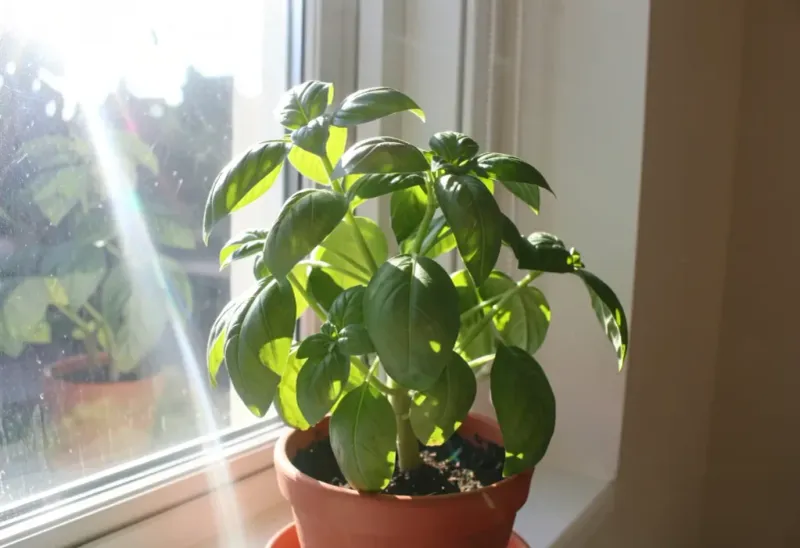
5. Keep In Bright Indirect Light
Light is fuel for a rooting cutting, but too much of the wrong kind can cause more harm than good.
Texas sunlight is intense, especially from late spring through summer, and placing a fragile cutting in direct afternoon sun can cause the leaves to wilt or scorch before roots have a chance to establish.
Bright, indirect light is the sweet spot for basil cuttings during the rooting phase. A windowsill that receives morning sun and afternoon shade works well in most Texas homes.
East-facing windows tend to offer gentle morning light without the harsh intensity that comes from south or west-facing exposures during peak afternoon hours.
If natural light is limited, a simple grow light set to run for twelve to fourteen hours a day can fill in the gap nicely.
Keeping the cutting in consistent light helps it continue photosynthesizing and building energy while it works on growing roots below the waterline.
Avoid dark corners or spots far from any window, since low light can slow the rooting process considerably.
In Texas, you’re rarely short on sunlight, but filtering it appropriately during this early stage sets your cutting up for a much smoother transition into soil later on.
6. Refresh Water Every Few Days
Water quality matters more than most people realize when rooting basil cuttings. Warm Texas temperatures, both indoors and out, can cause water to become stale and oxygen-depleted within just a couple of days.
Bacteria can build up in the container, and you might notice the water turning slightly cloudy or developing an off smell if left unchanged for too long.
Refreshing the water every two to three days keeps conditions clean and oxygen-rich around the developing roots. When you change the water, rinse the container briefly and refill with fresh, room-temperature water.
If you notice any slimy residue on the stem or inside the jar, gently wipe it away with a soft cloth before refilling.
Consistent water changes are one of the simplest ways to support healthy root development and reduce the chance of stem rot. It takes only a minute or two and makes a noticeable difference in how quickly and vigorously roots form.
Some Texas gardeners keep a small pitcher of water on the counter so it reaches room temperature naturally before each change.
That small habit keeps the cutting from experiencing any temperature shock during the refreshing process, which is especially helpful during the hotter months.
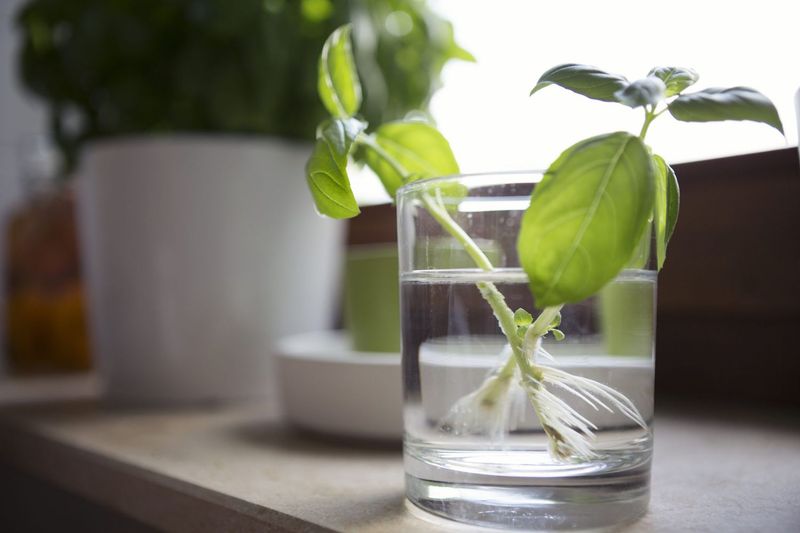
7. Wait For Roots To Develop
Patience is a genuine skill in the garden, and rooting basil cuttings is a good place to practice it. Once your cutting is in water with fresh light and clean water, the waiting game begins.
Root development is happening even when you can’t see it yet, as the stem tissue at and near the nodes begins reorganizing to produce root cells.
In Texas, where indoor temperatures often hover between 70 and 85 degrees Fahrenheit, you can expect to see the first tiny white root nubs appear within about one to two weeks.
Cooler indoor environments may slow this timeline slightly, while warmer conditions tend to speed things along.
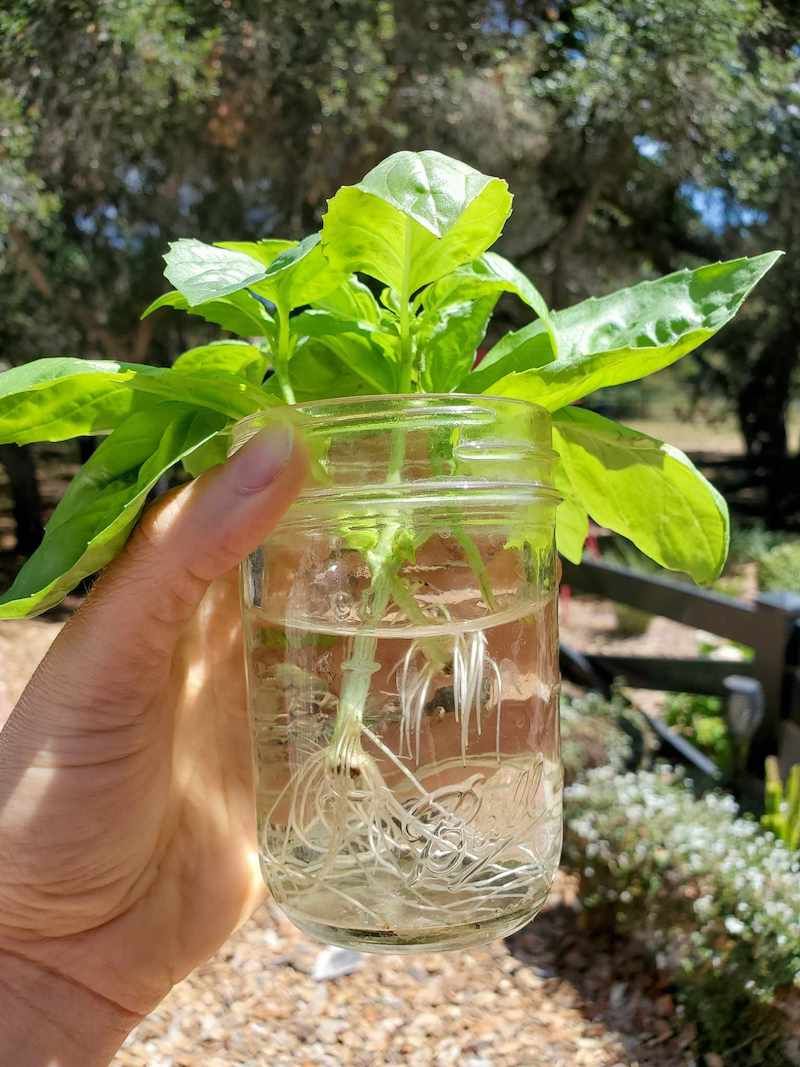
Roots that reach about one to two inches in length are generally ready for transplanting into soil.
Resist the urge to move the cutting too early. Transplanting before roots are well established can stress the plant and cause it to struggle once it’s in soil.
Check on the cutting every couple of days when you refresh the water, and take a moment to observe how the roots are progressing.
Once you see a healthy cluster of white roots extending from multiple nodes along the submerged stem, that’s a strong signal that your cutting is ready for the next stage.
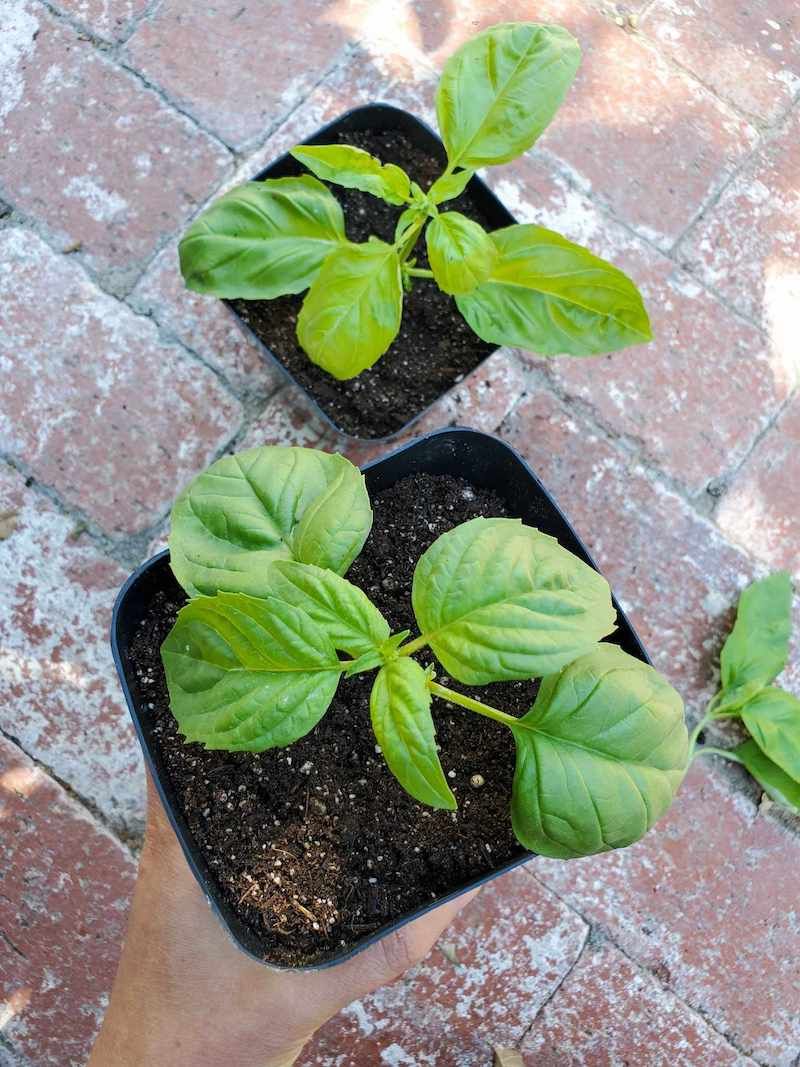
8. Transplant Into Well Draining Soil
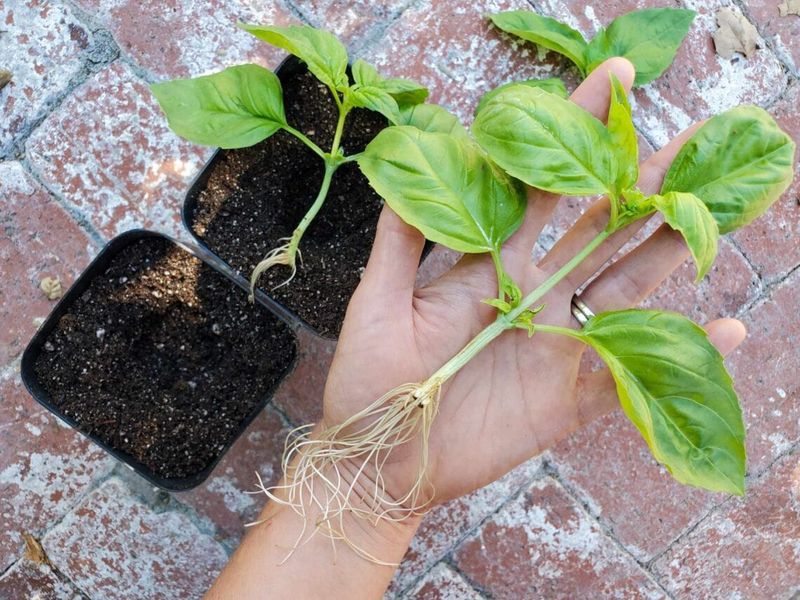
Moving a rooted cutting from water into soil is one of the most rewarding moments in the propagation process. That said, it’s also a transition that requires some care.
Roots that have developed in water are accustomed to a moist, oxygen-rich environment, and they need a soil mix that won’t suffocate them or hold too much moisture around the tender new root system.
Choose a well-draining potting mix rather than dense garden soil straight from the ground.
A mix that includes perlite or coarse sand will help water move through quickly, which is especially important in Texas where outdoor heat can cause potted soil to swing between very wet and very dry within the same day.
Fill a small pot with drainage holes at the bottom, and make a small hole in the center of the soil with your finger or a pencil.
Gently lower the rooted cutting into the hole, being careful not to bend or break the new roots. Press the soil lightly around the stem to hold it upright without compacting it too firmly.
The cutting should sit at roughly the same depth it was submerged in water. A four-inch or six-inch pot is a good starting size for a freshly rooted cutting.
9. Water Gently After Planting
Freshly transplanted cuttings are in a vulnerable spot. The roots are young, the plant is adjusting from a water environment to soil, and the whole system needs time to settle.
Watering correctly right after transplanting can make a meaningful difference in how smoothly that transition goes.
Give the newly potted cutting a gentle, thorough watering immediately after planting. Use a watering can with a fine rose head or a gentle spray setting to avoid blasting the soil away from the roots.
Water until you see it begin to drain from the holes at the bottom of the pot, which confirms that moisture has reached the entire root zone.
After that initial watering, resist the urge to water again until the top inch of soil feels dry to the touch.
In Texas heat, soil in small pots can dry out faster than you’d expect, especially if the pot is sitting in a sunny location.
Check the soil daily by pressing a finger about an inch deep. Moist but not soggy is the target.
Overwatering newly transplanted cuttings is a common misstep, and waterlogged roots on a young plant can stall growth quickly. Consistent but measured watering helps the roots spread outward and anchor into the new soil.
10. Gradually Introduce To Sunlight
Jumping straight from a shaded windowsill into the full blazing Texas sun is a shock that even a healthy basil plant can struggle with.
A process called hardening off – gradually increasing sun exposure over several days – helps newly rooted cuttings build the tolerance they need to thrive outdoors without getting scorched in the process.
Start by placing the potted cutting outdoors in a spot that gets morning sun and afternoon shade for the first two or three days.
Morning sun in Texas is generally softer and less intense than the midday or afternoon sun that can reach well above 90 degrees Fahrenheit during summer months.
Watch the leaves during this phase and look for any signs of wilting or yellowing, which can signal that the transition is moving too quickly.
Over the following week, gradually move the plant into more direct sun for longer periods each day. By the end of about ten to fourteen days, most basil cuttings can handle six to eight hours of direct sunlight with ease.
Once fully adjusted, Texas sun is actually an asset for basil, fueling the rapid leafy growth that makes this herb so productive here.
Rushing this step is one of the most common reasons newly propagated basil plants struggle after transplanting.