How To Collect Seeds From Your North Carolina Garden Before The First Freeze
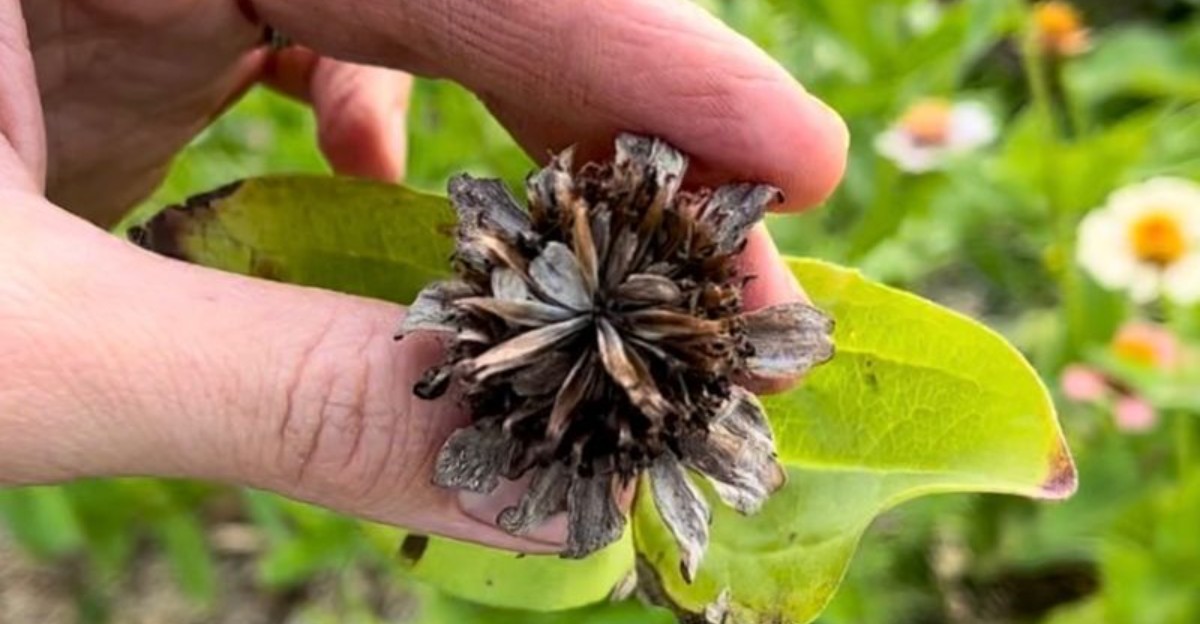
The garden is dropping seeds whether you collect them or not, and the first freeze is the deadline. Seed heads that dried on the plant this month are ready now. After a hard frost, many will rot or scatter.
Zinnias, cosmos, coneflowers, and beans all give you free seed, and a paper bag does the job. Timing the collection matters. Pick on a sunny afternoon, once the dew is gone, so moisture does not breed mold.
Not every seed grows true, though. Seed from hybrid plants may look different from the parent. Labels save you from guessing next spring.
A few minutes now means a season of plants you did not have to buy. Gather your favorites, and store them somewhere cool and dry.
1. Save Seeds Only From Open-Pollinated Plants
Not every seed in your garden will give you the plant you expect. The secret lies in knowing what kind of plant you grew in the first place. Once you understand that, seed saving becomes much more rewarding.
Open-pollinated and heirloom plants usually grow into plants that look and taste like their parents. Hybrid plants work differently.
Often labeled F1 on seed packets, hybrids come from crossing two different parent plants, and their seeds can grow into plants with surprising and sometimes disappointing traits.
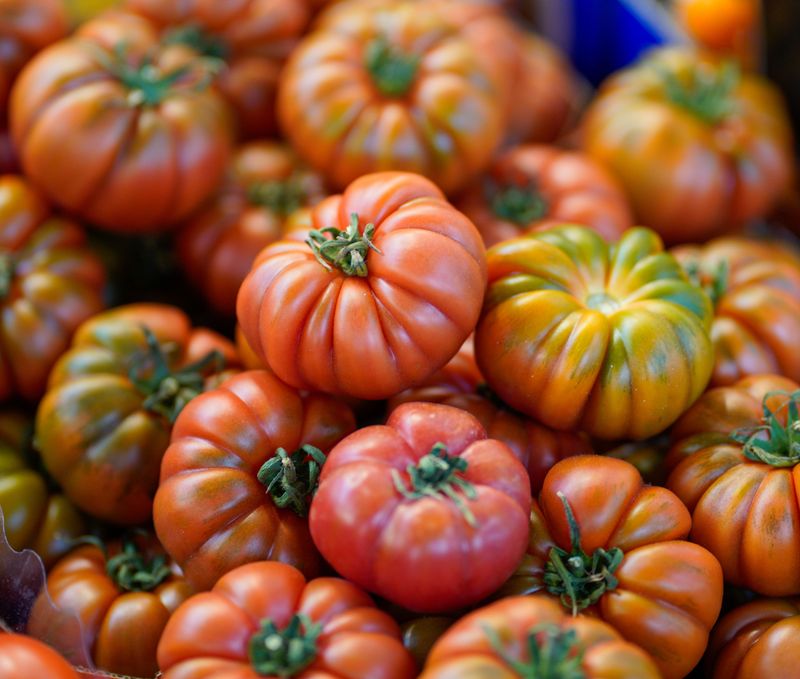
Imagine saving seeds from a perfect, juicy hybrid tomato. Next summer, you might get small, sour fruit or plants that grow in odd ways. Heirlooms like Cherokee Purple or Brandywine are a safer bet because they stay true year after year.
Before you collect anything, check your old seed packets or plant tags. Look for words like heirloom or open-pollinated. If you bought plants from a nursery, the tag often tells you, and many local garden centers can help if you are unsure.
Next, choose your champions. Pick the healthiest plants that gave you the most food, the best flavor, the brightest color, or the prettiest flowers.
Skip any plants that had spotted leaves, mold, or other signs of disease, since some problems can travel with the seeds. Here in North Carolina, this careful choice pays off in a big way.
Our summers are hot and sticky, and not every plant handles that well. When you save seeds from the plants that thrived in your yard, you slowly build a collection that fits your own garden, season after season.
2. Start With Easy, Self-Pollinating Crops
Every new skill feels easier when you start with a win. Seed saving works the same way. Some plants make the job simple, while others can throw you a few curveballs.
Beans, peas, tomatoes, peppers, and lettuce are great first choices. Most of their flowers pollinate themselves before bees can mix in pollen from other plants. That means their seeds usually come true, even if you grow several varieties close together.
Squash, pumpkins, cucumbers, and melons tell a different story. Bees carry their pollen from plant to plant, and varieties in the same species cross easily.
Your North Carolina Garden Changes Every Week. Your Plan Should Too.
Gardening in North Carolina changes quickly throughout the season. Every Friday you’ll receive a simple weekly plan showing exactly what to plant, prune, fertilize, harvest, and protect so you never miss the right timing.
Save seeds from a zucchini grown near a yellow squash, and you might end up with a strange new squash nobody has seen before.
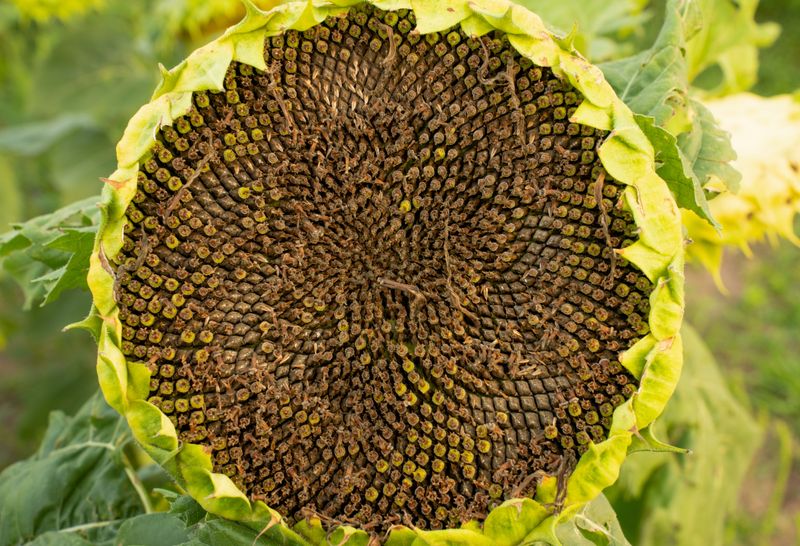
So keep things simple during your first season. Focus on self-pollinating vegetables and easy flowers like zinnias, marigolds, cosmos, and sunflowers. Flowers are a joy to save because their seeds are big, easy to spot, and fun to collect with kids.
Want to try squash or pumpkins anyway? Grow only one variety per species in your garden. For example, pick just one type of summer squash or one pumpkin from the same species, and your saved seeds will have a much better chance of staying true.
For North Carolina gardeners just getting started, these easy crops build confidence fast. Our long growing season gives beans and tomatoes plenty of time to ripen, so you can practice without stress.
After a year or two of success, you will feel ready to tackle the trickier plants with a smart plan in place.
3. Let Seeds Mature Fully Before Harvesting
Patience is a gardener’s best friend, especially in fall. Grabbing seeds too early is one of the most common mistakes beginners make. A little waiting makes a huge difference.
Seeds picked before they are ready are often immature. They may look fine, but they lack the stored energy needed to sprout. Fully ripe seeds, on the other hand, carry everything they need to wake up and grow next spring.
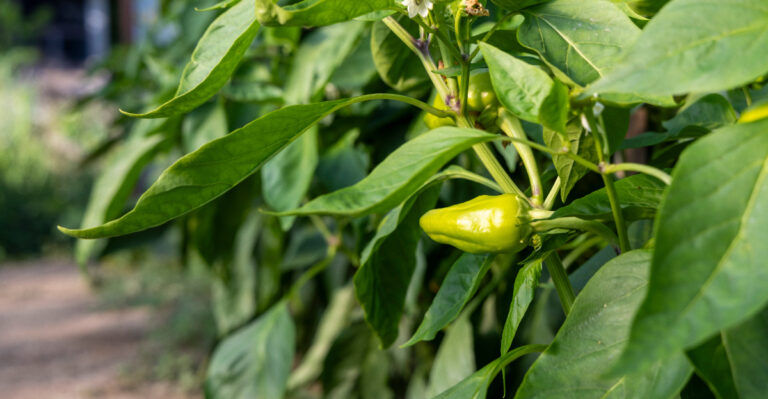
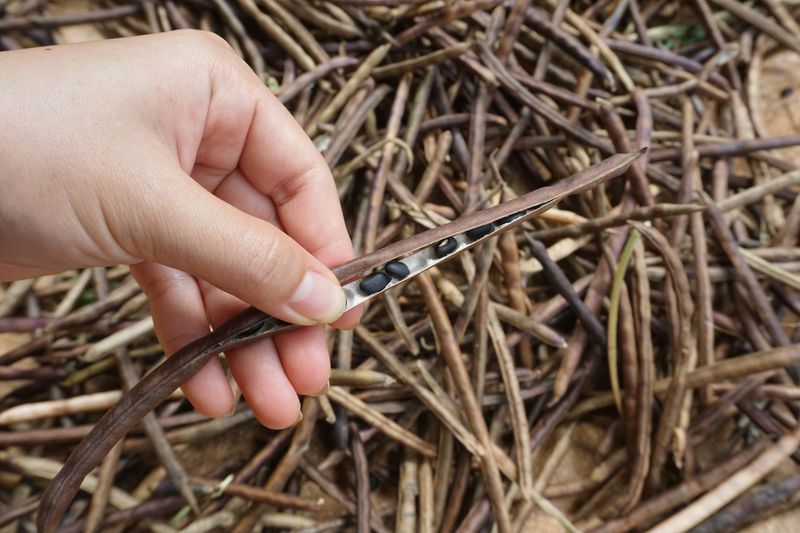
So how can you tell when seeds are ready? Bean and pea pods should turn dry, papery, and brittle, and you might even hear seeds rattle inside. Peppers need to change completely to their final color, like red, orange, or yellow, instead of staying green.
Tomatoes should be fully ripe or even a little soft. Flower heads on zinnias, marigolds, and sunflowers will turn brown and dry. Many seed pods also begin to split open, which is a clear sign that nature says the seeds are done.
Timing matters, though. A hard freeze can damage seeds that are still ripening on the plant. Keep an eye on the weather forecast, and gather what you can when cold nights are coming.
North Carolina makes this a bit of a puzzle because the first freeze shows up at different times across the state. The Mountains usually feel it first, often in October.
The Piedmont tends to follow later, and the Coastal Plain often waits until late fall, so check your local frost dates and plan your seed harvest around them.
4. Collect On A Dry Day
Water helps seeds grow in spring, but it causes trouble in fall. Moisture is the enemy once you start collecting. Choosing the right day can save your whole harvest.
Seeds and seed heads gathered while damp from rain or morning dew hold onto that wetness. Tucked away in storage, that hidden moisture can turn into mold. A moldy batch of seeds often will not sprout, and all your hard work goes to waste.
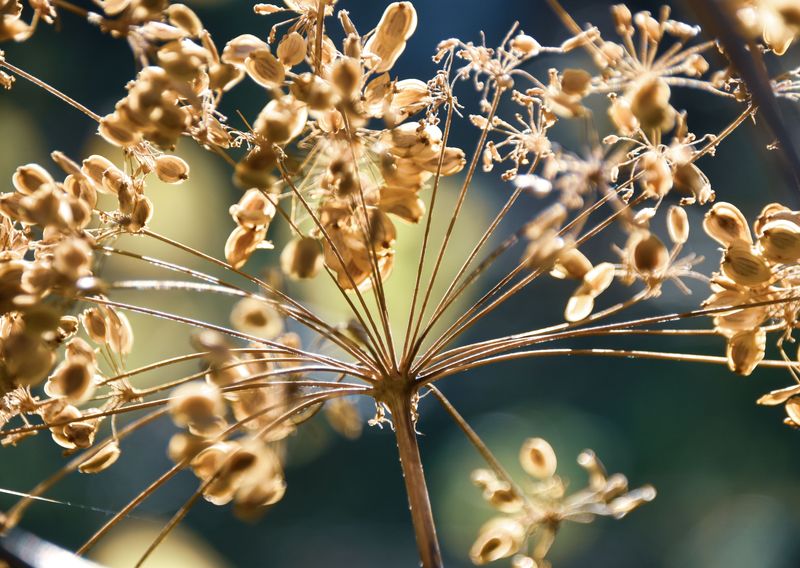
The best time to collect is in the afternoon on a sunny day. By then, the dew has dried and plants feel crisp to the touch. Try to wait a day or two after rain so seed heads have a chance to dry out completely.
Bring a pair of clean scissors and a stack of paper bags with you. Snip the seed heads or pods and drop them right into the bags. Paper lets air move through, while plastic bags trap moisture and create a damp little greenhouse that mold loves.
Write the plant name on each bag as you go. It takes only a second, and it keeps your zinnias from mixing up with your marigolds. Trust me, many seeds look alike once they leave the plant.
North Carolina fall mornings can be surprisingly wet. Humid air and heavy dew are normal here, especially in the Piedmont and along the coast. Waiting for a dry afternoon gives your seeds the best start toward safe storage and a strong spring.
5. Clean Wet Seeds Like Tomatoes Differently
Tomato seeds come wrapped in a slippery little jacket. Slice one open and you will see each seed tucked inside a clear gel. That gel is a natural blocker that keeps seeds from sprouting inside the fruit.
To save tomato seeds well, you need to remove that coating. The easiest way is a short fermentation. It sounds fancy, but it is really just letting the seeds sit in water for a few days, and it can also help reduce some seed-borne diseases.
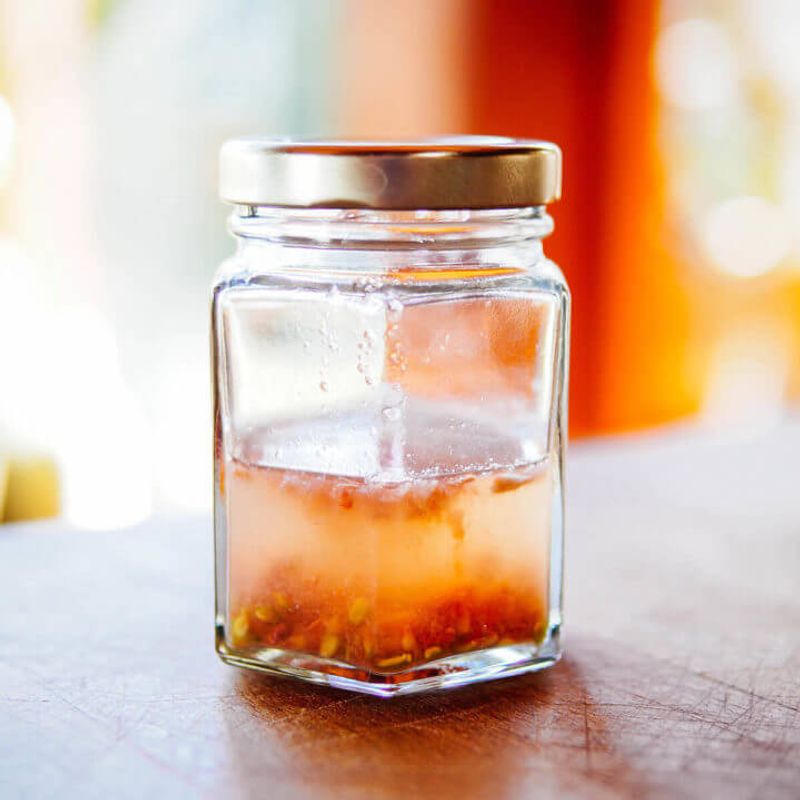
Start by scooping the seeds and gel from a ripe tomato into a small jar. Add a splash of water and set the jar somewhere out of the way. Over the next two to four days, a white or gray film will form on top, and yes, it will smell a bit funky.
Once the film appears, pour everything into a fine strainer. Rinse the seeds well under running water until they feel clean and no longer slimy. Good seeds usually sink, while empty ones tend to float away.
Spread the clean seeds on a paper plate to dry. Paper plates work better than paper towels because seeds can stick to towels. Peppers are much easier, since you can simply pull the seeds from the fruit and let them dry.
Many North Carolina families treasure heirloom tomatoes passed down through generations. Varieties like Cherokee Purple have deep roots in the South. Cleaning those seeds the right way helps keep your favorite flavors growing for years to come.
6. Dry Seeds Thoroughly Indoors
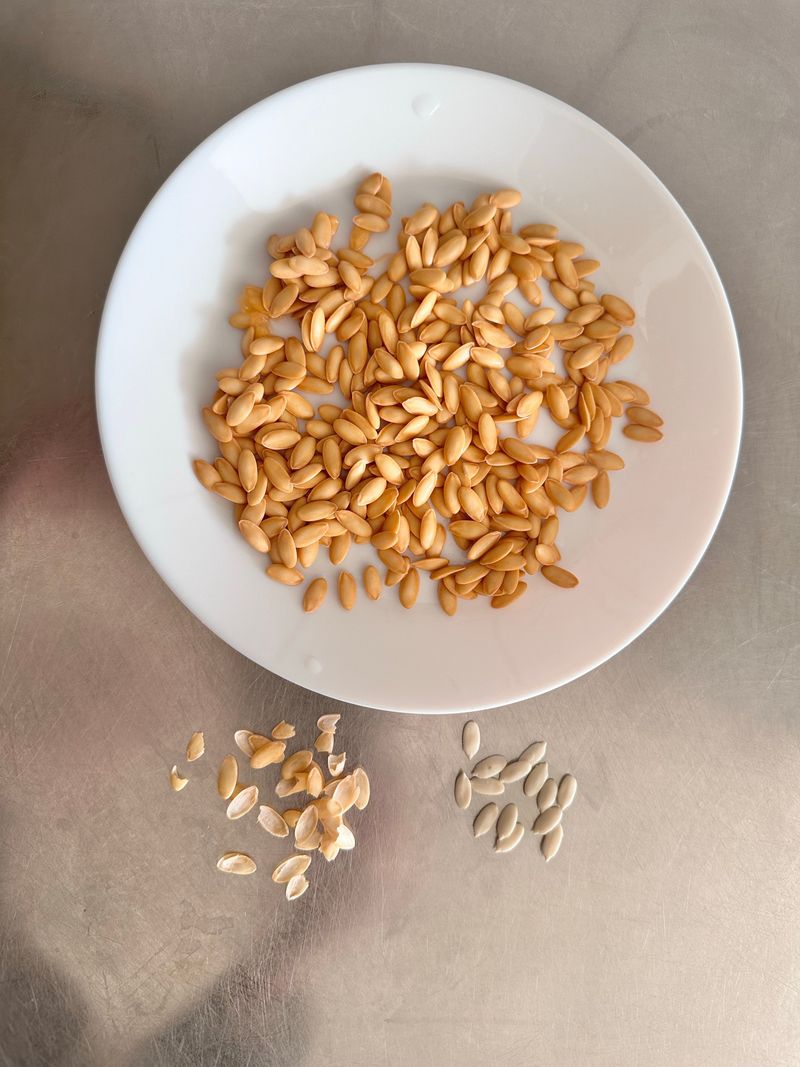
Seeds can fool you. Some feel dry and crisp in your hand yet still hide moisture deep inside. That hidden water is why indoor drying is such an important step.
Storing seeds too soon can lead to mold or shorten how long they stay good. Even a small amount of moisture sealed in a jar can spoil a whole batch. A little extra time now protects your spring garden later.
Spread your seeds in a single layer on paper plates, window screens, or newspaper. Keep them in a dry room with good airflow and away from direct sunlight, which can overheat them. A spare bedroom shelf or a kitchen corner often works nicely.
Every few days, give the seeds a gentle stir with your fingers. Stirring helps all sides dry evenly and keeps seeds from clumping together. Leave them alone for about one to two weeks.
Not sure if they are ready? Try the snap test on large seeds like beans. A fully dry bean will crack or snap when you bend it, while one that still bends needs more time.
Remember to keep each batch labeled during drying. A sticky note on every plate keeps things organized. It is easy to forget which pepper seeds came from the sweet plant and which came from the spicy one.
North Carolina humidity makes this step take longer than in drier places like Arizona. Our damp air slows drying, even in fall. Running a fan or dehumidifier nearby can speed things up and give you peace of mind.
7. Store Seeds Cool, Dry, And Labeled
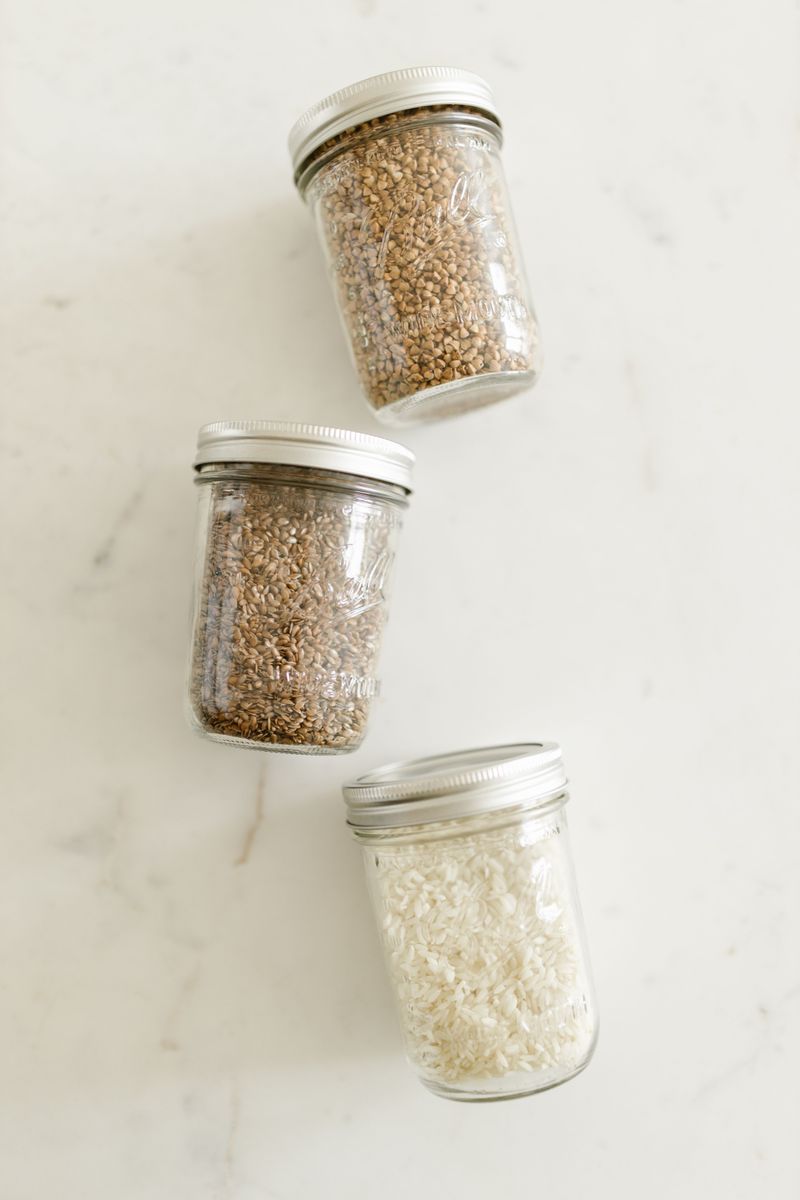
Your seeds are clean, dry, and ready for a long winter nap. Now comes the final step that keeps them sleeping safely. Good storage turns a fall harvest into a spring garden.
Seeds stay alive and ready to grow longest when they are cool, dry, and dark. Heat, light, and moisture all wear down their stored energy. Clear labels matter too, because a jar of mystery seeds can lead to a garden full of surprises you did not plan.
Start by placing each type of seed in its own paper envelope. Write the plant variety and the date you collected it on the front. Small coin envelopes work great, but folded paper also does the job.
Next, tuck the envelopes into an airtight jar, like a mason jar with a tight lid. Add a small packet of silica gel to soak up any extra moisture. You can save those little packets from shoe boxes or buy them online.
Store the jar in a cool, dark spot such as a closet, basement, or refrigerator. The fridge works especially well because it stays steady and cool. Just avoid the freezer unless your seeds are completely dry.
Most seeds grow best when planted within a few years. Onion seeds fade quickly, while tomato seeds can last much longer. Planting older seeds first keeps your collection fresh.
In North Carolina, sealed storage is a real lifesaver. Humid air sneaks into homes year round, especially in summer. A tight jar keeps that moisture out until warm spring soil is ready for planting.