How To Cut Back Michigan Daylilies Now For A Cleaner Fall Display
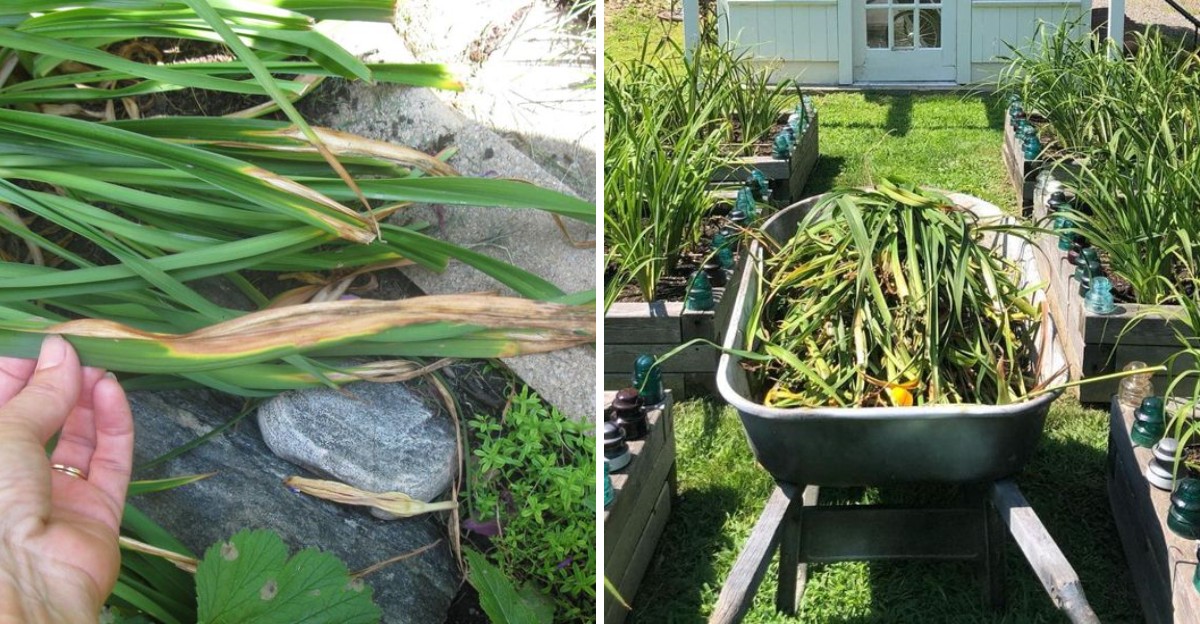
Daylily foliage tends to look a little rough by the time September rolls around in Michigan, with yellowing leaves and spent flower stalks taking away from an otherwise tidy garden bed.
Cutting the plant back now clears away that fading growth and gives the bed a noticeably cleaner look heading into the cooler months ahead.
Timing and technique both matter here, since cutting too early can interrupt the plant while it’s still storing energy for next year, while cutting too late means dealing with mushy, frost-damaged foliage instead.
Knowing exactly how far back to trim, and which parts of the plant to leave alone, makes the difference between a neat fall garden and one that still looks half-finished.
A little attention now pays off in a cleaner-looking bed all season.
1. Wait Until Foliage Starts Declining Naturally
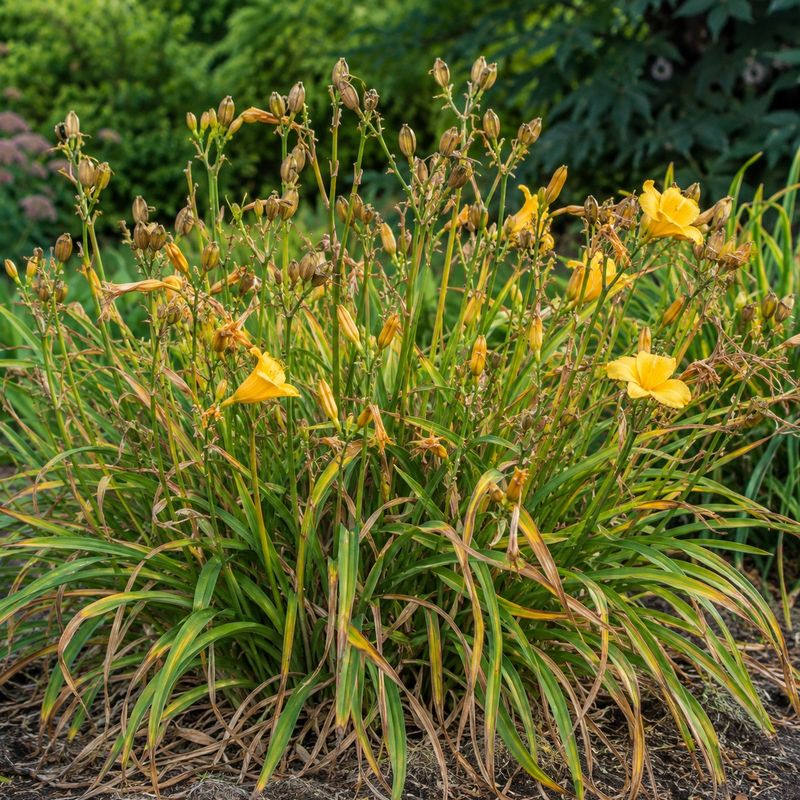
Patience pays off when it comes to your daylilies. Those long green leaves are still hard at work even after the flowers fade, soaking up sunlight and sending energy down to the roots.
Cutting healthy green foliage too soon takes away the plant’s chance to store food for next season. Think of the leaves as tiny solar panels.
As long as they stay green, they keep feeding the crown below the soil, which is the heart of the plant.
In Michigan, the weather often cools slowly through September and October, so give your daylilies time to finish their natural cycle. When the leaves start fading to yellow on their own, that is the plant’s way of telling you it has stored what it needs.
Jumping in early might make the bed look tidy for a week, but it can weaken the flowers you will enjoy next summer. Weaker plants often produce fewer blooms and slower growth.
Watch the color closely as fall settles in. Green means keep waiting, while yellow and soft leaves mean the plant is ready for trimming. A little observation goes a long way here.
By holding off until the foliage declines on its own, you give your daylilies the best shot at a full, cheerful comeback. Nature has a rhythm, and daylilies follow it well.
Let them lead the way, and your fall cleanup will actually help the plant instead of setting it back.
2. Remove Yellow And Damaged Leaves First
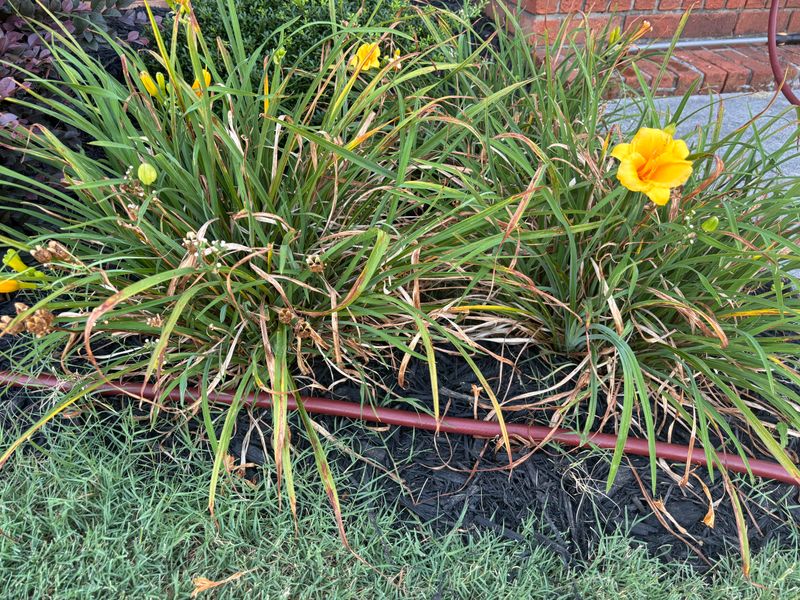
Start small before you do any big trimming. The yellow, brown, and ragged leaves are the first ones that should go, since they no longer help the plant much.
Pulling or snipping these tired leaves instantly makes your garden bed look cleaner and fresher. It is a quick win that takes just a few minutes per clump.
The best part is that healthy green leaves stay right where they are, still gathering energy. You get a tidy look without stealing food from the plant. This gentle approach keeps your daylilies working while you clean up the mess.
Grab each faded leaf near the base and give it a soft tug. Many will slide right out, especially the ones that have already given up. For tougher leaves, use clean garden scissors or pruners to avoid tearing the crown.
Your Michigan Garden Changes Every Week. Your Plan Should Too.
Gardening in Michigan changes quickly throughout the season. Every Friday you’ll receive a simple weekly plan showing exactly what to plant, prune, fertilize, harvest, and protect so you never miss the right timing.
Damaged foliage can also hide pests or spots, so removing it early keeps small problems from spreading. A quick cleanup now saves you trouble later in the season.
Work your way around the clump slowly, checking each stem as you go. You will be surprised how much better the plant looks once the yellow bits are gone.
This step is like giving your daylilies a light haircut instead of a full trim. It refreshes the look while leaving the strong parts in place.
Do this a couple of times through fall as more leaves fade, and your beds will stay neat right up until the deeper cleanup arrives.
3. Cut Leaves Back Close To The Ground
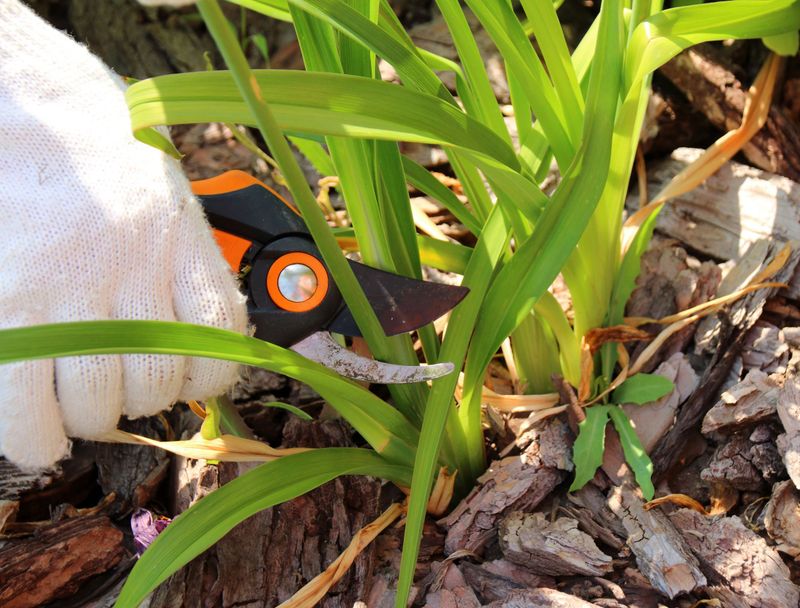
Once your daylily leaves have fully faded and flopped over, it is time for the real trim. This is when you can cut the whole clump back low for a smooth winter look.
Aim to leave a few inches of stem above the crown, usually around two to three inches from the soil line. This protects the growing point while still clearing away the messy old foliage.
Cutting close to the ground gives your beds a clean, open appearance during the cold months. No more soggy leaves collapsing over the edges or trapping moisture.
Use sharp, clean pruners or shears to make neat cuts. Dull tools crush stems and leave ragged edges that heal slowly. A clean cut is kinder to the plant and looks better too.
Grab a handful of leaves at a time and snip in one motion for speed. Working in small bunches keeps the job quick and even. Before long, the whole clump will be trimmed down and tidy.
Try not to cut into the crown itself, since that is where next year’s growth begins. Staying a couple of inches above keeps that important part safe through winter.
After the trim, your garden will look calm and ready for the colder season. Come spring, fresh green shoots will pop up right from those trimmed clumps.
This final cutback is the biggest cleanup step, and it sets your daylilies up for a strong and cheerful return next year.
4. Clean Up Old Flower Stalks
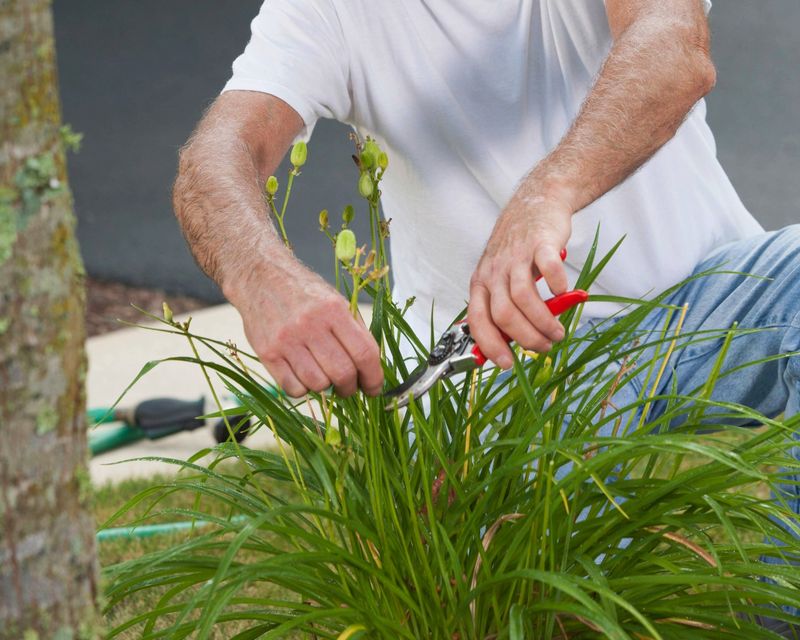
Those tall stems that once held bright blooms turn brown and stiff once the flowers finish. Left alone, they lean over, snap, and clutter the middle of your bed.
Removing spent flower stalks makes a huge difference in how neat your garden looks. It clears away the tallest bits of mess and opens up the whole clump.
Follow each stalk down to its base and cut it low, close to where it rises from the leaves. This keeps the plant looking clean without leaving awkward stubs poking up.
Old stalks also tend to collapse right into the planting bed after a heavy rain or wind. Getting rid of them early stops that flop before it happens.
Some gardeners like to snip stalks right after the flowers fade in summer, which keeps things tidy all season long. If you missed that window, fall is a great time to catch up.
Use pruners for a quick, clean cut, since these stems can be tough and woody near the bottom. A firm snip does the trick.
Toss the old stalks into your compost pile if they look healthy, or into yard waste if they seem spotted or damaged. Either way, they no longer clutter your view.
Clearing the stalks is one of the most satisfying cleanup jobs because the change is instant. Your bed goes from shaggy to sharp in just a few minutes, giving your daylilies a polished look heading into the cooler months.
5. Remove Diseased Plant Material
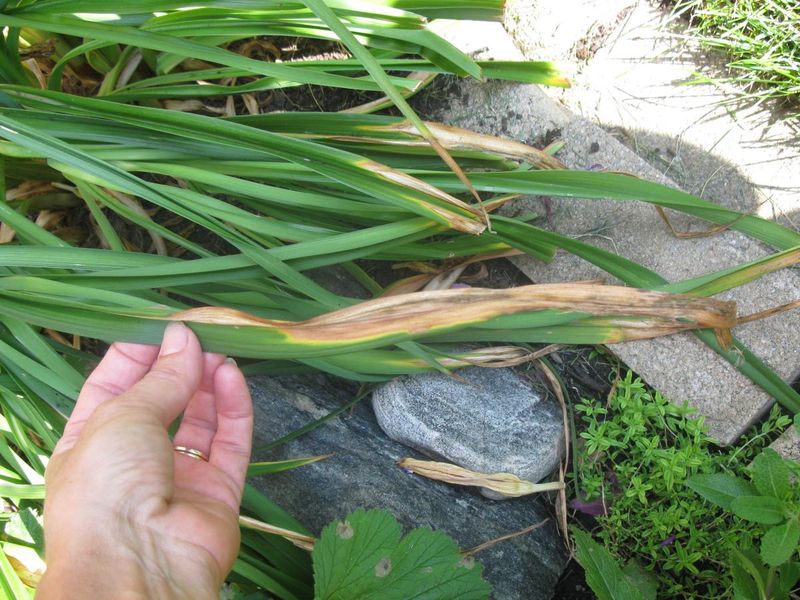
Sometimes daylily leaves show more than just normal fall fading. Brown streaks, mushy spots, or unusual rust colored patches can mean disease has settled in.
Getting rid of this troubled foliage quickly protects the rest of your plant. Sickly leaves can spread problems to healthy ones if you leave them lying around.
Avoid composting diseased plant material unless you are sure your compost reaches temperatures high enough to break down pathogens.
Instead, bag up the affected material and throw it out with your regular yard waste. This simple step breaks the cycle and keeps trouble from returning next season.
Clean your pruners after cutting diseased parts, since blades can carry spores from one plant to another. A quick wipe with rubbing alcohol works well between cuts.
Clearing infected debris from around the base of the clump matters too. Fallen leaves and old stems can hide fungus that overwinters and attacks fresh growth in spring.
A tidy, clean base gives your daylilies a healthier start when warmer weather returns. Good airflow around the crown also helps keep dampness and disease away.
Michigan’s wet falls can make fungal problems more common, so a careful cleanup really pays off. Take a close look at each clump before winter arrives.
Spotting and removing sick foliage now saves you bigger headaches later. Your daylilies will thank you with stronger, cleaner growth when the new season begins.
6. Do Not Smother The Crown With Heavy Mulch
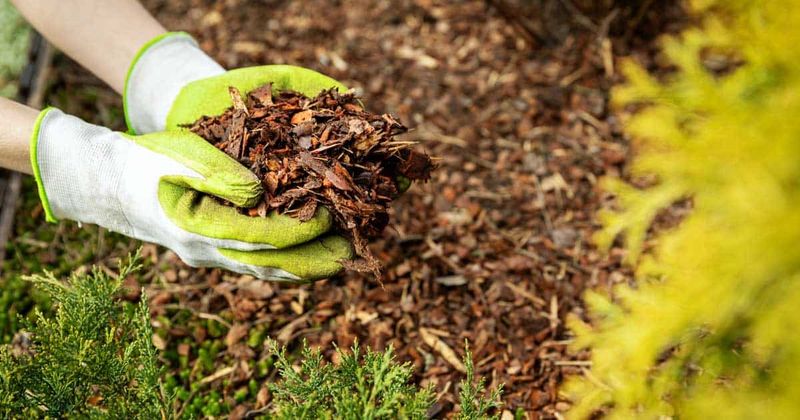
Mulch is a wonderful helper in the garden, but too much of it can cause trouble for daylilies. The crown, which sits right at the soil line, needs to breathe.
Piling thick mulch directly over the crown traps moisture and blocks airflow. In Michigan’s damp, freezing winters, that trapped wetness can lead to rot.
A light layer around the plant is plenty. Spread mulch near the base to hold in warmth and block weeds, but keep it pulled back from the very center.
Think of it like tucking in a blanket without covering the face. The roots and soil enjoy the cozy layer while the crown stays open and dry.
Two to three inches of mulch spread around, not on top of, the clump usually works well. That gives protection without smothering.
Michigan winters bring plenty of freezing and thawing, and soggy crowns handle that poorly. Good airflow helps the plant stay firm and healthy through the cold.
Choose a loose mulch like shredded bark or straw that lets water drain instead of holding it against the plant. Packed, heavy mulch is the kind to avoid.
If you already piled mulch high in past years, gently rake some away from the center this fall. Your daylilies will handle winter far better with a little breathing room.
Getting the mulch balance right keeps your plants safe without extra work. A thoughtful layer now means stronger, happier daylilies ready to burst back to life when spring arrives.
7. Divide Only If The Clump Is Overcrowded
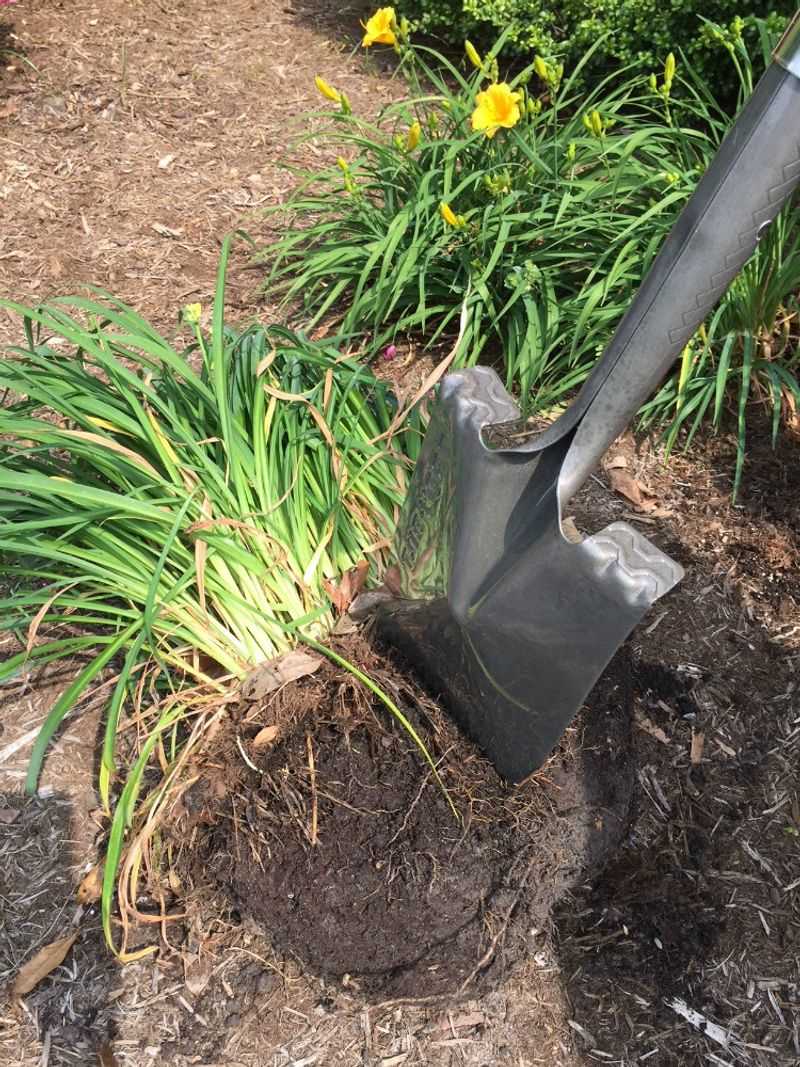
Fall can be a fine time to divide daylilies in Michigan, but not every clump needs it. Many gardeners split their plants far more often than necessary.
Healthy, established clumps often bloom beautifully year after year without being disturbed. If yours are flowering well, there is no rush to dig them up.
The real sign it is time to divide is crowding. When a clump grows so thick that the center produces fewer flowers, splitting it can bring back the show.
Overcrowded daylilies compete with themselves for water and nutrients, and blooms can shrink or thin out. Dividing gives each piece room to spread and thrive again.
To divide, dig up the whole clump and gently pull or cut it into smaller sections, each with roots and a few leaves. Replant them right away in fresh soil.
Do this early enough in fall so the new pieces settle in before the ground freezes. Michigan’s cold can arrive quickly, so timing matters.
Water the new divisions well to help them root before winter. A little care at planting sets them up for success.
If your daylilies look full and flower nicely, feel free to leave them be. Constant dividing can actually stress plants that were doing just fine.
Splitting only when needed saves you effort and keeps your garden strong. Let crowding be your guide, and your daylilies will reward you with generous blooms and steady, reliable growth each summer.
8. Prepare The Bed For Spring Growth
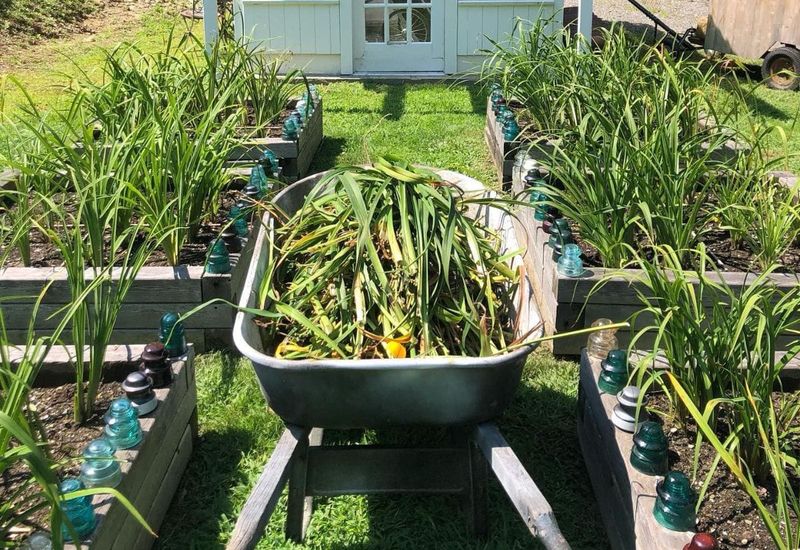
The final step ties everything together and sets the stage for a gorgeous spring. A well prepared bed means your daylilies wake up ready to grow.
Start by pulling any lingering weeds around your clumps. Weeds steal water and nutrients, and clearing them now means fewer battles when the weather warms.
Rake away leftover leaves and stray debris that collected over the season. A clean surface discourages pests and disease from hiding through winter.
Add a fresh, light layer of mulch around the plants to protect the roots from Michigan’s freeze and thaw cycles. Just remember to keep it off the crown.
Try not to dig or poke around the clumps too much once they are trimmed and settled. Extra disturbance can loosen roots right before the cold sets in.
A calm, undisturbed bed helps the plants hold steady through winter and store their energy. The less you fuss now, the better they rest.
Take a moment to check that drainage looks good, since standing water can harm roots during thaws. Good drainage keeps crowns healthy.
All this simple prep work adds up to a strong start next season. When spring arrives, fresh green shoots will push up from the tidy clumps you cared for.
A little effort in fall means less work and more blooms later. Your daylilies will return full, colorful, and ready to shine, rewarding the time you spent getting the bed just right before winter.