Follow These 7 Easy Steps To Homegrown Melons and Enjoy The Fruits Of Your Labor
Imagine this: it’s a sunny day, and you take a big bite of a sweet, juicy melon. Can you think of anything more delicious? Well, guess what? It can get even better – if you grow that melon yourself!
You might think growing melons is only for super skilled gardeners, but it’s actually pretty easy. I mean, if my boyfriend can do it (and he’s not exactly a plant expert – he once accidentally killed a cactus!), then you can too!
All it takes is a little patience, some simple steps, and a lot of love. Don’t worry, I’ll show you exactly what to do so you can enjoy your own homegrown melons in no time!
The first step is to…
1. Pick Your Perfect Melon

The first step is picking out the perfect melon for your garden.
Personally, I swear by the compact and bush-type varieties because they are perfect for saving space. Plus, you can put them on a sturdy trellis so you can grow many more plants around!
My top picks? Cantaloupe, Honeydew, and those adorable Mini Watermelons!
Each one has its own special flavor, making them the perfect summer snack or a yummy addition to salads.
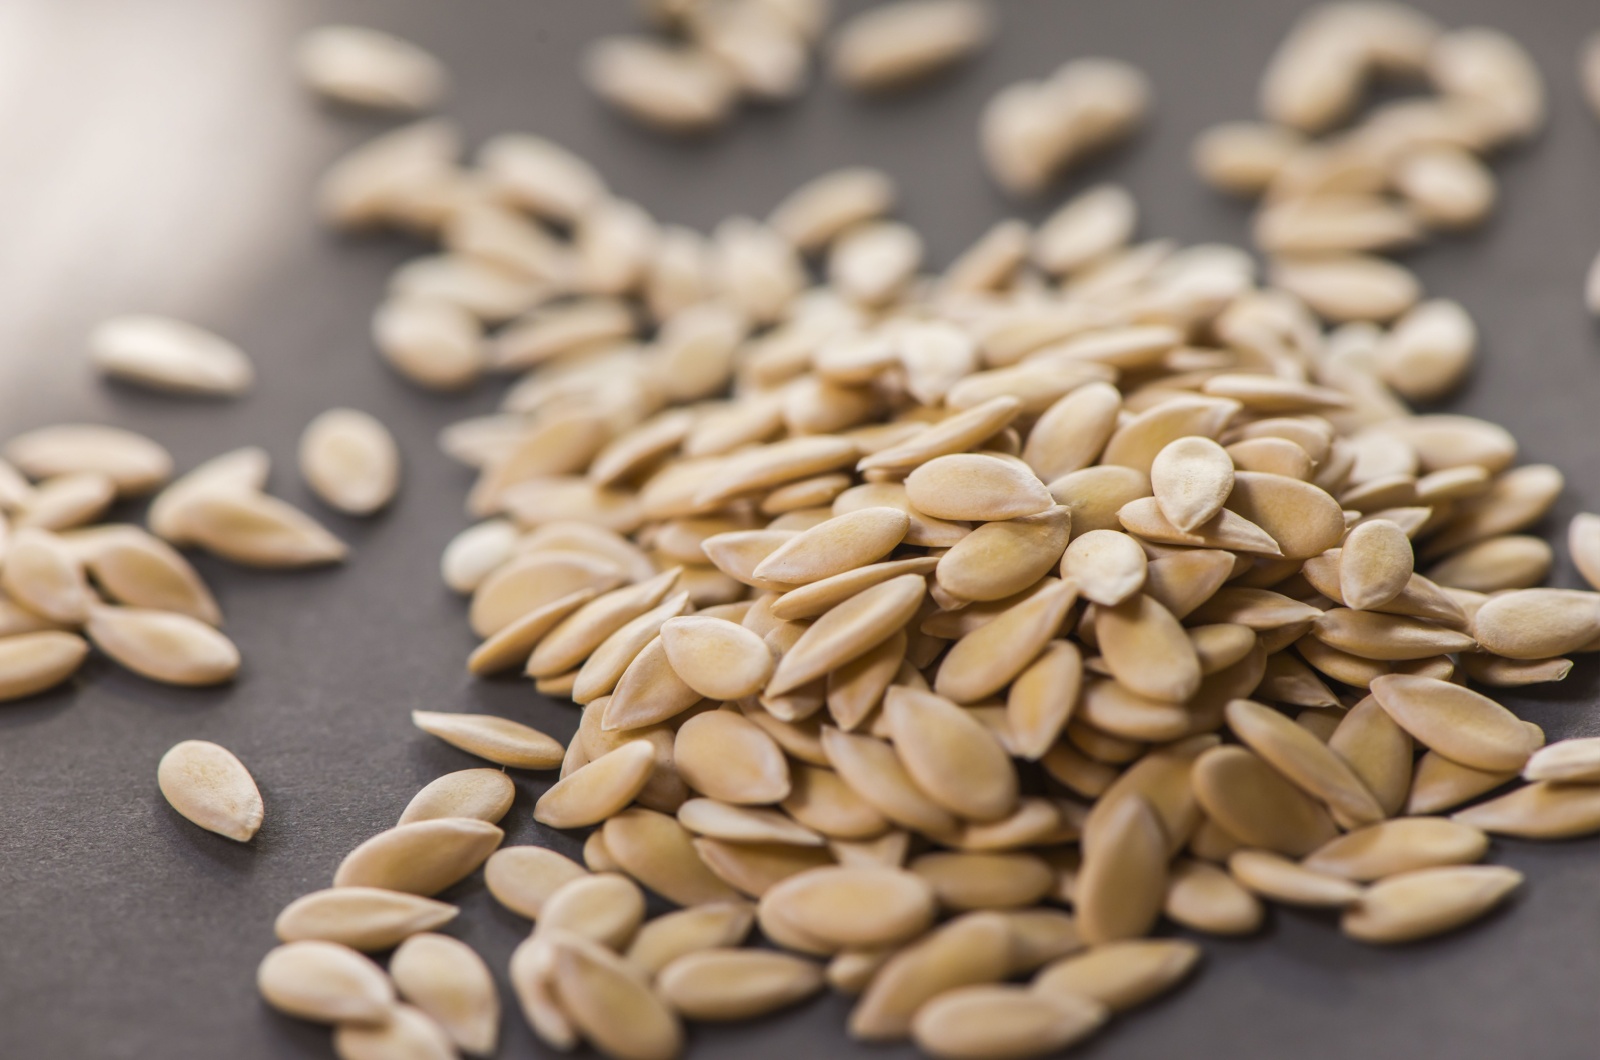
2. Get The Timing Right When Sowing Seeds
So, you’ve got your melon varieties all picked out – great choice!
Now, onto the next step: timing.
When it comes to sowing those precious seeds, timing is everything. Luckily, May is the perfect month for melon planting (shocking, right?)
My gardening pal recommends aiming for the early days of May if you can swing it. Getting those seeds in the ground at the perfect moment sets the stage for a bountiful harvest down the line.
Related: Berry-lieve It Or Not, There Are Still Some Fruits You Can Plant In May
3. Don’t Forget To Protect Those Seeds
No matter if you grow your melons in a greenhouse or outdoors, one golden rule remains the same: protect those melon seeds!
Yep, it’s all about keeping them nice and cozy.
Keep them under wraps, even if they are indoors, in a cold frame, or in a warmed-up greenhouse. They can be quite sensitive, so a little shelter goes a long way!
You can also get yourself a heated propagator. Sure, it might sound fancy, but trust me, it’s worth it if you can swing it. Otherwise, find a sunny windowsill that stays toasty warm!
4. Be Patient ‘Cause The Seeds Need To Germinate First
After about a week of playing the waiting game, your melon seeds should start to show signs of life.
If both seeds sprout (yup, you planted two, remember?), pluck out the weaker one to give the strong seedling all the space it needs to thrive.
Once your little green babies have three or four leaves to show off, it’s time for their big move. Are you going to keep them in a greenhouse border, a cozy growing bag, or a spacious container garden?
Regardless of their final destination, they are ready to spread their leafy wings!
5. Now It’s TIme To Move Your Mini Melons

Now comes the exciting part: it’s time to give your little melon seedlings a new home!
I would recommend you pick a warm, sunny day to do the deed, so your soil is all toasty and inviting.
Don’t forget about those gusty winds and always make sure your melons have protection. You can also bring them indoors to prevent any temperature shock and keep them feeling nice and comfy.
This might be helpful: 6 Ways To Protect Plants From Wind
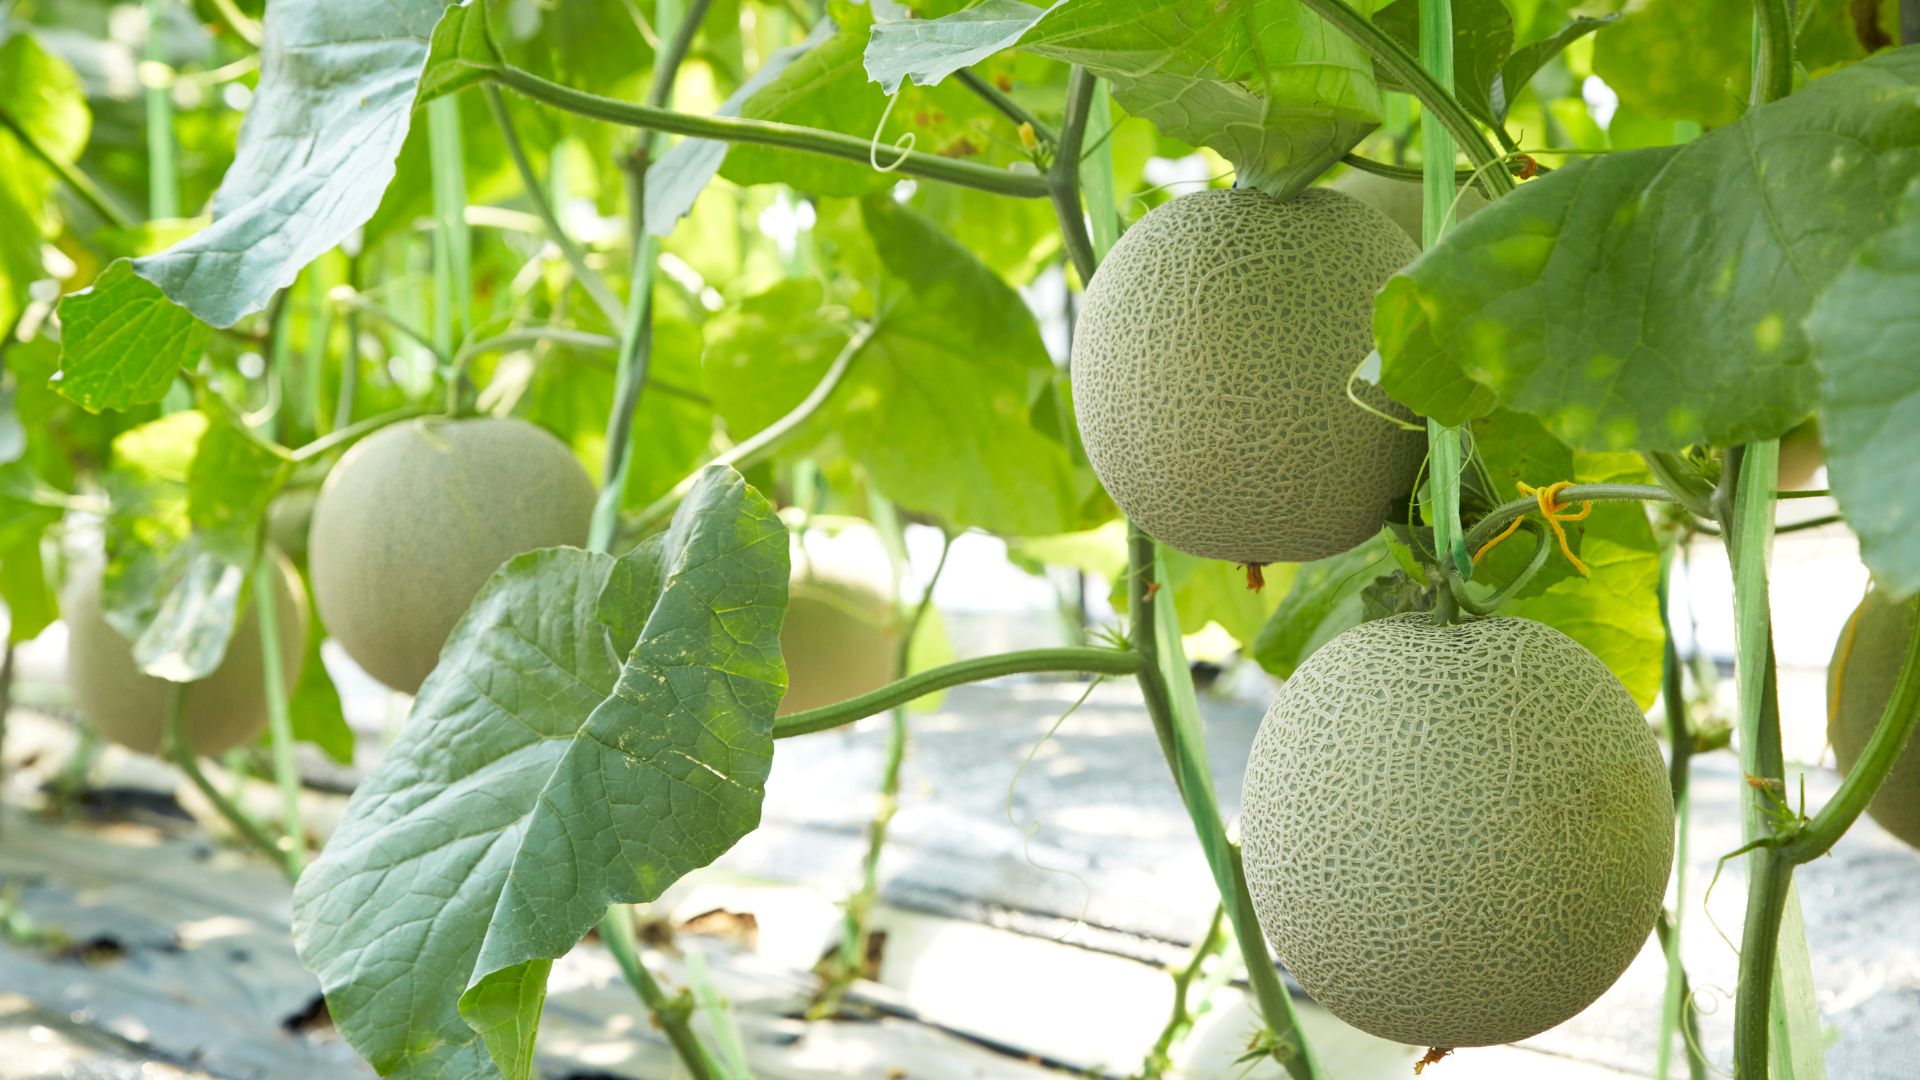
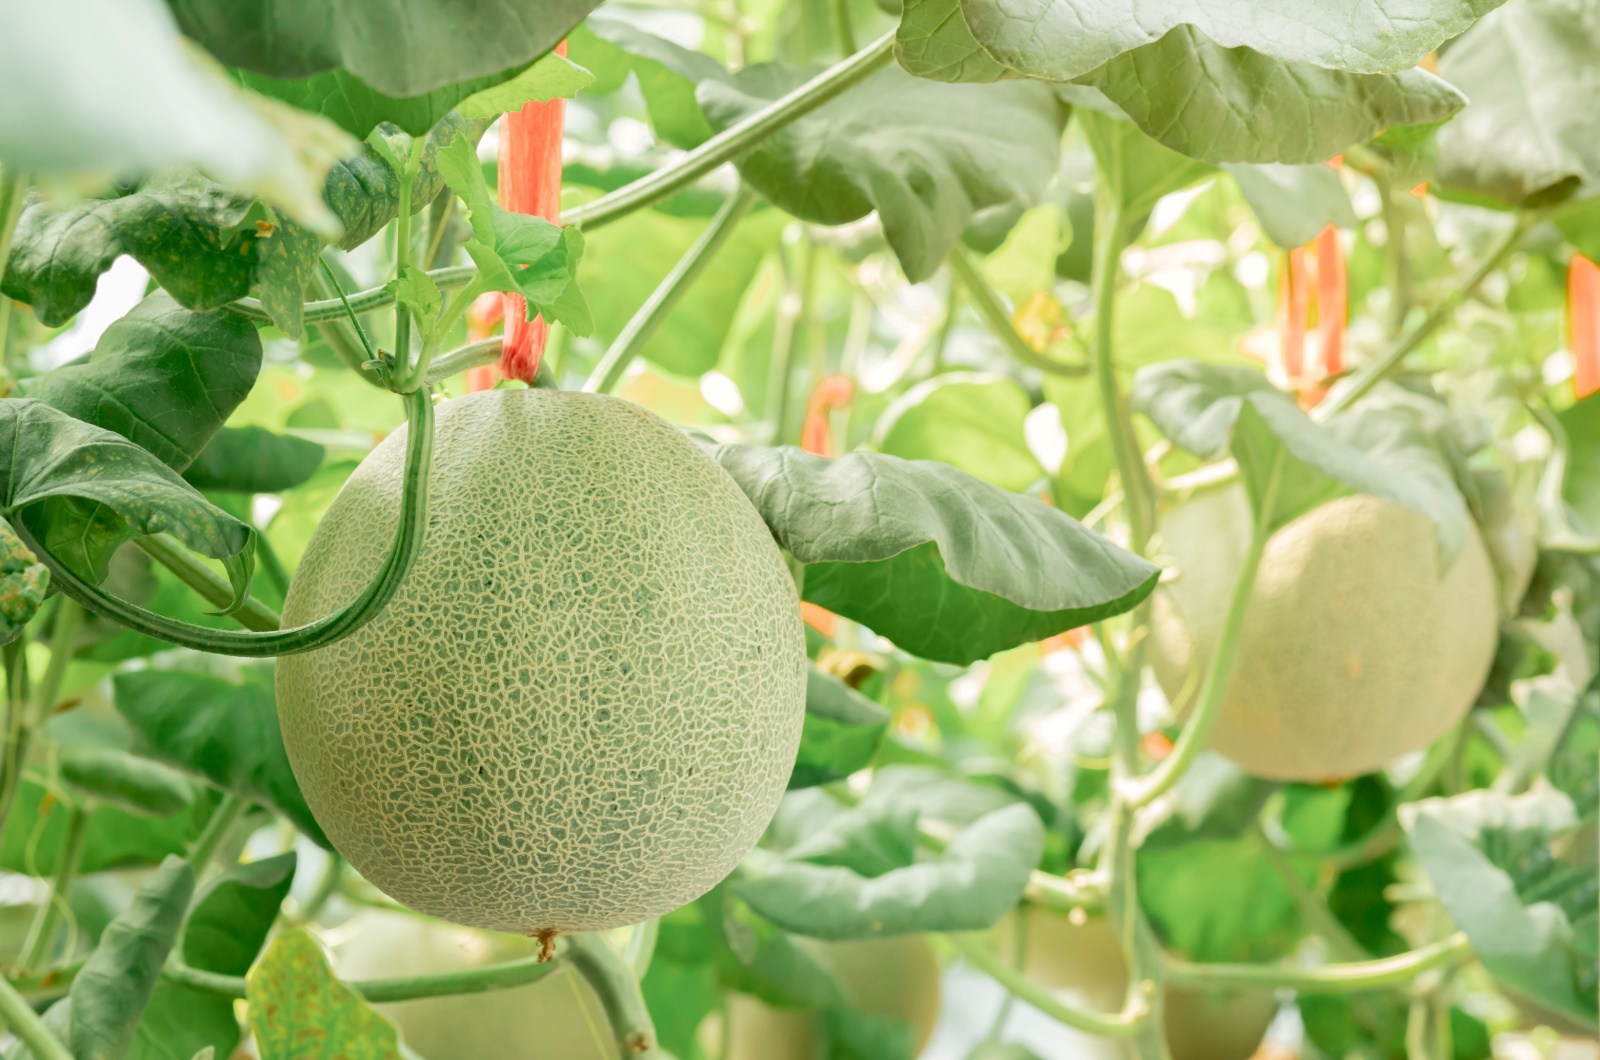
6. Make Sure They Have Something To Grab Onto
If all goes well, you’ll have to support your melons’ growth with structures like stakes, trellises, or netting.
And guess what? You don’t have to break the bank to do it!
There are loads of budget-friendly garden trellis ideas out there just waiting for you to explore. I usually go for trellises as they allow my vines to spread comfortably, but other options work just as well!
Also read: 3 Simple Trellis Tips That Will Completely Transform Your Garden
7. Don’t Keep Your Mangos Thirsty For Too Long
Now it is all about patience and care. Just like tending to any other plant in your garden, keep up with your melons’ needs.
In case you didn’t know, melons are hungry little things!
To keep them happy and thriving, give them a good feed with liquid fertilizer every few weeks throughout the growing season. And when you water, aim for deep watering at the base, steering clear of the leaves.
Oh, and here’s another tip: every week or so, pinch out a couple of side shoots from your melon plant.
This helps prevent overcrowding, ensuring your melons have all the space they need to grow big and juicy!
Thinking back on my own melon-growing experience, I remember how excited (and terrified) I was.
So, if you’re anything like me, don’t worry! It will be all good, and as long as you follow these tips, you’ll get to enjoy juicy and homegrown melons this summer!
Also read: 8 Tips To Grow Watermelons + Tricks That Reveal Ripeness