How To Keep Carved Pumpkins From Rotting In A Warm Pennsylvania Fall
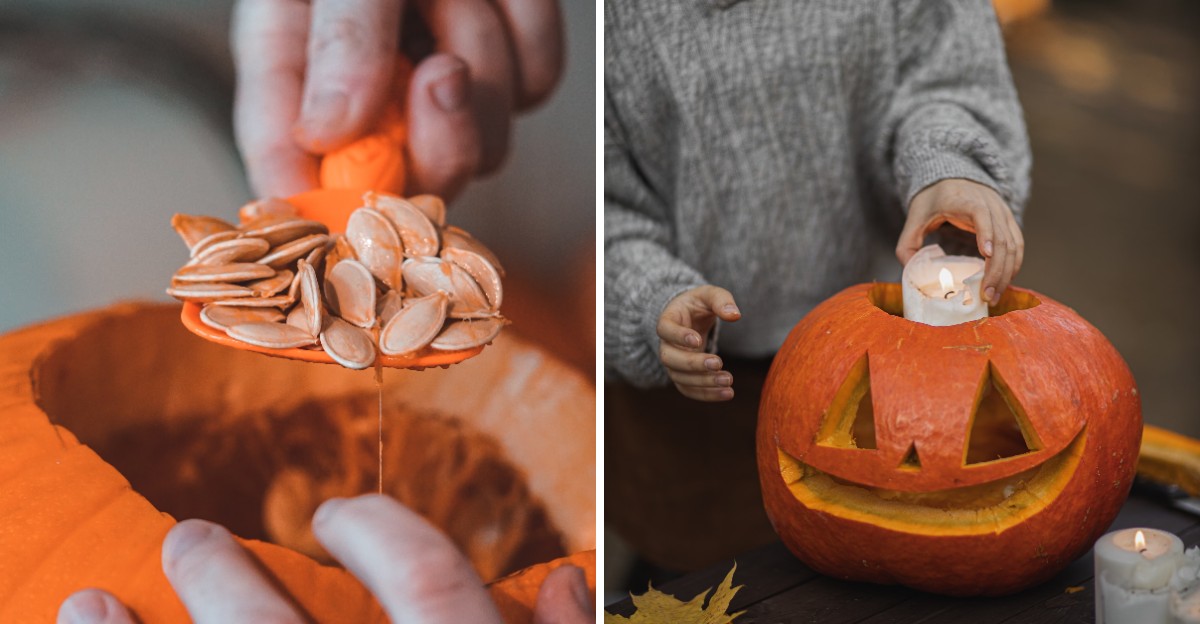
An uncarved pumpkin can sit on your porch for two or three months. Carve a face into it, and the clock starts ticking much faster. In a warm Pennsylvania fall, that countdown can feel brutal.
Once you slice into a pumpkin, its moist flesh is exposed to air, bacteria, and mold spores. Mild days in the 60s or 70s speed up the process even more.
Within a few days, the edges start to shrivel, fuzzy spots appear, and the whole jack-o’-lantern begins to sag. Fruit flies and hungry squirrels often join the party, too.
It’s frustrating to spend an afternoon carving the perfect design, only to toss it in the trash before Halloween night.
A few simple tricks can slow things down, though. With the right care, your pumpkin can stay fresh, firm, and spooky for much longer.
1. Start With A Fresh, Firm Pumpkin
Walk through any Pennsylvania pumpkin patch in October, and you will see hundreds of choices. Some look perfect from far away. Up close, many hide problems that can shorten their lives.
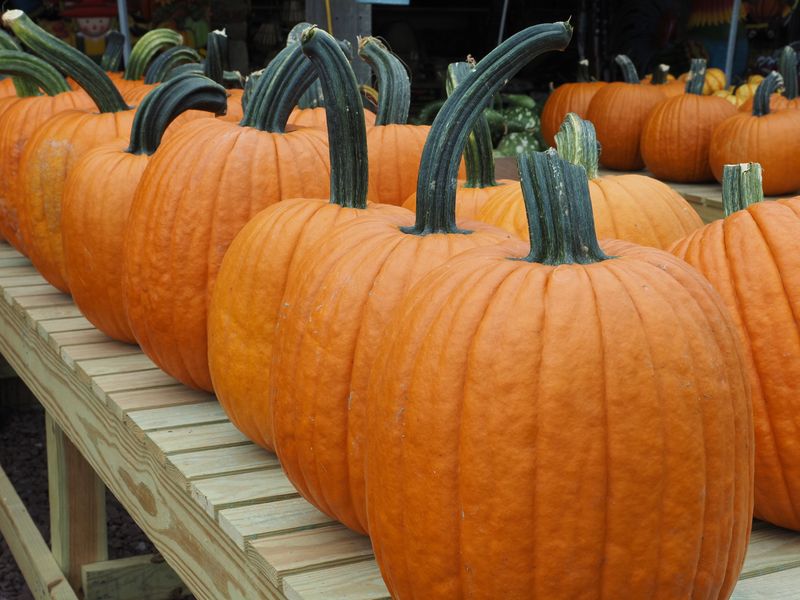
A long-lasting jack-o-lantern begins with a healthy pumpkin. Look first at the stem. It should be green, thick, and firmly attached. A dry, brown, or broken stem often means the pumpkin was picked long ago or handled roughly.
Next, check the skin all the way around. Press gently with your thumb in a few spots. The surface should feel hard, like a wooden board. Soft spots, bruises, or cuts are open doors for mold and bacteria.
Flip the pumpkin over and look at the bottom too. Many people forget this step. The underside sits on damp ground, so it often starts to rot first.
Color matters a little as well. A deep, even orange usually signals a ripe pumpkin. Patchy green areas are not always bad, but very pale spots might mean it was picked too early.
Here is a handy tip. Never carry a pumpkin by its stem. The stem can snap off, leaving a wound that lets germs sneak inside.
Buying from a local farm stand is a smart move. Pumpkins there are often picked just days before. Store pumpkins may have traveled for a week or more in hot trucks.
Fun fact: Pennsylvania ranks among the top pumpkin-growing states in the country. That means you have plenty of fresh options close to home.
Take your time choosing. A few extra minutes at the patch can buy you several extra days of spooky fun.
2. Carve It Closer To Halloween
Patience is hard when you have a pumpkin sitting on the counter. You want to grab a knife and start carving right away. Trust me, waiting pays off.
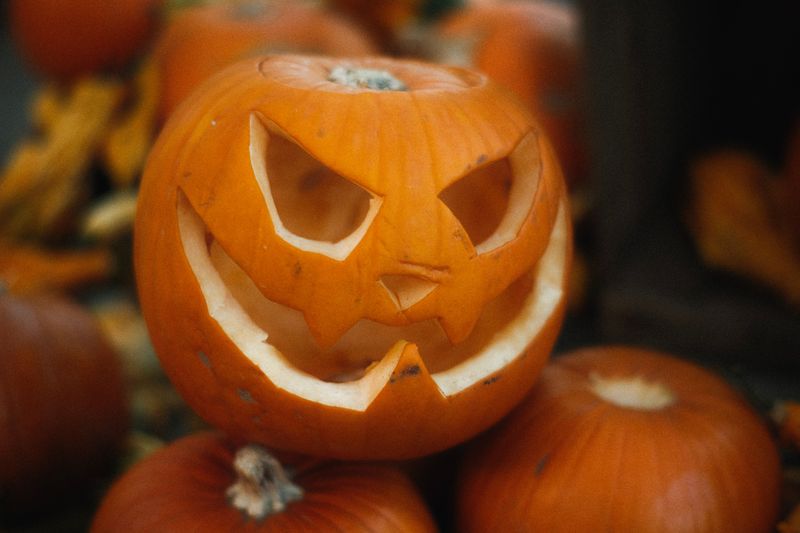
Once you cut into a pumpkin, the clock starts ticking. The open flesh is exposed to air, bugs, and germs. Most carved pumpkins last about five to ten days in cool weather.
Warm weather changes everything. On a 70-degree Pennsylvania afternoon, a carved pumpkin can start to sag in just three or four days. That is why timing matters so much.
Your Pennsylvania Garden Changes Every Week. Your Plan Should Too.
Gardening in Pennsylvania changes quickly throughout the season. Every Friday you’ll receive a simple weekly plan showing exactly what to plant, prune, fertilize, harvest, and protect so you never miss the right timing.
A good plan is to carve two to three days before Halloween. Your pumpkin will still look sharp when trick-or-treaters arrive. Its face will be crisp, not wrinkled.
Want decorations earlier in the month? Try this trick. Set out whole, uncarved pumpkins on your porch in early October. Uncut pumpkins can last two to three months if kept dry.
You can also paint some pumpkins instead of carving them. Painted pumpkins stay fresh much longer. Kids love decorating them with markers, glitter, or stickers.
Check the weather forecast before carving day too. If a heat wave is coming, push your carving back a day or two. A little planning keeps your hard work from going to waste.
Some families make carving a special night right before Halloween. They play spooky music, roast seeds, and enjoy cider together. Waiting becomes part of the fun, not a chore.
Mark the date on your calendar. Your future self will thank you when your jack-o-lantern still looks proud on October 31.
3. Scoop Out Every Bit Of Pulp
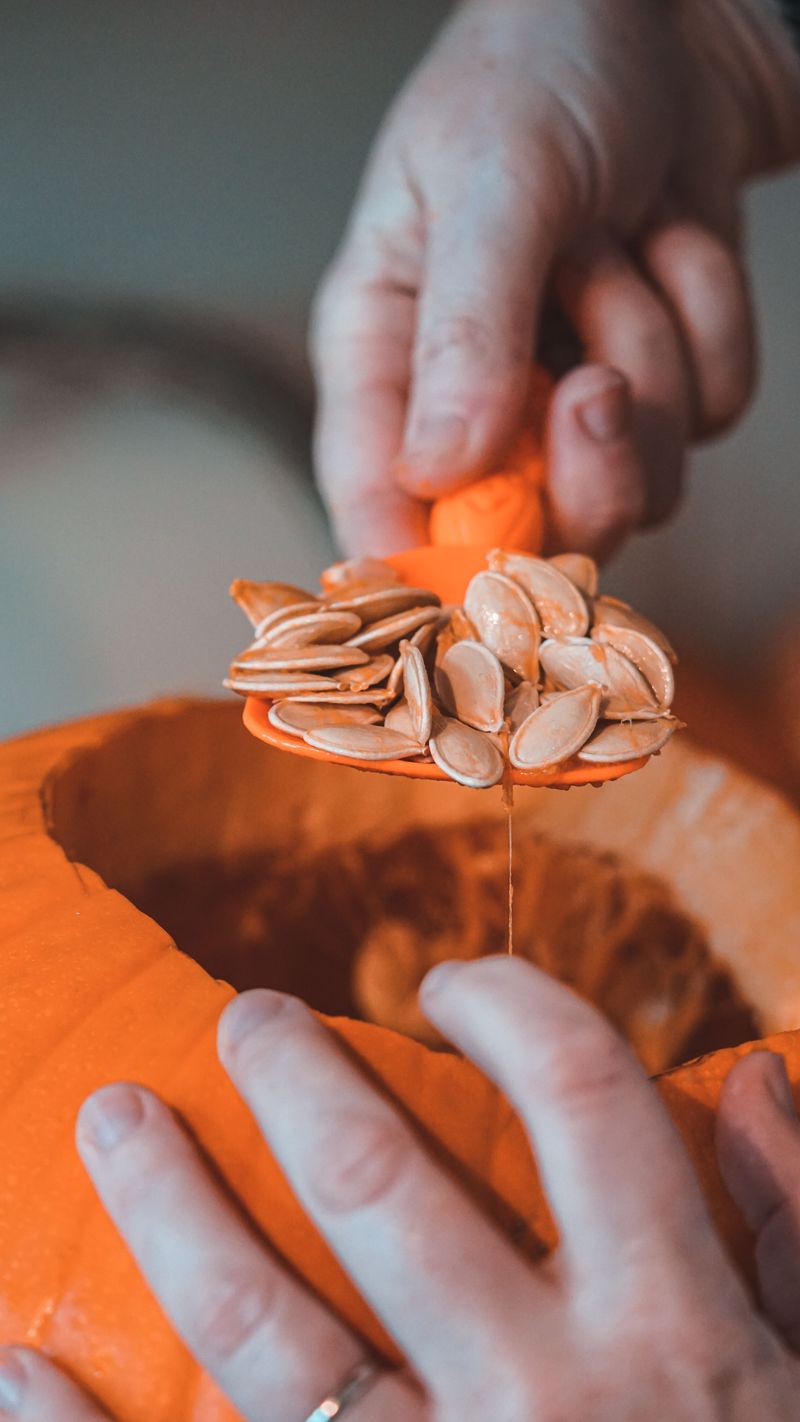
Gooey, slimy, and a little smelly, pumpkin guts are the least favorite part of carving for many people. Still, how well you clean them out makes a huge difference.
Leftover pulp breaks down fast. Those wet strings are full of sugar and moisture. Mold loves both, so any bits you leave behind become a buffet for fuzzy growth.
Start by cutting your opening. Many carvers now cut the hole in the back or bottom instead of the top. A bottom opening lets you set the pumpkin right over a light, and it keeps the stem area strong.
Use a large metal spoon or an ice cream scoop. These work much better than flimsy plastic tools. Scrape the walls in long, firm strokes until all the strings are gone.
Next, thin the wall where you plan to carve the face. Aim for about one inch thick. A thinner wall is easier to carve and lets more light shine through.
Do not go too thin, though. Very thin walls dry out and cave in faster. Balance is key here. When you finish scraping, wipe the inside with a paper towel. A dry interior gives mold fewer places to start.
Bonus idea: save those seeds! Rinse them, toss them with oil and salt, and bake at 300 degrees for about 40 minutes. Roasted seeds make a crunchy, tasty snack.
Put down newspaper before you begin. Cleanup becomes quick and simple, and you can toss the mess into a compost bin.
4. Give It A Mild Bleach Bath
Scientists, chefs, and farmers all know one thing about germs. They multiply quickly in warm, damp places. A freshly carved pumpkin on a warm porch is exactly that kind of place.
A diluted bleach solution helps slow down mold and bacteria. It will not make your pumpkin last forever, but it can add a few extra days.
Mixing it is easy. Use about one teaspoon of bleach for every quart of water. For a big tub, that works out to roughly one tablespoon per gallon.
You have two choices. You can fully soak the carved pumpkin in a tub for about 20 minutes. Or you can fill a spray bottle and mist it inside and out.
Spraying is handy for daily touch-ups. A quick spritz each day keeps the protection going, especially during humid weather.
After soaking or spraying, let the pumpkin dry completely. Turn it upside down on a towel so water drains out. Trapped moisture can undo all your hard work.
Safety comes first with bleach. Always have an adult handle the mixing. Wear gloves, work outside or in a garage, and never mix bleach with other cleaners.
Keep the solution away from little kids and pets. Dogs and squirrels sometimes like to nibble on pumpkins, so treated ones should sit out of reach.
Some people prefer a gentler option, like a vinegar and water spray. It is less powerful but still helpful. Choose what works best for your home.
5. Find A Shady, Cool Spot
Sunshine feels lovely on a fall afternoon. For your jack-o-lantern, though, it is bad news. Heat and bright light are two of the biggest reasons carved pumpkins shrivel.
Direct sun dries out the cut edges. The face starts to wrinkle, and the mouth slowly droops. Warm air also speeds up mold growth inside.
Pick a shaded spot for your display. A covered porch works great. North-facing steps also stay cooler for most of the day.
Pennsylvania weather can surprise you. Late October might bring frost one night and a sunny 75-degree day the next. Keep an eye on the forecast all week.
On unusually warm days, bring your pumpkin inside. A cool garage or basement can make a big difference. Just place it back outside when evening arrives.
The refrigerator is another clever trick. Wrap your pumpkin in plastic and chill it overnight. Many people say this helps it bounce back looking fresher.
Got a droopy pumpkin already? Try soaking it in cold water for an hour or two. Pumpkins can soak up water and firm up a little, like a thirsty plant.
Watch out for freezing nights too. Frost can turn the flesh mushy once it thaws. If temperatures drop below 32 degrees, bring it in.
Think of your pumpkin like a picky houseguest. It likes things cool, shady, and steady. Give it that comfort, and it will reward you with a happy, glowing grin.
6. Swap Candles For LED Lights
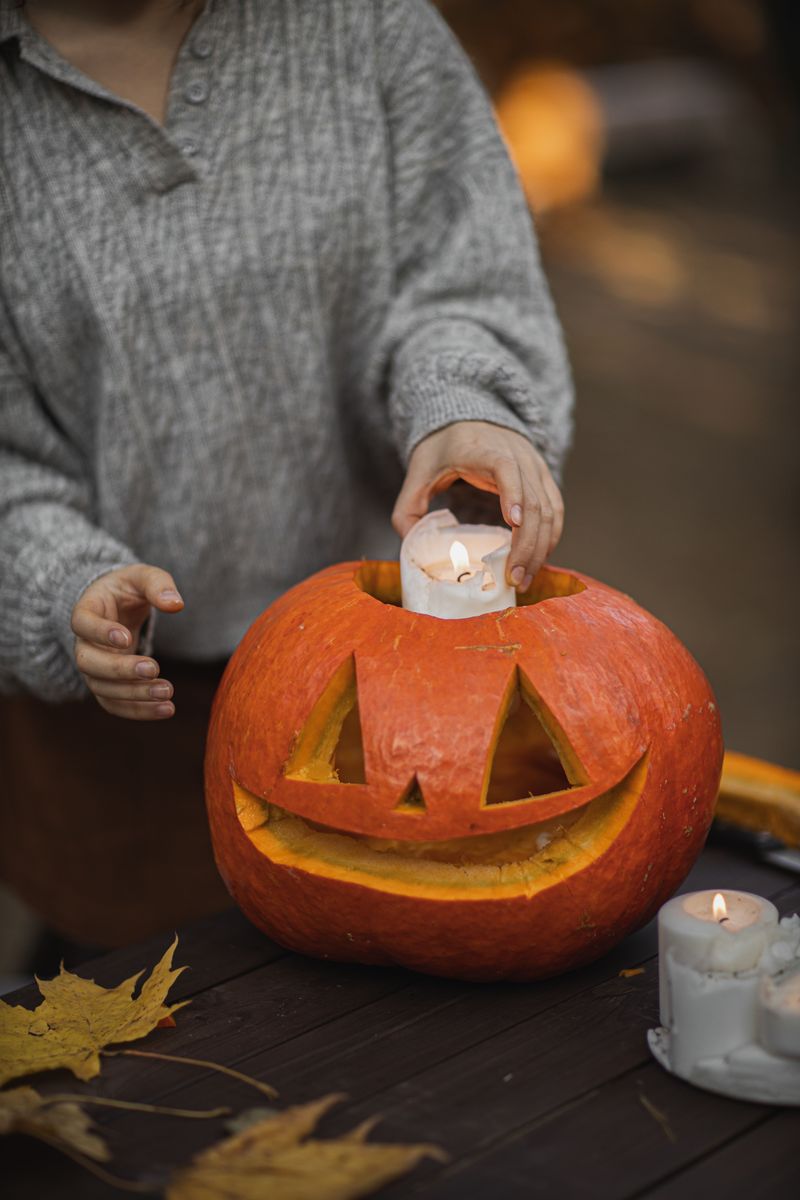
Old-fashioned candles have a cozy charm. That flickering glow is part of Halloween tradition. Sadly, those little flames work against you.
A candle heats the inside of a pumpkin, almost like a tiny oven. Over a few hours, the flesh starts to cook. Cooked pumpkin turns soft and breaks down quickly.
You might notice a dark, burnt spot on the lid or top. Some people even smell roasted pumpkin by the end of the night. Fun smell, but bad for your display.
Battery-powered LED lights solve the problem. They stay cool to the touch, so the pumpkin flesh stays firm. Many even flicker just like real flames.
LEDs also last much longer. A single set of batteries can glow for days. Some come with timers that switch on at dusk and off at bedtime automatically.
Safety is another big reason to switch. Kids in flowing costumes pass right by porch pumpkins. Dry leaves blow everywhere in fall. One tipped candle could start a fire.
Colored LEDs add extra fun too. Try purple, green, or red lights for a spooky twist. Strings of tiny fairy lights can make carved patterns sparkle.
Here is a quick history bit. Early jack-o-lanterns in Ireland were carved from turnips and lit with coals. Pumpkins became popular after immigrants arrived in America and found them easier to carve.
Grab a pack of LED tea lights before carving day. Your pumpkin stays fresher, and your porch stays safer.