How To Level A Bumpy Oregon Lawn Without Tearing The Whole Yard Apart
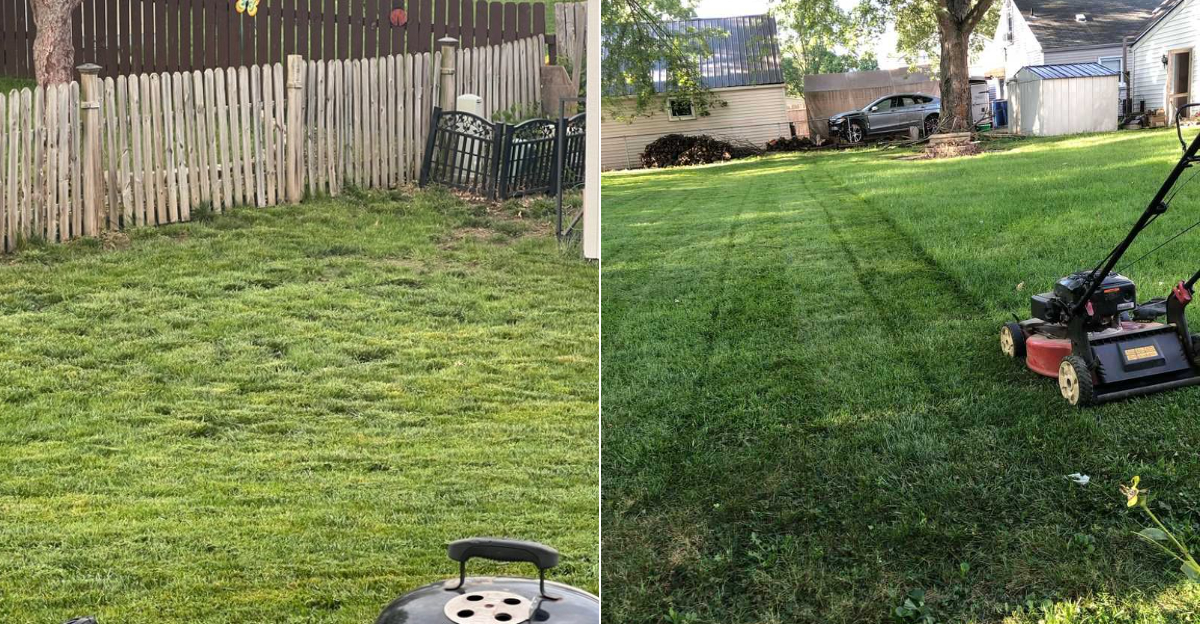
A bumpy lawn can make even a tidy Oregon yard feel a little chaotic. One step lands perfectly, the next finds a dip, and suddenly mowing feels less like yard work and more like driving over a miniature obstacle course.
Charming? Not exactly. The good news is that uneven grass does not automatically mean the entire lawn needs to be ripped up and started over.
That kind of project can sound expensive, exhausting, and wildly unnecessary when you are simply trying to smooth out a few troublesome areas. There has to be a less dramatic option.
Oregon lawns can develop uneven spots for all kinds of reasons as soil settles, weather shifts, and yards change over time.
Some bumps are subtle enough to ignore for years, while others seem determined to catch every mower wheel and unsuspecting ankle.
Before you start imagining sod removal, heavy equipment, and a backyard that looks like a construction site, take a closer look at what you are dealing with.
A more targeted approach may be enough to make the lawn feel smoother without turning the whole yard upside down.
1. Mow The Lawn Short Before You Begin
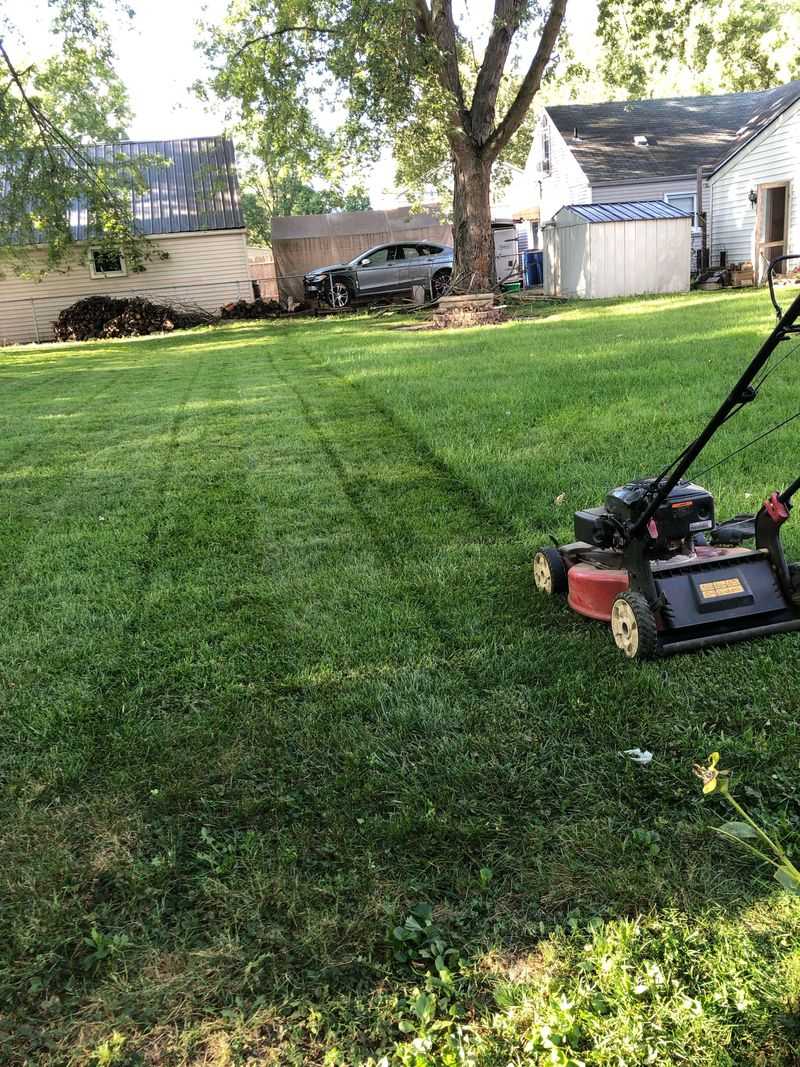
Before you touch a shovel or bag of soil, mow your lawn down to about one to one-and-a-half inches. Short grass makes it much easier to see where the bumps and low spots actually are.
When the grass is long, dips hide under the blades and you can miss problem areas entirely.
Mowing short also helps your topdressing material work its way down to the soil surface. If grass is tall, the sand or compost just sits on top of the blades and never reaches the ground where it needs to go.
Keeping the grass short gives you a clear view of the entire lawn surface. After mowing, walk the yard slowly and look for patterns. Some low spots are caused by foot traffic.
Others come from tree roots, underground decomposition, or burrowing animals. Knowing the cause helps you decide how deep or how many rounds of leveling you will need.
Mark the worst spots with small flags or stakes so you do not lose track of them. It sounds simple, but it saves a lot of time once you start spreading material.
Starting with a clean, short-cut lawn also means the grass recovers faster after the leveling process because the blades are not already stressed from being too tall when you begin working.
2. Use A Thin Layer Of Topdressing To Fill Small Dips
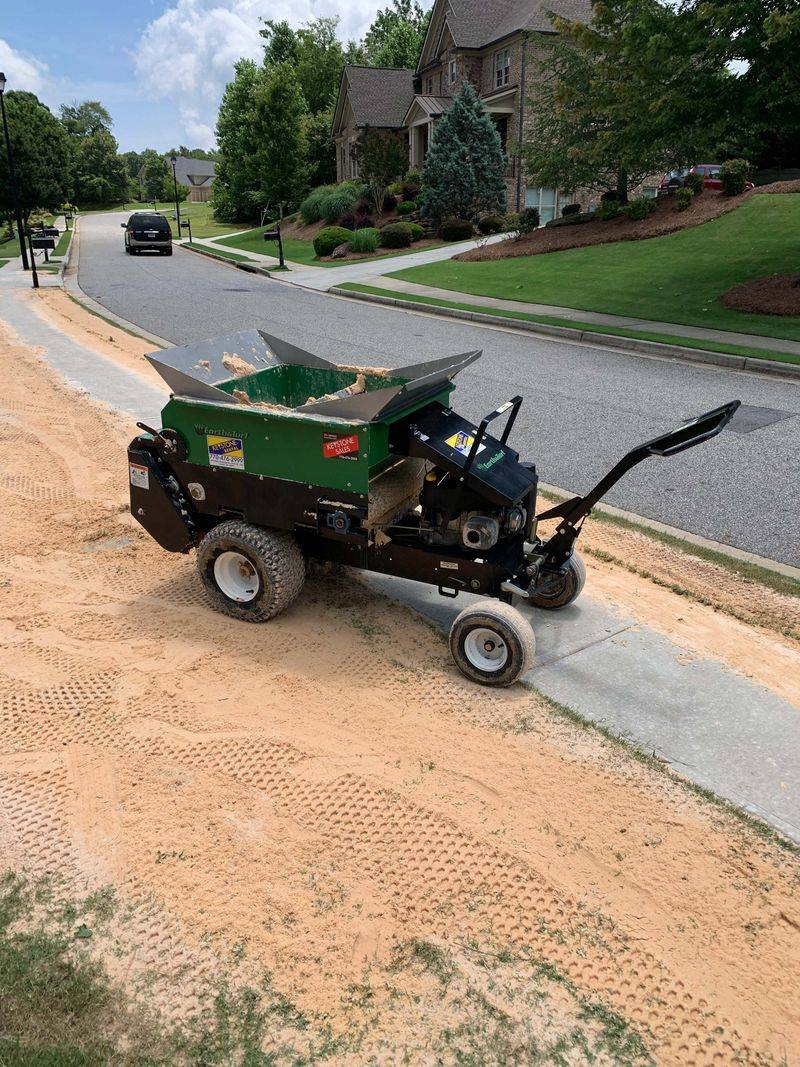
Topdressing is one of the most effective tools for fixing a slightly bumpy lawn. A good mix for most lawns is two parts sand, two parts topsoil, and one part compost.
This blend drains well, fills gaps, and still has enough nutrients to support healthy grass growth.
Spread the mix in a layer no thicker than half an inch at a time. Pouring on too much at once smothers the grass and slows recovery.
A half-inch layer is thin enough for the grass to grow through it within a couple of weeks, especially during the active growing season.
Your Oregon Garden Changes Every Week. Your Plan Should Too.
Gardening in Oregon changes quickly throughout the season. Every Friday you’ll receive a simple weekly plan showing exactly what to plant, prune, fertilize, harvest, and protect so you never miss the right timing.
Use a shovel to drop small piles across the low areas of your lawn. Then use a landscape rake or the back of a garden rake to pull the material evenly across the surface.
Work in slow, sweeping motions so the mix settles into the dips without building up in one spot.
For small shallow dips, one round of topdressing may be all you need. For slightly deeper spots, you may need to repeat the process after the grass grows through the first layer.
Patience is the secret here. Rushing by piling on too much material at once will set you back further than if you had just waited a few weeks between applications.
3. Work Soil Down Between The Grass Blades
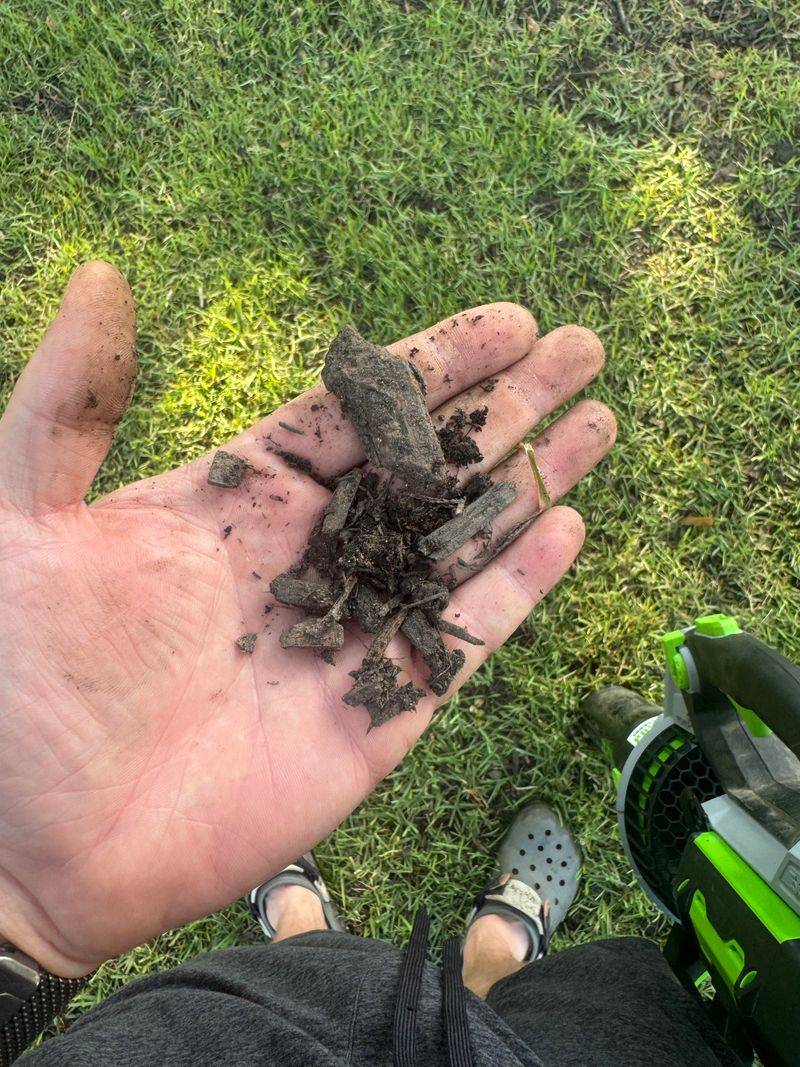
Spreading the topdressing mix is only half the job. Getting it down to the soil level is what actually levels the ground.
After raking, grab a stiff push broom and work the material back and forth across the treated area in different directions.
The sweeping motion pushes the sand and compost blend down between the grass blades so it makes contact with the bare soil underneath.
Without this step, the material just sits on the surface and washes away with the first rain. In a rainy state like Oregon, that can happen fast.
You can also use the back of a metal rake to press the mix downward with short tapping motions. Some people drag a piece of chain-link fence across the area for a similar effect.
The goal is to work the material into every little gap around the grass stems. Once you have worked the mix in, the tips of the grass blades should still be visible above the topdressing.
If the grass is completely buried, you have applied too much at once and need to rake some of it off.
Visible grass tips are a good sign that the layer is thin enough to let sunlight reach the blades and keep the lawn growing strong through the leveling process.
4. Level Deep Holes In More Than One Round
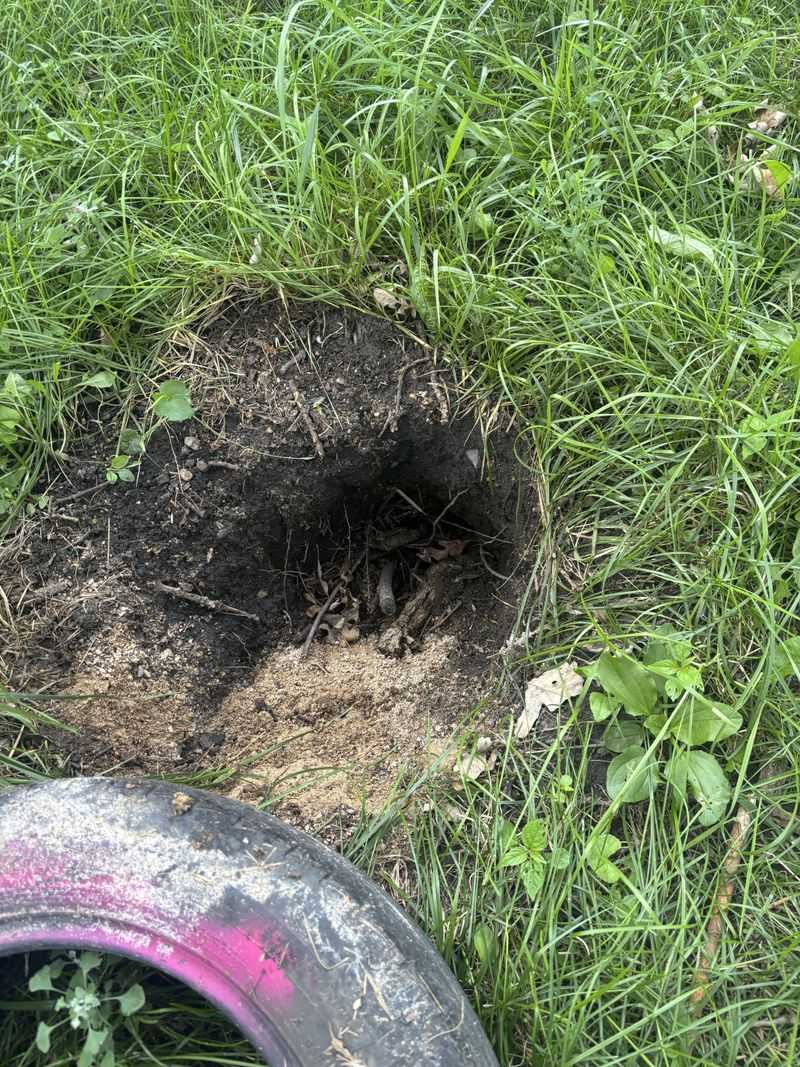
Some holes go deeper than a half inch. Maybe a tree root rotted underground, a mole dug an extensive tunnel, or years of heavy foot traffic compressed the soil unevenly.
Whatever the reason, deep holes need a different strategy than shallow dips. Never try to fill a deep hole all at once.
Filling it in one shot buries the grass completely, and the lawn in that spot will struggle or fail to recover.
Instead, fill the hole in layers, adding no more than half an inch of material at a time and waiting for the grass to grow back through before adding the next round.
For holes deeper than two inches, you may want to use a garden trowel to loosen the compacted soil at the bottom first.
Breaking up that hard base helps the new material settle in properly and gives grass roots a better chance to establish themselves as the hole fills up over time.
Plan for this process to take most of a growing season for really deep spots. That might feel slow, but it keeps the lawn intact and avoids bare patches that invite weeds to move in.
Mark each deep hole with a small flag so you can track progress and know exactly where to apply the next layer. Steady, repeated rounds will get you there without sacrificing the surrounding grass.
5. Lift The Sod When A Bump Is Too High
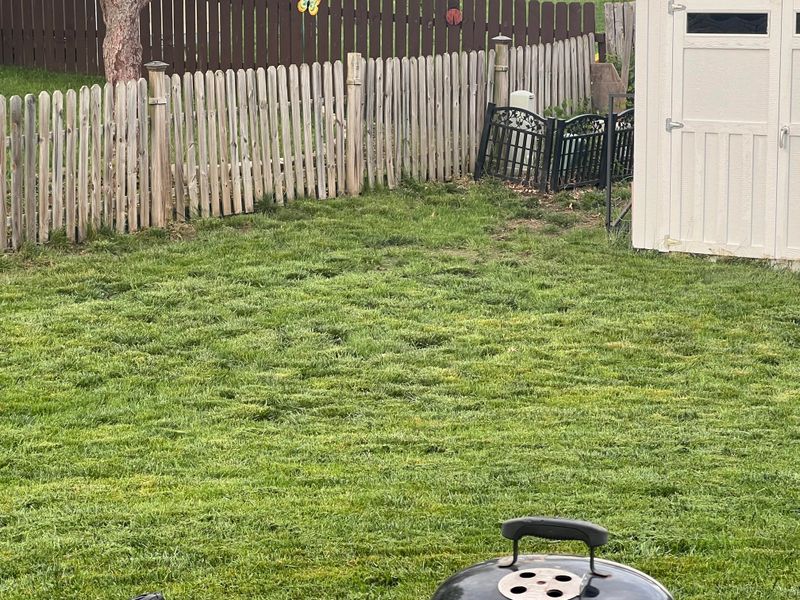
High spots are the opposite problem of low spots, but they can be just as frustrating. When a raised area is more than an inch above the surrounding lawn, topdressing will not help.
You need to go in from underneath to fix it properly. Use a flat spade to cut around the edges of the raised area.
Slice under the sod at a depth of about two to three inches, keeping as much of the root system intact as possible.
Roll the sod back carefully like you are peeling back a carpet. The goal is to expose the soil mound underneath without damaging the grass on top.
Once the sod is rolled back, use a garden trowel or your hands to remove the excess soil. Level the exposed ground with a rake, checking your progress by laying a long board or level across the area.
When the surface looks even with the surrounding lawn, roll the sod back into place and press it down firmly.
Water the repaired area right away and keep it moist for the next week or two. The sod roots need time to reconnect with the soil beneath.
Most of the time, a properly lifted and reset sod patch blends back into the lawn within a few weeks and you would never know it was ever uneven.
This method works especially well across the Pacific Northwest where sod stays moist and roots reattach quickly.
6. Avoid Burying The Grass Under Too Much Soil
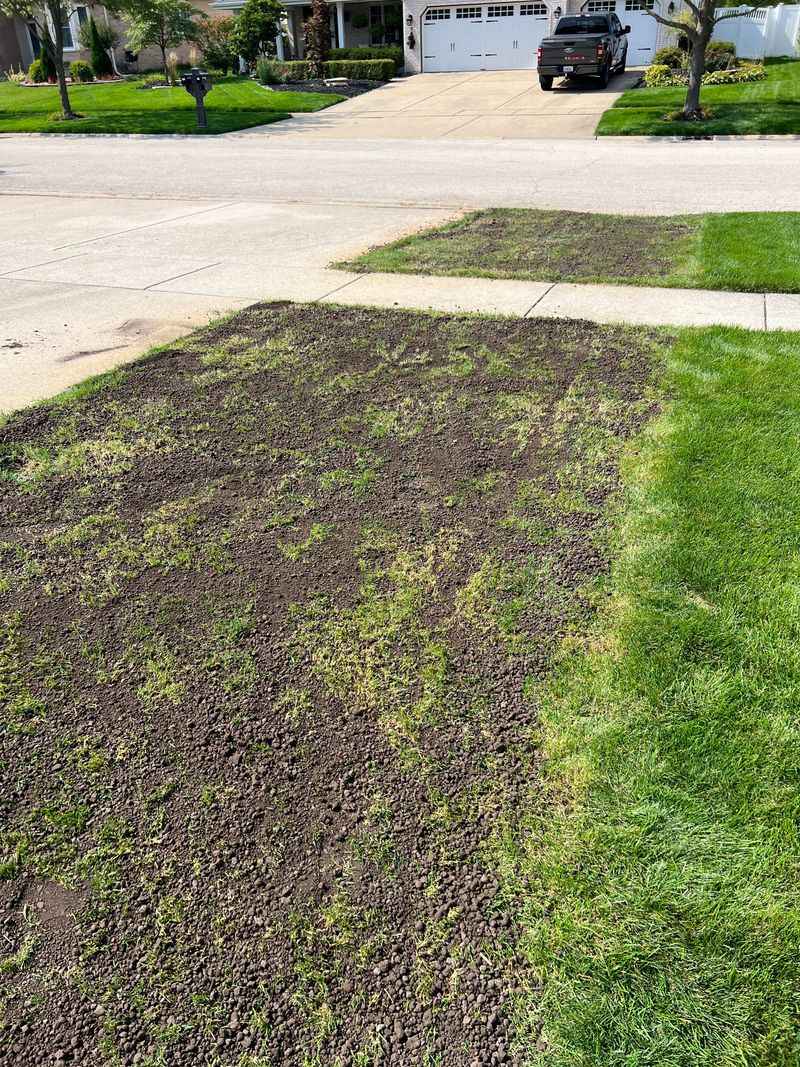
One of the most common mistakes people make when leveling a lawn is adding too much topdressing in a single pass.
It seems logical to dump in a lot of material to speed things up, but it almost always backfires. Grass needs sunlight to survive, and thick layers of soil block that light completely.
When grass is buried under more than an inch of material, it cannot photosynthesize. The blades under the soil start to weaken quickly without light and air.
Even grass that looks healthy before you cover it will struggle if it stays buried for more than a few days.
A good rule of thumb is to always be able to see the tops of the grass blades after applying topdressing. If you cannot see any green, you have gone too far.
Rake back some of the material until the tips are visible again. Half an inch is the safe maximum for a single application.
If you are dealing with a particularly deep area, resist the urge to fill it fast. Space your applications two to three weeks apart to give the grass time to grow through each layer before adding the next one.
Rushing this step is the number one reason lawn leveling projects fail. Slow and steady applications keep the grass alive, the roots active, and the lawn looking green throughout the entire correction process.
7. Water Lightly After Each Leveling Pass
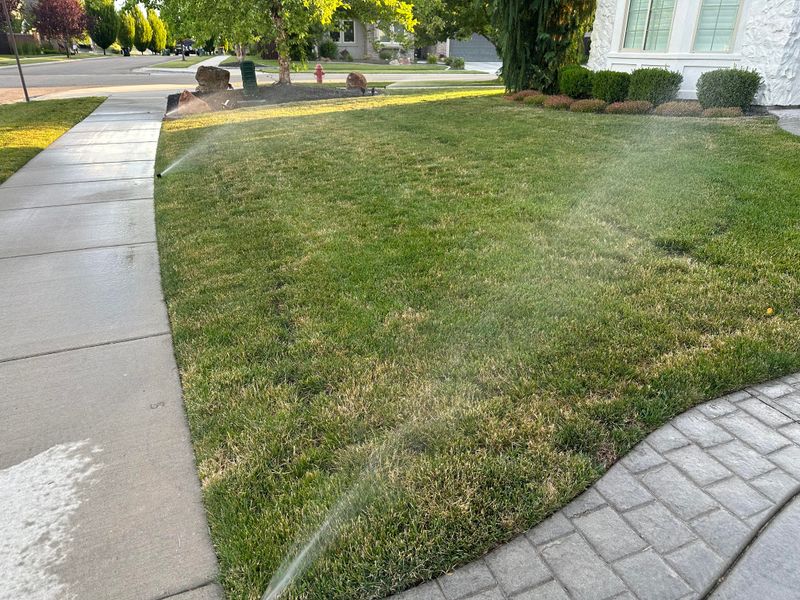
Watering after each round of topdressing is a step that many people skip, but it makes a real difference in how well the leveling works.
A light watering helps the sand and compost mix settle down into the soil and close any air pockets that formed during application.
Use a gentle spray setting on your hose or a sprinkler with low pressure. The goal is to moisten the topdressing without washing it away or creating puddles.
Heavy water pressure can move the mix out of the dips you just filled and undo all your hard work in minutes.
Water for just five to ten minutes per treated section. The topdressing should look damp and slightly darker in color when you are done.
You are not trying to soak the ground, just settle the material and give the grass roots a little moisture to help them push through the new layer.
In Oregon, spring and fall are the best times to do lawn leveling because the natural rainfall helps with moisture between your sessions.
During drier summer stretches, you will need to water more consistently to keep the grass growing through each layer of topdressing.
Check the treated areas every couple of days and water lightly if the surface feels dry to the touch.
Consistent moisture is what helps the grass recover quickly and keeps your leveling results looking great long-term.