How To Make Your North Carolina Fall Harvest Last With Canning, Freezing, And Pickling
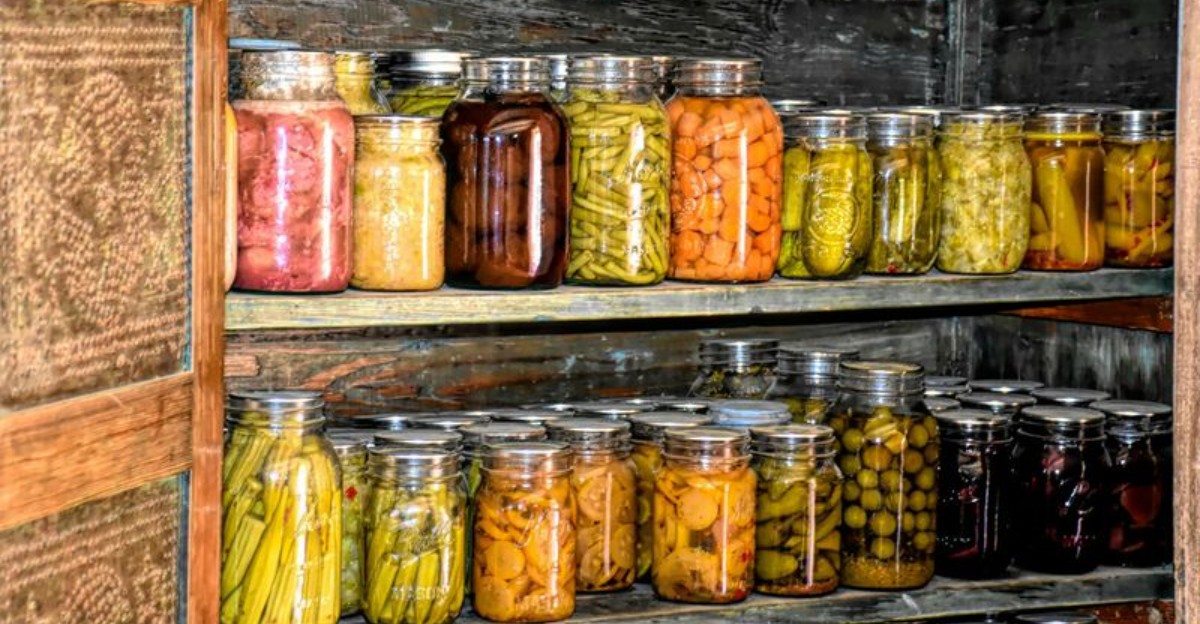
Your garden gave you more tomatoes, peppers, and beans than you could ever eat. Now comes the best part: saving that flavor for winter. Each method has its own strengths.
Freezing is fastest and keeps color and texture well. Canning stores food on the shelf without electricity, but it demands careful steps. Pickling adds tang and works beautifully with cucumbers, beets, and okra.
The most important rule is safety. High-acid foods and low-acid foods need different canning methods, and guessing can be dangerous. Tested recipes from trusted sources remove the risk.
North Carolina gardeners often have a long fall harvest, so planning ahead helps. Choose the right method for each crop, and your pantry will taste like summer in January.
1. Always Start With A Tested Recipe
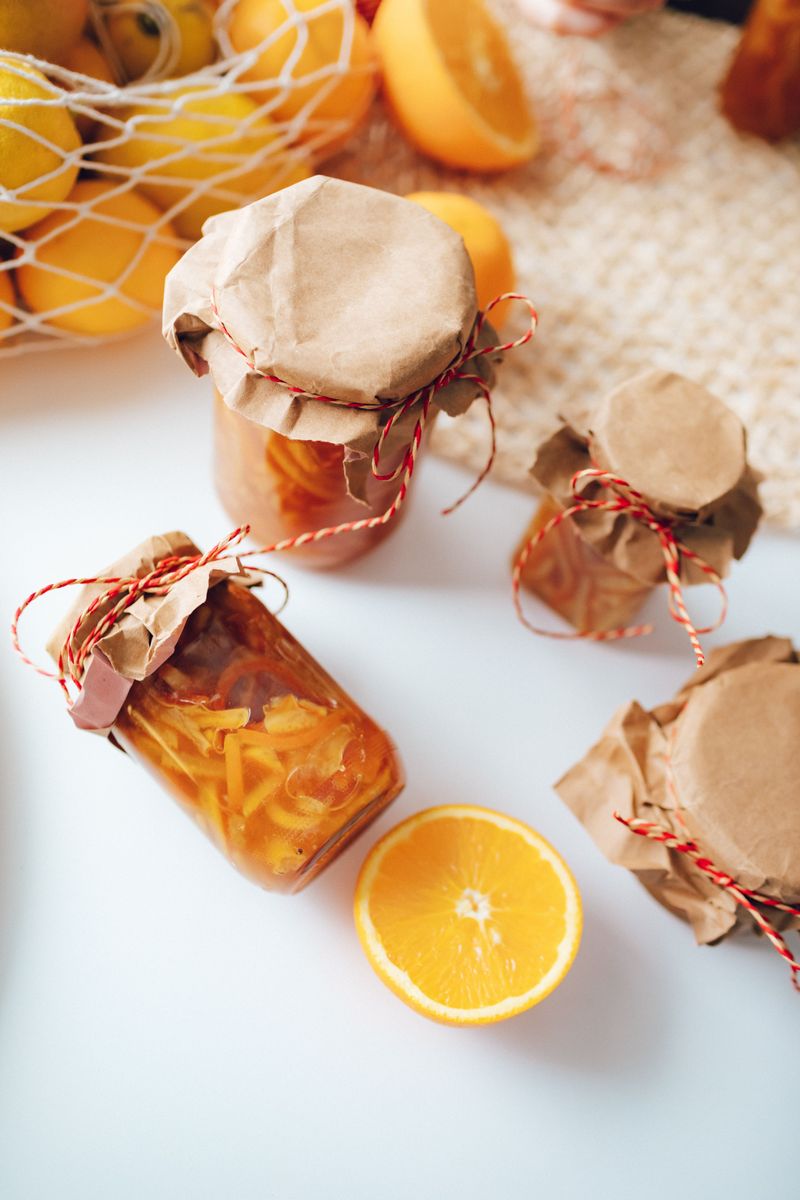
Grandma’s handwritten recipe card might hold sweet memories, but it may not hold safe canning instructions. Many older recipes were created before scientists fully tested how heat moves through a jar.
That gap matters more than most people realize. Tested recipes have been checked in labs for processing times, acid levels, and methods.
Experts run these tests to make sure harmful bacteria cannot survive, including the bacteria that cause botulism. You cannot see, smell, or taste botulism toxin, so guessing is never a good plan.
Good sources are easy to find and free to use. The USDA Complete Guide to Home Canning, the National Center for Home Food Preservation, and NC State Extension all share current, reliable recipes online.
Bookmark them, print your favorites, and keep them close to your canning supplies. Once you pick a recipe, follow it exactly.
Use the same ingredient amounts, the same jar sizes, and the same processing times. Swapping a pint jar for a quart jar, adding extra onions, or thickening a sauce with flour can change how heat reaches the center of the jar.
Want to add your own twist? Save the creative cooking for after you open the jar. You can always stir in fresh herbs, spices, or cream when you heat up a canned soup for dinner.
North Carolina home canners have a special advantage here. Cooperative Extension offices in counties across the state offer food preservation classes, hands-on workshops, and friendly advice from trained agents.
A quick phone call to your local office can answer questions and give you the confidence to fill your shelves with jars you trust completely.
2. Use A Pressure Canner For Low-Acid Vegetables
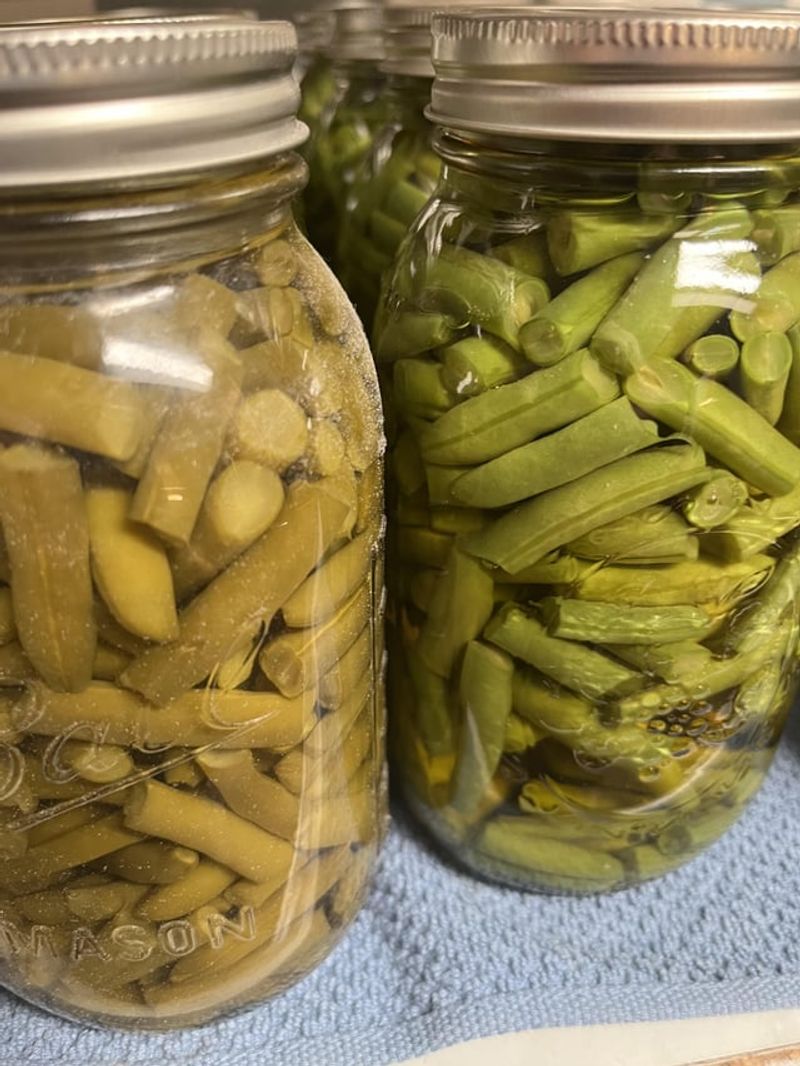
Boiling water feels powerful, yet it tops out at 212 degrees Fahrenheit at sea level. For some foods, that simply is not hot enough. Green beans, sweet potatoes, carrots, and cubes of winter squash fall into a group called low-acid foods.
Low-acid foods give botulism-causing bacteria the perfect place to hide. The spores of these bacteria can survive a boiling water bath, even a long one.
Only a pressure canner traps enough steam to push the temperature up to about 240 degrees, which makes these vegetables safe for the pantry.
Your equipment needs to work correctly every single time. Pressure canners come with either a dial gauge or a weighted regulator. Dial gauges can drift out of accuracy over time, so have them tested once a year.
Your North Carolina Garden Changes Every Week. Your Plan Should Too.
Gardening in North Carolina changes quickly throughout the season. Every Friday you’ll receive a simple weekly plan showing exactly what to plant, prune, fertilize, harvest, and protect so you never miss the right timing.
Some Cooperative Extension offices in North Carolina can test them for you, so call ahead and ask.
Check the rubber gasket and vent pipe before each canning season, too. A cracked gasket or clogged vent can cause pressure problems. Replacement parts are usually cheap and easy to order.
One rule surprises many people. Never can mashed or pureed pumpkin or winter squash at home, because no safe tested method exists. The thick texture blocks heat from reaching the center.
Can the squash in cubes instead, then mash it later when you cook. Sweet potatoes are a big deal in North Carolina, which grows more of them than any other state.
Many families also harvest fall snap beans from backyard gardens. A reliable pressure canner turns those piles of produce into safe, shelf-stable jars ready for holiday casseroles and weeknight sides.
3. Adjust For Altitude In The Mountains
Up in Boone, a pot of water starts bubbling sooner than it does in Wilmington. That sounds handy, but there is a catch. At higher elevations, water boils at a lower temperature because there is less air pressure pushing down on it.
Lower boiling temperatures mean less heat reaches your food. For water bath canning, that means you need longer processing times.
For pressure canning, you need to raise the pressure setting so the canner still gets hot enough to make low-acid foods safe.
Finding your elevation is the first step, and it only takes a minute. You can search your town online, check a map app, or ask your local Extension office. Write the number down and tape it inside a kitchen cabinet so you never have to look it up twice.
Next, look at the altitude adjustment chart that comes with your tested recipe. Most USDA and NC State Extension recipes include one right below the main instructions. Find the row that matches your elevation and follow it exactly.
Changes are often small but important. A water bath recipe might need five or ten extra minutes. A pressure canner with a weighted gauge may need to jump from 10 pounds to 15 pounds of pressure, while dial gauges move up in smaller steps.
North Carolina has some of the highest peaks in the eastern United States. Mount Mitchell rises over 6,600 feet, and towns like Boone, Banner Elk, Highlands, and Blowing Rock sit well above 1,000 feet.
If you can apples, beans, or tomatoes in the High Country, these adjustments are a must for every batch.
4. Add Acid When Canning Tomatoes
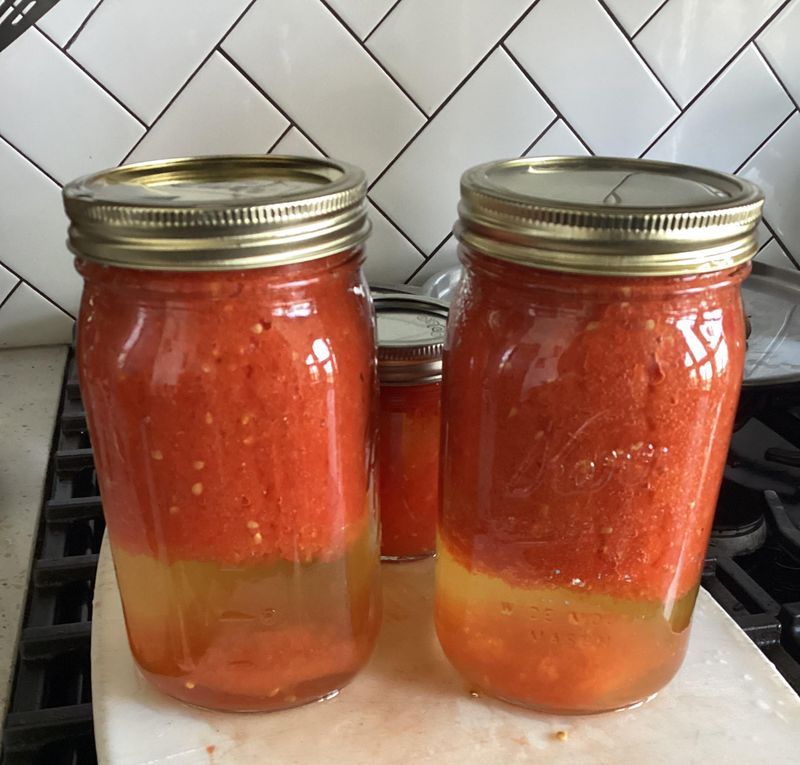
Tomatoes are a bit of a puzzle. Many people think of them as acidic, and they are, but only barely. They sit right near the line between high-acid and low-acid foods.
Some varieties are even less acidic than others, and you cannot tell by taste alone. Sweet-tasting tomatoes are not always the low-acid ones, since sugar can hide sourness.
Adding lemon juice or citric acid makes sure every jar is acidic enough for safe water bath canning.
Here is how to do it right. Add bottled lemon juice or citric acid directly to each jar before filling it, using the exact amount your tested recipe lists. For example, USDA guidelines call for 2 tablespoons of bottled lemon juice or 1/2 teaspoon of citric acid per quart.
Bottled lemon juice is the better choice over fresh lemons. Fresh lemons can vary a lot in acidity from fruit to fruit. Bottled juice stays consistent, so you know exactly how much acid you are adding.
Worried about a sour taste? A pinch of sugar can balance the flavor without affecting safety.
Choosing good tomatoes matters too. Pick firm, ripe tomatoes with no soft spots, mold, or decay. Tomatoes from frost-damaged vines can be lower in acid, so many guides suggest skipping vines that have frozen.
In North Carolina, tomato season often stretches from late summer into early fall. Plenty of home cooks can those final harvests for winter chili, vegetable soup, and spaghetti sauce. A small splash of lemon juice keeps that summer flavor safe on your pantry shelf.
5. Blanch Most Vegetables Before Freezing
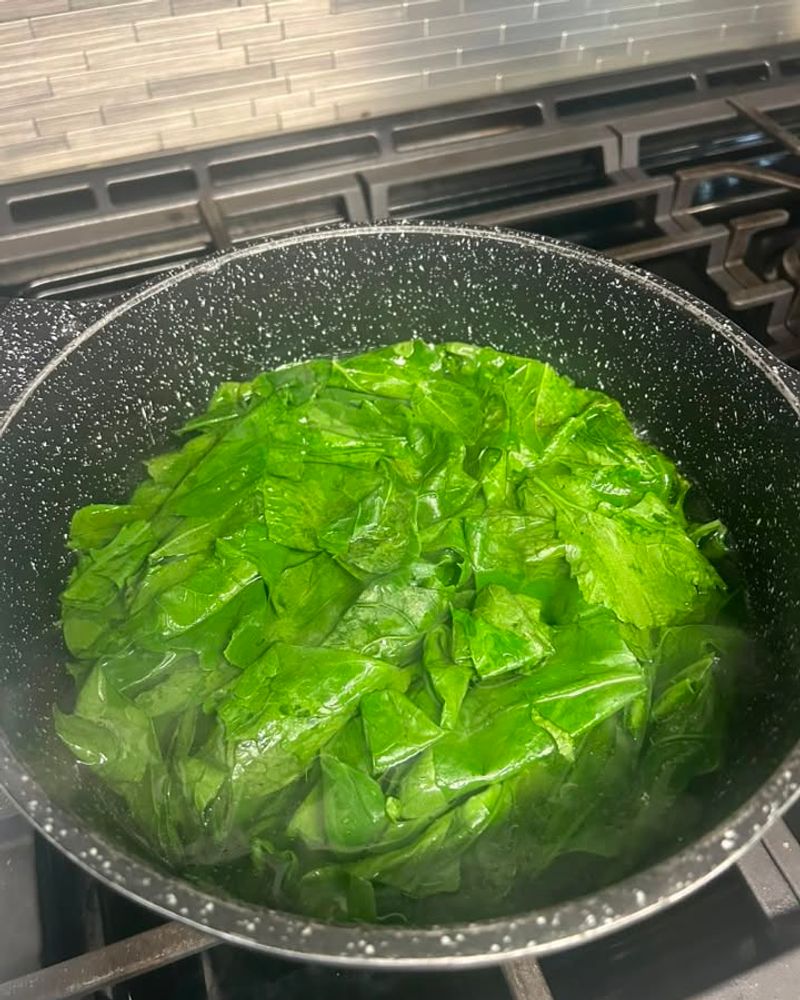
Ever pulled a bag of frozen beans from the freezer only to find them dull, tough, and tasteless? The likely problem was skipping one quick step. Blanching can make all the difference.
Vegetables contain natural enzymes that keep working even in the cold. Over time, these enzymes cause produce to lose color, flavor, texture, and nutrients. Blanching, a short dip in boiling water followed by fast cooling, stops those enzymes in their tracks.
Timing is the key to success. Each vegetable has its own recommended blanching time in tested guides from the National Center for Home Food Preservation.
Collards usually need about 3 minutes, kale and most greens about 2 minutes, green beans about 3 minutes, and broccoli florets about 3 minutes.
As soon as the timer goes off, move the vegetables into a big bowl of ice water. Cool them for about the same time you boiled them. Then drain them well, since extra water turns into ice crystals that hurt texture.
Pack the cooled vegetables into freezer bags or containers, leaving a little space at the top. Seal them tight and get them into the freezer quickly.
Good news for busy cooks: not everything needs this step. Peppers and onions can be chopped and frozen raw, which makes them perfect for tossing straight into soups and stir-fries.
Collards are practically a Southern treasure, and North Carolina gardeners grow plenty of them in the cool fall months.
Frost even makes them sweeter. Blanching and freezing a big batch means you can serve a pot of tender greens on New Year’s Day or any chilly winter evening.
6. Freeze Smart To Save Space And Quality
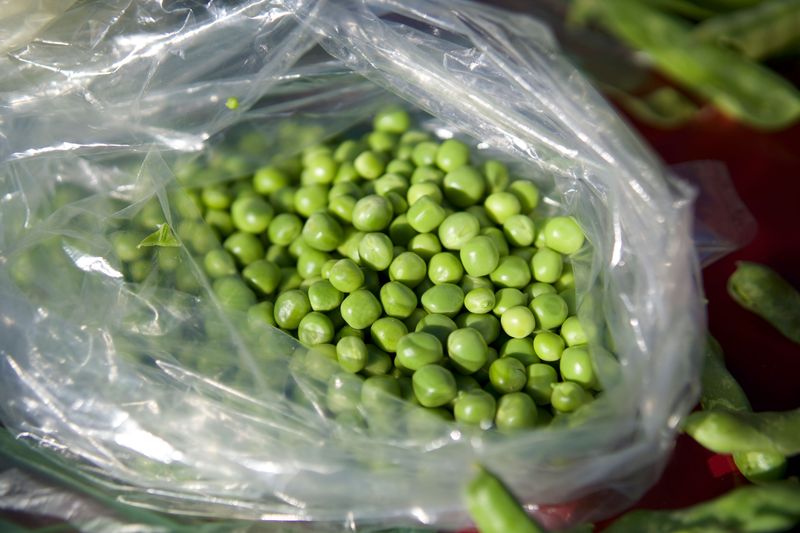
A packed freezer can feel like a game of Tetris. Bags slide off shelves, containers hide in the back, and that bag of okra from last October disappears completely. A few smart habits can fix all of that.
Air is the biggest enemy of frozen food. When air touches food, it dries out the surface and causes freezer burn, those grayish, leathery patches that taste like cardboard.
Removing air, labeling bags, and keeping your freezer at 0 degrees Fahrenheit or below all help keep food at its best for months.
Start by laying produce flat in freezer bags in a single, thin layer. Flat bags freeze faster, which means smaller ice crystals and better texture. Once frozen solid, they stack neatly like books, saving a surprising amount of room.
Squeeze out as much air as you can before sealing. Some people use a straw to suck out the last bit, while others use a vacuum sealer. Either method works well.
Grab a permanent marker and label every bag with what is inside and the date. It might feel like extra work, but frozen green beans and frozen peas can look alike. Use frozen produce within about 8 to 12 months for the best quality.
A simple freezer thermometer, often just a few dollars, helps you check that temperature stays steady.
North Carolina fall gardens can be generous, producing heaps of greens, peppers, and squash all at once. Most families do not have endless freezer space. Freezing flat and staying organized lets you fit more harvest into the space you already have.
7. Make Pickles With The Right Ingredients
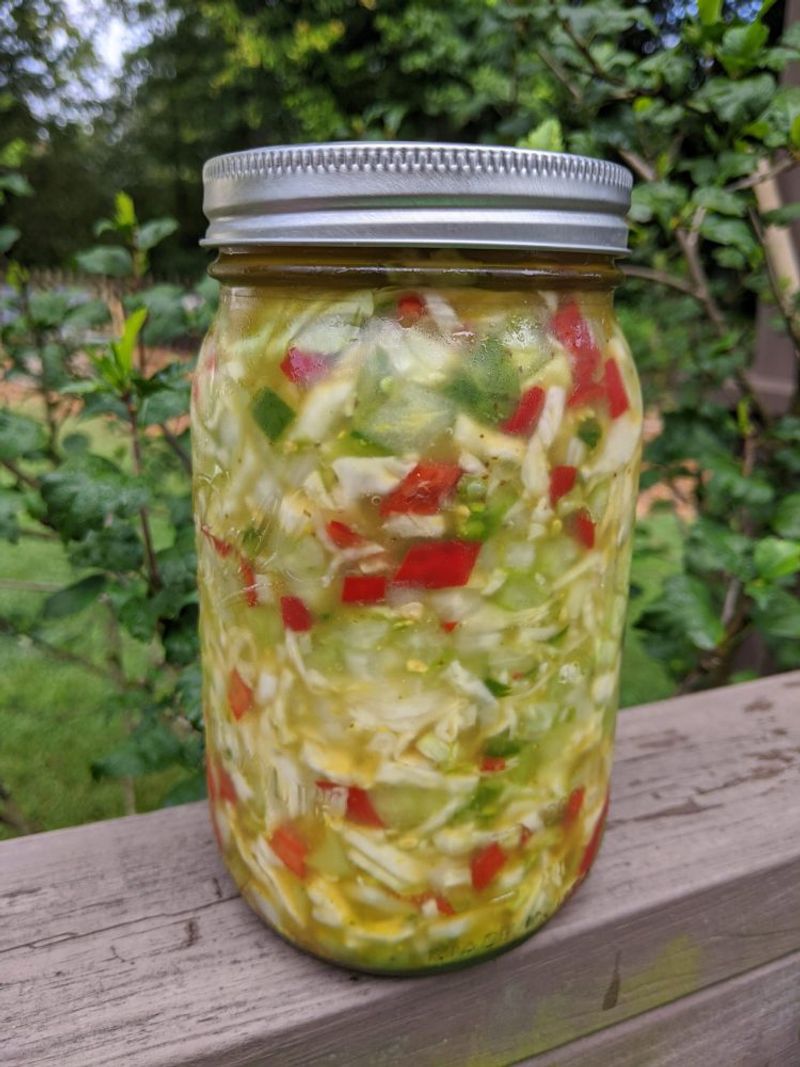
A great pickle has a satisfying snap, a clear brine, and a tangy bite. Getting there is less about luck and more about what you put in the jar. Every ingredient plays a role.
Vinegar does the heavy lifting for safety. Its acid keeps harmful bacteria from growing. Meanwhile, the right salt and fresh produce keep pickles crisp and pretty instead of soft and murky.
Always check the label for vinegar with 5 percent acidity. Most white and apple cider vinegars at the grocery store meet this standard, but some specialty or homemade vinegars do not.
Never add more water than your recipe allows, because diluting vinegar lowers the acid and can make pickles unsafe.
Salt matters more than you might think. Use canning or pickling salt, which is pure and fine. Table salt often contains anti-caking agents that turn brine cloudy, and iodized salt can darken vegetables.
Freshness is your best friend for crunch. Choose firm vegetables picked within a day or two, if possible. Soft or wrinkled produce will only get softer in the jar.
Cucumber lovers should remember one easy trick. Trim about 1/16 of an inch off the blossom end of each cucumber. That end holds an enzyme that can make pickles mushy. Pickling runs deep in North Carolina kitchens.
Spicy pickled okra, tangy peppers, dilly green beans, and sweet-sour chow-chow made from end-of-season cabbage and green tomatoes have graced Southern tables for generations. With the right ingredients, your jars can carry on that tasty tradition proudly.
8. Try Refrigerator Pickles For Small Batches
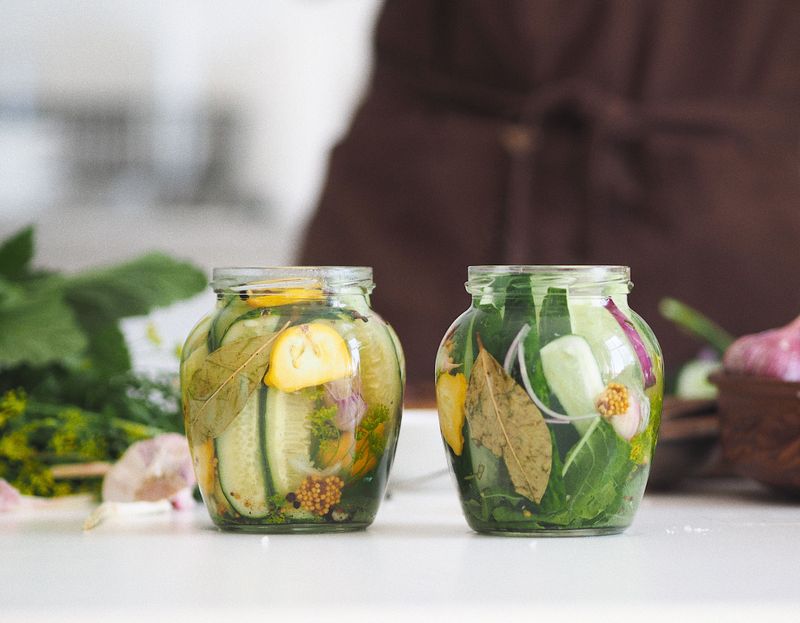
Three cucumbers, a handful of peppers, two carrots, and one lonely green tomato. Sound familiar? That end-of-season mix is exactly what refrigerator pickles were made for.
Refrigerator pickles skip the whole canning process. No water bath, no pressure canner, and no long afternoon over a steaming stove. You just make a brine, pour it over vegetables, and let the fridge do the rest.
There is a trade-off, of course. These pickles must stay in the refrigerator at all times, and they will not last as long as properly canned pickles. Think of them as a quick treat rather than a pantry staple.
Getting started is simple. Wash and slice your vegetables, then pack them into clean glass jars. Cucumbers, sweet or hot peppers, carrot sticks, and green tomato wedges all work beautifully, alone or mixed together for a colorful jar.
Next, heat a vinegar brine from a tested recipe and pour it over the vegetables. Let the jars cool on the counter, then cover them and slide them into the fridge. Most taste best after a day or two of soaking up the flavor.
Keep an eye on the clock, too. Use your pickles within the time the recipe recommends, which is often several weeks to a few months. A sticky note with the date on the lid helps.
North Carolina gardeners often wrap up fall with little bits of many crops rather than one big harvest.
Refrigerator pickles turn those leftovers into crunchy snacks, sandwich toppings, and bright sides in just minutes, so nothing from your hard work goes to waste.