How to Overwinter Tender Salvias in North Carolina So You Don’t Have to Start Over Each Spring
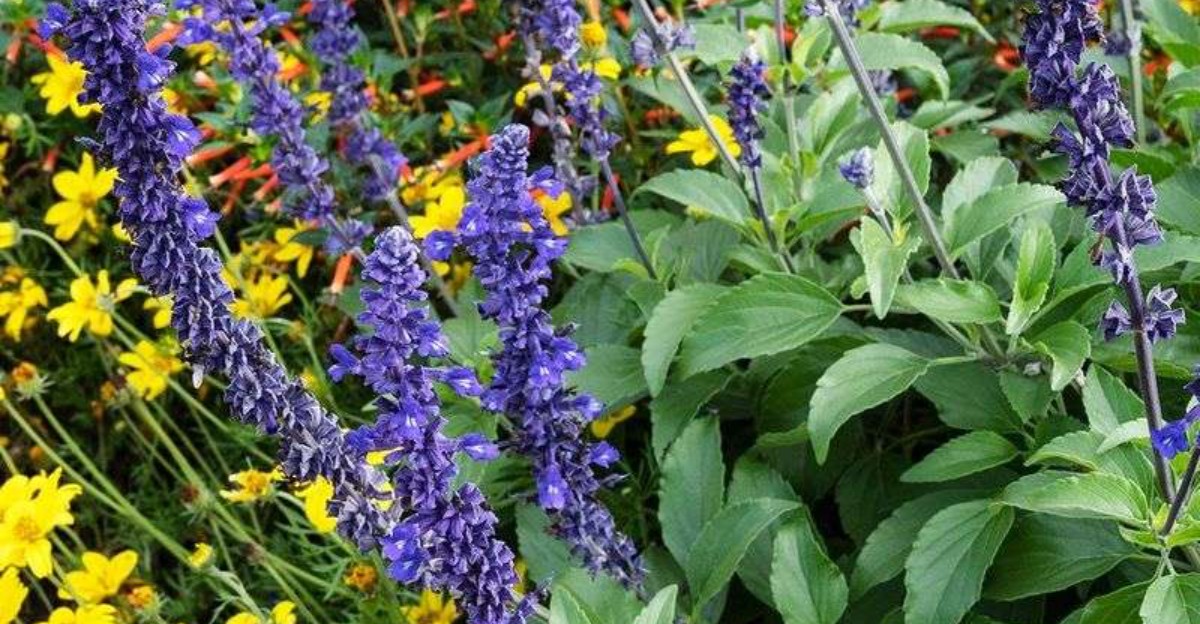
Some of the flashiest flowers in your summer border are actually woody shrubs in disguise. Back in Mexico and South America, many of them grow for years and get taller than a grown adult.
Most of us treat them like one-season wonders. We enjoy the hummingbirds, watch the first hard frost turn the leaves to mush, and then buy new plants in April. I used to do the same thing, and my wallet still remembers it.
Here in North Carolina, the line between losing a plant and keeping it is thinner than you might expect. A garage, a pile of shredded leaves, or a few stem snips in September can change the whole story.
I mean, I love the idea of a plant coming back bigger every year. Why, then, do some of these beauties bounce back in Raleigh but vanish in Boone? The answer starts right under your feet.
1. Your Salvia Plant Tag and Zip Code Hold the First Clue
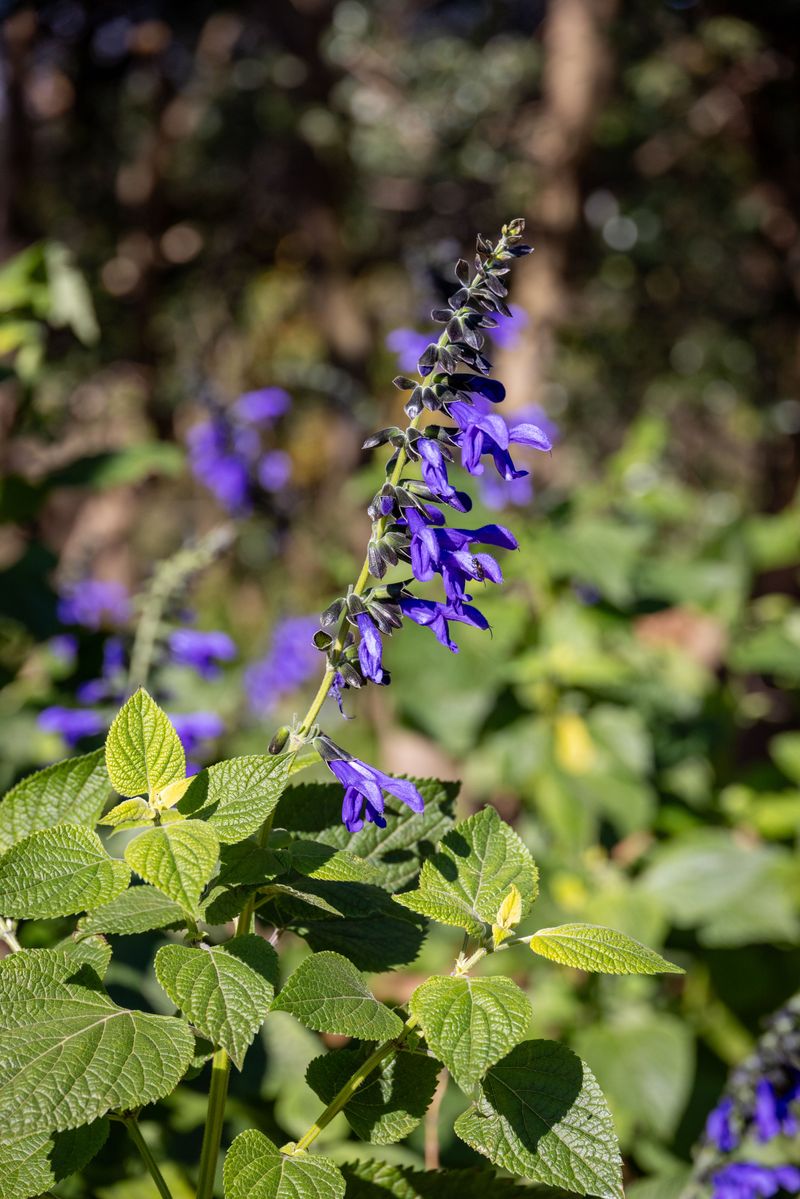
Here’s a surprise that trips up plenty of gardeners. The same salvia can be a tender annual in one yard and a reliable perennial two hours down the road.
North Carolina stretches from USDA zone 6a in the high mountains to zone 8b and even 9a pockets along the coast, based on the latest USDA map. Most of the Piedmont sits in zone 7b or 8a. That spread means your location shapes your whole plan.
Some popular salvias are fairly tough here. Anise sage like Black and Blue, Mexican bush sage, and autumn sage often return in the Piedmont and coastal plain with some help.
Truly tender types, like many pineapple sages, Amistad in colder spots, and scarlet sage, usually need protection or a trip indoors.
Start by checking the plant tag or looking up the variety name. Then match that hardiness rating to your zone using the USDA online map or your county Cooperative Extension office.
If the plant is rated one zone warmer than yours, mulch and a sheltered spot may be enough. If it is two or more zones off, plan on digging, potting, or taking cuttings. That one quick check saves you guesswork all fall.
2. Potted Salvias Love a Cool Garage Over Winter
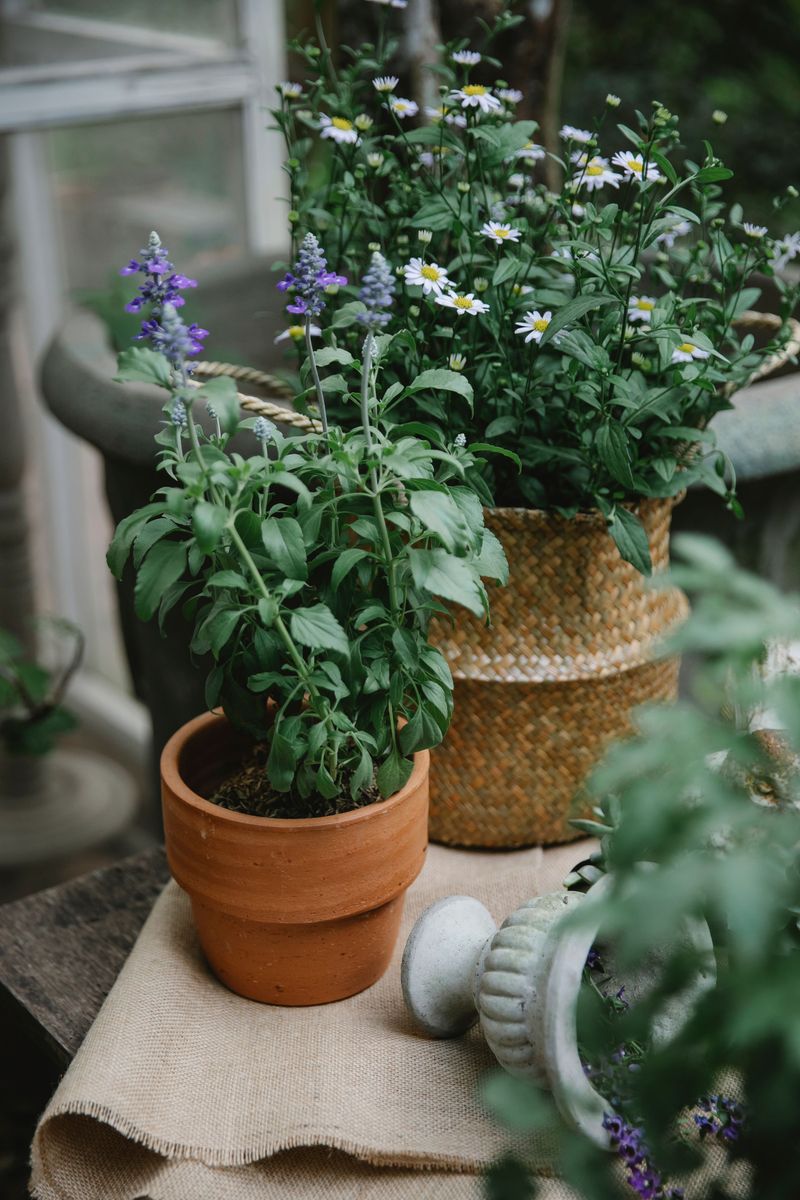
My garage is not pretty, but my salvias think it is a spa. A cool, bright, unheated space is one of the easiest ways to carry tender plants through winter.
Aim for a spot that stays roughly between 35 and 50 degrees Fahrenheit. Garages, enclosed porches, sheds with windows, and cool basements near a light source all work well.
At these temperatures, the plants slow down and rest instead of trying to grow. Move potted salvias in before the first hard freeze.
Across much of the Piedmont, that often happens in early to mid November, though mountain gardeners usually see it in October. Check your local forecast and act when lows drop into the upper 20s.
Before bringing them in, inspect leaves and stems for aphids, whiteflies, and spider mites. A strong spray of water or insecticidal soap helps send hitchhikers packing.
Your North Carolina Garden Changes Every Week. Your Plan Should Too.
Gardening in North Carolina changes quickly throughout the season. Every Friday you’ll receive a simple weekly plan showing exactly what to plant, prune, fertilize, harvest, and protect so you never miss the right timing.
Plants dug from the garden can go into pots with fresh, well-draining potting mix. Pick a container just large enough for the root ball. A bright window spot can even keep some varieties lightly green, while darker spaces push them into a deeper rest.
3. A Thick Mulch Blanket Protects In-Ground Salvia Crowns
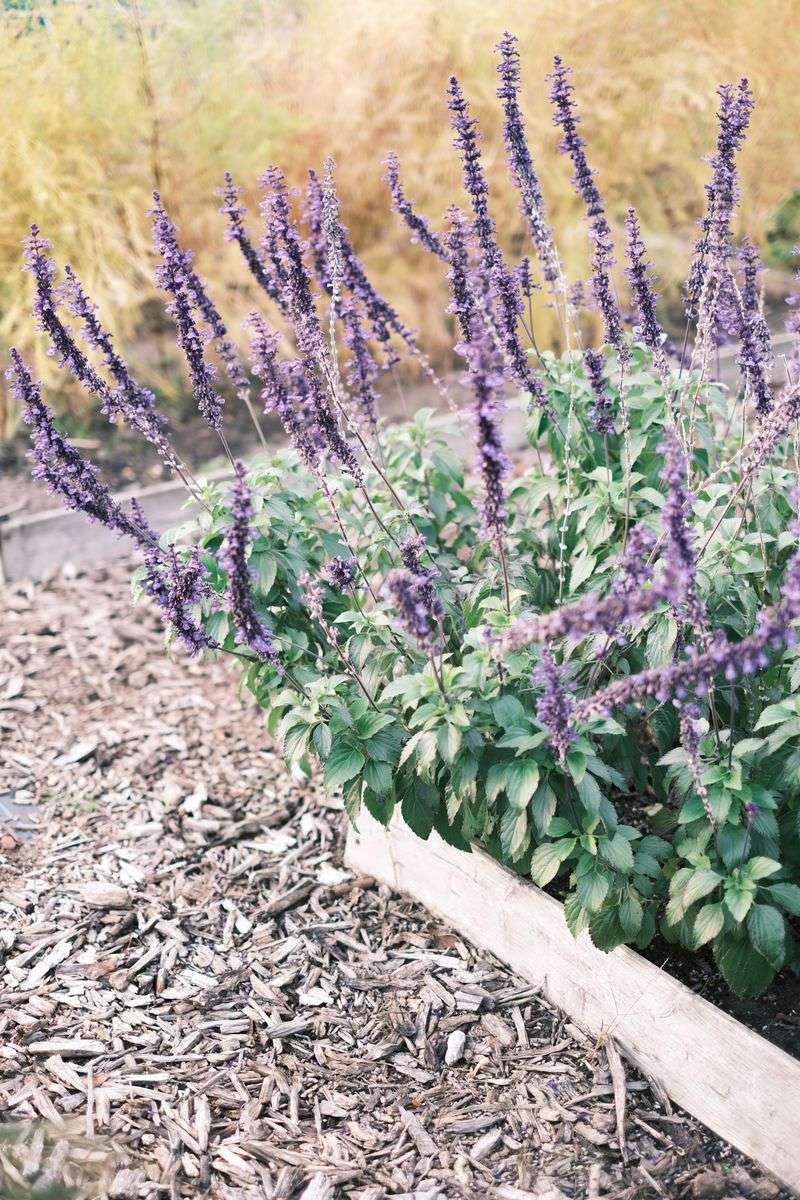
Fallen leaves are free, and your borderline salvias adore them. A fluffy layer over the crown can buy you an extra bit of cold tolerance.
After the first light frost, spread about 3 to 6 inches of shredded leaves, pine straw, or straw around the base of each plant. Pine straw is easy to find across the state and stays airy.
Avoid packing mulch tight against stems, since trapped moisture can cause rot. Mulch keeps soil temperatures steadier.
That matters in places like Charlotte and Greensboro, where winter often swings from frosty mornings to mild afternoons. Those swings can push shallow roots upward, a problem called frost heaving.
Many gardeners leave the old stems standing until spring. The hollow stems may help shelter the crown, and they mark where the plant sits so you do not accidentally dig into it.
Location helps too. A bed against a south-facing brick wall or near your foundation often runs a few degrees warmer than an open lawn. If you are planting new borderline salvias next year, tuck them into one of those cozy spots from the start.
4. Soggy Clay Soil Is a Bigger Salvia Threat Than Cold
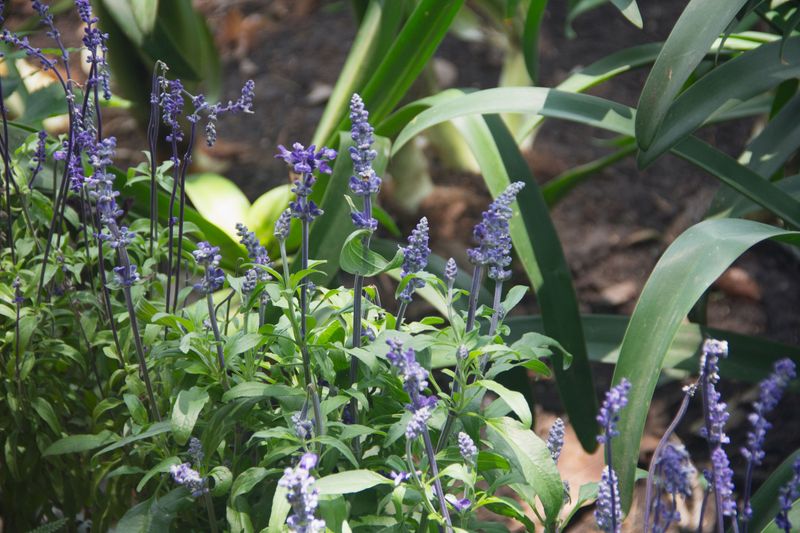
Ask experienced salvia growers what really takes out their plants, and many will point at wet feet. Cold, waterlogged roots often struggle far more than dry roots in the same temperature.
Much of central North Carolina has heavy red clay. It holds water for days after a winter rain, and salvia roots sitting in that cold slop can rot. The plant may look fine in December and then fail to wake up in April.
For future plantings, choose slopes, raised beds, or mounded soil. Mixing in compost or fine pine bark across a wide area can improve drainage over time. Skip adding sand alone to clay, since it can make the soil denser.
Shut off irrigation zones that reach your salvia beds in late fall. Winter rain is usually plenty. Downspouts dumping water near your plants deserve a quick redirect too.
Coastal gardeners with sandy soil have a different situation. Drainage is usually great there, so winter rot is less common.
Still, low spots that flood after storms can cause the same trouble. Keep your favorite plants on higher ground whenever you can.
5. Clipping Salvia Stems Back Makes Winter Storage Easier
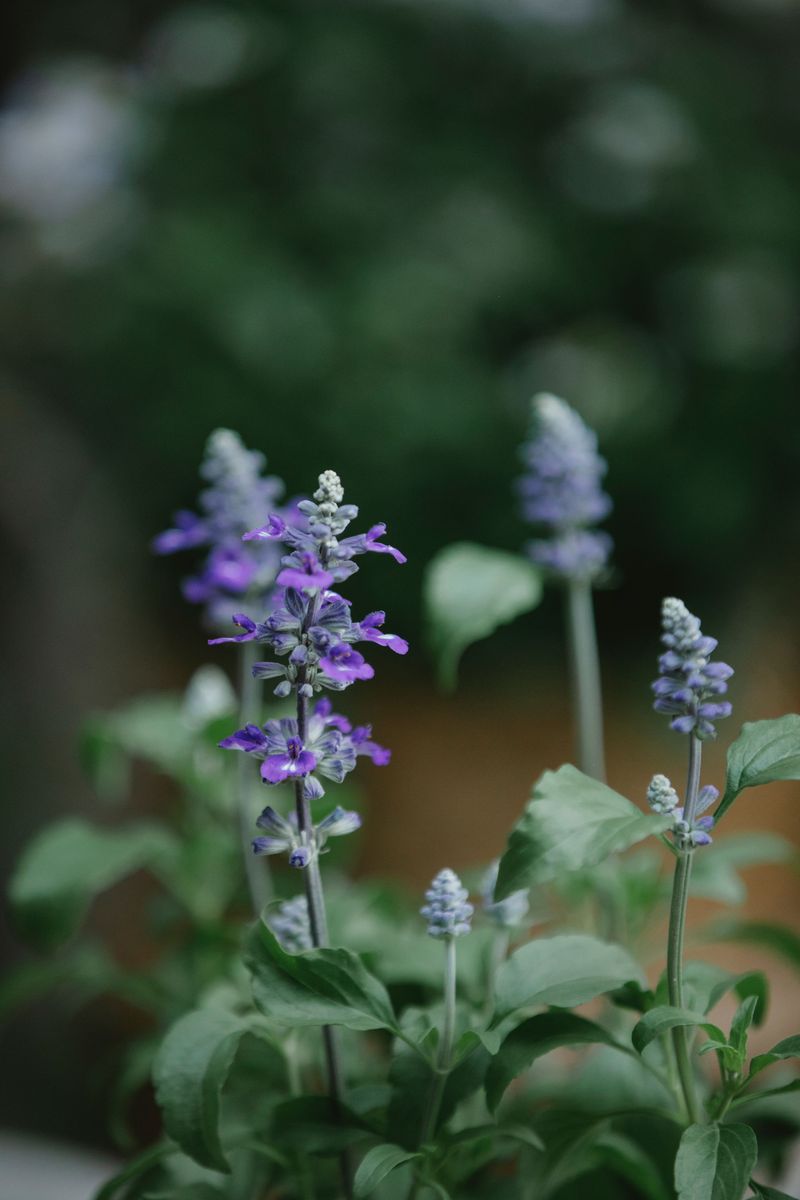
Honestly, the first time I cut a big salvia down to a stubby bundle, I winced. Then it came back stronger, and I stopped worrying.
For plants heading indoors, trim stems to about 4 to 8 inches tall. Shorter plants fit on shelves, lose less moisture, and are easier to check for pests. Clean, sharp pruners make neat cuts that heal well.
For in-ground plants, timing changes. Many Extension specialists suggest waiting until late winter or early spring to cut back marginally hardy perennials. Leaving the stems through winter can help protect the crown, and you will see where new growth starts.
Remove any leaves showing mildew or spots before storage. Toss them in the trash instead of the compost pile if disease is present.
Here is a fun fact. Many tender salvias are technically subshrubs, which means their lower stems turn woody over time.
That woody base stores energy and buds, which is exactly why a hard trim does not hurt them. You are basically helping the plant focus on its roots and that sturdy lower framework.
6. Dormant Salvias Need Just a Sip of Water
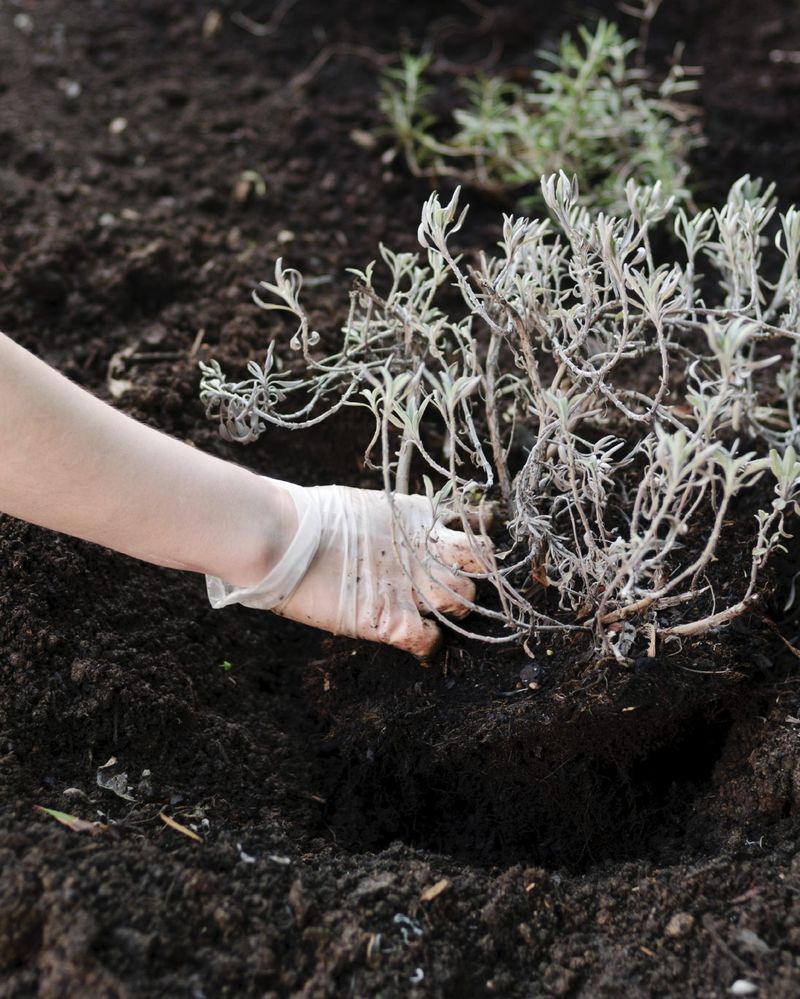
Quiet plants are thirsty plants, right? Not exactly, and that mix-up sinks a lot of overwintered salvias.
Resting salvias use very little water. In a cool garage, a pot may only need a drink every two to four weeks. Push a finger into the soil, and water only when the top couple of inches feel dry.
When you do water, give a modest amount and let any extra drain away. Do not leave pots sitting in saucers full of water. Cool temperatures slow evaporation, so soggy mix stays soggy for a long time.
Plants kept in a bright, warmer room will grow a little and use more water. Watch for drooping or crispy leaf edges as signs they need more.
A completely bone-dry pot can be a problem too, especially for plants with very few roots. The goal is barely moist, like a wrung-out sponge.
A simple calendar reminder on your phone works wonders. Check every couple of weeks, adjust based on what you feel, and resist the urge to fuss. Benign neglect is your friend here.
7. Salvia Cuttings Rooted in a Jar Make a Perfect Backup Plan
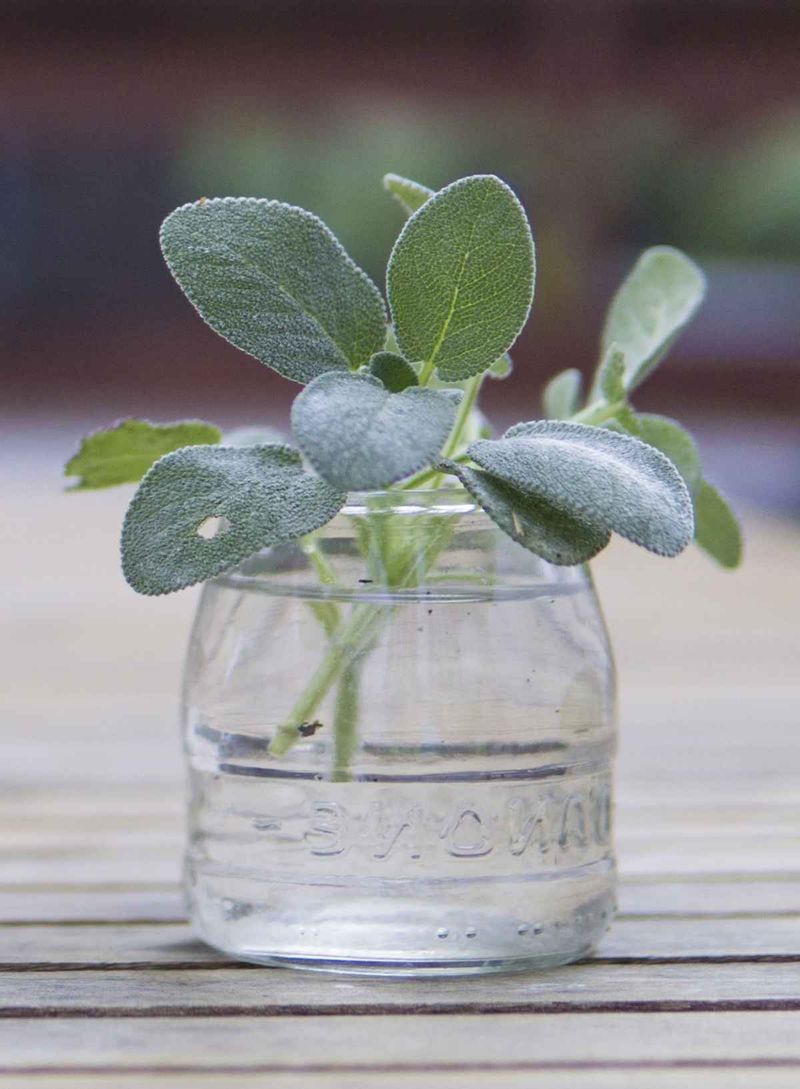
Want a sneaky insurance policy that fits on a windowsill? Salvia cuttings root so easily that you might end up with extras to share.
Take cuttings in late summer or early fall, well before frost. Snip 3 to 5 inch pieces from healthy, non-flowering stem tips. Remove the lower leaves, and cut just below a leaf node, since that is where roots form.
Many salvias root in a glass of water within a couple of weeks. You can also dip them in rooting hormone and stick them in moist seed-starting mix. A clear plastic bag or dome keeps humidity high while roots develop.
Once rooted, pot the little plants into small containers. Keep them on a bright windowsill or under a simple grow light all winter. They take up far less space than a full plant.
Patented varieties may carry propagation limits on their tags, so check before making plants to give away or sell.
For your own garden, though, this method is a favorite for good reason. By spring, those small starts are often bushy and ready to bloom months earlier.
8. Fresh Salvia Shoots Need a Slow Return to the Spring Garden
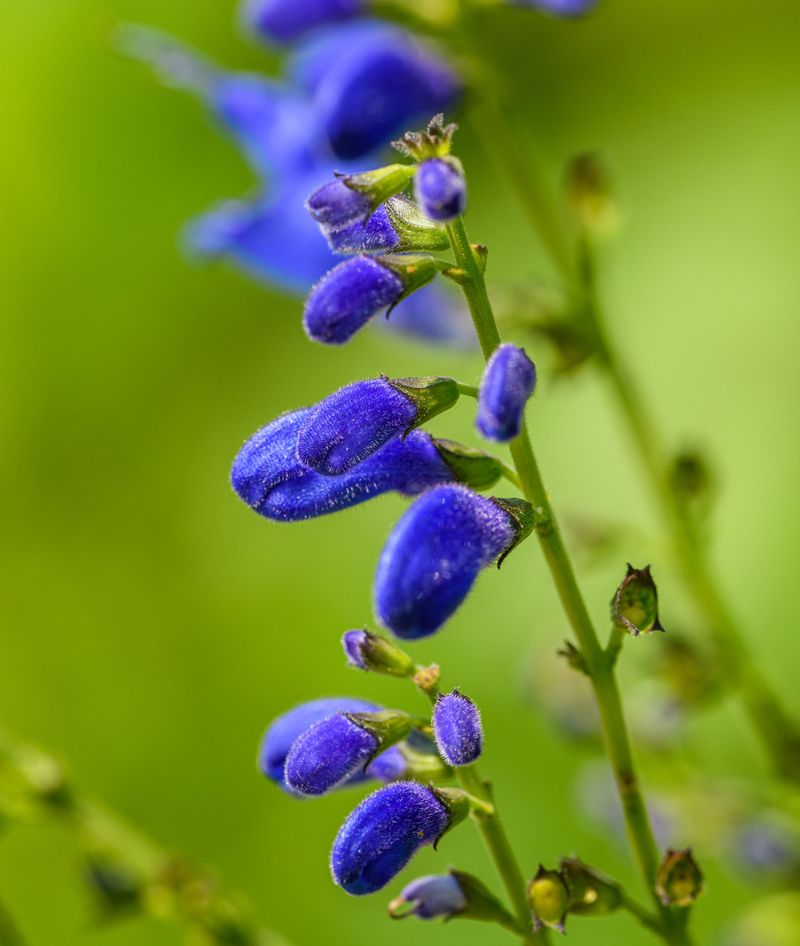
Few garden moments beat spotting tiny green shoots at the base of a plant you nursed all winter. It feels like a high five from nature.
Patience pays off now. Wait until frost danger passes before moving plants outdoors for good. That is often mid April in the Piedmont, earlier along the coast, and May in the mountains.
Harden off potted salvias over about a week. Start with a few hours in shade, then slowly add morning sun and longer time outside. Sudden full sun can scorch leaves that grew indoors.
For in-ground plants, pull mulch back from the crown as soil warms. Cut old stems down once you see new growth, trimming just above healthy buds. Some salvias, like anise sage, wake up late, so do not give up too early.
Repot or replant with fresh soil and a light feeding of balanced fertilizer. Keep notes on which varieties made it and which spots stayed warm.
Over a few years, you will build a reliable plan for your own garden, and those returning plants will often grow bigger and flower earlier than a small nursery replacement.