How To Remove Mealybug-Damaged Tips In Florida Gardens Without Causing More Stress
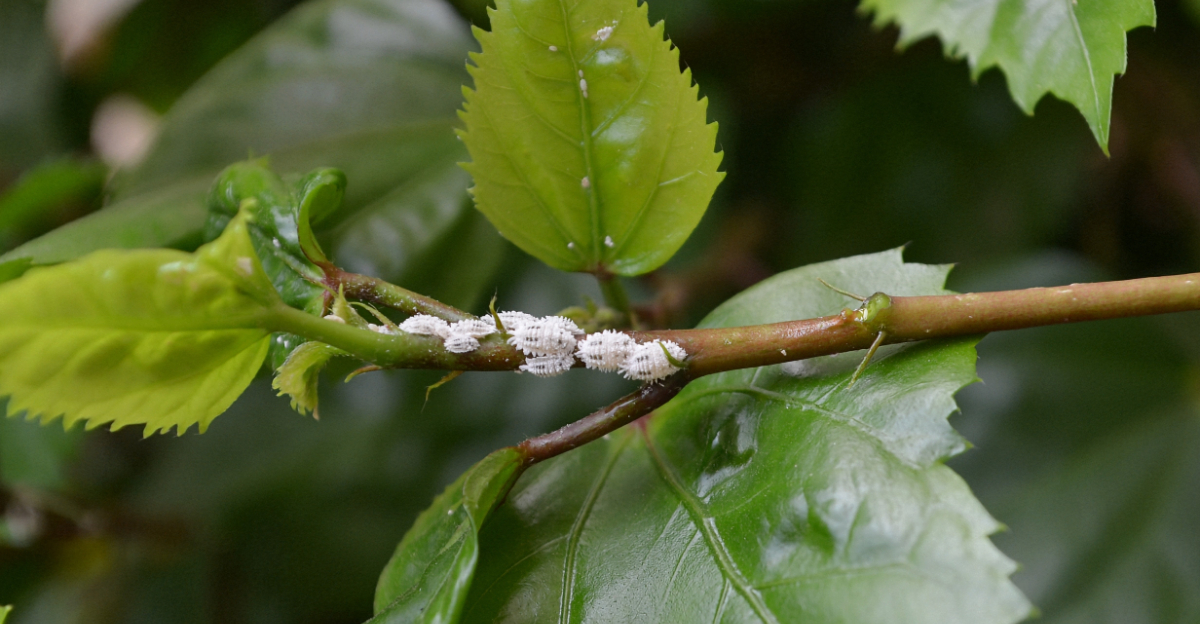
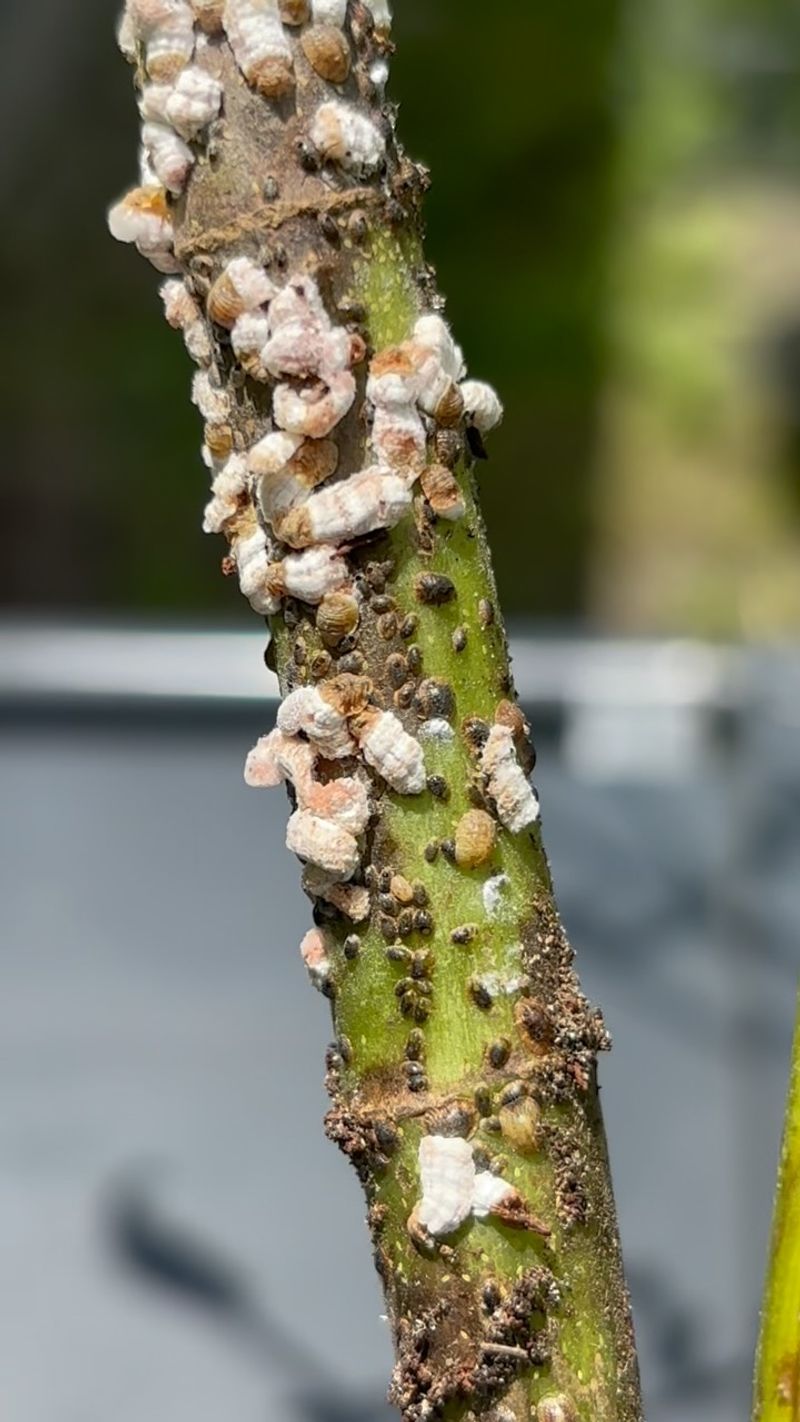
Mealybugs don’t announce themselves. They tuck into leaf joints and stem tips, building soft white nests before you notice anything is wrong.
By the time those cottony patches catch your eye, the tender growth underneath is already stressed and sticky with residue. Cutting away the mess feels like the obvious fix, but timing and technique decide whether your plant bounces back or sulks for weeks.
A careless cut right through an active colony scatters survivors onto your pruners and every leaf they brush against on the way down.
Most gardeners miss that part entirely, focused on the visible mess instead of what’s still crawling. That’s exactly where we’re starting.
Locating The Right Cut Point Before You Prune
Look closely before you ever pick up a tool. The right cut point is usually about a half-inch below the last visible damage on the stem.
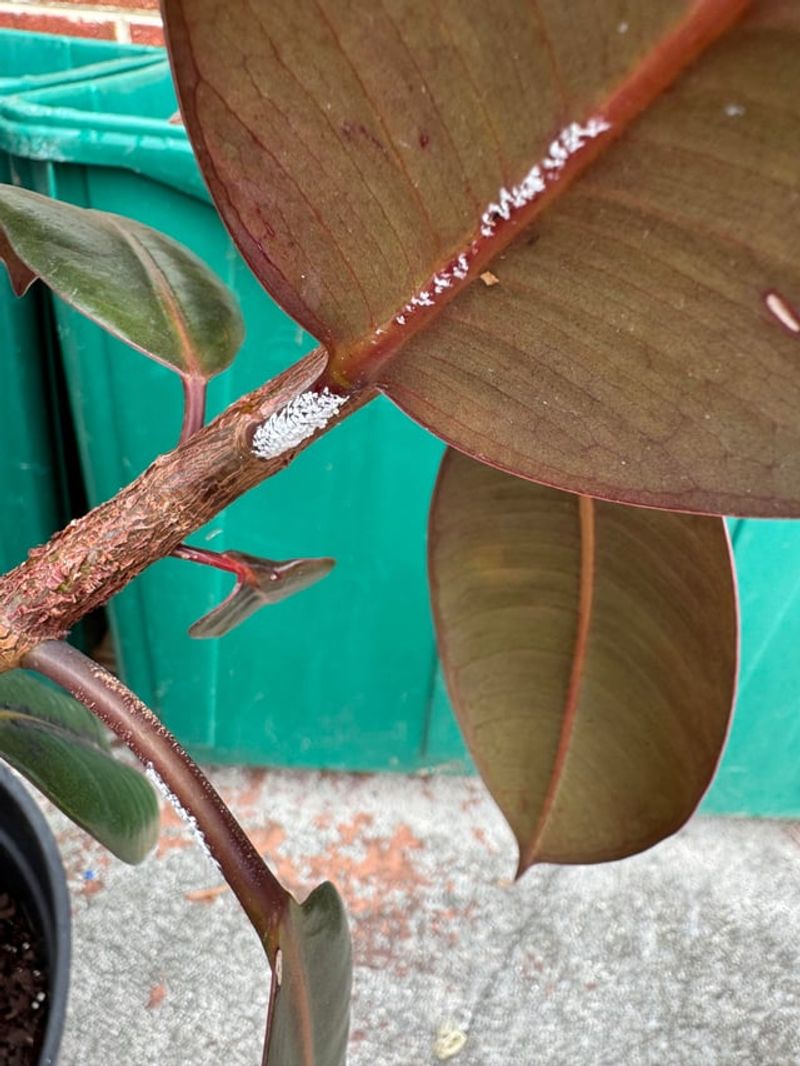
Mealybug-damaged tips often look brown, mushy, or coated in white fuzz. Healthy tissue just below that zone will feel firm and show a clean green or white color inside.
Hold the stem gently between two fingers and trace downward from the tip. You are searching for the exact spot where the plant still looks healthy and unaffected.
Cutting too close to the damaged area leaves behind stressed tissue. That weakened spot becomes a welcome mat for new pests and fungal problems.
Cutting too far down removes healthy growth that your plant worked hard to produce. Finding the sweet spot protects both the plant’s future growth and its energy reserves.
Natural light helps a lot during this process. Step into a bright area or use a small flashlight to see the stem’s true color without guessing.
Angle your cut just above a leaf node instead of through bare stem. Nodes heal faster and give the plant a natural point to push out new growth.
Precision matters most at this stage, since a shaky cut undoes everything you just measured for. A careful eye before the first cut saves you from making a second, deeper cut later.
Practice on a less visible stem first if you feel unsure. Confidence grows fast once you understand what healthy plant tissue actually looks like up close.
Clean Tools Prevent A Second Infestation
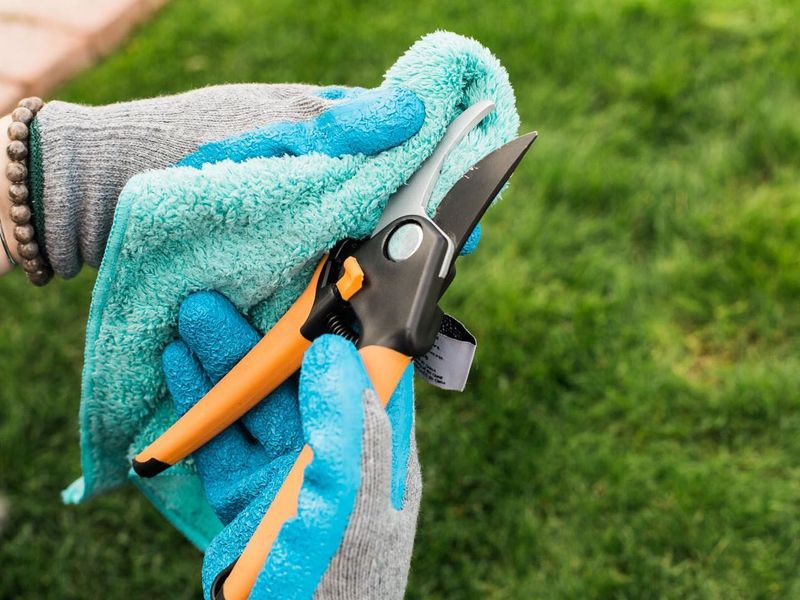
Dirty pruning shears are one of the easiest ways to carry pests from plant to plant. One contaminated blade can carry mealybug eggs from one plant straight to the next healthy stem.
A disinfecting solution is your go-to option for cleaning garden tools. A 70-percent isopropyl solution clears away eggs, residue, and bacteria fast.
Keep a small spray bottle of disinfectant nearby while you work. Spritz the blade between every single cut, not just between plants.
Some gardeners use a bleach-water mix as an alternative cleaner. Mix one part bleach with nine parts water and dip the blade for about 30 seconds.
After the bleach soak, rinse the blade with clean water immediately. Bleach left on metal causes rust, which shortens the life of your favorite tools.
Your Florida Garden Changes Every Week. Your Plan Should Too.
Gardening in Florida changes quickly throughout the season. Every Friday you’ll receive a simple weekly plan showing exactly what to plant, prune, fertilize, harvest, and protect so you never miss the right timing.
Wiping down handles matters too, not just blades. Your hands transfer oils and debris that can harbor microscopic pest eggs without you realizing it.
Disposable gloves are a smart addition to your pruning routine. Swap gloves between heavily infested plants to cut down on cross-contamination risks.
When you finish pruning, bag the clippings immediately in a sealed plastic bag. Do not toss mealybug-damaged tips into a compost pile, because the eggs can survive and spread.
Clean tools are the simplest form of pest prevention you can practice. A 30-second wipe-down now protects weeks of future garden work.
Timing Matters More Than You’d Think
Early morning is the best time to prune stressed plants in a warm climate. Temperatures are cooler, and your plant has had all night to rest and recover some moisture.
Pruning in the midday heat adds extra stress to an already struggling plant. The sun beats down hard in Florida, and fresh cuts exposed to that heat can dry out fast.
Late afternoon works as a second-best option if mornings are not possible. The temperature drops slightly, and evening dew helps the plant begin recovering overnight.
Avoid pruning right before a heavy rainstorm is expected. Wet cuts stay moist longer, which invites fungal infections to set in quickly.
Dry, breezy days with moderate humidity offer ideal pruning conditions. The cut ends dry cleanly, sealing off the wound before any pathogens can sneak in.
Seasonal timing also plays a role in how well plants bounce back. Pruning during a plant’s active growing season gives it the best shot at pushing out new, healthy growth.
In Florida, growth seasons vary by plant species, so check your specific plant’s schedule. Most tropical plants grow actively from spring through early fall.
Removing mealybug-damaged tips during the right window makes recovery faster and less stressful. Good timing turns a rough pruning job into a genuine head start for your plant.
Damage Can Spread Past The Tips
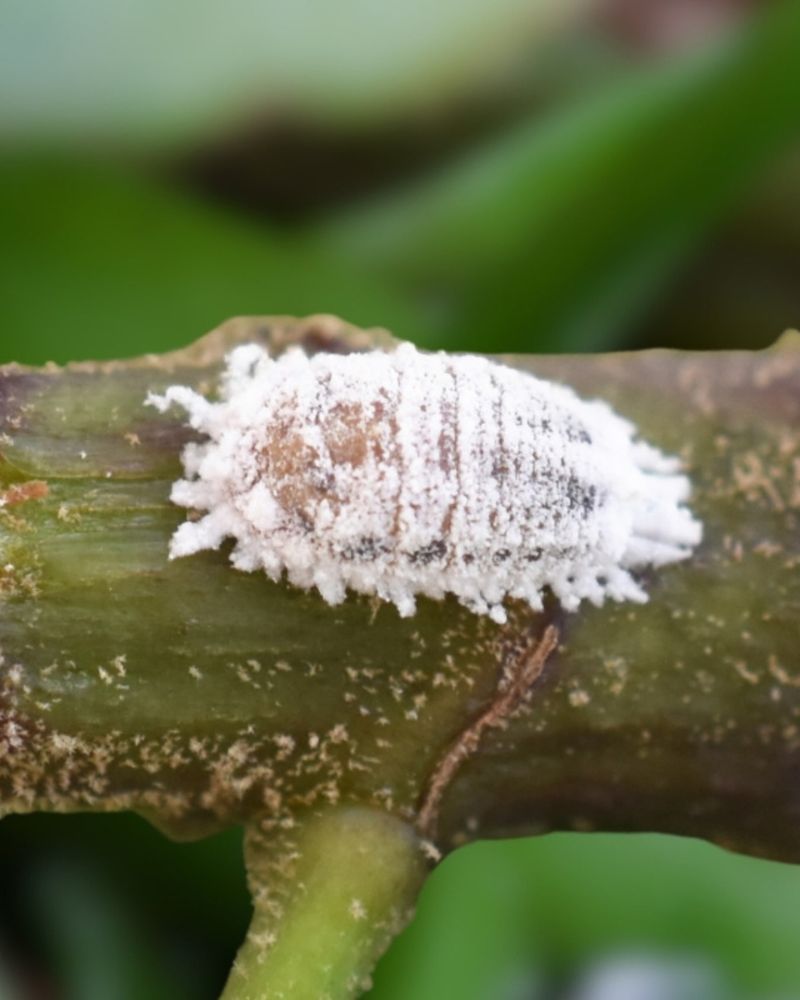
Mealybugs rarely stay in one spot for long. Once the tips are infested, these pests begin moving down the stem toward the base and nearby leaves.
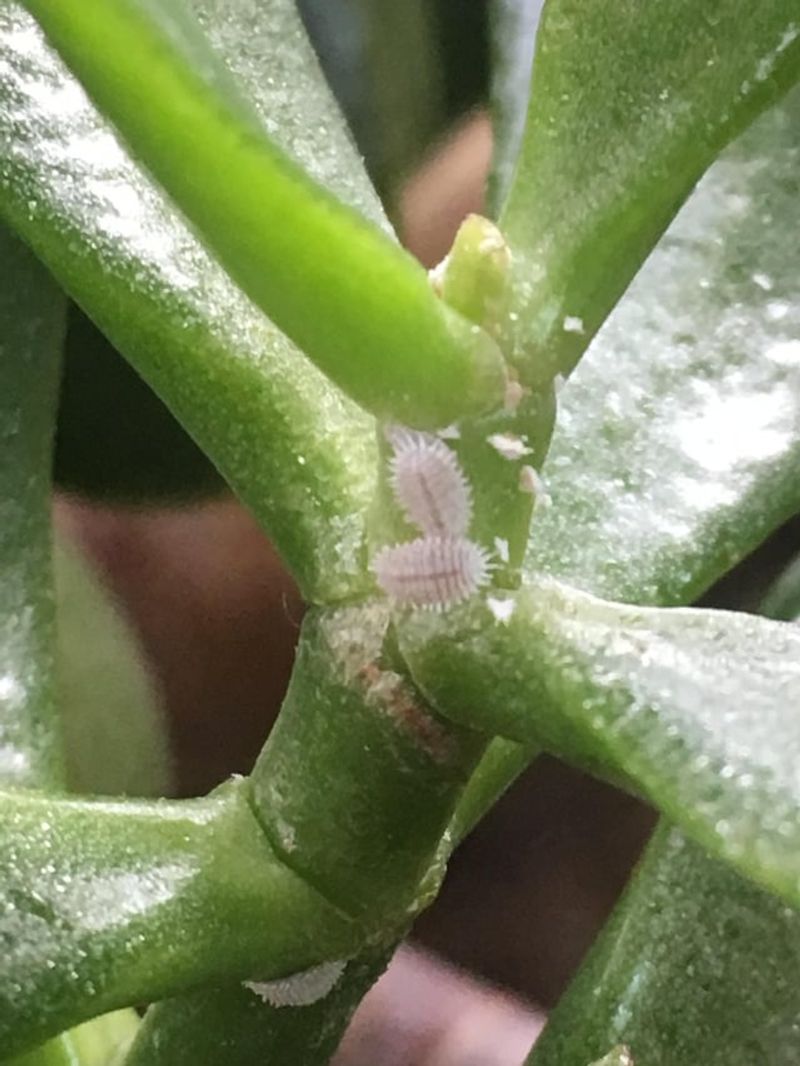
Check every leaf node carefully when you spot tip damage. Nodes are the small bumps along the stem where leaves attach, and mealybugs love hiding in those tight spaces.
Pull back any overlapping leaves to expose hidden colonies. Pests tucked beneath foliage can go unnoticed for weeks while the infestation quietly expands.
Root mealybugs are a separate concern that many gardeners miss. These pests live underground and feed on root systems, causing slow decline that looks like general nutrient deficiency.
If your plant keeps declining after tip removal, check the soil. Gently loosen the top inch of soil around the base and look for white, waxy clusters near the roots.
Nearby plants face real risk during an active infestation. Mealybugs crawl between plants and can also travel on ants, which actually protect and transport them for their honeydew secretions.
Inspect every plant within a two-foot radius of the infested one. Early detection in neighboring plants stops a localized problem from becoming a full garden outbreak.
Pruning the tip is only the opening move here. Tracking where the damage has spread ensures you address the whole problem, not just the most visible part.
Recovery Starts Right After The Cut
The moment you finish pruning, your plant shifts into repair mode. What you do in the next 24 hours can either support that recovery or slow it down.
Water the plant deeply right after pruning if the soil feels dry. Hydrated roots help the plant push energy toward healing the cut sites quickly.
Avoid fertilizing immediately after removing damaged tips. Fresh wounds plus a surge of nutrients can actually encourage weak, fast growth that attracts pests right back.
Wait at least two to three weeks before applying any fertilizer. By then, the plant has sealed its wounds and is ready to use nutrients productively.
A light misting of the remaining foliage helps reduce stress in the hours after pruning. Florida heat pulls moisture from leaves fast, especially when the plant is already under pressure.
Move the plant to a spot with bright, indirect light if it is in a container. Direct sun on a freshly pruned, stressed plant can cause leaf scorch on the remaining foliage.
Keep a close eye on the cut sites over the following week. Healthy callus tissue will form a slight discoloration around the wound, which is a normal, healthy sign.
Any sign of new white fuzz appearing near those cut sites means the pests are still active. Act fast, because early re-treatment is far easier than fighting a second full infestation.
Florida Humidity Keeps Pests Coming Back
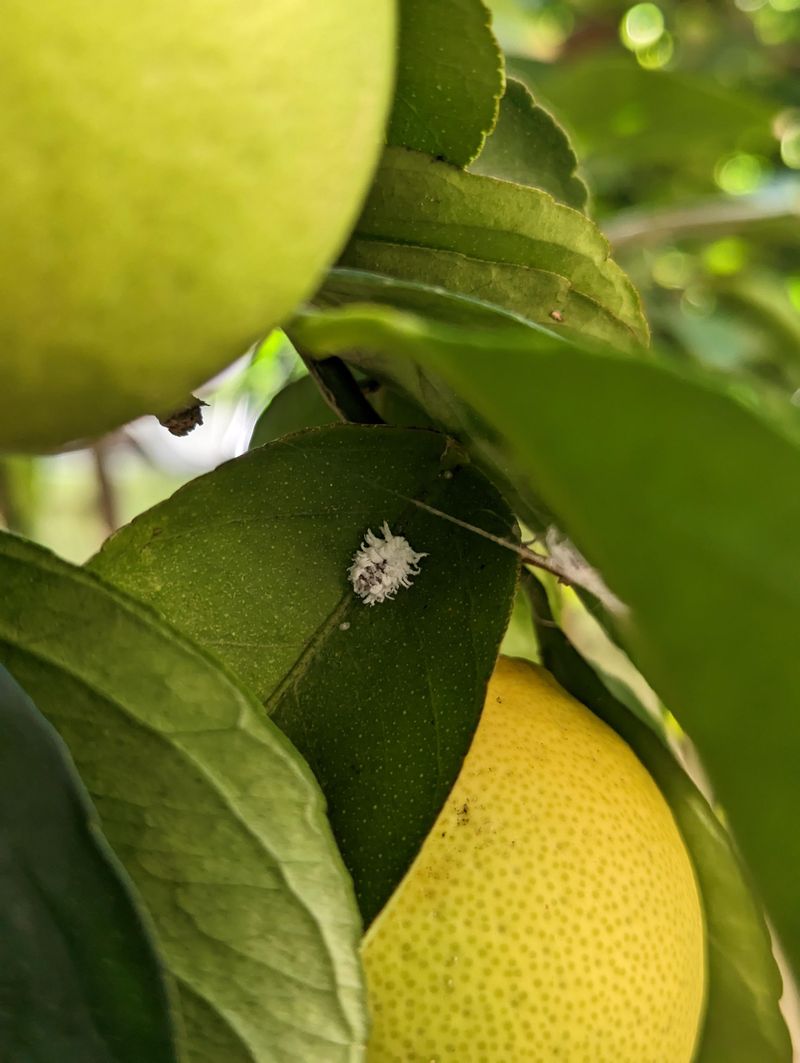
High humidity gives mealybugs exactly the warm, moist conditions they need to thrive. That’s why Florida’s climate makes reinfestation so much more likely than in drier regions.
Florida averages humidity levels above 70 percent for much of the year. That persistent moisture means gardeners here face a much higher re-infestation risk than in drier climates.
Improving airflow around your plants is one of the most effective defenses. Space plants further apart so air can circulate between them and dry out the foliage naturally.
Overhead watering adds moisture to leaves and stems, which encourages pest activity. Switch to drip irrigation or water directly at the soil level to keep foliage dry.
Neem oil spray applied every two weeks acts as a deterrent without harsh chemicals. Mix it with a small amount of dish soap and water for a budget-friendly, effective solution.
Introducing beneficial insects like ladybugs or lacewings helps manage pest populations naturally. These predators eat mealybugs and their eggs without harming your plants or garden ecosystem.
Inspect your garden at least once a week during peak humidity months. Catching a new cluster of white fuzz early means you handle a small problem instead of a big one.
This kind of pruning is an ongoing habit, not a single fix you check off and forget. Staying consistent with monitoring and prevention keeps your garden healthy through every humid season ahead.