How To Save North Carolina Coleus With Cuttings Instead Of Bringing In The Whole Plant
Coleus won’t survive a North Carolina winter outdoors, but hauling an entire pot inside isn’t always practical, especially for larger plants that have sprawled well beyond their original container.
Taking cuttings offers a far simpler alternative, letting gardeners preserve a favorite color pattern or variety without dedicating precious indoor space to an oversized, leggy plant.
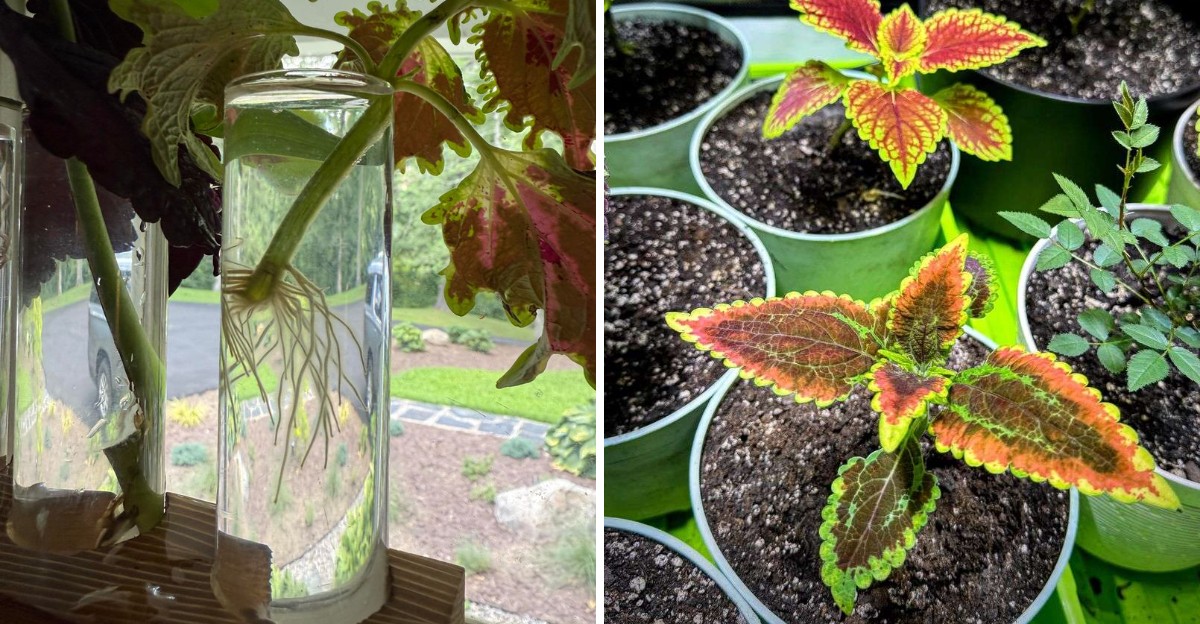
Coleus roots remarkably easily from stem cuttings placed in water, often developing a strong root system within just a couple of weeks with no special equipment required.
This method also gives gardeners a head start come spring, since rooted cuttings can be potted up and hardened off well before it’s warm enough to plant coleus back outside.
For anyone who’s ever struggled to fit a full-grown coleus through a doorway, cuttings offer a much easier path to keeping a favorite plant alive through winter.
1. Take Cuttings Before Frost
One chilly October night can undo a whole summer of gorgeous color. Coleus comes from warm, tropical regions, so it has no defense against cold. Frost damages the soft leaves and stems, turning them black and mushy almost overnight.
Truth be told, coleus starts to sulk long before frost arrives. Once nights dip into the low 50s, leaves can lose their shine and growth slows way down.
That makes late September through early October a smart window for most North Carolina gardeners to grab cuttings.
Timing also depends on where you live in the state. Gardeners in the mountains often see their first frost in early to mid October.
The Piedmont usually follows in late October, while coastal areas may stay mild until November.
Keep an eye on your local forecast as fall rolls in. A free weather app with frost alerts can be a real help here, giving you a heads-up a few days ahead.
When a cold snap shows up on the calendar, head outside with clean pruners that same weekend.
Why not just haul the big plant indoors? Full-size coleus can be leggy, heavy, and hard to fit near a sunny window. It may also carry aphids, mealybugs, or whiteflies straight into your living room.
Cuttings solve all of those problems at once. A handful of stems takes up only a small corner of a windowsill, and each one grows into an exact copy of the parent.
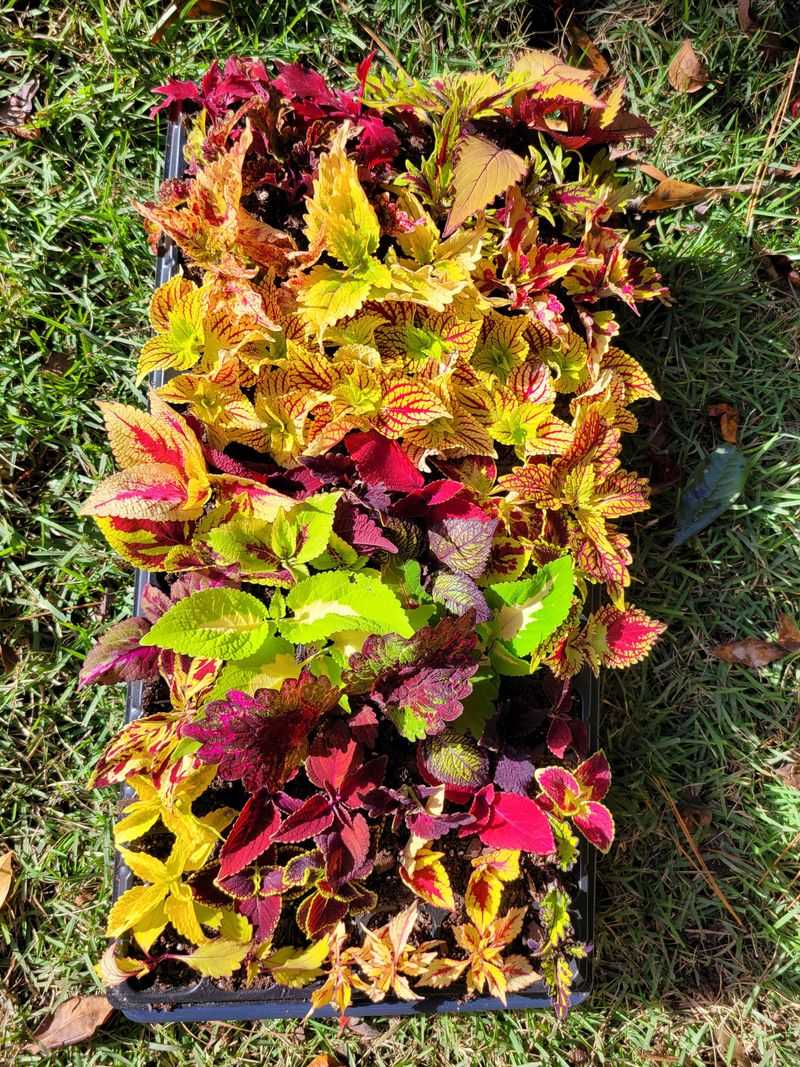
Your favorite lime, burgundy, or hot pink variety gets a fresh start, ready to shine again next spring.
2. Choose Healthy Nonflowering Stems
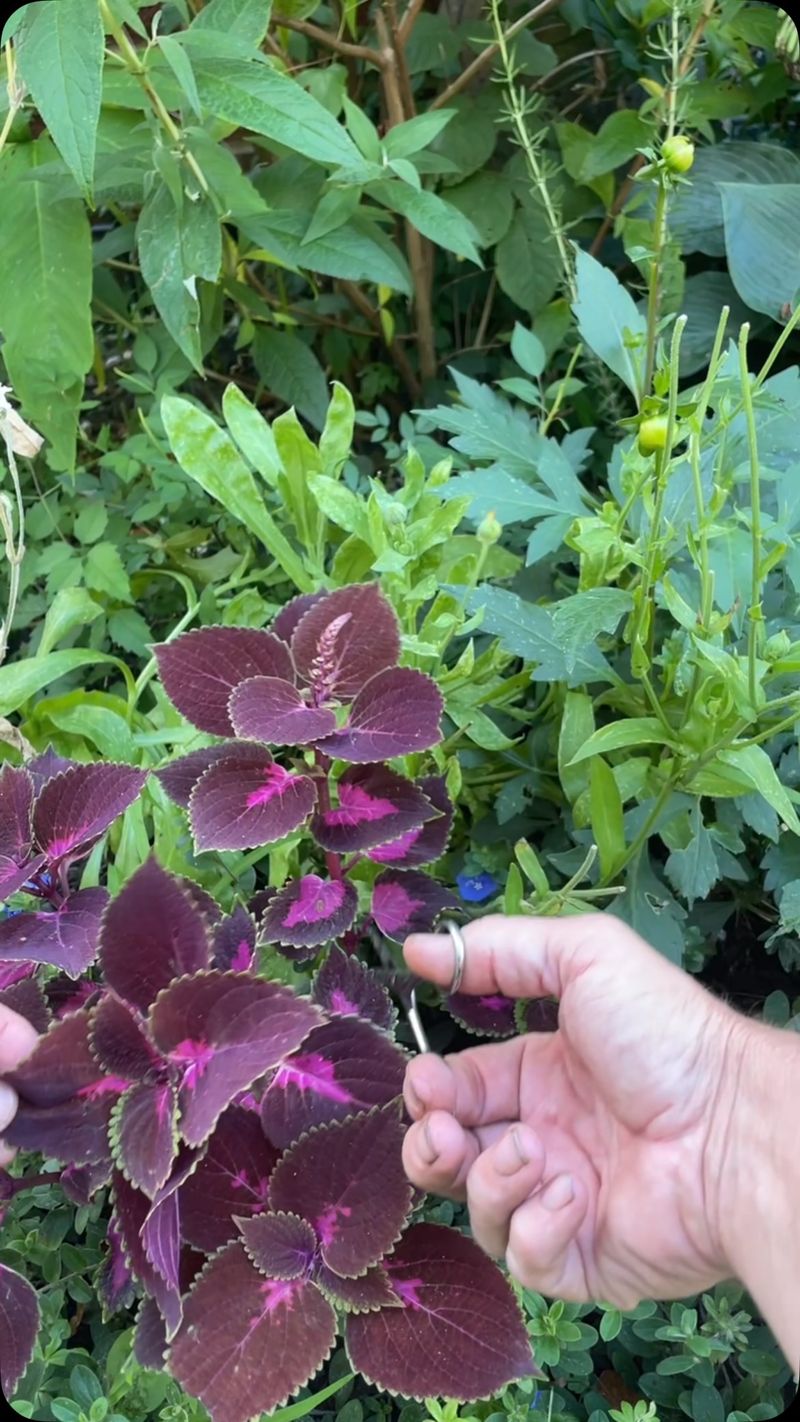
Not every stem is equally ready for the job. The best choices are sturdy, full of color, and free of pests or spots.
Start by looking closely at the leaves, both top and bottom. Sticky residue, tiny white fluff, or clusters of little bugs are signs of trouble like aphids or mealybugs. Brown patches, yellowing, or soft, dark stems can point to disease, so leave those behind.
Next, check for flower spikes. Coleus sends up tall stalks covered in small blue or purple blooms, especially in late summer.
They look sweet, but the plant pours tons of energy into making flowers and seeds instead of roots and leaves.
Your North Carolina Garden Changes Every Week. Your Plan Should Too.
Gardening in North Carolina changes quickly throughout the season. Every Friday you’ll receive a simple weekly plan showing exactly what to plant, prune, fertilize, harvest, and protect so you never miss the right timing.
A stem that is busy blooming often roots more slowly. Choose shoots without flowers whenever you can.
If every stem has a spike, simply pinch the flower stalk off before you take the cutting, and the stem will shift its focus back to growing.
Here is a fun fact to share with gardening friends. Coleus belongs to the mint family, which is why its stems feel square when you roll them between your fingers. Like mint, it roots with very little fuss, making it a great plant for beginners.
Aim for stems about 4 to 6 inches long with fresh, bright growth at the tip. Take a few more cuttings than you think you need, since a couple may not make it.
Extra plants also make wonderful gifts for neighbors who admired your garden all summer.
3. Cut Below A Leaf Node
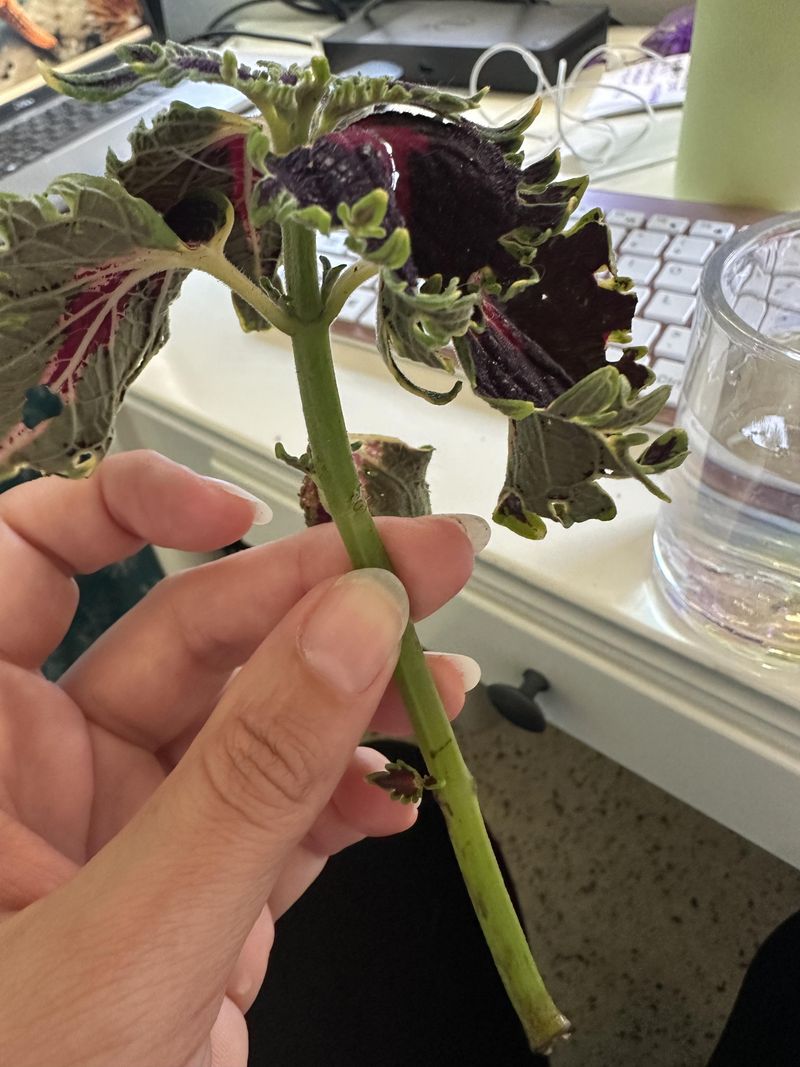
Tiny bumps along a coleus stem hold a big secret. Those spots, called nodes, are where leaves attach to the stem. They are packed with special cells that can turn into brand new roots.
On coleus, nodes are easy to find. Leaves grow in pairs across from each other, so each node looks like a little joint with two leaves sticking out. The smooth section of stem between two nodes is called an internode.
To make your cut, count down a few sets of leaves from the tip of the stem. Place your pruners about a quarter inch below a node and make a clean snip. A straight cut or a slight angle both work fine.
Sharp tools matter more than you might think. Dull blades can crush the stem, making it harder for water to move up and easier for rot to set in.
Wipe your pruners or scissors with rubbing alcohol first so you do not spread germs from plant to plant.
Why not cut in the middle of a stem? A long bare stub below the lowest node often turns soft and mushy in water or soil.
Roots mainly form at or near the node, so trimming close to it gives each cutting the best start.
Try to take cuttings in the morning when plants are well watered and full of moisture. Drop each piece into a cup of water right away so it stays fresh while you work.
With a little practice, you will spot nodes in seconds and move through a whole plant quickly.
4. Remove Lower Leaves
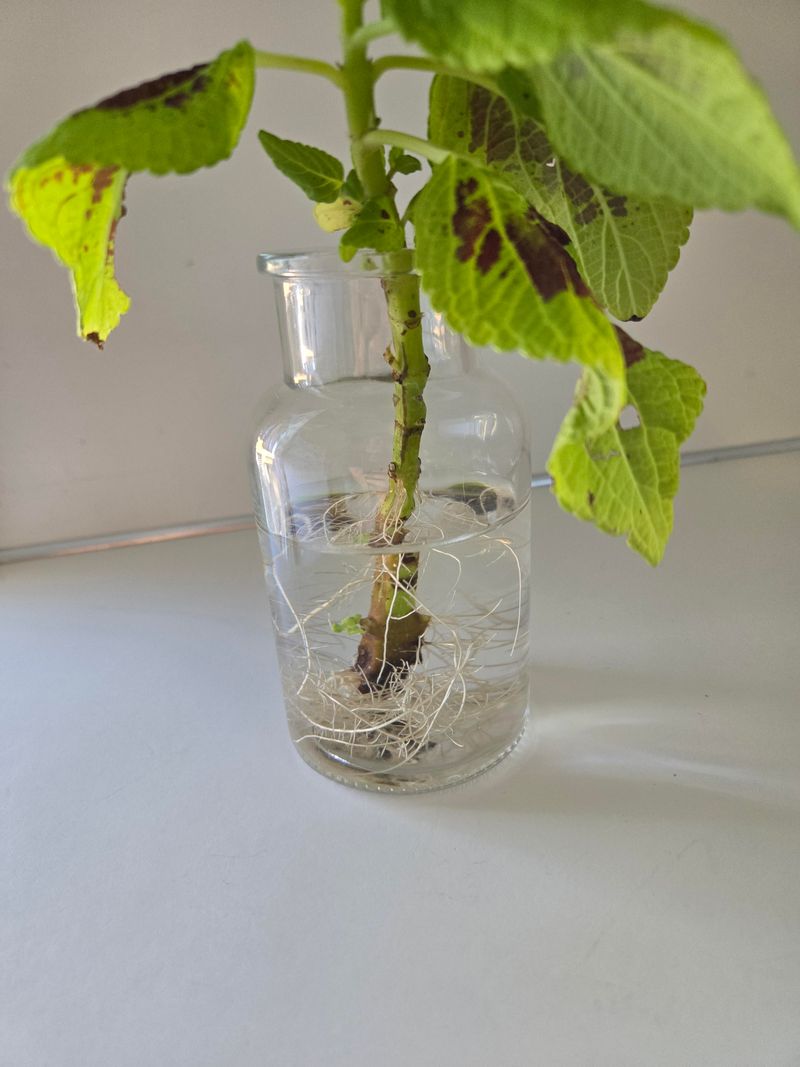
A cutting has no roots yet, so it cannot drink much water. Every leaf still pulls moisture out through tiny pores, though.
Too many leaves can leave a young cutting wilted and stressed before it has a chance to grow. That is why a quick trim makes such a difference. Gently pinch or snip off the leaves on the bottom half of the stem.
Keep two or three pairs of healthy leaves near the top so the cutting can still make food from light.
Leaves below the rooting area cause another problem, too. When they sit in water or touch damp soil, they break down and rot. That mess can cloud water, invite mold, and spread decay to the stem.
Be careful not to tear the stem as you work. Pull each leaf downward with a gentle tug, or use small scissors for tough ones. The bare nodes left behind are the exact spots where roots will soon appear.
Large leaves at the top can be cut in half crosswise if they look floppy. Doing so lowers water loss while still giving the cutting enough green surface to stay strong. Many growers use this trick with big-leaf varieties such as the Kong series.
A finished cutting should look a bit like a small umbrella, with bare stem at the bottom and a leafy cap on top. About two inches of clean stem below the leaves is plenty.
Colorful leftover leaves look lovely floating in a shallow bowl, so nothing goes to waste.
5. Root Cuttings In Water Or Growing Medium
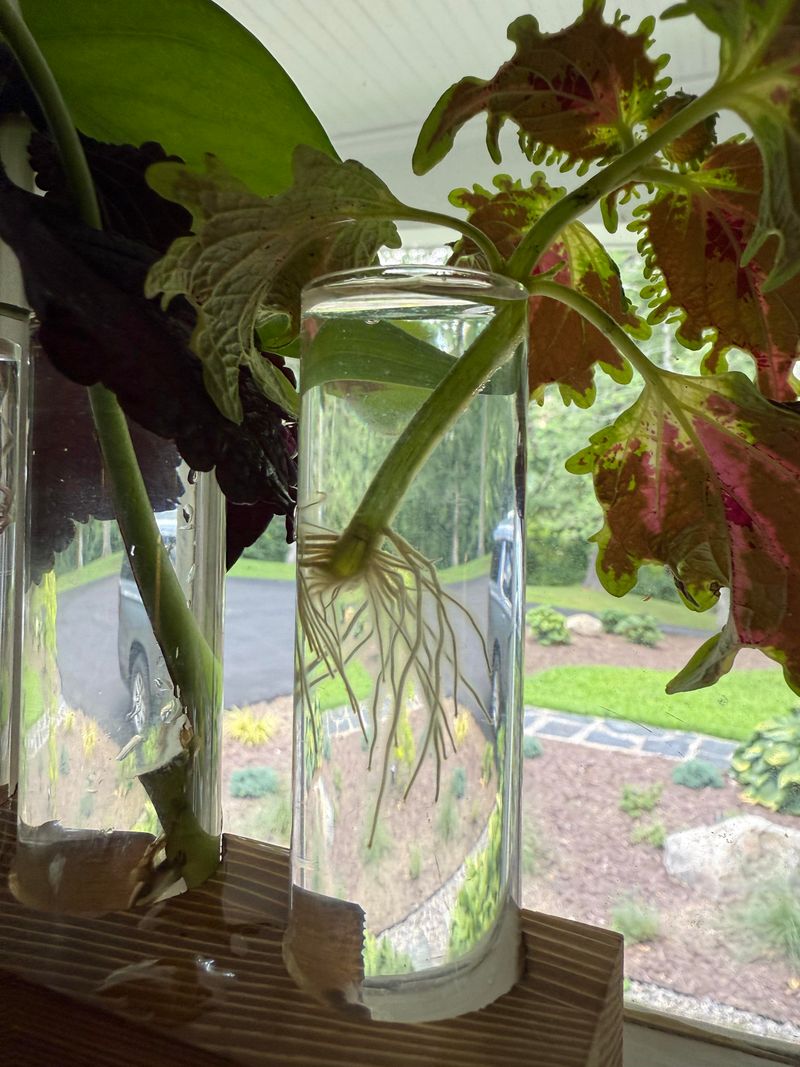
Coleus might be one of the easiest plants in the world to root. Many gardeners have success within one to three weeks, and you can choose between two simple methods. Each one has its own perks.
Water rooting is fun, especially for kids. Just place cuttings in a clear glass or jar with the leaves above the waterline, then watch white roots sprout through the glass. Change the water every few days to keep it fresh and clear.
The catch is that water roots are thin and delicate. They grow used to life in liquid, so moving them into soil can cause a short period of wilting.
Potting cuttings once roots reach about one to two inches long helps them adjust more easily.
A moist rooting medium is the other choice. Seed starting mix, perlite, vermiculite, or a blend of these works well in small pots or cell trays. Poke a hole with a pencil, slide the stem in, and firm the mix gently around it.
Roots formed in a growing medium tend to be tougher and ready for potting soil. The downside is that you cannot see them, so you have to be patient.
A gentle tug that meets resistance, or new leaf growth at the tip, tells you roots have formed.
Rooting hormone is optional for coleus since it roots so readily on its own. Some gardeners still like a light dip for extra insurance. Try both methods side by side this fall and see which one fits your home and routine best.
6. Give New Cuttings Bright, Indirect Light
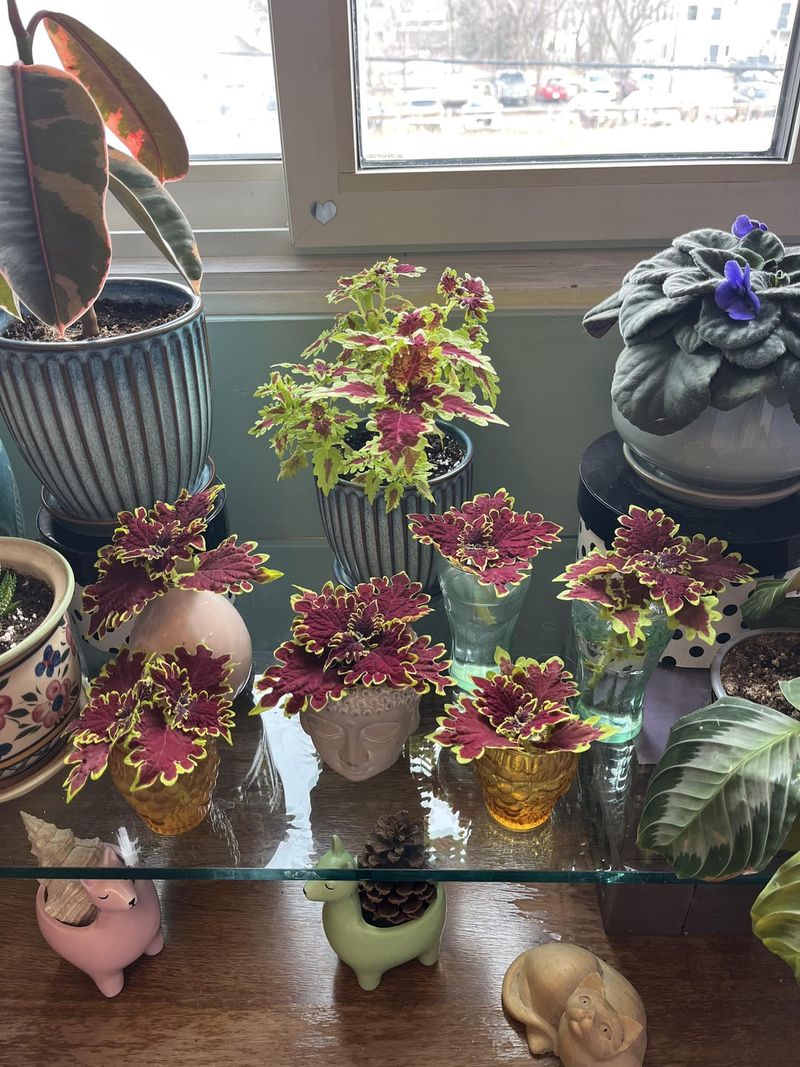
Sunlight through a window feels cozy in winter, but it can be surprisingly harsh on young coleus. Glass can magnify heat, and tender cuttings without strong roots scorch easily.
Crispy brown edges or faded, bleached leaves are common signs of too much direct sun.
On the flip side, too little light causes its own trouble. Coleus in a dim room stretches toward any glow it can find, growing tall, thin, and floppy.
The rich colors also tend to fade into a dull, muddy green that looks nothing like the plant you loved outside.
The sweet spot is a bright room with plenty of filtered light. An east-facing window with gentle morning sun works beautifully. A south or west window can work too if a sheer curtain softens the strongest rays.
Grow lights are a great backup during the short, gray days of a North Carolina winter. Simple LED shop lights placed about 6 to 12 inches above the plants give steady, even light.
Set a timer for around 12 to 14 hours a day, and your cuttings will stay compact and colorful.
Turn your pots a quarter turn every few days if they sit by a window. Plants lean toward the light, and rotating them keeps growth straight and balanced. It takes just seconds and makes a big difference.
Did you know older coleus types were once sold mainly as shade plants? Newer sun-tolerant varieties handle much more light outdoors.
Indoors, though, nearly all of them appreciate bright but softened light until their roots are strong.
7. Keep The Rooting Environment Moist But Not Soggy
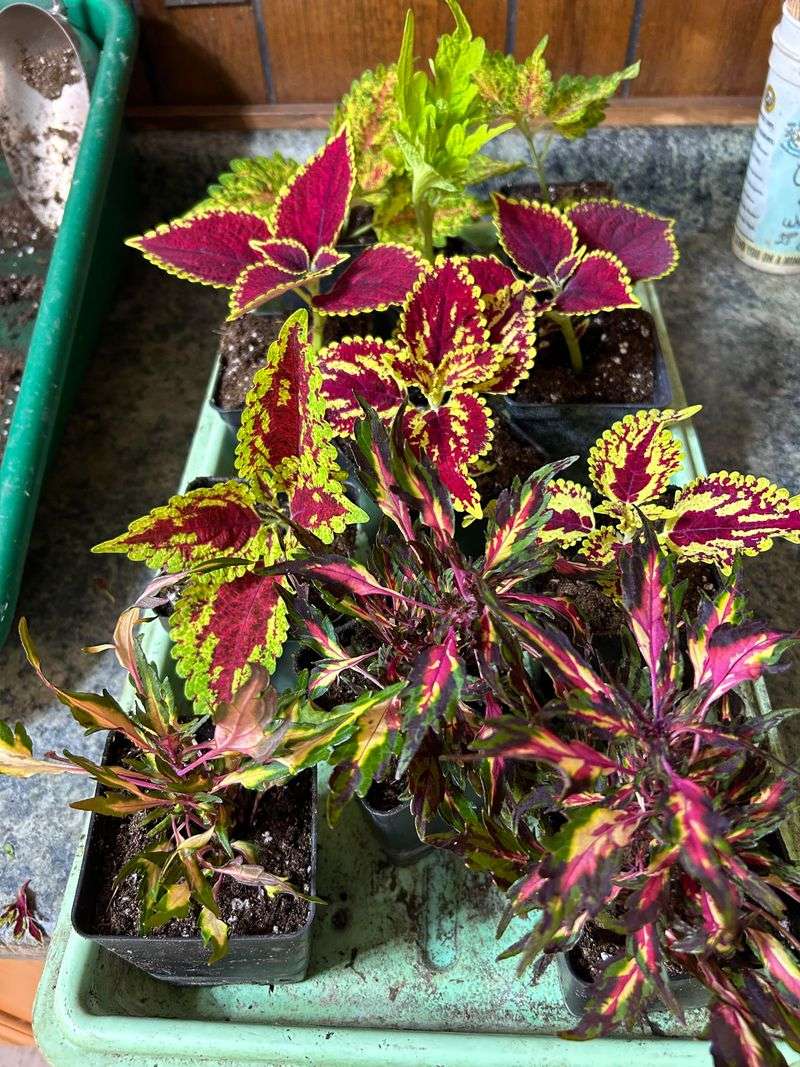
Think of watering cuttings like making a perfect cup of cocoa. Too little and it is not satisfying, too much and it spills over. Young coleus needs that same kind of balance while its first roots are slowly forming.
Moisture matters because cuttings lose water through their leaves but have no roots to replace it. If the rooting mix dries out, stems wilt fast and may never recover. Checking daily with a fingertip is an easy habit to build.
Soggy soil is just as risky. When the mix stays soaked, air cannot reach the stem, and rot sets in quickly. Stems that turn black, slimy, or mushy at the base are usually a sign of too much water.
The goal is soil that feels like a wrung-out sponge. Use pots or trays with drainage holes, and empty any water that collects in saucers underneath.
Bottom watering, where pots sit in a tray of water for 10 to 15 minutes, helps moisture spread evenly without flooding the top.
Humidity gives cuttings a helpful boost, too. A clear plastic bag, a cut soda bottle, or a humidity dome traps moisture around the leaves. Open it for a bit each day so fresh air can flow and mold does not form.
Water-rooted cuttings need attention as well. Refresh the water every few days and rinse the glass if it looks cloudy or slimy.
Clean water carries more oxygen, which keeps stems firm, roots bright white, and your little project moving right along.
8. Pot Up Rooted Cuttings For Winter
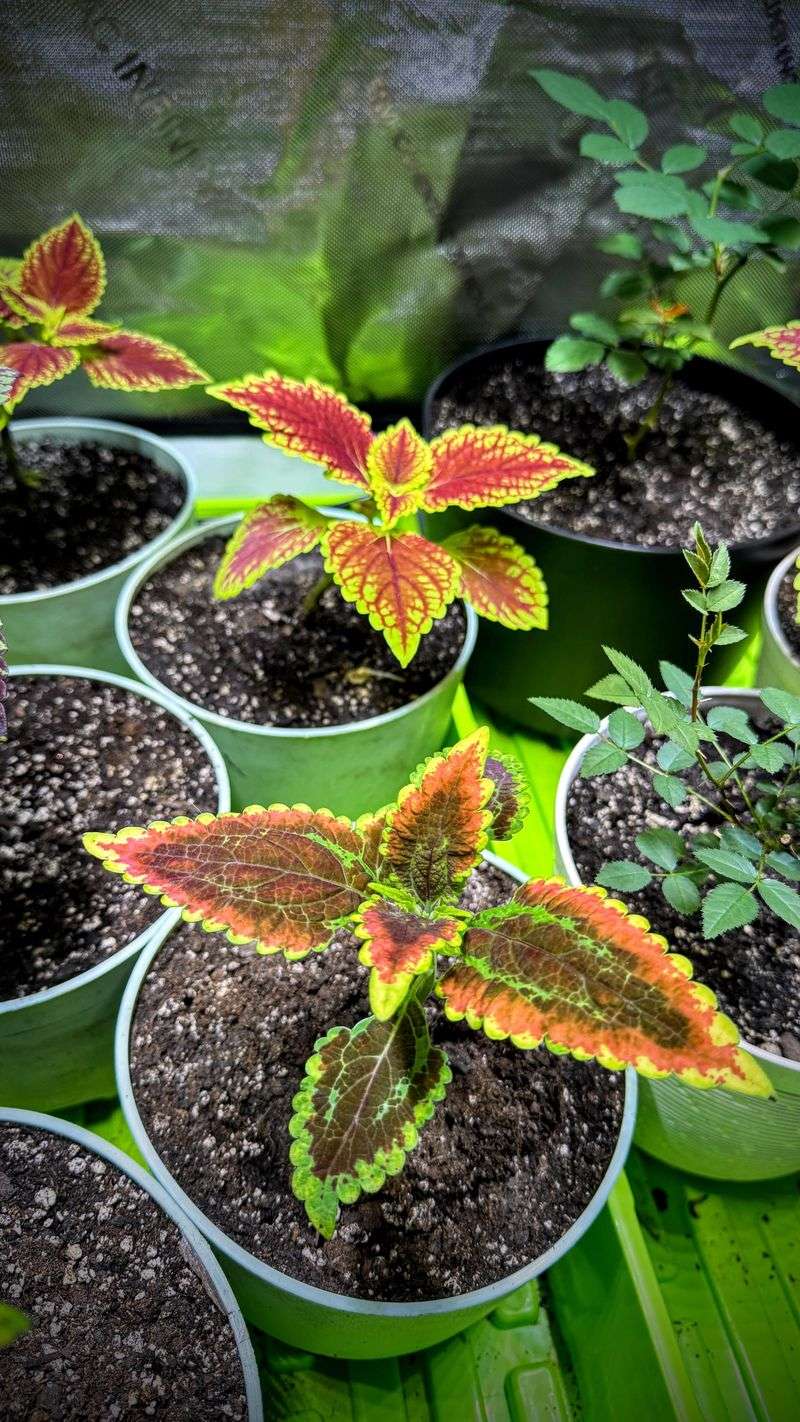
Few gardening moments feel better than spotting a thick bundle of fresh roots. Once cuttings have roots about one to two inches long, they are ready for their own homes. Moving them now helps them settle in before the deepest part of winter.
Small containers work best at first. Pots about three to four inches wide with drainage holes give roots room without holding too much extra water.
Fill them with a light, fresh potting mix rather than heavy garden soil, which packs down and drains poorly indoors.
Set each cutting at the same depth it was rooting, then water gently until moisture drains out the bottom. Place the pots in bright, indirect light in a room that stays around 65 to 75 degrees.
Keep them away from cold drafts and heating vents. Pinch off the top growing tip once plants have a few new sets of leaves. That simple step encourages branching, so you get bushy plants instead of tall, skinny ones.
Remove flower spikes whenever they show up. Feed lightly during winter since growth slows down. A diluted liquid houseplant fertilizer about once a month is plenty.
By late winter, your pots may be crowded with lush stems, perfect for taking a second round of cuttings.
Come spring, wait until nights stay above 50 degrees before moving plants outside. In much of North Carolina, that means late April or May.
Harden them off over a week, and your saved coleus will fill beds and pots with color all over again, for free.