How To Stop An Amaryllis From Toppling Over: 8 Tricks Virginia Gardeners Use
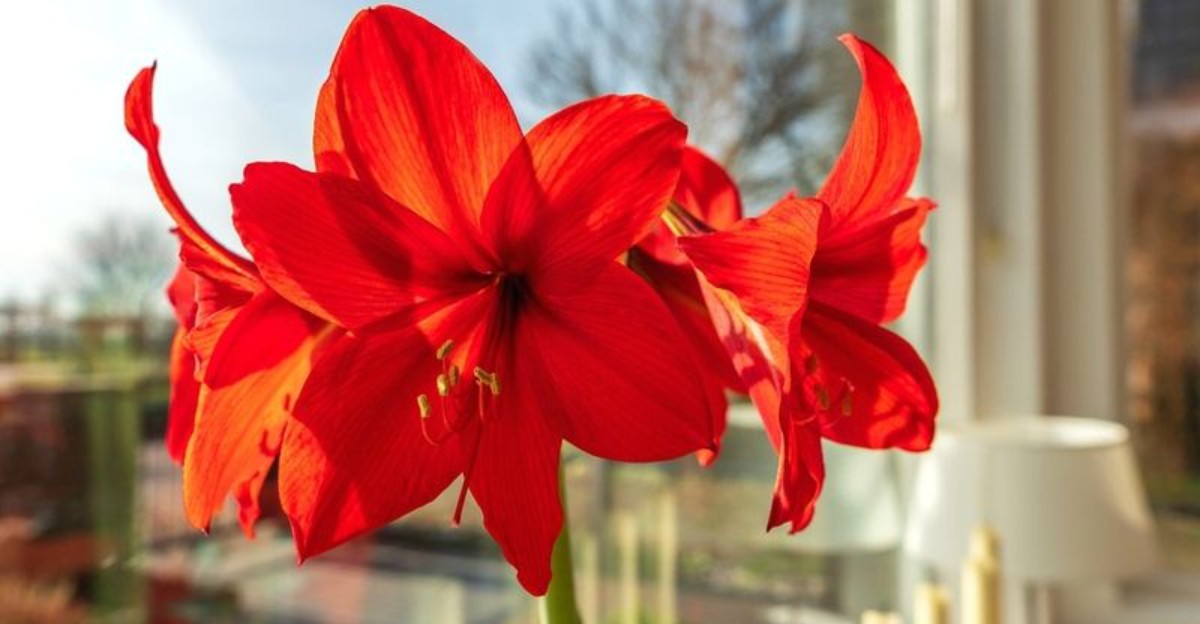
A single flower stalk on this holiday bulb can stretch two feet tall and carry four giant blooms at once. That much top weight on one hollow stem turns a cheerful windowsill into a slow-motion tipping hazard.
Most bulbs sold for winter forcing come from commercial growers, yet their wild ancestors grew in tropical regions.
I love how those tropical roots still show up as a stubborn habit of leaning hard toward the brightest window.
Here in Virginia, short winter days and dim living rooms make that lean even more dramatic by midseason. I have to admit my first one crashed onto the carpet the morning before a big family dinner.
Plenty of gardeners have quietly worked out simple fixes that cost almost nothing to try at home. Which of their clever tricks will finally keep your towering blooms standing tall all season long?
1. Heavy Clay Pots Keep Tall Amaryllis Steady
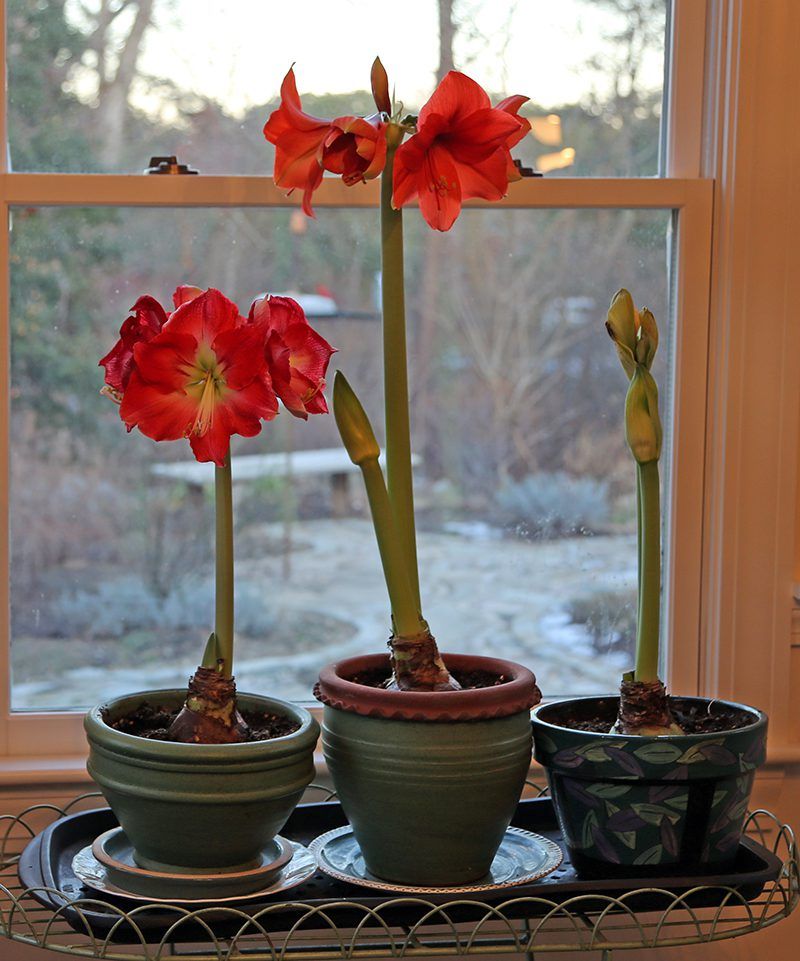
Those plastic pots that come with gift kits weigh almost nothing, while a blooming amaryllis can feel surprisingly top heavy. I learned this the hard way when a curious cat brushed past mine and sent it rolling.
Clay and glazed ceramic containers add real weight right where the plant needs it, down at the bottom.
That extra heft works like a counterweight against a stalk loaded with several big trumpet-shaped flowers.
Terracotta is my personal favorite because it breathes, letting extra moisture escape through the pot walls. That feature helps the bulb stay firm, which matters a lot when roots are holding up a tall stem.
Glazed ceramic holds moisture a bit longer, so you may need to water less often with it. Either choice beats lightweight plastic for stability, especially when the flower stalk reaches its full height.
Make sure any pot you choose has at least one drainage hole in the bottom for excess water. Pretty containers without holes can trap water around the roots and invite rot, which weakens the whole plant.
If you love a decorative pot with no hole, try slipping a plain nursery pot inside it. This double-pot setup adds weight outside while still letting water drain freely into the outer container.
Just tip out any water that collects in the bottom of the outer pot after each watering. Your bulb will appreciate dry feet, and your windowsill will stay free of surprise tumbles this winter.
2. Snug Pot Size Gives Amaryllis Roots a Firm Grip
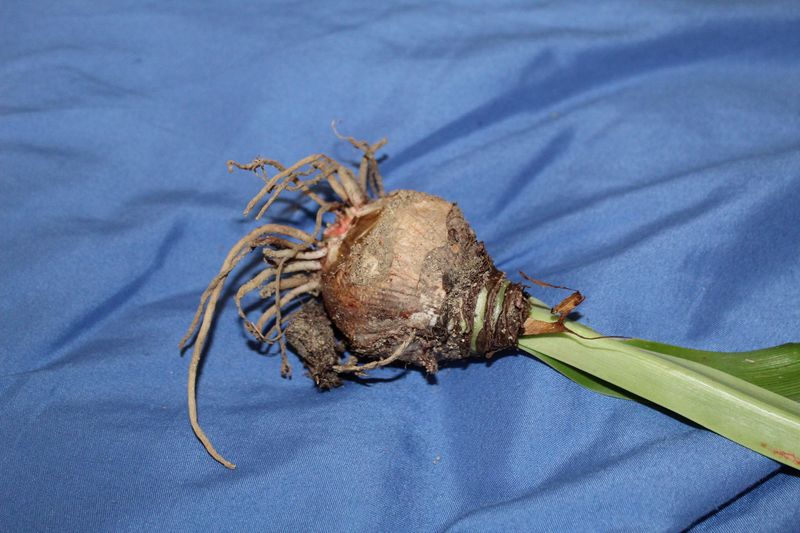
Amaryllis bulbs actually seem happiest when they feel a little cramped, almost like they enjoy a cozy sweater. University extension experts suggest a pot only about one to two inches wider than the bulb itself.
That snug fit means roots quickly fill the soil and form a dense, tight anchor around the bulb.
A firm root ball holds the bulb in place, so the heavy stalk has something solid to push against.
Oversized pots create a different problem because they hold far more soil than the roots can reach. All that unused soil stays soggy for days, and soggy soil can lead to weak roots and rot.
Depth matters too, since amaryllis roots like to grow downward rather than spreading out wide across the pot. I like choosing a pot that is a bit taller than it is wide for this reason.
A taller pot gives roots room to stretch, while its weight still sits low near the windowsill or table. You get a sturdier base without giving the bulb a giant swimming pool of wet soil to sit in.
Many gardeners leave the same bulb in its pot for a few years, since amaryllis tolerates being rootbound. When roots start poking through the drainage hole, move up just one pot size and no more.
Fresh potting mix at repotting time gives roots new nutrients while keeping that snug, steady grip intact.
Personally, I think this small sizing choice does more for stability than most people would ever guess.
3. Amaryllis Bulbs Sit High With Their Shoulders Showing
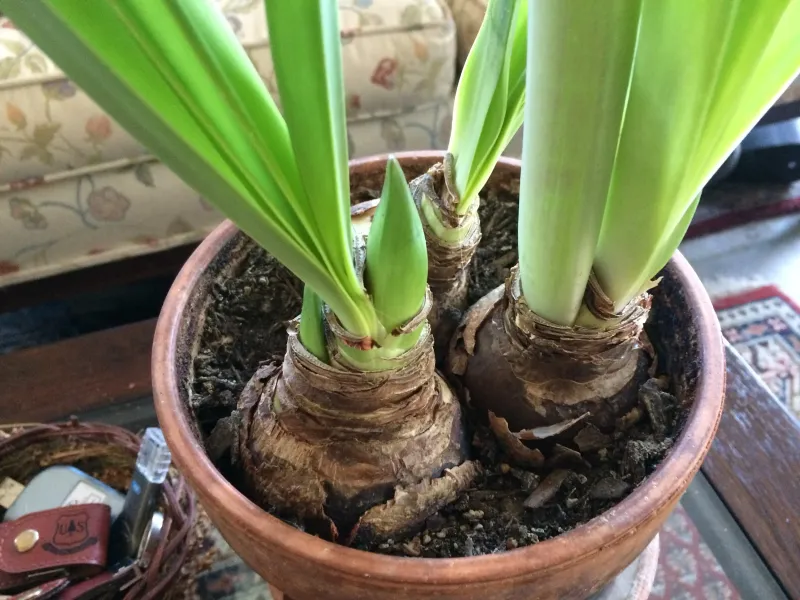
Unlike tulips and daffodils, an amaryllis bulb should not disappear under the soil when you plant it.
Most experts recommend leaving the top third of the bulb exposed, so its shoulders peek above the mix.
That looks a little odd at first, but there is solid reasoning behind this classic planting style.
Keeping the neck above the soil helps it stay dry, which lowers the risk of bulb rot.
A healthy, firm bulb is the foundation for a strong stalk that can carry heavy blooms upright. Soft, rotting bulbs often send up wobbly stems that lean or snap before the flowers fully open.
Start by filling the pot about halfway with a well-drained potting mix, then set the bulb roots down. Gently spread the roots and add more mix around the sides, pressing it firmly with your fingers.
Firm pressure matters here because loose soil lets the bulb shift as the stalk grows taller and heavier. I like to tap the pot on the counter a few times to settle the mix around everything.
Leave about half an inch of space between the soil surface and the pot rim for easy watering. That little gap keeps water from spilling over the edge and onto your furniture or windowsill.
Once planted, set the pot somewhere warm, around 70 degrees, to encourage new roots to form quickly. You might notice the first green tip poking out within a few weeks, which feels like a small victory.
4. A Sunny Window Builds Shorter Amaryllis Stalks
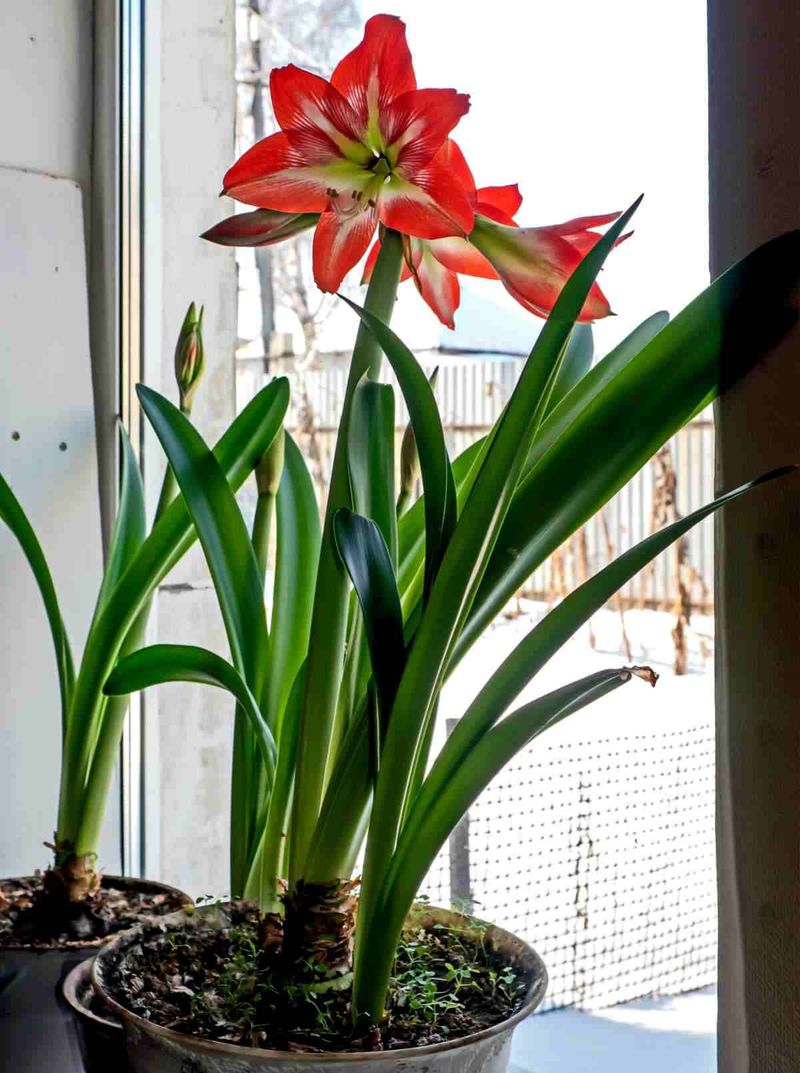
Low light turns amaryllis stalks into gangly teenagers, stretching taller and thinner as they search for the sun. Those extra inches look impressive for a moment, but they make the stem far more likely to flop.
Bright, direct light helps keep flower stalks shorter and sturdier, according to several university extension guides.
A south-facing window is usually the best spot in a Virginia home during the short days of winter.
West or east windows can work too, though stalks may stretch a bit more in those spots. North windows rarely offer enough light, so I save those for plants that prefer gentle shade.
If your brightest window is still dim, a simple LED grow light can fill in the missing hours. Set it a foot or so above the plant and run it for about twelve hours each day.
Some gardeners prop white poster board behind the pot to bounce sunlight back onto the shady side. I tried this trick last winter, and the stalk grew noticeably straighter within about a week or two.
Keep the plant away from heating vents, though, since hot dry air pushes growth to speed up unevenly. Fast, warm growth usually means weaker stems, which defeats the whole purpose of finding a sunny window.
Once the flowers open, you can move the pot out of direct sun to help the blooms last longer. By then the stalk has already built its strength, so a little less light will not cause leaning.
5. Turning the Pot Keeps Amaryllis Stems Straight
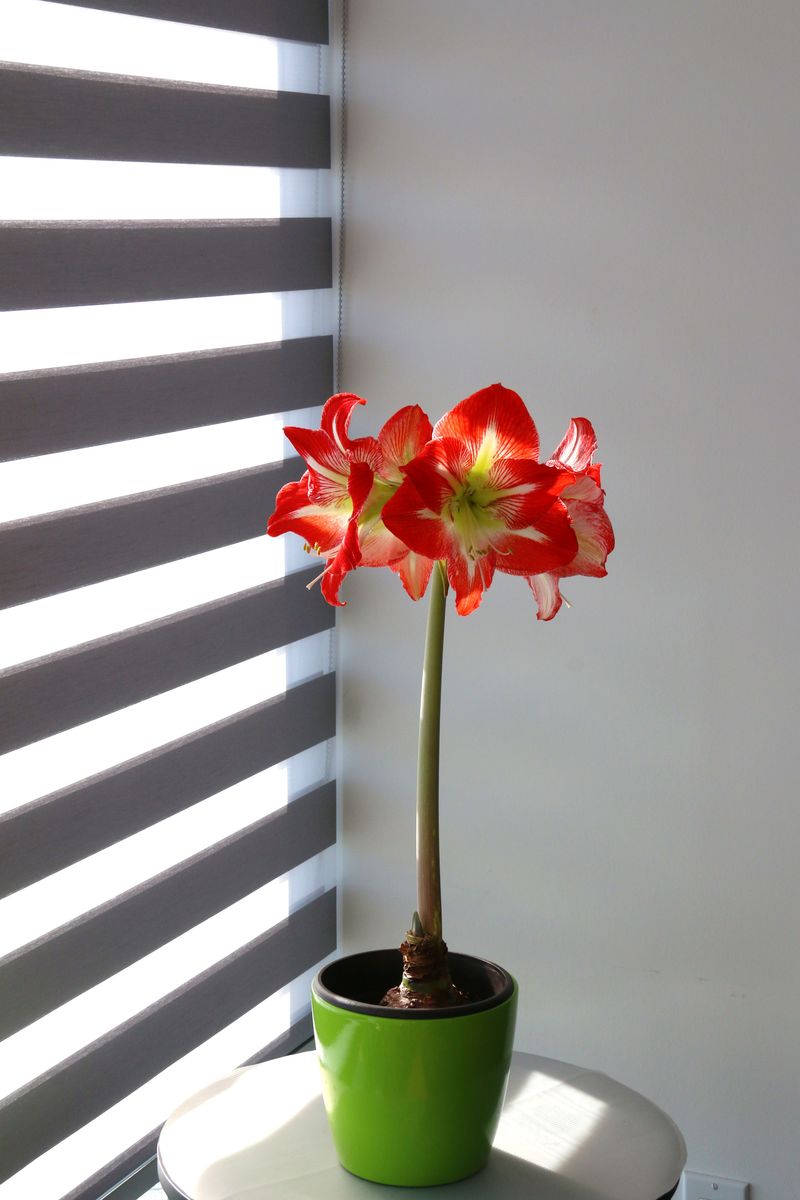
Plants bend toward light through a process called phototropism, and amaryllis stalks are especially dramatic about it.
Leave one facing a window for a week, and you will see a stem leaning like a curious neighbor.
Growth hormones gather on the shady side of the stem, making those cells stretch faster than the sunny side. That uneven growth creates the bend, and a bent stalk carries its heavy blooms off center.
The fix costs nothing at all, since you simply give the pot a quarter turn every day or two. Each turn makes a different side face the light, so the stem keeps correcting itself as it grows.
I keep my pot near the coffee maker, which reminds me to rotate it every single morning. You might pair the habit with watering plants or feeding pets, whatever routine you already follow.
A small sticker or piece of tape on the pot rim helps you track which way it faced last.
That tiny marker removes guesswork, especially when several family members share the job of turning it.
Rotation works best when it starts early, as soon as the flower stalk pokes out of the bulb. Once a stalk has a strong lean, turning helps less, and you may need a stake for support.
Combined with a bright window, regular turning gives you a tall stalk that rises straight up like a flagpole. Honestly, I think this is the easiest trick on the whole list, and it really pays off.
6. Cooler Rooms Slow Down Stretchy Amaryllis Stalks
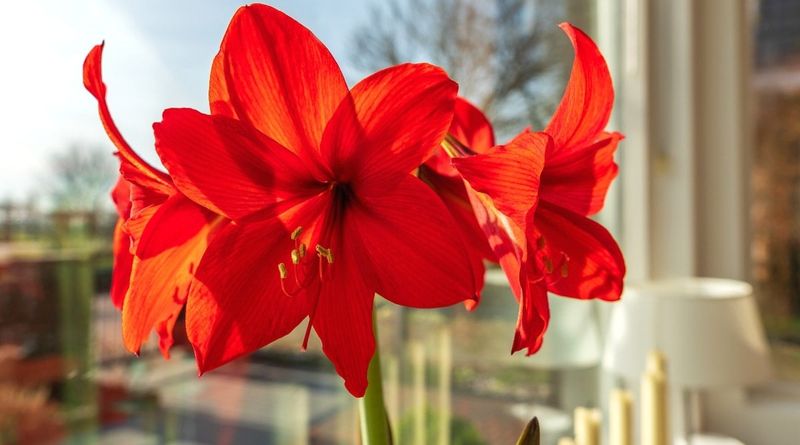
Warmth may feel cozy to us, but it pushes amaryllis stalks to shoot upward faster than they can strengthen. A cooler room slows that race, giving the stem time to thicken before the heavy blooms arrive.
Many extension guides suggest starting bulbs warm, around 70 to 75 degrees, to wake up the roots.
Once the flower stalk appears and grows a few inches, a cooler spot near 60 to 65 degrees works better.
Cooler temperatures help produce shorter, sturdier stalks, and they also make the open flowers last noticeably longer. I love how one small move gives you both a steadier plant and a longer show of color.
A bright guest bedroom or an enclosed porch that stays above freezing can make a great choice. Many Virginia homes have a drafty but sunny corner that fits this particular job surprisingly well.
Keep the plant safely away from frost, since amaryllis bulbs are tender and cannot handle freezing temperatures. Most of Virginia sits in USDA zones 6 and 7, too cold for leaving these bulbs outdoors over winter.
Avoid placing pots near radiators or space heaters, since that blast of warm air speeds stretching quickly.
Dry heat can also stress the leaves and bulb, which weakens the plant’s overall structure over time.
A simple indoor thermometer helps you find the coolest bright spot in your house within a single day. You might be surprised how much difference a few degrees can make in the height of the stalk.
7. Bamboo Stakes Hold Heavy Amaryllis Blooms Upright
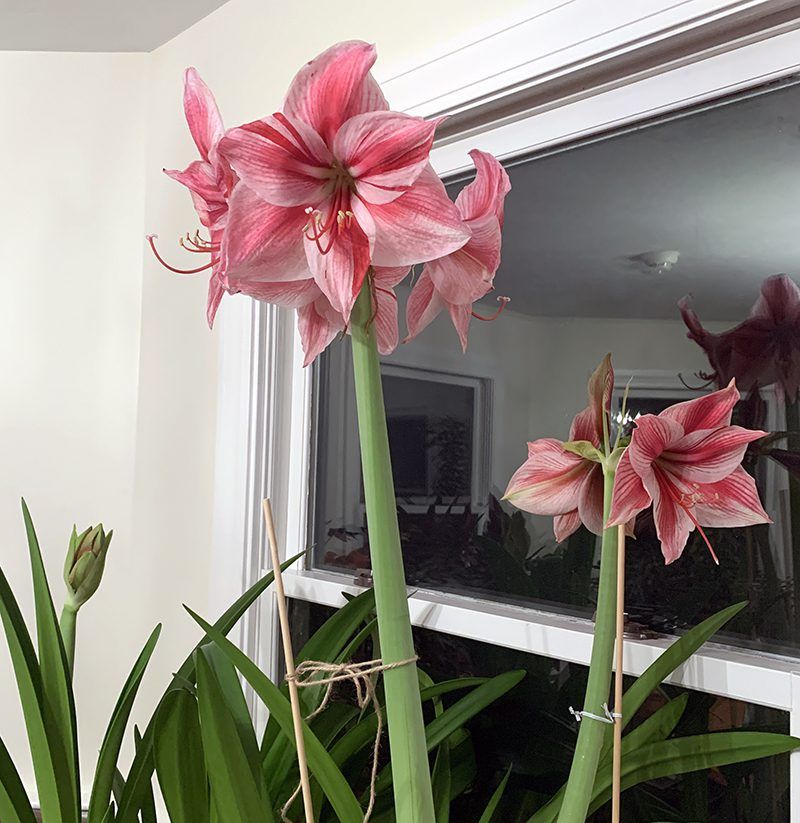
Some amaryllis cultivars, especially the fluffy double types, carry so much flower weight that staking becomes a smart backup plan.
I think of a slim stake as an umbrella, since you rarely regret having it ready when trouble comes.
Timing matters most, so insert the stake once the flower stalk is a few inches tall.
Early staking avoids stabbing roots later and lets you guide the stalk before it develops a serious lean.
Push a thin bamboo or green metal stake into the soil close to the bulb, but not through it. Slide it down gently until it touches the bottom of the pot, which helps it stay firmly in place.
Use soft twine or a strip of old fabric to fasten the stalk loosely to the stake. A figure-eight loop works well because it keeps the tie from rubbing directly against the hollow stem.
Add another loose tie higher up as the stalk grows, staying just below where the flower buds form. Tying too tightly can pinch or bruise the stem, so leave a finger’s width of wiggle room.
For a festive look, some gardeners use red twig dogwood branches or curly willow instead of plain bamboo.
Those colorful stems look wonderful during the holidays, and they hide the support almost in plain sight.
Pots with several stalks can use a small ring support or two slim stakes connected with twine. Either way, your blooms stay upright, and you can finally stop nervously checking the windowsill every morning.
8. Careful Watering Keeps Amaryllis Bulbs Firm
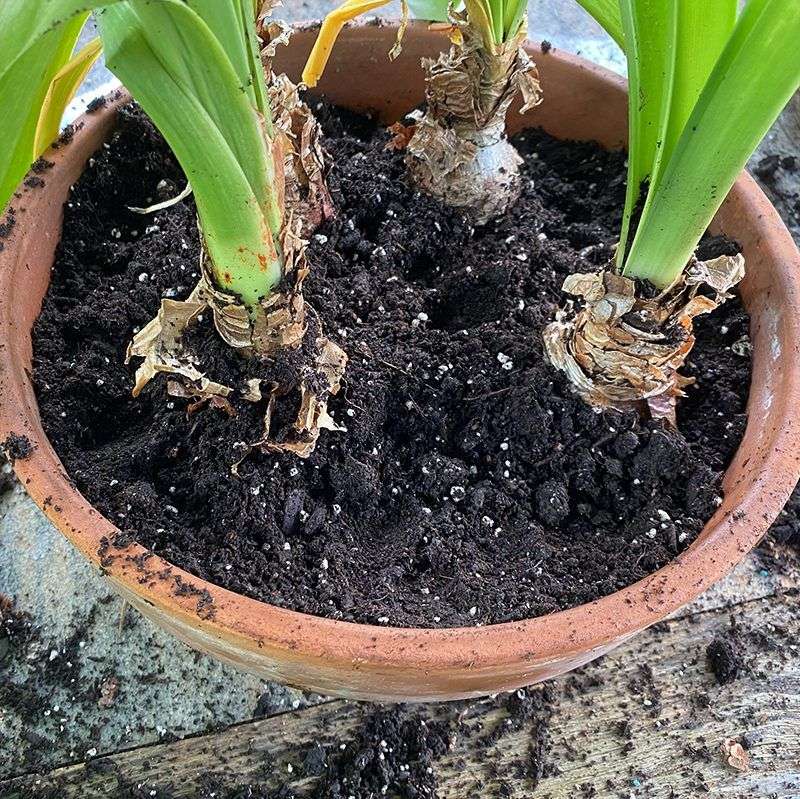
More amaryllis bulbs struggle from too much water than too little, according to many university horticulture experts.
A soggy bulb turns soft and mushy, and a mushy bulb cannot support a tall, heavy flower stalk.
Right after planting, water once thoroughly and then hold back until you see new green growth appear. Roots form slowly during those first weeks, so wet soil just sits there and invites trouble.
Once the stalk and leaves are actively growing, water when the top inch of soil feels dry. I poke a finger into the mix before reaching for the watering can, which saves me from guessing.
Pour water around the edge of the pot instead of over the exposed top of the bulb. Keeping the bulb neck dry helps prevent rot and fungal problems like red blotch from taking hold.
Let extra water drain freely, then empty the saucer so the pot is not sitting in a puddle.
Standing water is a sneaky problem that weakens roots slowly, long before you notice any leaning above ground.
Underwatering causes its own trouble, since thirsty stems lose firmness and start to droop under their blooms. Finding a steady rhythm matters, and most homes land on watering roughly once a week during active growth.
Indoor heating in Virginia winters can dry pots faster than you expect, so check them a little more often. Personally, I think careful watering is the quiet hero that keeps every other trick on this list working.